lock OLDSMOBILE SILHOUETTE 1998 Owners Manual
[x] Cancel search | Manufacturer: OLDSMOBILE, Model Year: 1998, Model line: SILHOUETTE, Model: OLDSMOBILE SILHOUETTE 1998Pages: 444, PDF Size: 23.2 MB
Page 11 of 444
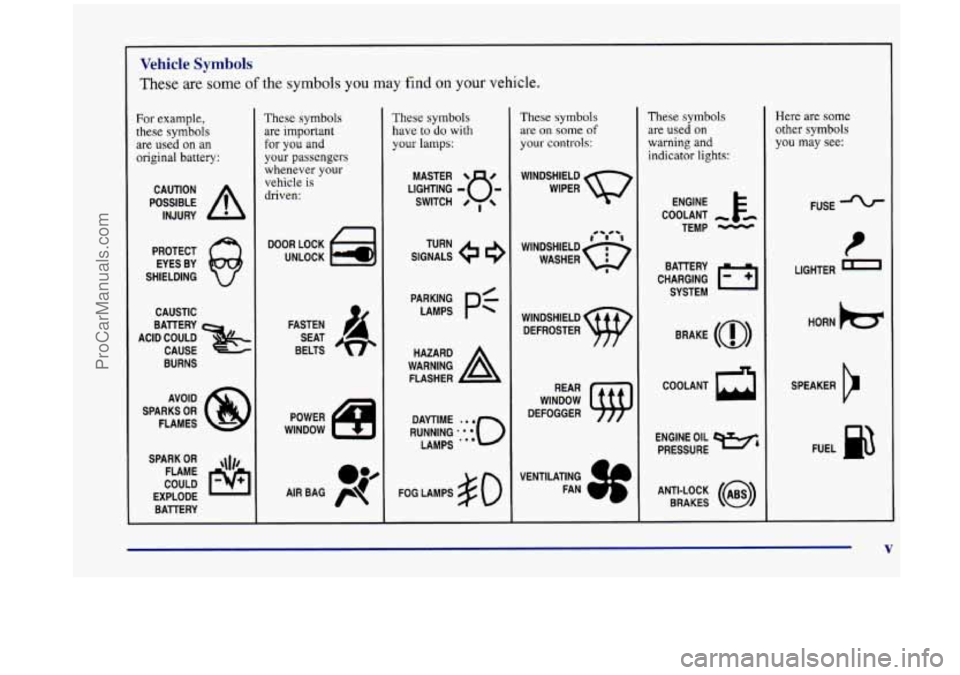
Vehicle Symbols
These are some of the symbols you may find on your vehicle.
For example,
these symbols are used on an
original battery:
POSSIBLE A
CAUTION
INJURY
PROTECT EYES BY
SHIELDING
CAUSTIC
ACID COULD BAllERY
CAUSE
BURNS
AVOID
SPARKS
OR
FLAMES
SPARK
OR ,\I/,
COULD FLAME
EXPLODE BAllERY
These symbols
are important
for you and
your passengers
whenever
your
vehicle is
driven:
DOOR LOCK
UNLOCK
FASTEN SEAT
BELTS
These symbols
have to do with
your lamps:
SIGNALS e
TURN
WARNING
A
HAZARD
FLASHER
FOG LAMPS
$0
These symbols
are on some of
your controls:
WINDSHIELD
WIPER
WINDSHIELD DEFROSTER
WINDOW
DEFOGGER
These symbols
are used on
warning and indicator lights:
ENGINE E*
COOLANT
TEMP
-
CHARGING I-1
BATTERY
SYSTEM
BRAKE
(a)
COOLANT a
ENGINE OIL e,
PRESSURE
ANTI-LOCK
(@)
BRAKES
Here are some other symbols you may see:
FUSE
LIGHTER
m
HORN )cr
SPEAKER
b
FUEL e3
ProCarManuals.com
Page 14 of 444

Seats and Seat Controls
This section tells you about the seats -- how to adjust
them, take them out, put them back in and fold and
unfold them.
Driver’s 4-Way Manual Seat
To raise the seat, pull up on the lever on the front right
side
of the seat. To lower the seat, push the lever down.
Use the lever on the front left side
of the seat to adjust the
seat forward or reatward.
Pull up the lever on the front of
the seat to unlock it. Slide the seat to where you want it. \
To make sure the seat is locked into place, release the
lever and
try to move the seat with your body.
- -- ii
You can lose control of the vehicle if you try to
adjust a manual driver’s seat while the vehicle is
moving. The sudden movement could startle and confuse you,
or make you push a pedal when you
don’t want to. Adjust the driver’s seat only when the vehicle
is not moving.
1-2
ProCarManuals.com
Page 15 of 444
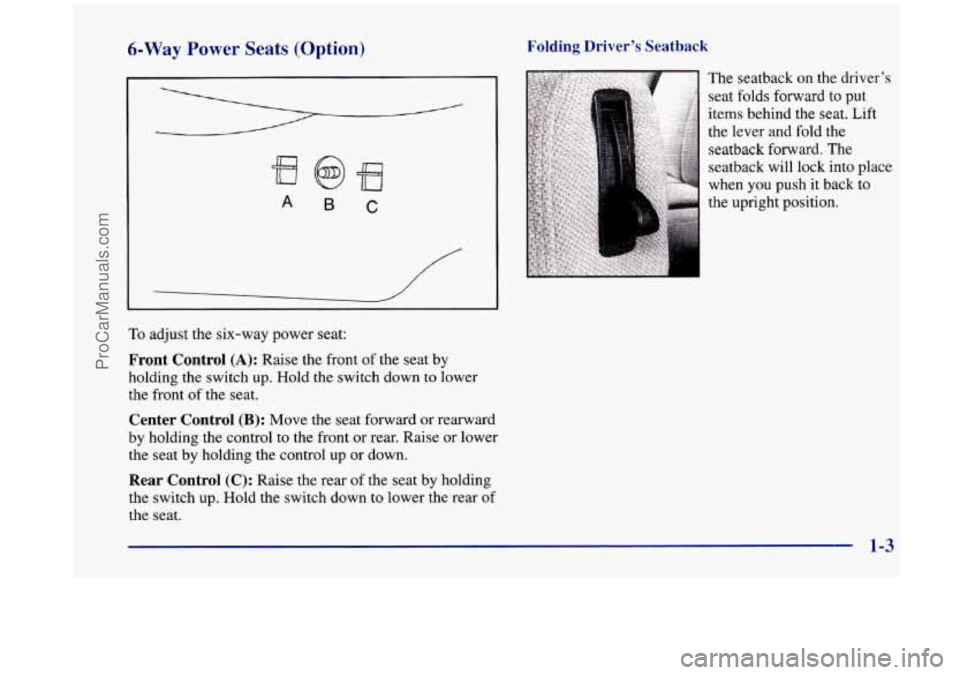
6-Way Power Seats (Option) Folding Driver’s Seatback
A B C
To adjust the six-way power seat:
Front Control (A): Raise the front of the seat by
holding the switch up. Hold the switch down to lower
the front of
the seat.
Center Control (B): Move the seat forward or rearward
by holding the control to the front or rear. Raise or lower
the seat by holding the control up or down.
Rear Control (C): Raise the rear of the seat by holding
the switch up. Hold the switch down to lower the rear of
the seat. The
seatback on the driver’s
seat
folds forward to put
items behind the seat. Lift
the lever
and fold the
seatback forward. The
seatback will lock into place
when
you push it back to
the upright position.
1-3
ProCarManuals.com
Page 16 of 444
Manual Front Passenger Seats
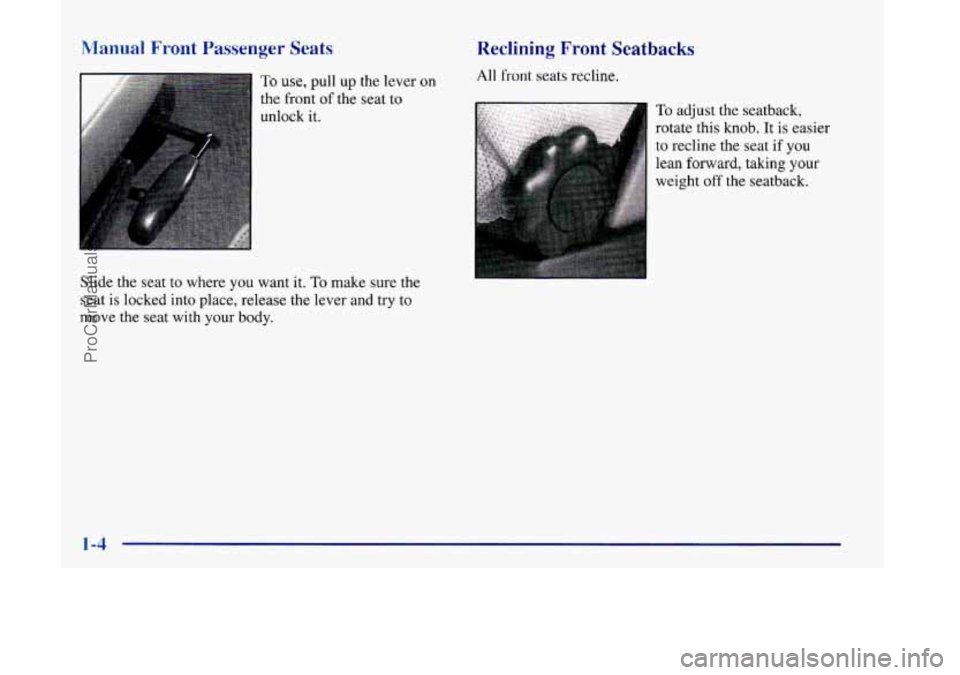
To use, pull up the lever on
the front of the seat to
unlock it.
Slide the seat to where you want it.
To make sure the
seat is locked into place, release the lever and try to
move the seat with your body.
Reclining Front Seatbacks
All front seats recline.
To adjust the seatback,
rotate this knob. It
is easier
to recline the seat if you
lean forward, taking your
weight off the seatback.
1-4
ProCarManuals.com
Page 20 of 444
Split Bench Seats
If you have the split bench seat (50/50 or 40/60>, the
seatbacks can be folded down individually and the
sections can be removed individually. The sections can
also be adjusted forward or rearward individually.
The second row
(40/60) split bench may be equipped
with built-in child restraint(s). See “Built-In Child
Restraint” in the index.
Folding or Reclining the Seatbacks
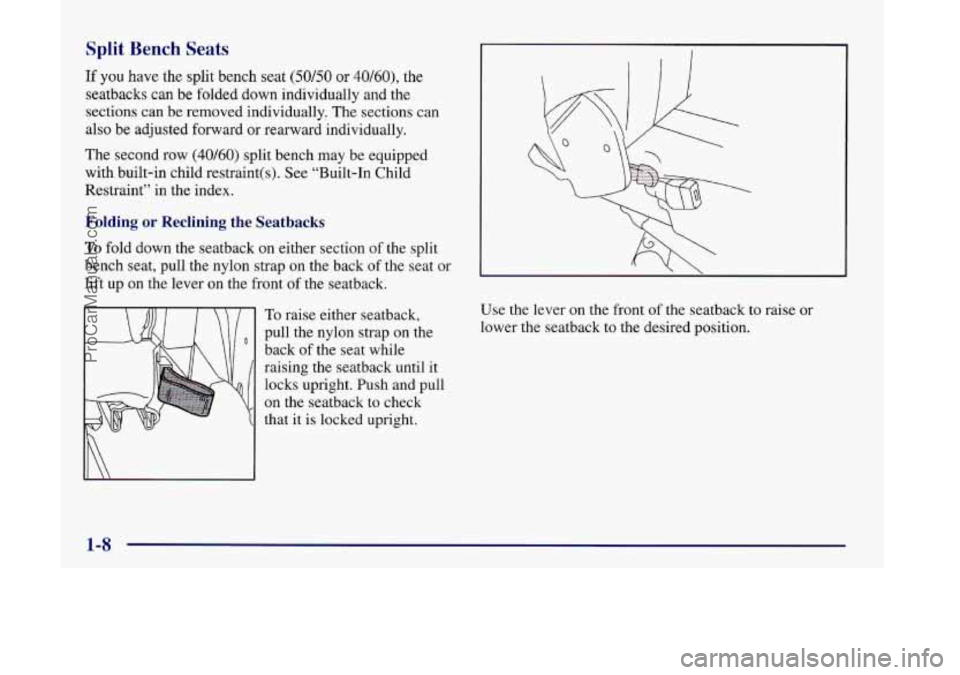
To fold down the seatback on either section of the split
bench seat, pull the nylon strap
on the back of the seat or
lift up on the lever on the front
of the seatback.
To raise either seatback,
pull the nylon strap
on the
back
of the seat while
raising the seatback until
it
locks upright. Push and pull
on the seatback to check
that it is locked upright.
/ 0
0 7 ....... ...... ......... ........ ........... .......... .......... :-. ....... ”~ i -
Use the lever on the front of the seatback to raise or
lower the seatback to the desired position.
1-8
ProCarManuals.com
Page 21 of 444
Adjusting the Split Bench Seats
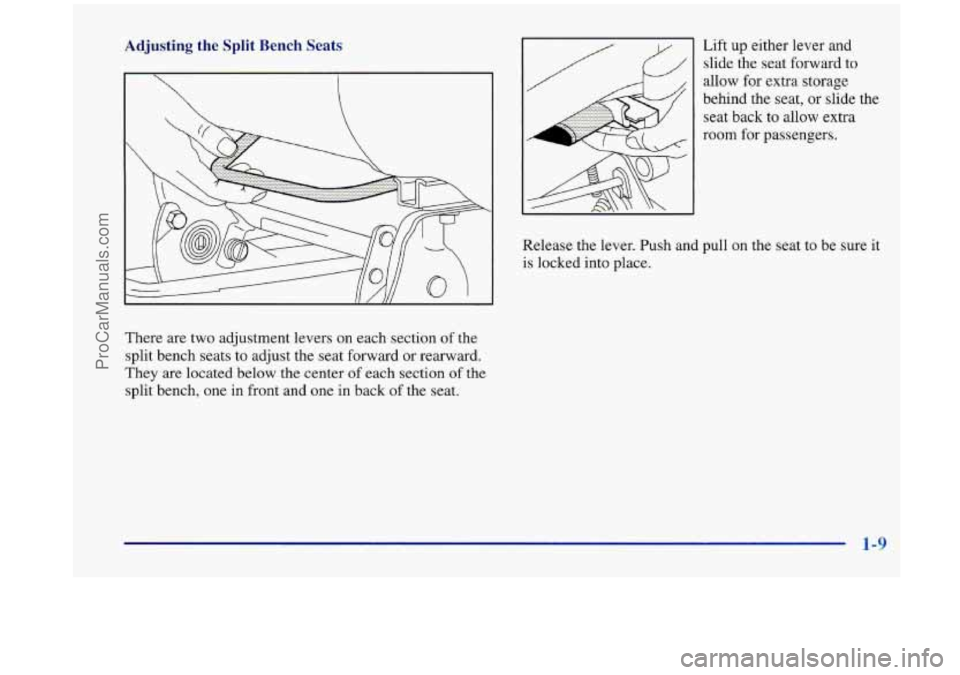
There are two adjustment levers on each section of the
split bench seats to adjust the seat forward or rearward.
They are located below the center
of each section of the
split bench, one in front and one in back
of the seat. Lift
up either
lever and
slide the seat forward to
allow for extra storage
behind the seat,
or slide the
seat back to allow extra
room
for passengers.
Release the lever. Push and pull on the seat
to be sure it
is locked into place.
1-9
ProCarManuals.com
Page 25 of 444
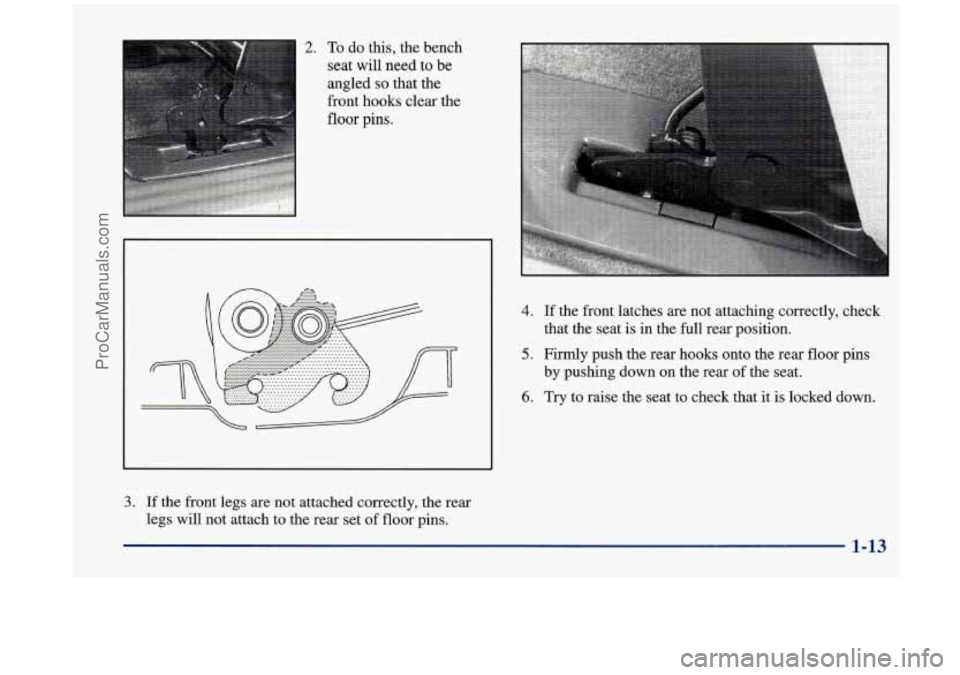
2. To do this, the bench
seat will need to be
angled
so that the
front hooks clear the
floor pins.
4. If the front latches are not attaching correctly, check
5. Firmly push the rear hooks onto the rear floor pins
that
the seat is
in the full rear position.
by pushing down on the rear of the seat.
6. Try to raise the seat to check that it is locked down.
3. If the front legs are not attached correctly, the rear
legs will not attach to the rear set of floor pins.
1-13
ProCarManuals.com
Page 26 of 444
A seat that isn’t locked into place properly can
move around in a collision or sudden stop. People
in the vehicle could be injured. Be sure to lock
the seat into place properly when installing it.
7. Lift the seatback recliner lever or pull the nylon strap
on the back of the seat and raise the seatback until it
locks upright.
8. Push and pull on the seatback to check that
it
is locked.
If the seatback isn’t locked, it could move
forward in a sudden stop or crash. That could
cause injury to the person sitting there. Always
press rearward on the seatback to be sure it
is locked.
9. Attach the mini-buckle so that the safety belt is
ready for use when a passenger uses the seat.
The buckle reattaches
by pushing the latch into the
buckle until
the red center pops out again.
Repeat Steps
1 through 5 for the other section of the
split bench seat.
h CAU dON:
A safety belt that is twisted or not properly
attached won’t provide the protection needed in a
crash. The person wearing the belt could be
seriously injured. After installing the seat, always
1 check to be sure that the safety belts are not
~ twisted and are properly attached.
1-14
ProCarManuals.com
Page 27 of 444
Bucket Seats
There are three types of rear bucket seats: RIGHT
ONLY, CENTER
OR LEFT and LEFT ONLY.
RIGHT ONLY and LEFT ONLY seats may be equipped
with the built-in child restraint option.
The
rear bucket seats can be removed to provide extra
storage. Each seat that has the built-in child restraint
option
fits in only one location in your vehicle, but seats
that don't have the built-in child restraint option can be
moved to different rows.
Folding or Reclining the Seatbacks
To fold down the seatback on either section of the split
bench seat, pull the nylon strap on the back of the seat or
lift up on the lever on the front
of the seatback.
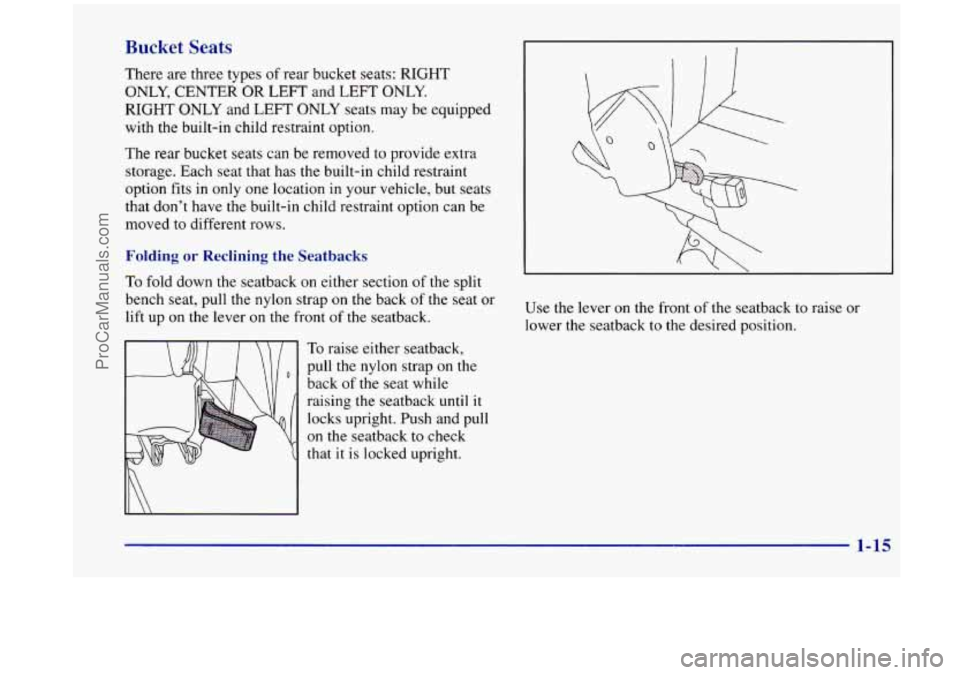
To raise either seatback,
pull the nylon strap on the
back of the seat while
raising the seatback until it
locks upright. Push and pull
on the seatback to check
that
it is locked upright. Use
the lever
on the front of the seatback to raise or
lower the seatback to the desired position.
1-15
ProCarManuals.com
Page 28 of 444
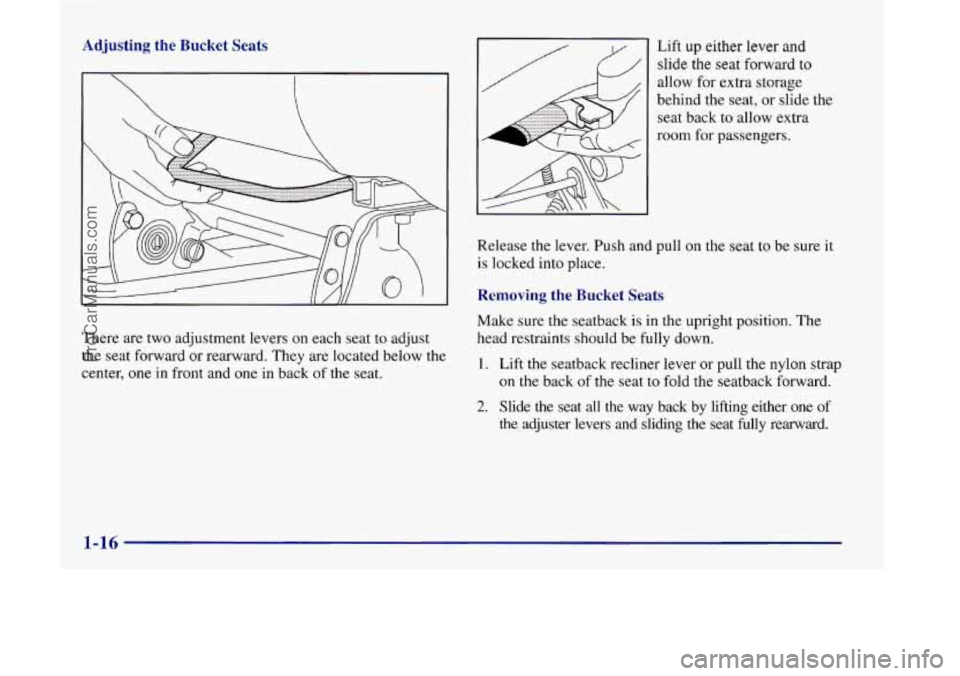
Adjusting the Bucket Seats
There are two adjustment levers on each seat to adjust
the seat forward or rearward. They are located below the
center,
one in front and one in back of the seat. Lift
up either lever and
slide
the seat forward to
allow for extra storage
behind the seat, or slide the
seat back
to allow extra
room for passengers.
Release the lever. Push and pull on the seat to be sure it
is locked into place.
Removing the Bucket Seats
Make sure the seatback is in the upright position. The
head restraints should be fully down.
1. Lift the seatback recliner lever or pull the nylon strap
on the back of the seat to fold the seatback forward.
2. Slide the seat all the way back by lifting either one of
the adjuster levers and sliding the seat fully rearward.
1-16
ProCarManuals.com