ECO mode OLDSMOBILE SILHOUETTE 2003 User Guide
[x] Cancel search | Manufacturer: OLDSMOBILE, Model Year: 2003, Model line: SILHOUETTE, Model: OLDSMOBILE SILHOUETTE 2003Pages: 466, PDF Size: 21.55 MB
Page 219 of 466
Manual Compass Calibration
If the compass appears erratic and the calibration
symbol does not appear, you must manually put the
compass into the calibration mode.
Turn the ignition on and cycle the DIC to the
compass/temperature mode. Press both the
E/M and
MODE buttons simultaneously for at least
10 seconds
until the calibration symbol appears. Release both
buttons and complete three
360" turns in an area free
from large metal objects. The calibration symbol will
turn
off and the compass reading will be displayed.
Error Displays
0 An error of the vehicle's speed sensor or fuel
0 In the absence of vehicle communications, a dash
sender
will cause
-E- to be displayed.
"- -" is displayed.
If one of these error messages appear, see your dealer.
Trip Computer
There are five trip computer displays available by
pushing the MODE button. The information will appear
in the following order:
AVG ECON (Average Fuel Economy): This shows the
average fuel economy since the last reset.
INST ECON (Instant Fuel Economy): This shows fuel
economy for the most recent second of driving.
RANGE (Trip Range): This shows the estimated
distance that can be traveled with the remaining fuel.
The fuel economy used to calculate range is based
on the last few hours of driving.
FUEL USED (Trip Fuel Used): This shows the
accumulated fuel used since the last reset.
AVG SPEED (Average Speed): This shows the
average speed since the last reset.
Resetting the Trip Computer
Press and hold the MODE and E/M buttons for at least
two seconds. The reset is acknowledged with the
display showing all segments briefly. A reset can only
be done in AVG ECON, FUEL USED and AVG SPEED
displays. AVG ECON, FUEL USED and AVG SPEED
can only be reset independently. Only the mode
that is displayed will be reset.
3-62
Page 233 of 466
Radio Messages
CAL ERR (Calibration Error): This message is
displayed when the radio has not been calibrated
properly for the vehicle. You must return to the
dealership for service.
LOCKED: This message is displayed when the
THEFTLOCK@ system has locked up. You must
return to the dealership for service.
Playing a Cassette Tape
Your tape player is built to work best with tapes that
are up to
30 to 45 minutes long on each side. Tapes
longer than that are
so thin they may not work well
in this player. The longer side with the tape visible
should face to the right. If the ignition is on, but the radio
is
off, the tape can be inserted and will begin playing.
A tape symbol is shown on the display whenever a tape
is inserted.
If you hear nothing but a garbled sound,
the tape may not be in squarely. Press EJT to remove
the tape and start over.
While the tape is playing, use the VOL, AUDIO and
SEEK controls just as you do for the radio. The display
will show TAPE and an arrow showing which side of
the tape is playing.
If you want to insert a tape while the ignition is off,
first press EJT or DISP.
If an error appears on the display, see “Cassette Tape
Messages” later in this section.
3-76
1 PREV (Previous): Your tape must have at least three
seconds of silence between each selection for previous
to work. Press this pushbutton to go to the previous
selection on the tape
if the current selection has been
playing for less than three seconds.
If pressed when the
current selection has been playing from
3 to 13 seconds,
it will go to the beginning of the previous selection or
the beginning of the current selection, depending upon
the position on the tape.
If pressed when the current
selection has been playing for more than
13 seconds,
it will
go to the beginning of the current selection.
SEEK and a negative number will appear on the display
while the cassette player is in the previous mode.
Pressing this pushbutton multiple times or holding it
will increase the number of selections to be searched
back, up to
-9.
2 NEXT: Your tape must have at least three seconds of
silence between each selection for next to work. Press
this pushbutton to go to the next selection on the tape.
If you press the pushbutton more than once, the player
will continue moving forward through the tape. SEEK and
a positive number will appear on the display.
3 REV (Reverse): Press this pushbutton to reverse the
tape rapidly. Press it again to return to playing speed.
The radio will play while the tape reverses. The station
frequency and REV will appear on the display. You may
select stations during reverse operation using TUNE,
SEEK or PSCAN.
Page 241 of 466
SCAN: You can also scan through the channels within
a category by performing the following:
1. Press the P-TYPE button. P-TYPE and the last
selected PTY will be displayed on the screen.
2. Select a category by turning the P-TYPE knob.
3. Once the desired category is displayed, press and
hold either SCAN arrow, and the radio will begin
scanning within your chosen category.
particular station.
4. Press either SCAN arrow again to stop at a
AM FM (Alternate Frequency): Alternate frequency
allows the radio to switch to a stronger station with the
same program type. Press and hold AM FM for two
seconds to turn alternate frequency
on. AF ON
will appear on the display. The radio may switch to
stronger stations. Press and hold AM FM again for two
seconds to turn alternate frequency
off. AF OFF will
appear on the display. The radio will not switch to other
stations. When you turn the ignition
off and then on
again, the alternate frequency feature will automatically
be turned on.
Setting Preset PTYs
The six numbered pushbuttons let you return to your
favorite PTYs. These buttons have factory PTY presets.
You can set up
to 12 PTYs (six FMI and six FM2) by
performing the following steps:
1. Press BAND to select FMI or FM2.
2. Press the P-TYPE button to activate program type
3. Turn the P-TYPE knob to select a PTY.
select
mode.
4. Press and hold one of the six numbered pushbuttons
until you hear a beep. Whenever you press that
numbered pushbutton, the PTY you set will return.
5. Repeat the steps for each pushbutton
3-84
Page 246 of 466
Using Song List Mode
The integrated six-disc CD changer has a feature called
song list. This feature is capable of saving
20 track
selections.
To save tracks into the song list feature, perform the
following steps:
1. Turn the disc player on and load it with at least
one disc. See “LOAD
CD” listed previously in this
section for more information.
2. Check to see that the disc changer is not in song
list mode. S-LIST should not appear in the display.
If S-LIST is present, press the SONG LIST
button to turn it
off.
3. Select the desired disc by pressing the numbered
pushbutton and then use the
SEEK SCAN right
arrow button to locate the track that you want
to save. The track
will begin to play.
4. Press and hold the SONG LIST button for two or
more seconds to save the track into memory.
When
SONG LIST is pressed a beep will be heard
immediately. After two seconds of pressing SONG
LIST continuously, two beeps will sound to confirm
that the track has been saved.
5. Repeat Steps 3 and 4 for saving other selections.
If you attempt to save more than 20 selections,
S-LIST FULL will appear on the display.
To play the song list, press the SONG LIST button.
One beep will be heard and S-LIST will appear on
the display. The recorded tracks will begin to play in
the order that they were saved.
You may seek through the song list by using the
SEEK
SCAN arrows. Seeking past the last saved track will
return you to the first saved track.
3-89
Page 247 of 466
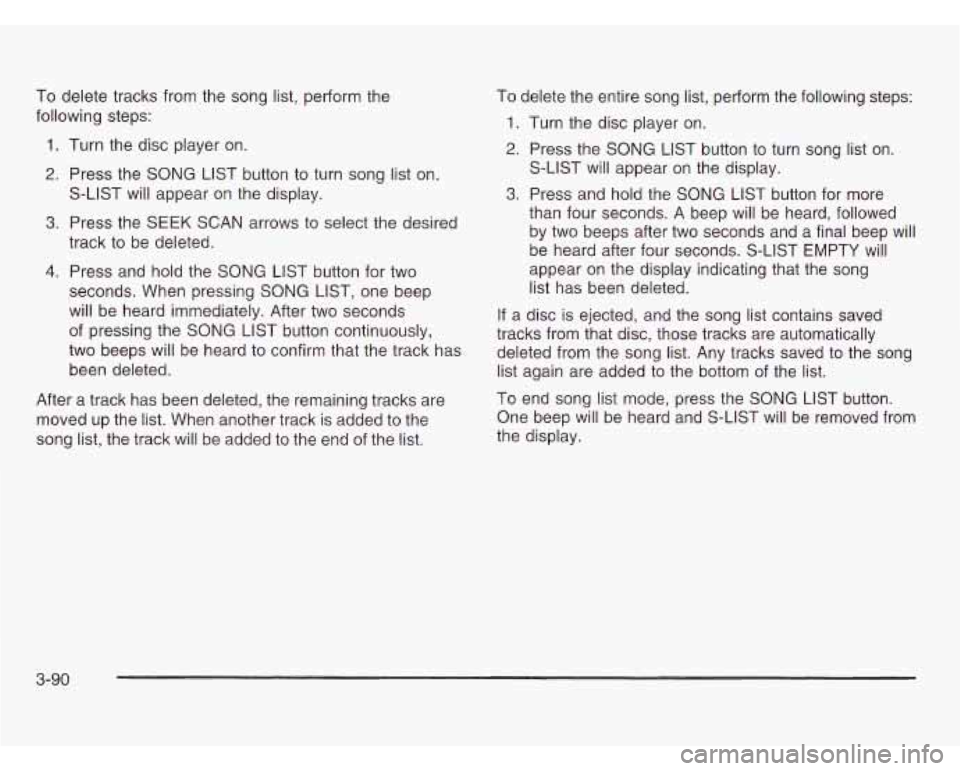
To delete tracks from the song list, perform the
following steps:
1. Turn the disc player on.
2. Press the SONG LIST button to turn song list on.
S-LIST will appear on the display.
3. Press the SEEK SCAN arrows to select the desired
track to be deleted.
4. Press and hold the SONG LIST button for two
seconds. When pressing SONG LIST, one beep
will be heard immediately. After two seconds
of pressing the SONG LIST button continuously,
two beeps will be heard to confirm that the track has
been deleted.
After a track has been deleted, the remaining tracks are
moved up the list. When another track is added to the
song list, the track will be added to the end of the list. To
delete the entire song list, perform the following steps:
1. Turn the disc player on.
2. Press the SONG LIST button to turn song list on.
3. Press and hold the SONG LIST button for more
S-LIST
will appear on the display.
than four seconds.
A beep will be heard, followed
by two beeps after two seconds and a final beep will
be heard after four seconds. S-LIST EMPTY
will
appear on the display indicating that the song
list has been deleted.
If a disc is ejected, and the song list contains saved
tracks from that disc, those tracks are automatically
deleted from the song list. Any tracks saved to the song
list again are added to the bottom of the list.
To end song list mode, press the SONG LIST button.
One beep will be heard and S-LIST
will be removed from
the display.
3-90
Page 256 of 466
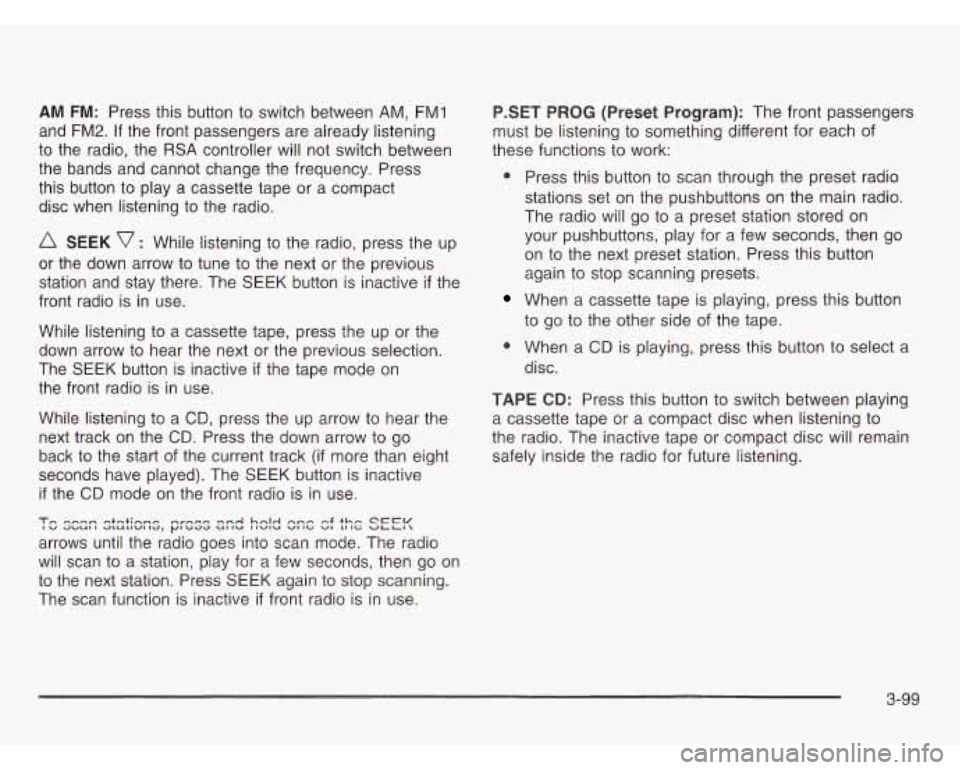
AM FM: Press this button to switch between AM, FM1
and
FM2. If the front passengers are already listening
to the radio, the RSA controller will not switch between
the bands and cannot change the frequency. Press
this button to play a cassette tape or a compact
disc when listening to the radio.
SEEK v : While listening to the radio, press the up
or the down arrow to tune to the next or the previous
station and stay there. The SEEK button is inactive
if the
front radio is in use.
While listening to a cassette tape, press the up or the
down arrow to hear the next or the previous selection.
The SEEK button is inactive
if the tape mode on
the front radio is in use.
While listening to a CD, press the up arrow to hear the
next track on the CD. Press the down arrow to go
back to the start
of the current track (if more than eight
seconds have played). The SEEK button is inactive
if the CD mode on the front radio is in use.
Tn enmn et-tinne mcn~c- rr-4 hnlrl nmn nJ +hn CCCW I w JbUI I O~U~1VI to, P' Gad Ul IU I IWlU VI Ici VI LI 1-z ULLl
arrows until the radio goes into scan mode. The radio
will scan to
a station, play for a few seconds, then go on
to the next station. Press SEEK again to stop scanning.
The scan function is inactive
if front radio is in use. PSET
PROG (Preset Program): The front passengers
must be listening to something different for each of
these functions to work:
0 Press this button to scan through the preset radio
stations set on the pushbuttons on the main radio.
The radio will go to a preset station stored on
your pushbuttons, play for a few seconds, then go
on to the next preset station. Press this button
again to stop scanning presets.
When a cassette tape is playing, press this button
to go to the other side
of the tape.
When a CD is playing, press this button to select a
disc.
TAPE CD: Press this button to switch between playing
a cassette tape or a compact disc when listening to
the radio. The inactive tape or compact disc will remain
safely inside the radio for future listening.
3-99
Page 258 of 466
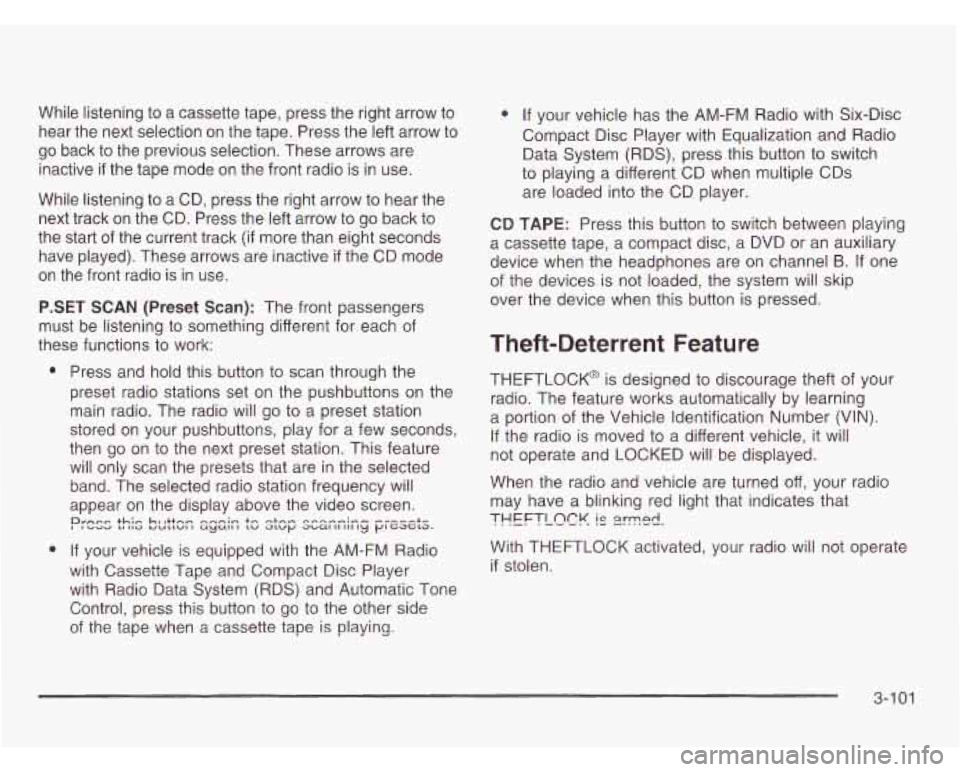
While listening to a cassette tape, press the right arrow to
hear the next selection on the tape. Press the left arrow to
go back to the previous selection. These arrows are
inactive
if the tape mode on the front radio is in use.
While listening to a CD, press the right arrow to hear the
next track on the CD. Press the left arrow to go back to
the start of the current track (if more than eight seconds
have played). These arrows are inactive
if the CD mode
on the front radio is in use.
P.SET SCAN (Preset
Scan): The front passengers
must be listening to something different for each of
these functions to work:
Press and hold this button to scan through the
preset radio stations set on the pushbuttons on the
main radio. The radio will go to a preset station
stored on your pushbuttons, play for a few seconds,
then go on to the next preset station. This feature
will only scan the presets that are in the selected
band. The selected radio station frequency will
appear on the display above the video screen.
Przss this !x::sn zgzi;; tz step scznzizcj pi-esek
If your vehicle is equipped with the AM-FM Radio
with Cassette Tape and Compact Disc Player
with Radio Data System (RDS) and Automatic Tone
Control, press this button to go to the other side
of the tape when a cassette tape is playing.
0 If your vehicle has the AM-FM Radio with Six-Disc
Compact Disc Player with Equalization and Radio
Data System (RDS), press this button to switch
to playing a different CD when multiple CDs
are loaded into the CD player.
CD TAPE: Press this button to switch between playing
a cassette tape, a compact disc, a DVD or an auxiliary
device when the headphones are on channel
B. If one
of the devices is not loaded, the system will skip
over the device when this button is pressed.
Theft-Deterrent Feature
THEFTLOCK@ is designed to discourage theft of your
radio. The feature works automatically by learning
a portion of the Vehicle Identification Number
(VIN).
If the radio is moved to a different vehicle, it will
not operate and LOCKED will be displayed.
When the radio and vehicle are turned
off, your radio
may have a blinking red light that indicates that
THEFTLQCK IC 2rme.l.
With THEFPLOCK activated, your radio will not operate
if stolen.
3-1 01
Page 338 of 466
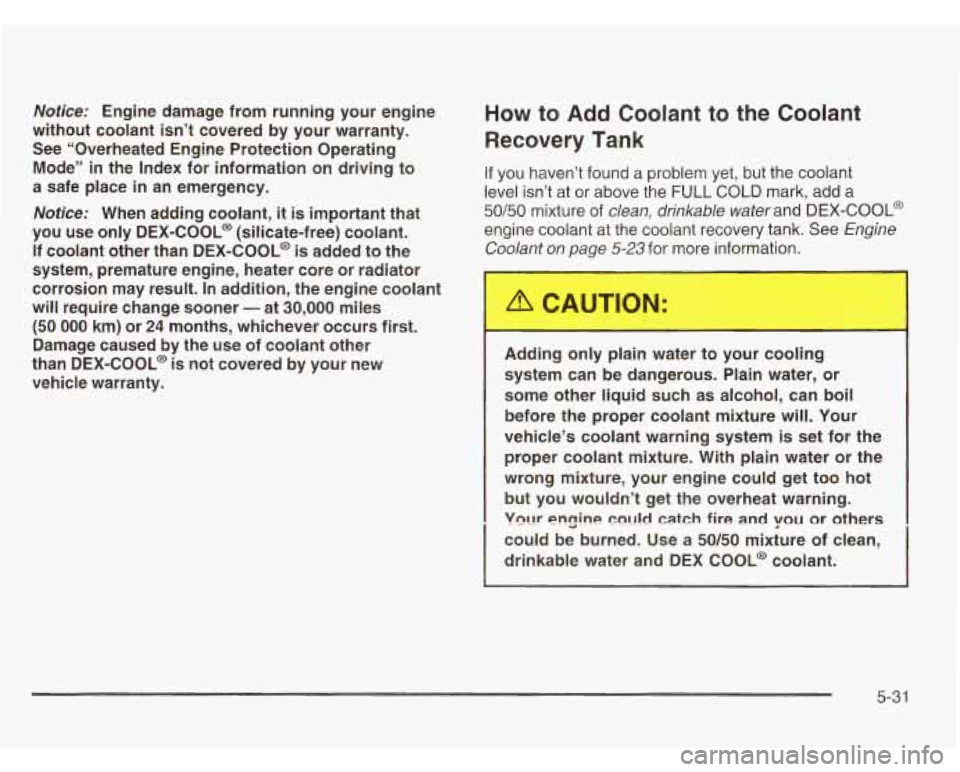
Notice: Engine damage from running your engine
without coolant isn’t covered by your warranty.
See “Overheated Engine Protection Operating
Mode” in the Index for information on driving to
a safe place in an emergency.
Notice: When adding coolant, it is important that
you use only
DEX-COOL@ (silicate-free) coolant.
If coolant other than DEX-COOL@
is added to the
system, premature engine, heater core or radiator
corrosion may result. In addition, the engine coolant
will require change sooner
- at 30,000 miles
(50 000 km) or 24 months, whichever occurs first.
Damage caused by the use of coolant other
than DEX-COOL@ is not covered by your new
vehicle warranty.
How to Add Coolant to the Coolant
Recovery Tank
If you haven’t found a problem yet, but the coolant
level isn’t at
or above the FULL COLD mark, add a
50/50 mixture of clean, drinkable waterand DEX-COOL@
engine coolant at the coolant recovery tank. See Engine
Coolant on page
5-23 for more information.
Adding only plain water to your cooling
system can be dangerous. Plain water, or
some other liquid such as alcohol, can boil
before the proper coolant mixture will. Your
vehicle’s coolant warning system
is set for the
proper coolant mixture. With plain water or the
wrong mixture, your engine could get too hot
but you wouldn’t get the overheat warning.
Vn~lr en~ine mt1ld catch fire and YOU or others
could be burned. Use a 50/50 mixture of clean,
drinkable water and DEX
COOL@ coolant.
5-31
Page 393 of 466
Compact Spare Tire
Although the compact spare tire was fully inflated
when your vehicle was new,
it can lose air after a time.
Check the inflation pressure regularly. It should be
60 psi (420 kPa).
After installing the compact spare on your vehicle,
you should stop as soon as possible and make sure
your spare tire is correctly inflated. The compact spare
is made to perform well at speeds up to 65 mph
(105 km/h) for distances up to 3,000 miles (5 000 km),
so you can finish your trip and have your full-size
tire repaired or replaced where you want. Of course,
it’s best to replace your spare with a full-size tire as soon
as you can. Your spare will last longer and be in good
shape in case you need it again.
Notice: When the compact spare is installed, don’t
take your vehicle through an automatic car wash
with guide rails. The compact spare can get caught
on the rails. That can damage the tire and wheel,
and maybe other parts of your vehicle.
Don’t use your compact spare on other vehicles. And
don’t mix your compact spare tire or wheel with
other wheels or tires. They won’t
fit. Keep your spare tire
and its wheel together.
Notice: Tire chains won’t fit your compact spare.
Using them can damage your vehicle and can
damage the chains too. Don’t use tire chains on
your compact spare.
All-Wheel Drive
After installing a compact spare tire on a vehicle with
all-wheel drive you will need to drive with light to
moderate acceleration, for
10 seconds, in a straight line.
This action will allow the vehicle to detect the compact
spare tire and disable the all-wheel drive system.
The AWD DISABLE message will come on indicating
that the all-wheel drive system is
off. You may detect
a slight pull during this time, but this is normal.
Notice: You may damage your vehicle’s all-wheel
drive system if your vehicle
is driven for an extended
period with a compact spare tire installed and
the all-wheel drive system in operation. See “All-Wheel Drive System’’ and “AWD Disable
Warning Message’’
in the Index for more information.
5-86
Page 439 of 466
Minor repairs to disabled vehicles
Assistance when vehicle is mired in sand,
Trip routing
Trip interruption expense benefits mud
or snow
Dealership locator service
Oldsmobile Roadside Assistance specifically excludes
coverage for mounting, dismounting or changing of snow
tires, chains or other traction devices.
In some cases, where service is impractical, the driver
may be authorized to obtain other service for which
reimbursement is provided.
In many instances, mechanical failures are covered
under Oldsmobile’s comprehensive warranty. However,
when other services are utilized, our Roadside
Assistance Representatives will explain any payment
obligations you might incur. For prompt and
efficient assistance when calling,
please provide the following to the Roadside Assistance
Representative:
Location of vehicle
Telephone number of your location
Vehicle model, year and color
Mileage of vehicle
Vehicle Identification Number (VIN)
Vehicle license plate number
Oldsmobile reserves the right
to limit services or
reimbursement to an owner or driver when, in
Oldsmobile’s judgement, the claims become excessive
in frequency or type of occurrence.
While we hope you never have the occasion to use
our service, it is added security while traveling for
you and your family. Remember, we’re only a
phone call away. Oldsmobile Roadside Assistance:
1 -800-442-OLDS (6537), text telephone (TTY) users,
call 1-888-889-2438.
Canadian Roadside Assistance
Vehicles purchased in Canada have an extensive
roadside assistance program accessible from anywhere
in Canada or the United States. Please refer to the
Warranty and Owner Assistance Information book.
7-6