turn signal OLDSMOBILE SILHOUETTE 2003 User Guide
[x] Cancel search | Manufacturer: OLDSMOBILE, Model Year: 2003, Model line: SILHOUETTE, Model: OLDSMOBILE SILHOUETTE 2003Pages: 466, PDF Size: 21.55 MB
Page 238 of 466
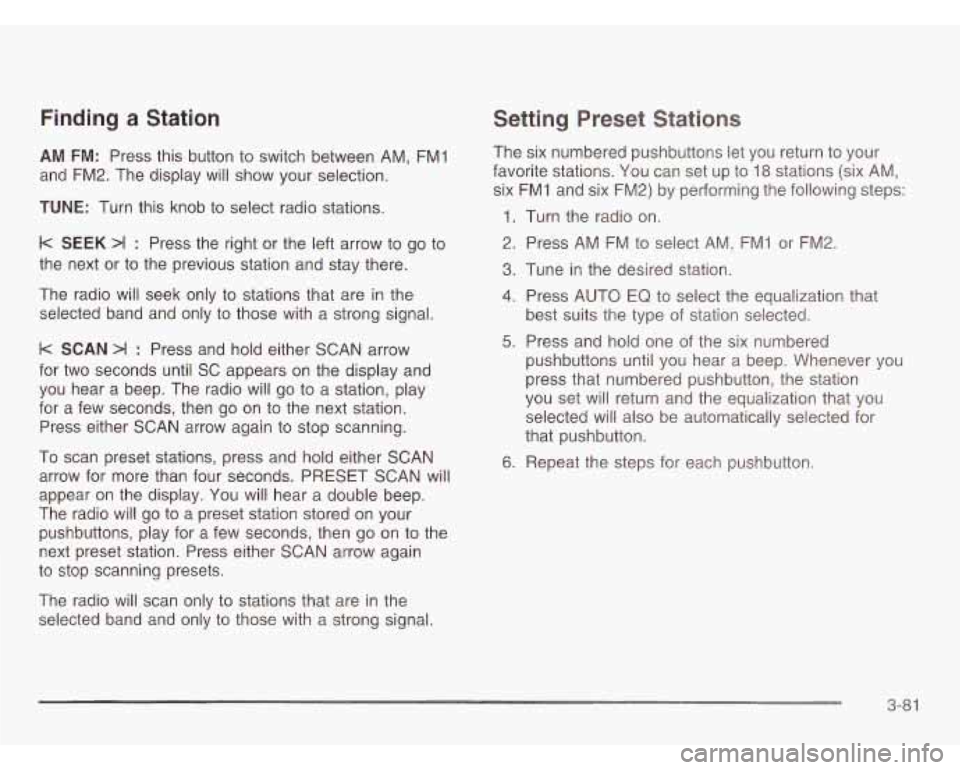
Finding a Station
AM FM: Press this button to switch between AM, FM1
and FM2. The display
will show your selection.
TUNE: Turn this knob to select radio stations.
k SEEK >I : Press the right or the left arrow to go to
the next or
to the previous station and stay there.
The radio will seek only
to stations that are in the
selected band and only to those with a strong signal.
k SCAN >I : Press and hold either SCAN arrow
for two seconds until SC appears on the display and
you hear a beep. The radio will go
to a station, play
for a few seconds, then go on to the next station.
Press either SCAN arrow again to stop scanning.
To scan preset stations, press and hold either SCAN
arrow for more than four seconds. PRESET SCAN will
appear on the display. You will hear a double beep.
The radio will go to a preset station stored on your
pushbuttons, play for a few seconds, then go on to the
next preset station. Press either SCAN arrow again
to stop scanning presets.
The radio will scan only to stations that are in the
selected band and only
to those with a strong signal.
Setting Preset Stations
The six numbered pushbuttons let you return to your
favorite stations. You can set up to
18 stations (six AM,
six FMI and six FM2) by performing the following steps:
1. Turn the radio on.
2. Press AM FM to select
AM, FMI or FM2.
3. Tune in the desired station.
4. Press AUTO EQ to select the equalization that
best suits the type of station selected.
5. Press and hold one of the six numbered
pushbuttons until you hear a beep. Whenever you
press that numbered pushbutton, the station
you set will return and the equalization that you
selected will also be automatically selected for
that pushbutton.
6. Repeat the steps for each pushbutton.
3-8 1
Page 253 of 466
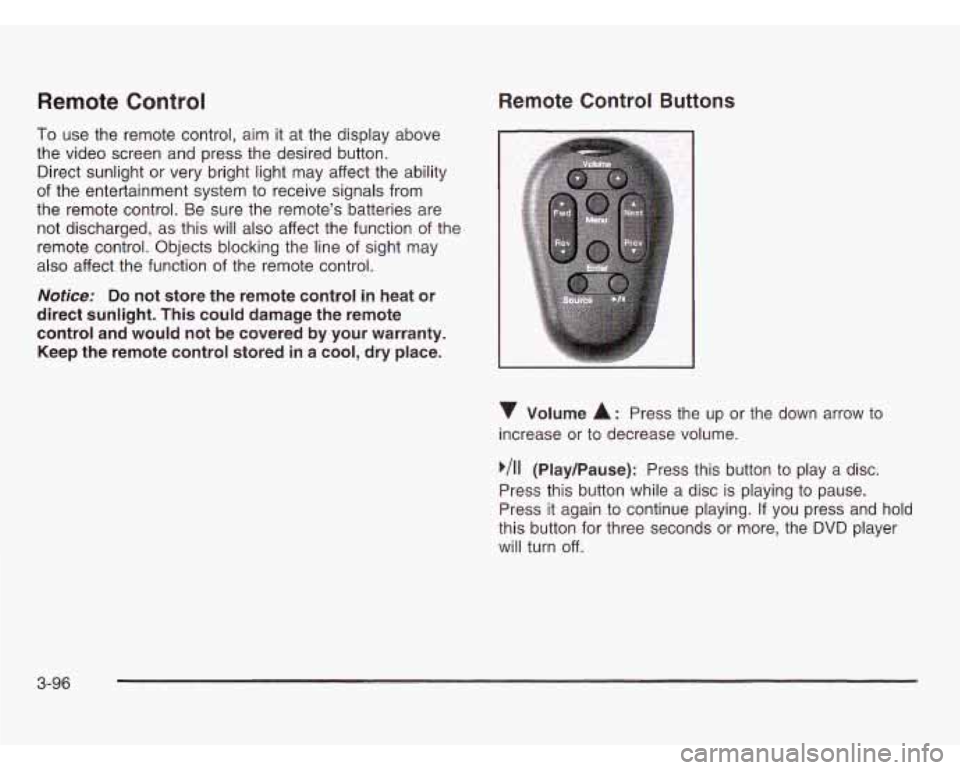
Remote Control
To use the remote control, aim it at the display above
the video screen and press the desired button.
Direct sunlight or very bright light may affect the ability
of the entertainment system to receive signals from
the remote control. Be sure the remote’s batteries are
not discharged, as this will also affect the function of the
remote control. Objects blocking the line of sight may
also affect the function of the remote control.
Notice: Do not store the remote control in heat or
direct sunlight. This could damage the remote
control and would not be covered by your warranty.
Keep the remote control stored in a cool, dry place.
Remote Control Buttons
Volume A: Press the up or the down arrow to
increase or to decrease volume.
,/I1 (Play/Pause): Press this button to play a disc.
Press this button while a disc is playing to pause.
Press it again to continue playing.
If you press and hold
this button for three seconds or more, the DVD player
will turn off.
3-96
Page 260 of 466
DVD Distortion
You may experience video distortion when operating
cellular phones, scanners, CB radios, Global Position
Systems (GPS)*, two-way radios, mobile fax, or
wal kie talkies.
It may be necessary to turn
off the DVD player when
operating one of these devices in or near the vehicle.
*Excludes the Onstar@ System.
Understanding Radio Reception
AM
The range for most AM stations is greater than for FM,
especially at night. The longer range, however, can
cause stations to interfere with each other. AM can pick
up noise from things like storms and power lines. Try
reducing the treble to reduce this noise
if you ever get it.
FM
FM stereo will give you the best sound, but FM signals
will reach only about
10 to 40 miles (16 to 65 km).
Tall buildings or hills can interfere with
FM signals,
causing the sound to come and go.
Care of Your Cassette Tape Player
A tape player that is not cleaned regularly can cause
reduced sound quality, ruined cassettes or a damaged
mechanism. Cassette tapes should be stored
in their
cases away from contaminants, direct sunlight and
extreme heat. If they aren’t, they may not operate
properly or may cause failure
of the tape player.
Your tape player should be cleaned regularly after
every
50 hours of use. Your radio may display CLEAN
to indicate that you have used your tape player for
50 hours without resetting the tape clean timer.
If this message appears on the display, your cassette
tape player needs to be cleaned. It will still play
tapes, but you should clean it as soon as possible
to prevent damage to your tapes and player. If you
notice a reduction in sound quality, try a known good
cassette to see
if the tape or the tape player is at fault.
If this other cassette has no improvement in sound
quality, clean the tape player.
For best results, use a scrubbing action, non-abrasive
cieaning casseiie wirn pads wnicn scrub tne tape
head as the hubs of the cleaner cassette turn.
The recommended cleaning cassette is available
through your dealership.
3-1 03
Page 278 of 466
Do not get too close to the vehicle you want to
pass while you’re awaiting an opportunity.
For one thing, following too closely reduces your
area of vision, especially
if you’re following a larger
vehicle. Also, you won’t have adequate space
if
the vehicle ahead suddenly slows or stops.
Keep back a reasonable distance.
When it looks like a chance to pass is coming up,
start to accelerate but stay in the right lane and
don’t get too close. Time your move
so you will be
increasing speed as the time comes to move
into the other lane. If the way is clear to pass, you
will have a “running start” that more than makes
up for the distance you would lose by dropping
back. And
if something happens to cause you to
cancel your pass, you need only slow down
and drop back again and wait for another
opportunity.
If other vehicles are lined up to pass a slow vehicle,
wait your turn. But take care that someone isn’t
trying to pass you as you pull out to pass the slow
venicie.
Fiemember io yiance over your sirouicjer
and check the blind spot.
Check your mirrors, glance over your shoulder, and
start your left lane change signal before moving
out of the right lane to pass. When you are
far enough ahead of the passed vehicle to see its
front
in your inside mirror, activate your right
lane change signal and move back into the right
lane. (Remember that your right outside mirror
is convex. The vehicle you just passed may seem
to be farther away from you than it really is.)
0 Try not to pass more than one vehicle at a time
on two-lane roads. Reconsider before passing
the next vehicle.
0 Don’t overtake a slowly moving vehicle too rapidly.
Even though the brake lamps are not flashing,
it may be slowing down or starting to turn.
0 If you’re being passed, make it easy for the
following driver to get ahead of you. Perhaps
you can ease a little to the right.
4-1 5
Page 284 of 466
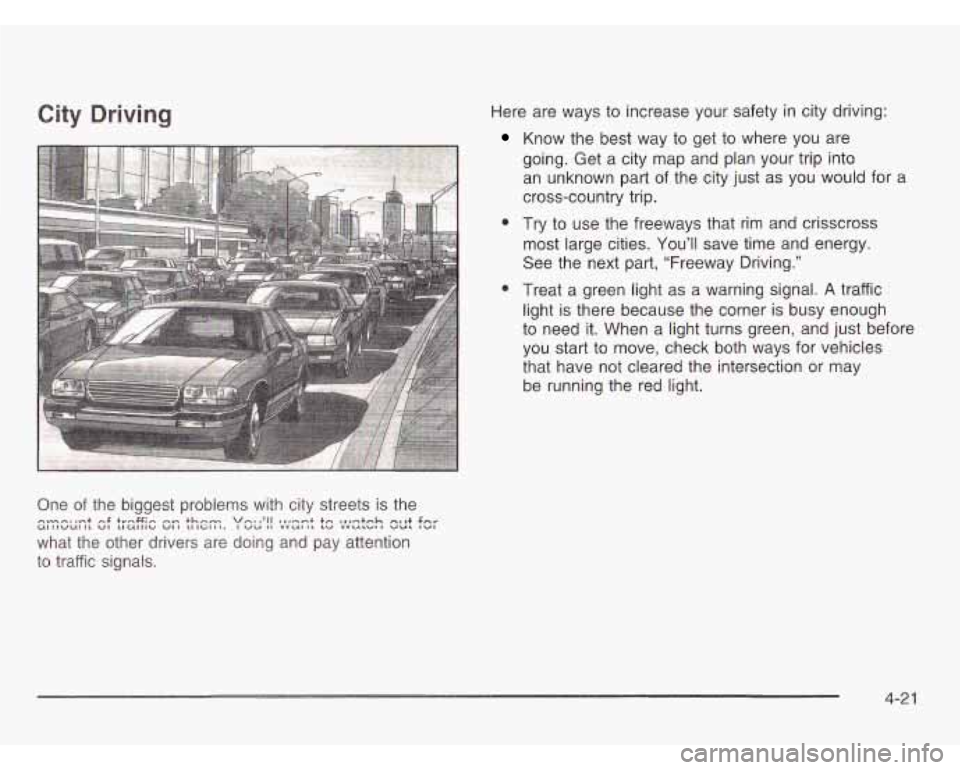
City Driving
One of the biggest problems with city streets is the
what the other drivers are doing and pay attention
to traffic signals.
UIIIVUIIL VI LIUIIICI VI1 LIIGlll. I VU I# YVUlII LV YVULUII VUt IVI --_I ~nt ng tvn#;n nm thnm Vnt t’ll Irrent tn tntqtnh nt st fnv
Here are ways to increase your safety in city driving:
Know the best way to get to where you are
going. Get a city map and plan your trip into
an unknown part of the city just as you would for a
cross-country trip.
most large cities. You’ll save time and energy.
See the next part, “Freeway Driving.”
0 Treat a green light as a warning signal. A traffic
light
is there because the corner is busy enough
to need it. When a light turns green, and just before
you start to move, check both ways for vehicles
that have not cleared the intersection or may
be running the red light.
0 Try to use the freeways that rim and crisscross
4-2 1
Page 285 of 466
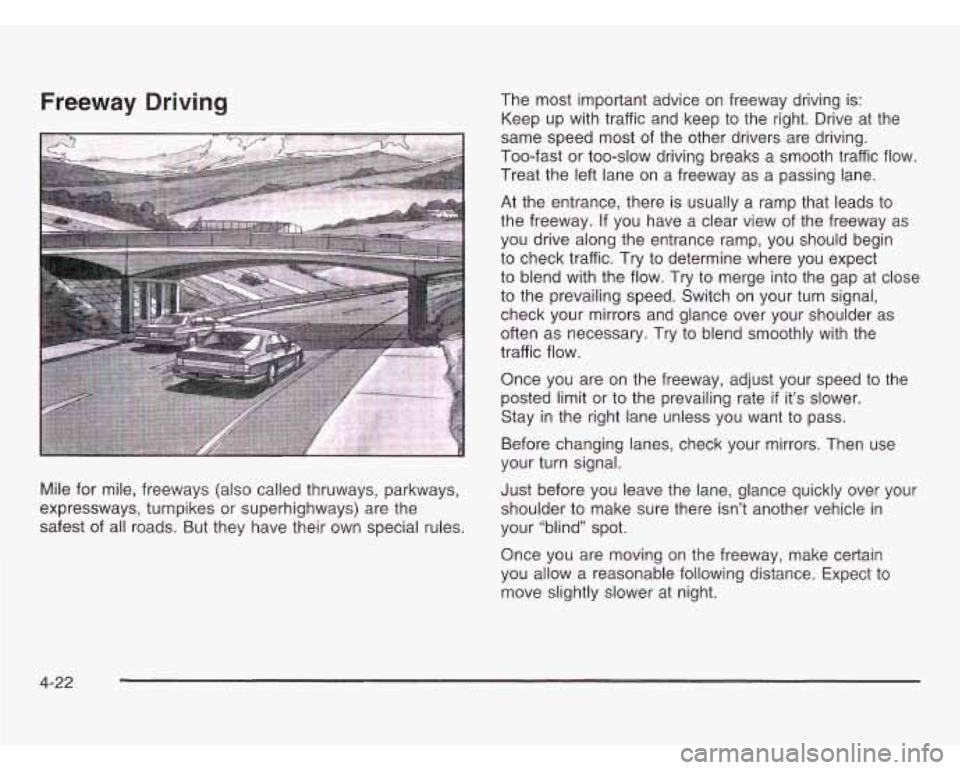
Freeway Driving
Mile for mile, freeways (also called thruways, parkways,
expressways, turnpikes or superhighways) are the
safest of all roads. But they have their own special rules. The
most important advice on freeway driving is:
Keep up with traffic and keep to the right. Drive at the
same speed most
of the other drivers are driving.
Too-fast or too-slow driving breaks
a smooth traffic flow.
Treat the left lane on a freeway as a passing lane.
At the entrance, there is usually a ramp that leads to
the freeway. If you have a clear view of the freeway as
you drive along the entrance ramp, you should begin
to check traffic. Try to determine where you expect
to blend with the flow. Try to merge into the gap at close
to the prevailing speed. Switch on your turn signal,
check your mirrors and glance over your shoulder as
often as necessary. Try to blend smoothly with the
traffic flow.
Once you are on the freeway, adjust your speed to the
posted limit or to the prevailing rate
if it’s slower.
Stay in the right lane unless you want to pass.
Before changing lanes, check your mirrors. Then use
your turn signal.
Just before you leave the lane, glance quickly over your
shoulder to make sure there isn’t another vehicle in
your “blind” spot.
Once you are moving
on the freeway, make certain
you allow a reasonable following distance. Expect to
move slightly slower at night.
4-22
Page 304 of 466
rowing a trailer requires a certain amount of experience.
Before setting out for the open road, you’ll want to get
to know your rig. Acquaint yourself with the feel of
handling and braking with the added weight of the trailer.
And always keep in mind that the vehicle you are
driving is now a good deal longer and not nearly as
responsive as your vehicle is by itself.
Before you start, check the trailer hitch and platform
(and attachments), safety chains, electrical connector,
lamps, tires and mirror adjustment. If the trailer has
electric brakes, start your vehicle and trailer moving and
then apply the trailer brake controller by hand to be
sure the brakes are working. This lets you check your
electrical connection at the same time.
During your trip, check occasionally to be sure that the
load is secure, and that the lamps and any trailer
brakes are still working.
Following Distance
Stay at least twice as far behind the vehicle ahead as
you would when driving your vehicle without a trailer.
This can help you avoid situations that require
heavy braking and sudden turns.
Passing
You’ll need more passing distance up ahead when
you’re towing a trailer. And, because you’re a good deal
longer, you’ll need to go much farther beyond the
passed vehicle before you can return to your lane.
Backing Up
Hold the bottom of the steering wheel with one hand.
Then, to move the trailer to the left, just move that hand
to the left. To move the trailer to the right, move your
hand to the right. Always back up slowly and,
if possible,
have someone guide you.
Making Turns
Notice: Making very sharp turns while trailering
could cause the trailer
to come in contact with
the vehicle. Your vehicle could be damaged.
Avoid making very sharp turns while trailering.
When you’re turning with a trailer, make wider turns than
normal.
Do this so your trailer won’t strike soft shoulders;
curbs, road signs, trees or other objects. Avoid jerky or
sudden maneuvers. Signal well
in advance.
4-41
Page 305 of 466
Turn Signals When Towing a Trailer
When you tow a trailer, your vehicle has to have
extra wiring.
The arrows on your instrument panel will flash whenever
you signal a turn or lane change. Properly hooked up,
the trailer lamps will also flash, telling other drivers
you’re about
to turn, change lanes or stop.
When towing a trailer, the arrows on your instrument
panel will flash for turns even
if the bulbs on the trailer
are burned out. Thus, you may think drivers behind
you are seeing your signal when they are not.
It’s
important to check occasionally to be sure the trailer
bulbs are still working.
Driving On Grades
Reduce speed and shift to a lower gear before you start
down a long or steep downgrade. If you don’t shift
down, you might have
to use your brakes so much that
they would get hot and no longer work well.
If you are towing a trailer that weighs more than
1,000 Ibs. (450 kg), you may prefer to drive in THIRD (3)
instead of AUTOMATIC OVERDRIVE (D) (or, as you
need
to, a lower gear). This will minimize heat build-up
and extend the life of your transaxle.
Parking on Hills
I
You really should not park your vehicle, u....~ a
trailer attached, on a hill. If something goes
wrong, your rig could start to move. People can be injured, and both your vehicle and the
trailer can be damaged.
But
if you ever have to park your rig on a hill,
here’s how to do it:
1. Apply your regular brakes, but don’t shift into
2, Have someone place chocks under the trailer
3. When the wheel chocks are in place, release the
PARK
(P) yet.
wheels. regular brakes until the chocks absorb the load.
4. Reapply the regular brakes. Then apply your
parking brake, and then shift
to PARK (P).
5. Release the regular brakes.
4-42
Page 308 of 466
Section 5 Service and Appearance Care
Service ............................................................ 5.3
Doing Your Own Service Work
......................... 5.3
Adding Equipment to the Outside
of
Your Vehicle .............................................. 5-4
Fuel
.............................................................. -5-5
Gasoline Octane
............................................ 5-5
Gasoline Specifications
................................... 5-5
California Fuel
............................................... 5-6
Additives
....................... .... ......... 5-6
Fuels in Foreign Countries
........... ..... 5-7
Filling Your Tank
............................ ..... 5-7
Filling a Portable Fuel Container
.................... 5-9
Checking Things Under the
Hood .................. -5-1 0
Hood Release .............................................. 5-10
Engine Compartment Overview ....................... 5-12
Engine Oil
................................................... 5-14
Engine Air CleanedFilter
................................ 5-19
Automatic Transaxle Fluid
.............................. 5-20
Radiator Pressure Cap
............................... 5-26
Engine Overheating
.................................... 5-26
Cooling System
............................. , ....... 5-29
Power Steering Fluid .................. , ....... 5-37
Windshield Washer Fluid
................. , ....... 5-38
Brakes
.......................... .... ........ 5-39
r.--.:.-- ---I-.- b CI lyll IC uuvlal I1 4-LU c r)r) .............................................
Battery ........................................................ 5.43
Jump Starting
............................................... 5-44
All-Wheel Drive
.............................................. 5-50
Bulb Replacement .......................................... 5-52
Halogen Bulbs
.............................. ......... 5-52
Front Turn Signal, Sidemarker and
Taillamps, Turn Signal, Stoplamps and
Headlamps
...................................... ..... 5-52
Parking Lamps
.............................. ..... 5-54
Replacement Bulbs
....................................... 5-57
Back-up Lamps
......................................... 5-56
Windshield Wiper Blade Replacement
.............. 5-58
Tires
.............................................................. 5-60
Inflation
- Tire Pressure ................................ 5-61
Tire Inspection and Rotation
........................... 5-62
When It
Is Time for New Tires ....................... 5-63
Buying New Tires
......................................... 5-64
Uniform Tire Quality Grading
.......................... 5-65
Wheel Alignment and Tire Balance
.................. 5-66
Wheel Replacement
...................................... 5-66
Tire Chains
.................................................. 5-67
Accessory Inflator
......................................... 5-68
If a Tire Goes Flat ........................................ 5-69
Changing a Flat Tire ..................................... 5-70
Compact Spare Tire ...................................... 5-86
5- 1
Page 359 of 466
Bulb Replacement
For the type of bulbs, see Replacement Bulbs on
page
5-57.
For any bulb changing procedure not listed in this
section, contact your dealer.
Halogen Bulbs
Ha.,Jen ,Jibs h, - e pressurized ga, .nside and
can burst
if you drop or scratch the bulb. You or
others could be injured. Be sure
to read and
follow the instructions on the bulb package.
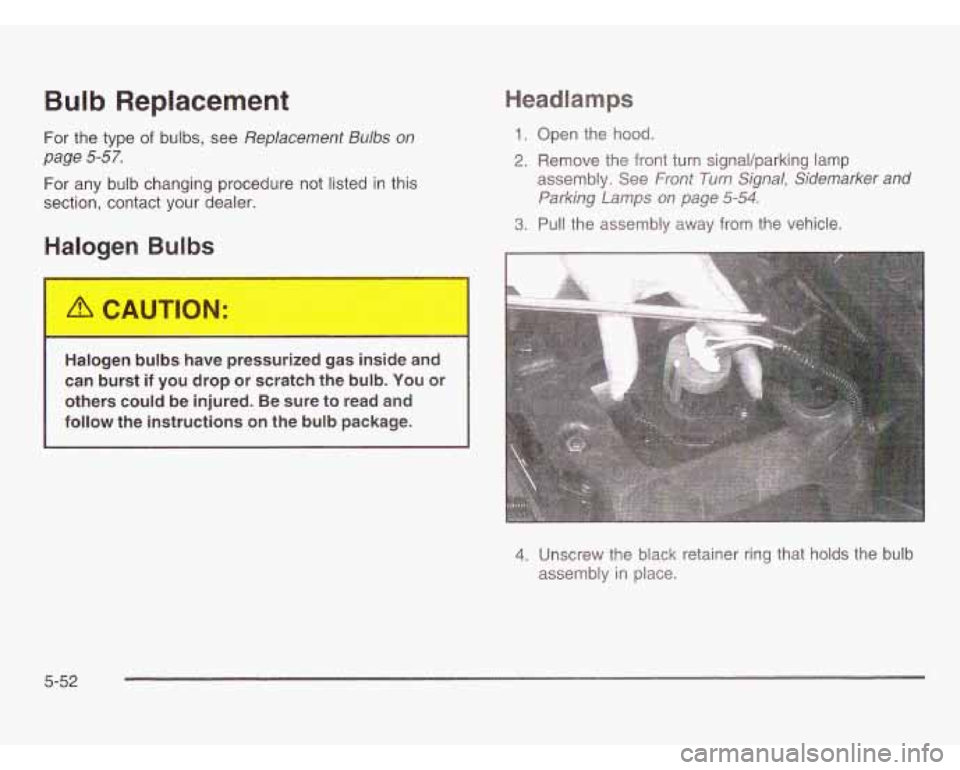
Headlamps
1. Open the hood.
2. Remove the front turn signaVparking lamp
assembly. See
Front Turn Signal, Sidemarker and
Parking Lamps
on page 5-54.
3. Pull the assembly away from the vehicle.
4. Unscrew the black retainer ring that holds the bulb
assembly in place.
5-52