window OLDSMOBILE SILHOUETTE 2003 Owners Manual
[x] Cancel search | Manufacturer: OLDSMOBILE, Model Year: 2003, Model line: SILHOUETTE, Model: OLDSMOBILE SILHOUETTE 2003Pages: 466, PDF Size: 21.55 MB
Page 2 of 466
.
The 2003 Oldsmobile Silhouette Owner Manual
Seats and Restraint Systems ........................... 1-1
Front Seats
............................................... 1-2
Rear Seats
............................................... 1-7
Safety Belts
............................................. 1-22
Child Restraints
....................................... 1-45
Air Bag Systems
...................................... 1-69
Restraint System Check
............................ 1-77
Features and Controls
..................................... 2-1
Keys
........................................................ 2-3
Doors and Locks
....................................... 2-9
Windows
................................................. 2-24
Theft-Deterrent Systems
............................ 2-27
Starting and Operating Your Vehicle
........... 2-32
Mirrors
.................................................... 2-45
Onstar@ System
...................................... 2-47
HomeLink@ Transmitter
......................... 2-49
Storage Areas
......................................... 2-54
Vehicle Personalization
............................. 2-62
Instrument Panel Overview
.......................... 3-4
Climate Controls
...................................... 3-25
Warning Lights, Gages and Indicators
......... 3-39
Driver Information Center (DIC)
.................. 3-60
Instrument Panel
............................................. 3-1
Messaye Center 5-3L n r~ .......................................
Audio
System(s) ....................................... 3-63
Your Driving, the Road, and Your Vehicle
..... 4-2
Towing
................................................... 4-32
Service
..................................................... 5-3
Fuel
......................................................... 5-5
Checking Things Under the Hood
............... 5-10
All-Wheel Drive
........................................ 5-50
Bulb Replacement
.................................... 5-52
Windshield Wiper Blade Replacement
......... 5-58
Tires
...................................................... 5-60
Appearance Care
..................................... 5-87
Vehicle Identification
................................. 5-95
Electrical System
...................................... 5-96
Capacities and Specifications
................... 5-1 03
Normal Maintenance Replacement Parts
...... 5-1 05
Maintenance Schedule
................................ 6-2
Customer Assistance Information
.................... 7-1
Customer Assistance Information
.................. 7-2
Reporting Safety Defects
............................ 7-9
Driving Your Vehicle
....................................... 4-1
Service and Appearance Care
.......................... 5-1
Maintenance Schedule
..................................... 6-1
Index
................................................................ 1
Page 46 of 466
Rear Seat Passengers
It’s very important for rear seat passengers to buckle
up! Accident statistics show that unbelted people
in the
rear seat are hurt more often in crashes than those
who are wearing safety belts.
Rear passengers who aren’t safety belted can be
thrown out of the vehicle in a crash. And they can strike
others in the vehicle who are wearing safety belts.
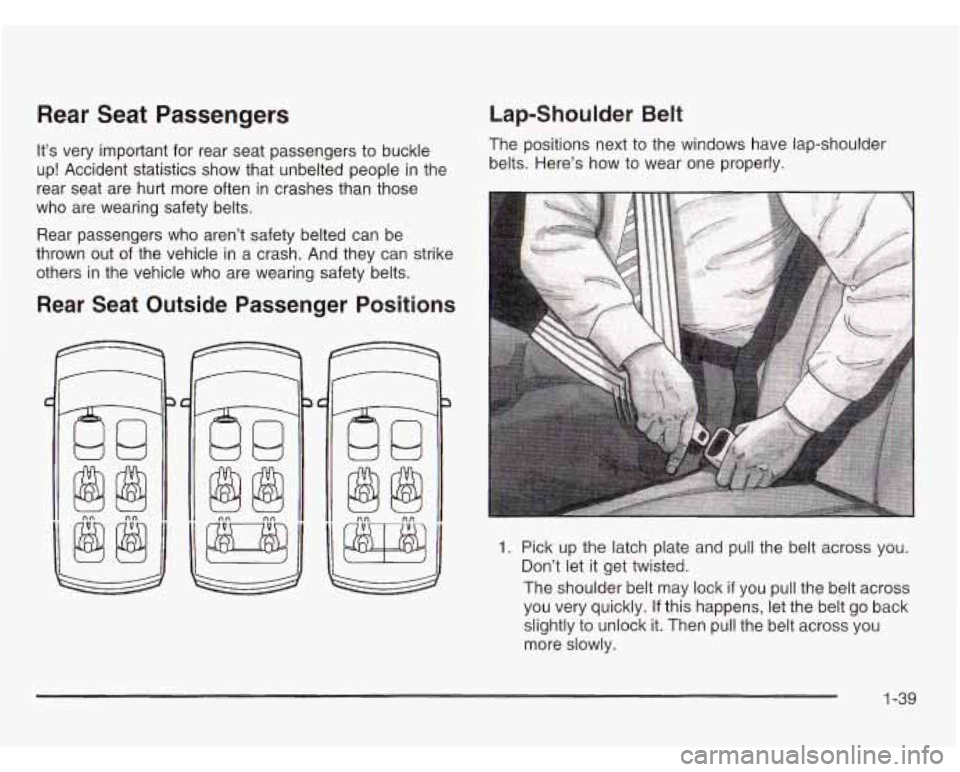
Rear Seat Outside Passenger Positions
l@t
u
Lap-Shoulder Belt
The positions next to the windows have lap-shoulder
belts. Here’s how to wear one properly.
1. Pick up the latch plate and pull the belt across you.
Don’t let it get twisted.
The shoulder belt may lock
if you pull the belt across
you very quickly. If this happens, let the belt go back
slightly to unlock it. Then pull the belt across you
more slowly.
1-39
Page 52 of 466
Child Restraints
Older Children
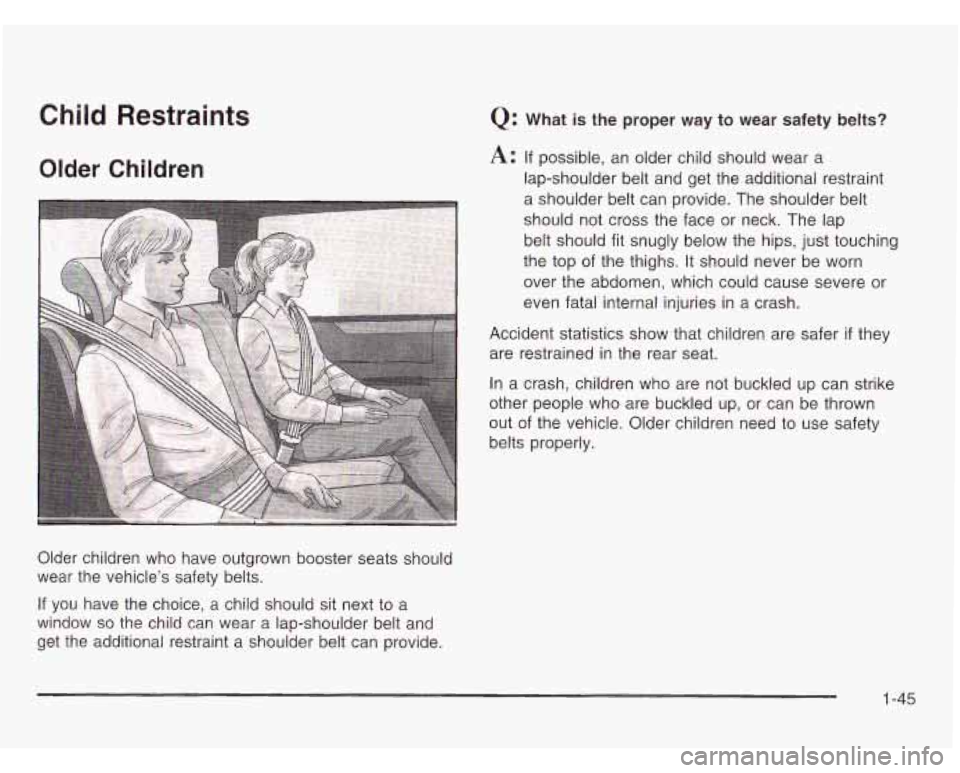
Older children who have outgrown booster seats should
wear the vehicle’s safety belts.
If you have the choice, a child should sit next to a
window so the child can wear a lap-shoulder belt and
get the additional restraint a shoulder belt can provide.
Q: What is the proper way to wear safety belts?
A: If possible, an older child should wear a
lap-shoulder belt and get the additional restraint
a shoulder belt can provide. The shoulder belt
should not cross the face or neck. The lap
belt should
fit snugly below the hips, just touching
the top
of the thighs. It should never be worn
over the abdomen, which could cause severe or
even fatal internal injuries in a crash.
Accident statistics show that children are safer
if they
are restrained in the rear seat.
In a crash, children
who are not buckled up can strike
other people who are buckled up, or can be thrown
out of the vehicle. Older children need to use safety
belts properly.
1 -45
Page 60 of 466
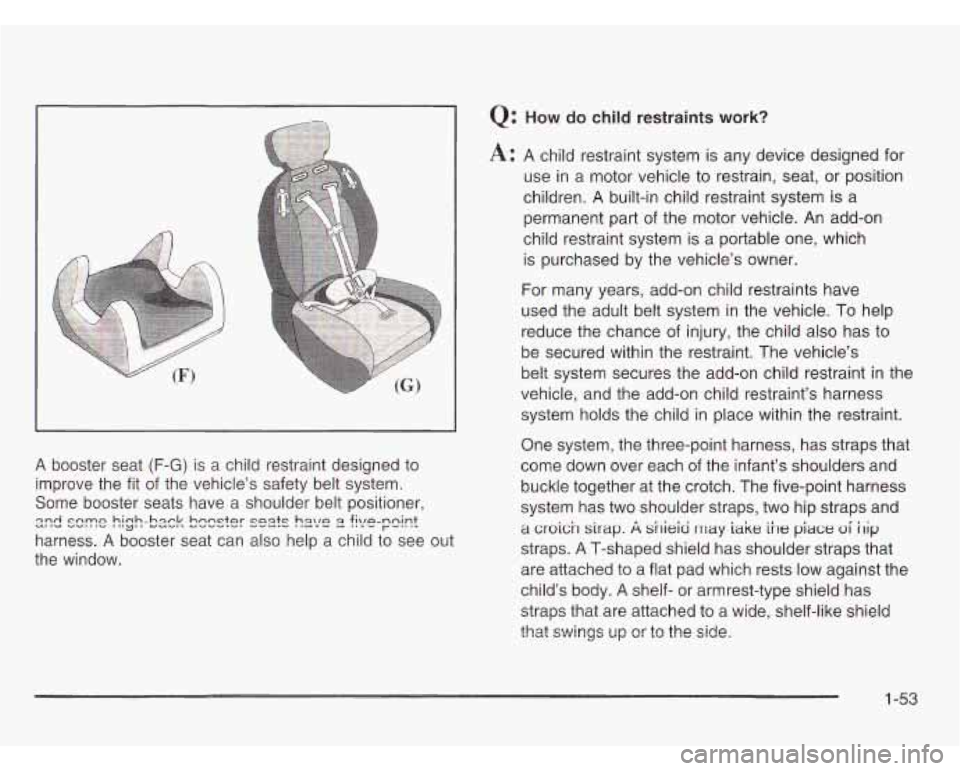
A booster seat (F-G) is a child restraint designed to
improve the fit of the vehicle's safety belt system.
Some booster seats have a shoulder belt positioner,
harness.
A booster seat can also help a child to see out
the window.
QnrJ cnrnn hirvh-hgok hnnctnr cndc ha
n 2 filie-nnint ut IU V.J.,IV I "y' I VUVI. UVVV.... ---I.. ..U" - I""""
Q: How do child restraints work?
A: A child restraint system is any device designed for
use in a motor vehicle to restrain, seat, or position
children. A built-in child restraint system is a
permanent part of the motor vehicle. An add-on
child restraint system is a portable one, which
is purchased by the vehicle's owner.
For many years, add-on child restraints have
used the adult belt system in the vehicle.
To help
reduce the chance of injury, the child also has to
be secured within the restraint. The vehicle's
belt system secures the add-on child restraint in the
vehicle, and the add-on child restraint's harness
system holds the child in place within the restraint.
One system, the three-point harness, has straps that
come down over each of the infant's shoulders and
buckle together at the crotch. The five-point harness
system has two shoulder straps, two hip straps and
a crotch strap. A sirieici rnay iake ihe piace oi hip
straps. A T-shaped shield has shoulder straps that
are attached to a flat pad which rests low against the
child's body.
A shelf- or armrest-type shield has
straps that are attached to a wide, shelf-like shield
that
S?..,l!?cJS up or io the side.
1-53
Page 82 of 466

When an air baa jnflates, there is dust in the
air. This dust could cause breathing problems
for people with a history of asthma or other breathing trouble.
To avoid this, everyone in
the vehicle should get out as soon as it is safe
to do
so. If you have breathing problems but
can’t get out of the vehicle after an air bag
inflates, then get fresh air by opening a
window or a door.
If you experience breathing
problems following an air bag deployment,
you should seek medical attention.
In many crashes severe enough to inflate an air bag,
windshields are broken by vehicle deformation.
Additional windshield breakage may also occur from
the right front passenger air bag.
Air bags are designed to inflate only once. After an
air bag inflates, you’ll need some new parts for
your air bag system. If you don’t get them, the air
bag system won’t be there to help protect you
in another crash.
A new system will include air bag
manual for your vehicle covers the need to replace
other parts.
modules and possibly other parts. The service
Your vehicle is equipped with an electronic frontal
sensor, which helps the sensing system distinguish
between a moderate frontal impact and a more
severe frontal impact. Your vehicle is also equipped
with a crash sensing and diagnostic module,
which records information about the frontal air bag
system. The module records information about
the readiness of the system, when the system
commands air bag inflation and driver’s safety belt
usage at deployment. The module
also records
speed, engine
RPM, brake and throttle data.
Let only qualified technicians work on your air bag
systems. Improper service can mean that an air
bag system won’t work properly. See your dealer
for service.
Notice: If you damage the covering for the driver’s
or the right front passenger’s air bag, or the air
bag covering on the driver’s and right front
passenger’s seatback, the bag may not work
properly. You may have to replace the air bag
module
in the steering wheel, both the air bag
module and the instrument panel for the right front
passenger’s air bag, or both the air bag module
and seatback for the driver’s and right front
passenger’s side impact air bag.
Do not open or
break the air bag coverings.
1 -75
Page 86 of 466

Section 2 Features and Controls
Keys ..................................................
Remote Keyless Entry System ............
Remote Keyless Entry System Operatior
Doors and Locks
................................
Door Locks .......................................
1
............ 2.3
............ 2.5
........... 2.6
............ 2.9
............ 2.9
Power Door Locks
........................................ 2-10
Last Door Closed Locking
.............................. 2-1 1
Programmable Automatic Door Locks
.............. 2.12
Lockout Protection
........................................ 2.13
Leaving Your Vehicle
.................................... 2.13
Dual Sliding Doors
.
Power Sliding Door
Liftgate
.................
Windows .................
Power Windows .....
Power Rear Quarter
...................................... 2.13
PSD)
.............................. 2.16
...................................... 2.22
...................................... 2.24
...................................... 2.25
Windows
........................ 2.26
Sun Visors
................................................... 2-26
Content Theft-Deterrent
. . .................... 2.27
PASS-Key@
Ill ................... ............ 2.29
PASS-Key@
Ill Operation .... 2.30
Theft-Deterrent Systems
.................................. 2.27 Starting
and Operating
Your Vehicle ................ 2.32
Ignition Positions
.............. .......... 2-32
New Vehicle Break-In
.................................... 2.32
Starting Your Engine
..................................... 2-34
Engine Coolant Heater
.................................. 2-35
Automatic Transaxle Operation
....................... 2-36
Parking Brake
.............................................. 2-39
Shifting Into Park (P)
..................................... 2-40
Shifting Out of Park (P)
................................. 2-42
Parking Over Things That Burn
....................... 2-43
Engine Exhaust
............................................ 2-43
Running Your Engine While You Are Parked
....... 2-44
Mirrors
........................................................... 2-45
Manual Rearview Mirror
................ .......... 2-45
Outside Power Mirrors
................................... 2-45
Outside Convex Mirror
................................... 2-46
Outside Heated Mirrors
.................................. 2-46
Onstar@ System
............................................. 2-47
HomeLink@ Transmitter
................................... 2-49
Programming the HomeLink Transmitter
........... 2-50
2-1
Page 107 of 466

Liftgate
To unlock the liftgate from the outside, turn the key in
the cylinder clockwise or use the remote keyless
entry transmitter.
To lock the liftgate using the key,
turn the key counterclockwise.
Open the liftgate using the handle located above the
license plate. Once slightly opened, the liftgate will rise
by itself. Lamps
in the rear of the vehicle will come
on, illuminating the rear cargo area. See
lnterior Lamps
on page 3-17.
Notice: Be sure there are no overhead
obstructions, such as a garage door, before you
open the liftgate. You could slam the liftgate
into something and break the
glass.
It can be dangerous to drive w ~~~ the liftgate
open because carbon monoxide
(CO) gas can
come into your vehicle. You can’t see or smell
CO.
It can cause unconsciousness and even
death. If you must drive with the liftgate open
or if electrical wiring or other cable
connections must pass through the seal between the body and the liftgate:
Make sure all other windows are shut.
Turn the fan on your heating or cooling
system to
its highest speed and select the
control setting that will force outside air into your vehicle. See “Comfort Controls”
in the Index.
If you have air outlets on or under the
instrument panel, open them all
the way.
See “Engine Exhaust”
in the Index.
2-22
Page 109 of 466
indows
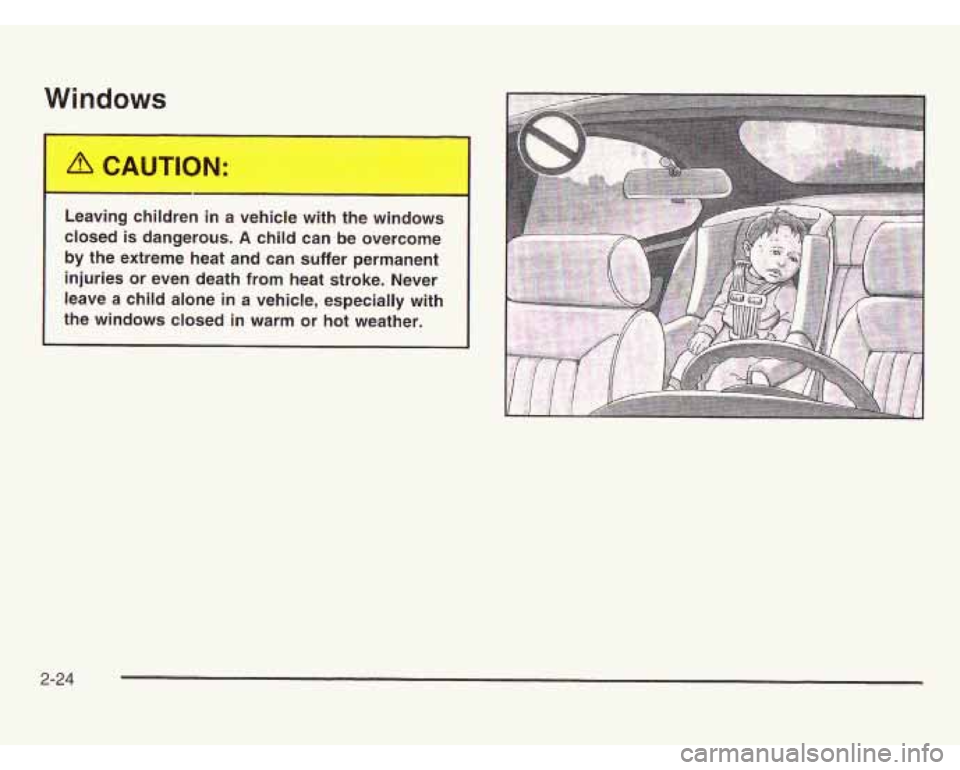
Leaving children in a vehicle with the windows
closed is dangerous.
A child can be overcome
by the extreme heat and can suffer permanent
injuries or even death from heat stroke. Never
leave a child alone in a vehicle, especially with
the windows closed in warm or hot weather.
2-24
Page 110 of 466
Power Windows
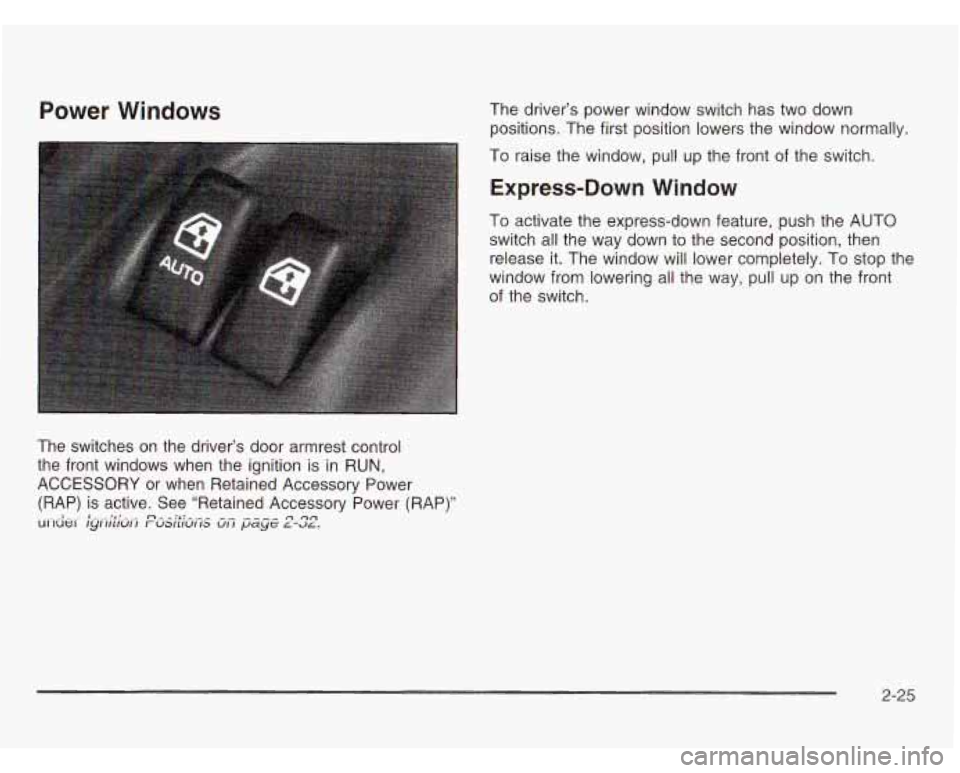
The switches on the driver’s door armrest control
the front windows when the ignition is
in RUN,
ACCESSORY or when Retained Accessory Power
(RAP) is active. See “Retained Accessory Power (RAP)”
ulluw ryriilrurr r-uwwrr~ UII pdye L-JL. ^I_ .~ I ..AI-.- “--:a:--- ^- ---- rl 00
The driver’s power window switch has two down
positions. The first position lowers the window normally.
To raise the window, pull up the front of the switch.
Express-Down Window
To activate the express-down feature, push the AUTO
switch all the way down to the second position, then
release
it. The window will lower completely. To stop the
window from lowering all the way, pull up on the front
of the switch.
2-25
Page 111 of 466
Power Rear Quarter Windows
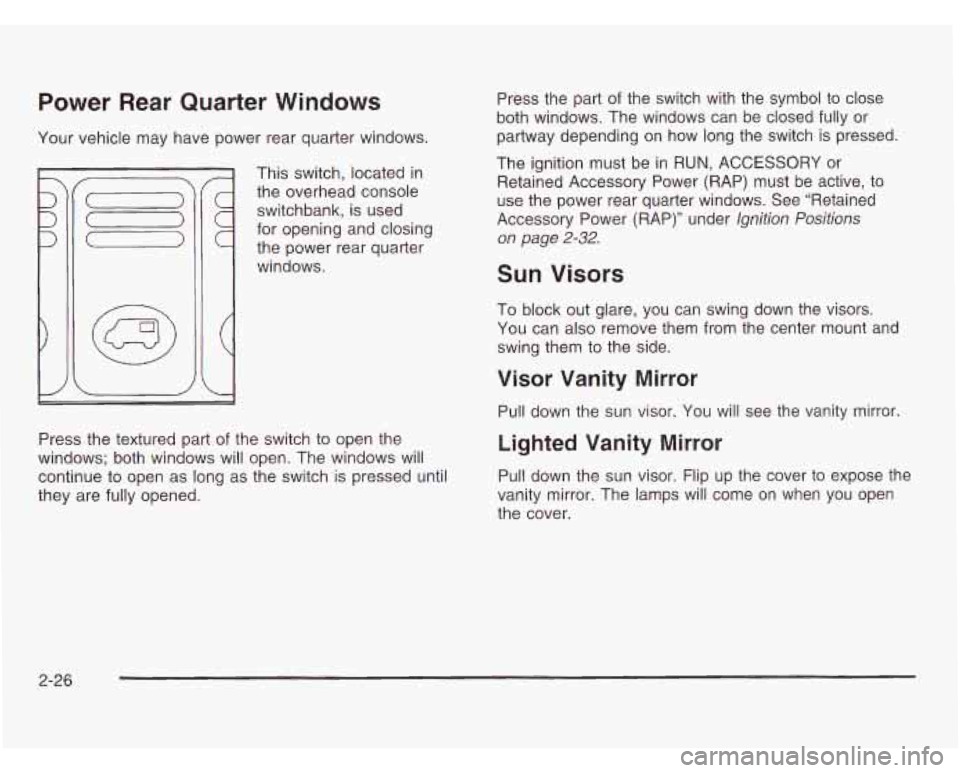
Your vehicle may have power rear quarter windows.
the overhead console
switchbank, is used
for opening and closing
the power rear quarter
windows.
Press the textured part of the switch to open the
windows; both windows will open. The windows will
continue to open as long as the switch is pressed until
they are fully opened. Press
the part of the switch with the symbol to close
both windows. The windows can be closed fully or
partway depending on how long the switch is pressed.
The ignition must be in RUN, ACCESSORY or
Retained Accessory Power (RAP) must be active, to
use the power rear quarter windows. See “Retained
Accessory Power (RAP)” under
lgnition Positions
on page 2-32.
Sun Visors
To block out glare, you can swing down the visors.
You can also remove them from the center mount and
swing them to the side.
Visor Vanity Mirror
Pull down the sun visor. You will see the vanity mirror.
Lighted Vanity Mirror
Pull down the sun visor. Flip up the cover to expose the
vanity mirror. The lamps will come on when you open
the cover.
2-26