buttons OPEL ASTRA J 2015 Manual user
[x] Cancel search | Manufacturer: OPEL, Model Year: 2015, Model line: ASTRA J, Model: OPEL ASTRA J 2015Pages: 343, PDF Size: 10.27 MB
Page 14 of 343

12In brief
1Power windows .....................33
2 Exterior mirrors .....................31
3 Cruise control .....................179
Speed limiter ....................... 181
Adaptive cruise control .......182
Forward collision alert .........189
4 Side air vents ...................... 158
5 Turn and lane-change
signals, headlight flash,
low beam and high beam,
high beam assist .................144
Exit lighting ......................... 148
Parking lights ...................... 145
Buttons for Driver
Information Centre ..............119
6 Instruments ........................ 108
7 Steering wheel controls .....100
8 Driver Information Centre .... 119
9 Windscreen wiper,
windscreen washer
system, headlight washer
system, rear wiper, rear
washer system ....................10210Sport mode ........................ 177
Central locking system ..........23
Fuel selector ....................... 109
Hazard warning flashers ....144
Control indicator for airbag
deactivation ........................ 113
Control indicator for front
passenger seat belt ...........113
Tour mode .......................... 177
11 Info-Display ........................ 124
12 Anti-theft alarm system
status LED ........................... 29
13 Centre air vents .................. 158
14 Glovebox .............................. 60
15 Traction Control system .....174
Electronic Stability Control . 175
Parking assist systems .......195
Lane departure warning .....209
Eco button for stop-start
system ................................. 163
Unlock button for boot lid ......2616Climate control system ........ 150
17 AUX input, USB input, SD
card slot ................................ 11
18 Power outlet ........................ 106
19 Selector lever, manual
transmission ....................... 171
Automatic transmission ......167
20 Electric parking brake .........172
21 Ignition switch with
steering wheel lock ............161
22 Horn ................................... 101
Driver airbag ........................ 50
23 Bonnet release lever ..........224
24 Storage compartment,
fuse box ............................. 253
25 Steering wheel adjustment 100
26 Light switch ........................ 137
Headlight range
adjustment ......................... 139
Front fog lights ...................144
Rear fog light ...................... 145
Instrument illumination .......146
Page 26 of 343
24Keys, doors and windows
Unlocking
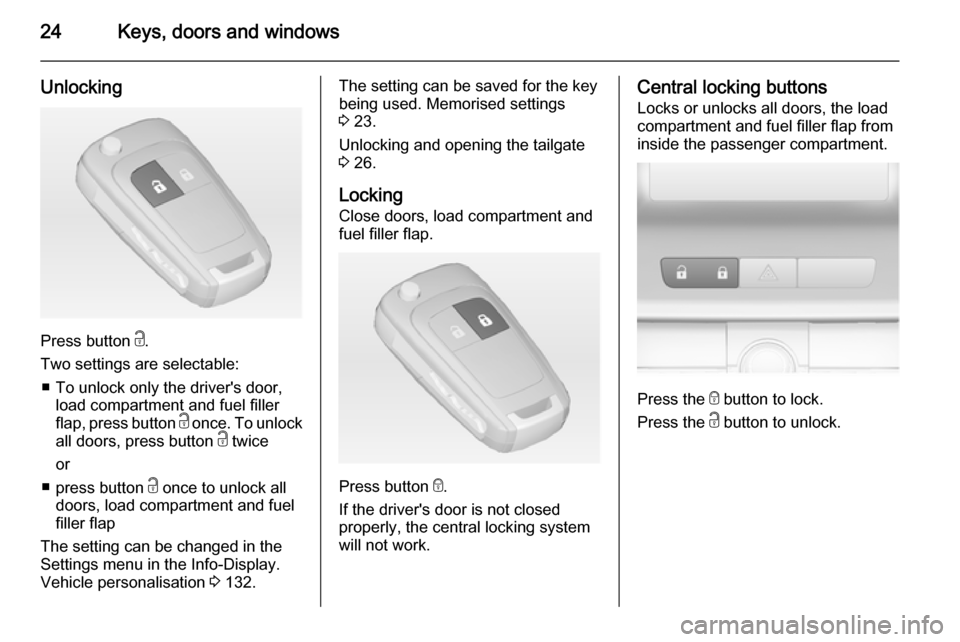
Press button c.
Two settings are selectable: ■ To unlock only the driver's door, load compartment and fuel filler
flap, press button c once. To unlock
all doors, press button c twice
or
■ press button c once to unlock all
doors, load compartment and fuel
filler flap
The setting can be changed in the
Settings menu in the Info-Display.
Vehicle personalisation 3 132.
The setting can be saved for the key
being used. Memorised settings
3 23.
Unlocking and opening the tailgate
3 26.
Locking Close doors, load compartment and
fuel filler flap.
Press button e.
If the driver's door is not closed
properly, the central locking system will not work.
Central locking buttons
Locks or unlocks all doors, the load
compartment and fuel filler flap from
inside the passenger compartment.
Press the e button to lock.
Press the c button to unlock.
Page 88 of 343
86Storage
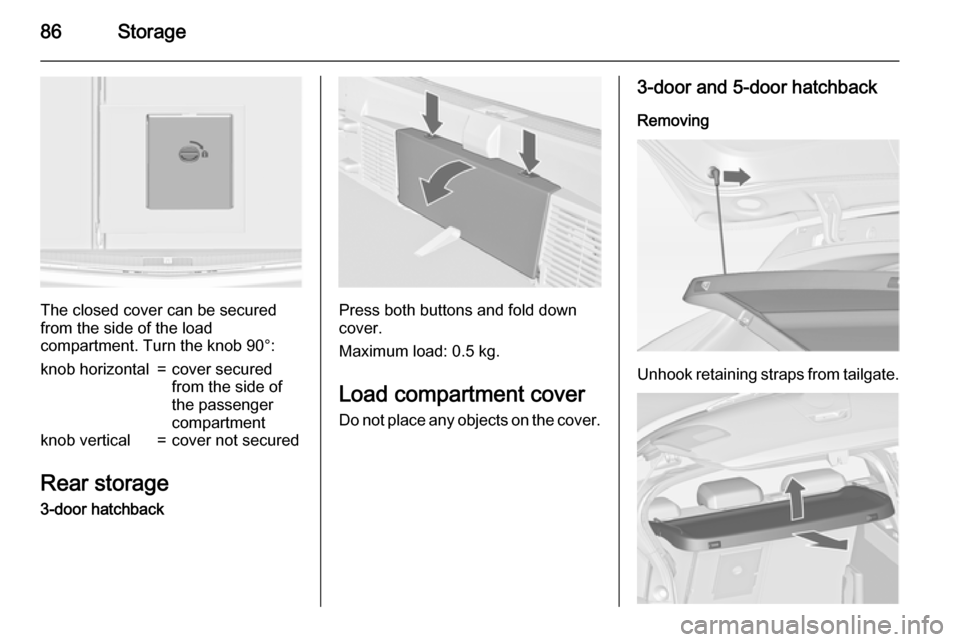
The closed cover can be secured
from the side of the load
compartment. Turn the knob 90°:
knob horizontal=cover secured
from the side of
the passenger
compartmentknob vertical=cover not secured
Rear storage
3-door hatchback
Press both buttons and fold downcover.
Maximum load: 0.5 kg.
Load compartment cover Do not place any objects on the cover.
3-door and 5-door hatchback
Removing
Unhook retaining straps from tailgate.
Page 112 of 343
110Instruments and controls
Displays the coolant temperature.left area=engine operating
temperature not
yet reachedcentral area=normal operating
temperatureright area=temperature too
highCaution
If engine coolant temperature is
too high, stop vehicle, switch off
engine. Danger to engine. Check
coolant level.
Service display
The engine oil life system lets you
know when to change the engine oil
and filter. Based on driving
conditions, the interval at which an
engine oil and filter change will be
indicated can vary considerably.
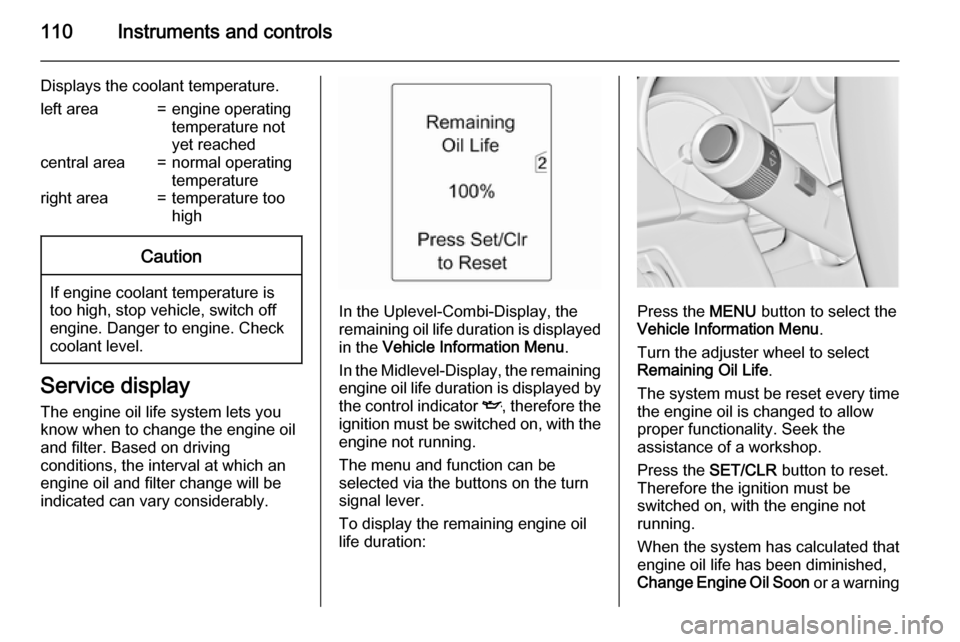
In the Uplevel-Combi-Display, the
remaining oil life duration is displayed
in the Vehicle Information Menu .
In the Midlevel-Display, the remaining
engine oil life duration is displayed by
the control indicator I, therefore the
ignition must be switched on, with the engine not running.
The menu and function can be
selected via the buttons on the turn signal lever.
To display the remaining engine oil
life duration:Press the MENU button to select the
Vehicle Information Menu .
Turn the adjuster wheel to select Remaining Oil Life .
The system must be reset every time
the engine oil is changed to allow proper functionality. Seek the
assistance of a workshop.
Press the SET/CLR button to reset.
Therefore the ignition must be
switched on, with the engine not running.
When the system has calculated that
engine oil life has been diminished,
Change Engine Oil Soon or a warning
Page 122 of 343
120Instruments and controls
■ trip/fuel information
■ vehicle messages, displayed as code numbers 3 126.
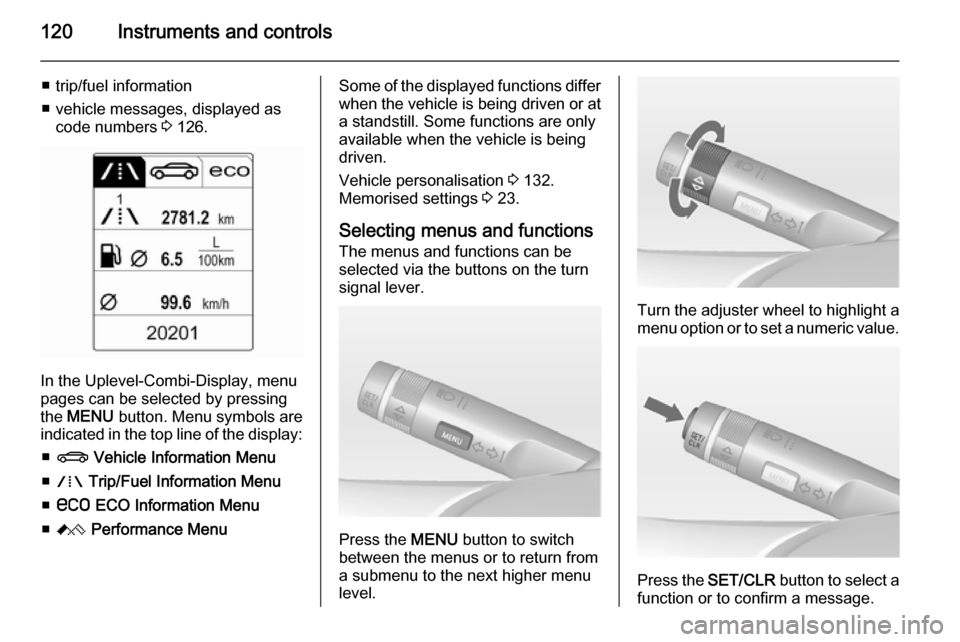
In the Uplevel-Combi-Display, menu
pages can be selected by pressing
the MENU button. Menu symbols are
indicated in the top line of the display:
■ X Vehicle Information Menu
■ W Trip/Fuel Information Menu
■ s ECO Information Menu
■ C Performance Menu
Some of the displayed functions differ
when the vehicle is being driven or at
a standstill. Some functions are only
available when the vehicle is being
driven.
Vehicle personalisation 3 132.
Memorised settings 3 23.
Selecting menus and functions The menus and functions can be
selected via the buttons on the turn signal lever.
Press the MENU button to switch
between the menus or to return from
a submenu to the next higher menu
level.
Turn the adjuster wheel to highlight a
menu option or to set a numeric value.
Press the SET/CLR button to select a
function or to confirm a message.
Page 127 of 343
Instruments and controls125
■ vehicle messages 3 126
■ settings for vehicle personalisation 3 132
The type of information and how it is
displayed depends on the equipment
of the vehicle and the settings made.
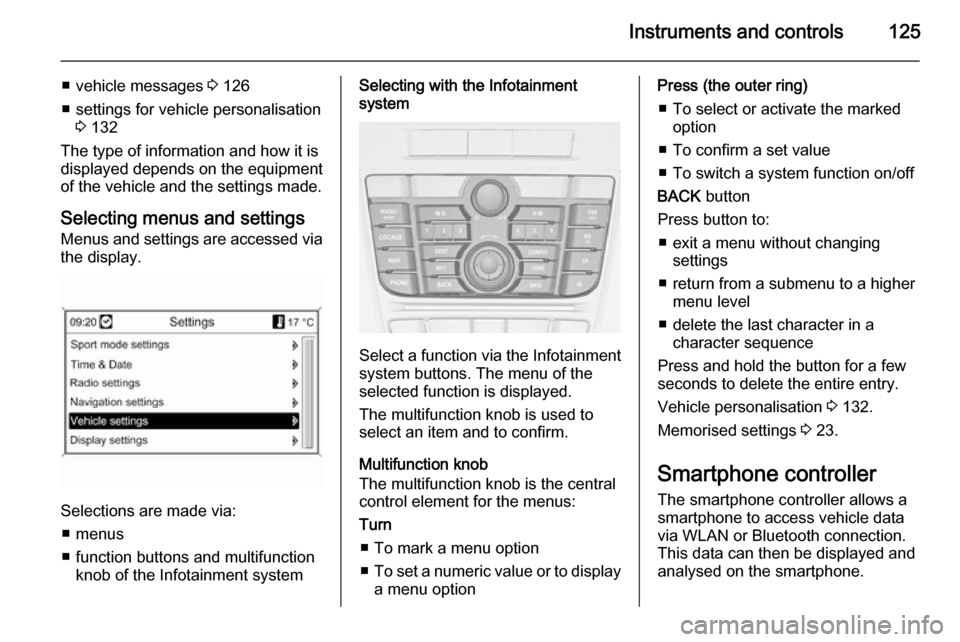
Selecting menus and settingsMenus and settings are accessed via
the display.
Selections are made via:
■ menus
■ function buttons and multifunction knob of the Infotainment system
Selecting with the Infotainment
system
Select a function via the Infotainment
system buttons. The menu of the
selected function is displayed.
The multifunction knob is used to
select an item and to confirm.
Multifunction knob
The multifunction knob is the central control element for the menus:
Turn
■ To mark a menu option
■ To set a numeric value or to display
a menu option
Press (the outer ring)
■ To select or activate the marked option
■ To confirm a set value
■ To switch a system function on/off
BACK button
Press button to: ■ exit a menu without changing settings
■ return from a submenu to a higher menu level
■ delete the last character in a character sequence
Press and hold the button for a few
seconds to delete the entire entry.
Vehicle personalisation 3 132.
Memorised settings 3 23.
Smartphone controller
The smartphone controller allows a
smartphone to access vehicle data
via WLAN or Bluetooth connection.
This data can then be displayed and
analysed on the smartphone.
Page 131 of 343
Instruments and controls129
■ If a warning message or a warningcode appears in the Driver
Information Centre.
■ If the parking assist detects an object.
■ If unintended lane change occurs.
■ If the reverse gear is engaged and the rear end carrier extended.
■ If the diesel particle filter has reached the maximum filling level.
When the vehicle is parked and/ or the driver's door is opened ■ When the key is in the ignition switch.
■ With exterior lights on.
During an Autostop ■ If the driver's door is opened.
Battery voltage When the vehicle battery voltage is
running low, a warning message or
warning code 174 will appear in the
Driver Information Centre.1. Switch off immediately any electric consumers which are not
required for a safe ride, e.g. seat
heating, heated rear window or
other main consumers.
2. Charge the vehicle battery by driving continuously for a while or
by using a charging device.
The warning message or warning
code will disappear after the engine
has been started twice consecutively
without a voltage drop.
If the vehicle battery cannot be
recharged, have the cause of the fault
remedied by a workshop.Trip computer
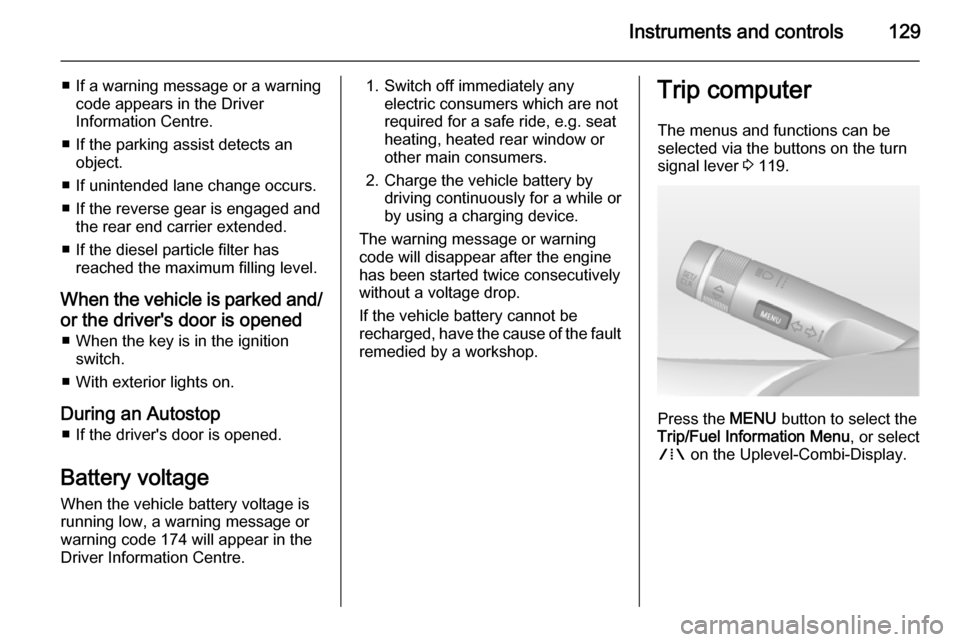
The menus and functions can beselected via the buttons on the turnsignal lever 3 119.
Press the MENU button to select the
Trip/Fuel Information Menu , or select
W on the Uplevel-Combi-Display.
Page 149 of 343
Lighting147
Operate rocker switches:centre position=automatic
switching on and
off.press I=on.press 0=off.
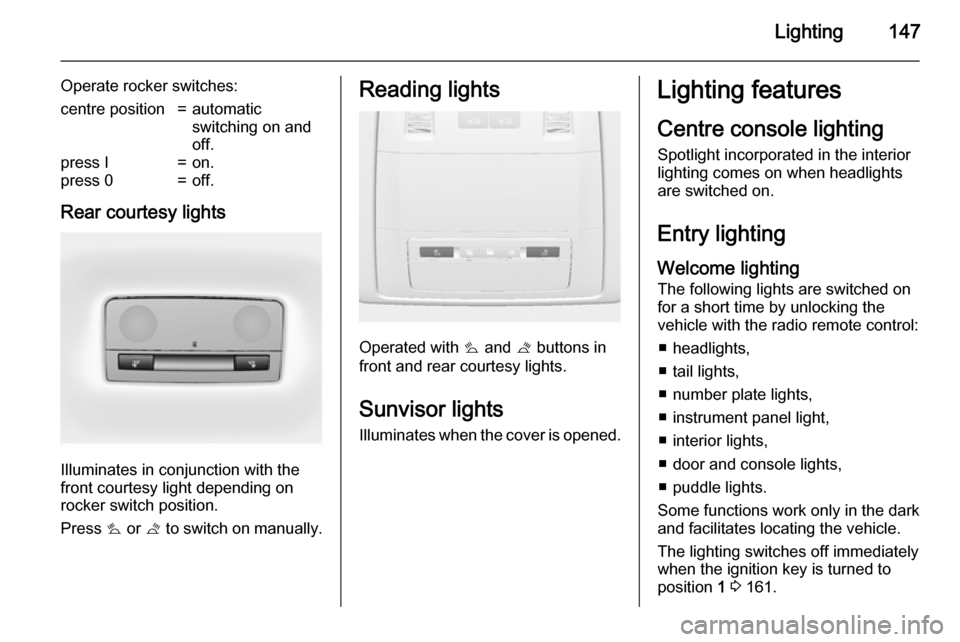
Rear courtesy lights
Illuminates in conjunction with the
front courtesy light depending on
rocker switch position.
Press s or t to switch on manually.
Reading lights
Operated with s and t buttons in
front and rear courtesy lights.
Sunvisor lights
Illuminates when the cover is opened.
Lighting features
Centre console lighting Spotlight incorporated in the interior
lighting comes on when headlights
are switched on.
Entry lighting
Welcome lighting
The following lights are switched on
for a short time by unlocking the
vehicle with the radio remote control:
■ headlights,
■ tail lights,
■ number plate lights,
■ instrument panel light,
■ interior lights,
■ door and console lights,
■ puddle lights.
Some functions work only in the dark
and facilitates locating the vehicle.
The lighting switches off immediately
when the ignition key is turned to
position 1 3 161.
Page 158 of 343
156Climate control
Manual settingsClimate control system settings can
be changed by activating the buttons
and rotary knobs as follows.
Changing a setting will deactivate the Automatic mode.
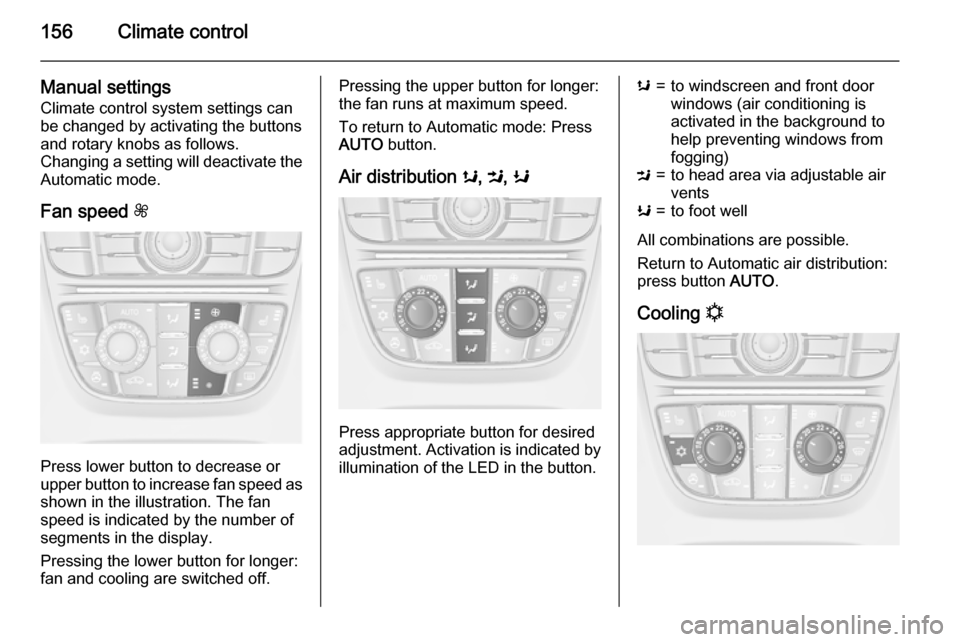
Fan speed Z
Press lower button to decrease or
upper button to increase fan speed as
shown in the illustration. The fan
speed is indicated by the number of
segments in the display.
Pressing the lower button for longer:
fan and cooling are switched off.
Pressing the upper button for longer:
the fan runs at maximum speed.
To return to Automatic mode: Press
AUTO button.
Air distribution s, M , K
Press appropriate button for desired
adjustment. Activation is indicated by illumination of the LED in the button.
s=to windscreen and front door
windows (air conditioning is
activated in the background to
help preventing windows from
fogging)M=to head area via adjustable air ventsK=to foot well
All combinations are possible.
Return to Automatic air distribution:
press button AUTO.
Cooling n
Page 179 of 343
Driving and operating177Interactive driving system
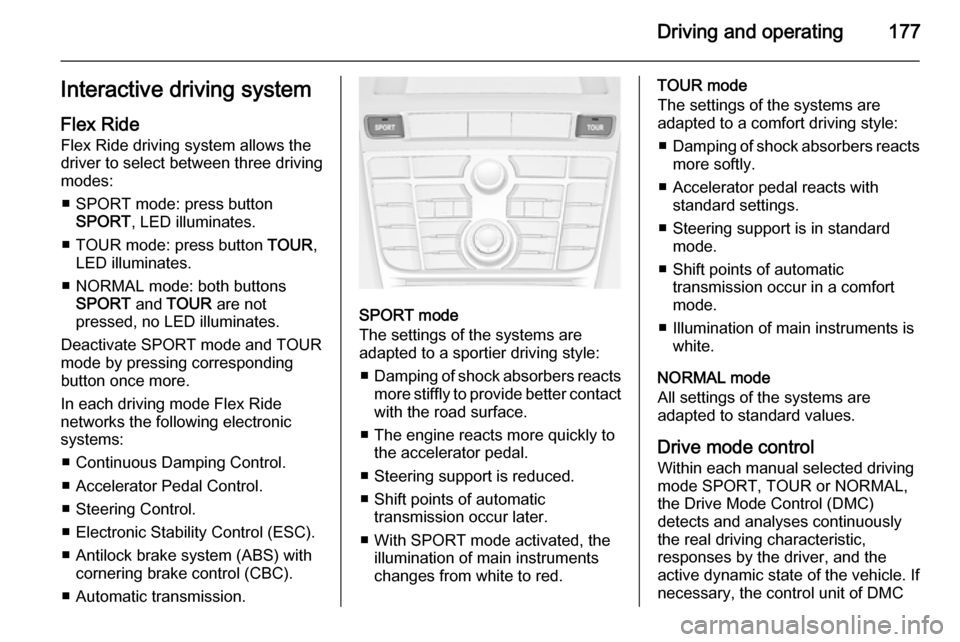
Flex Ride Flex Ride driving system allows the
driver to select between three driving
modes:
■ SPORT mode: press button SPORT , LED illuminates.
■ TOUR mode: press button TOUR,
LED illuminates.
■ NORMAL mode: both buttons SPORT and TOUR are not
pressed, no LED illuminates.
Deactivate SPORT mode and TOUR
mode by pressing corresponding
button once more.
In each driving mode Flex Ride
networks the following electronic systems:
■ Continuous Damping Control.
■ Accelerator Pedal Control.
■ Steering Control.
■ Electronic Stability Control (ESC).
■ Antilock brake system (ABS) with cornering brake control (CBC).
■ Automatic transmission.
SPORT mode
The settings of the systems are
adapted to a sportier driving style:
■ Damping of shock absorbers reacts
more stiffly to provide better contact
with the road surface.
■ The engine reacts more quickly to the accelerator pedal.
■ Steering support is reduced.
■ Shift points of automatic transmission occur later.
■ With SPORT mode activated, the illumination of main instruments
changes from white to red.
TOUR mode
The settings of the systems are
adapted to a comfort driving style:
■ Damping of shock absorbers reacts
more softly.
■ Accelerator pedal reacts with standard settings.
■ Steering support is in standard mode.
■ Shift points of automatic transmission occur in a comfort
mode.
■ Illumination of main instruments is white.
NORMAL mode
All settings of the systems are
adapted to standard values.
Drive mode control
Within each manual selected driving
mode SPORT, TOUR or NORMAL,
the Drive Mode Control (DMC)
detects and analyses continuously
the real driving characteristic,
responses by the driver, and the
active dynamic state of the vehicle. If
necessary, the control unit of DMC