ignition OPEL CASCADA 2015 Manual user
[x] Cancel search | Manufacturer: OPEL, Model Year: 2015, Model line: CASCADA, Model: OPEL CASCADA 2015Pages: 253, PDF Size: 7.58 MB
Page 35 of 253
Keys, doors and windows33
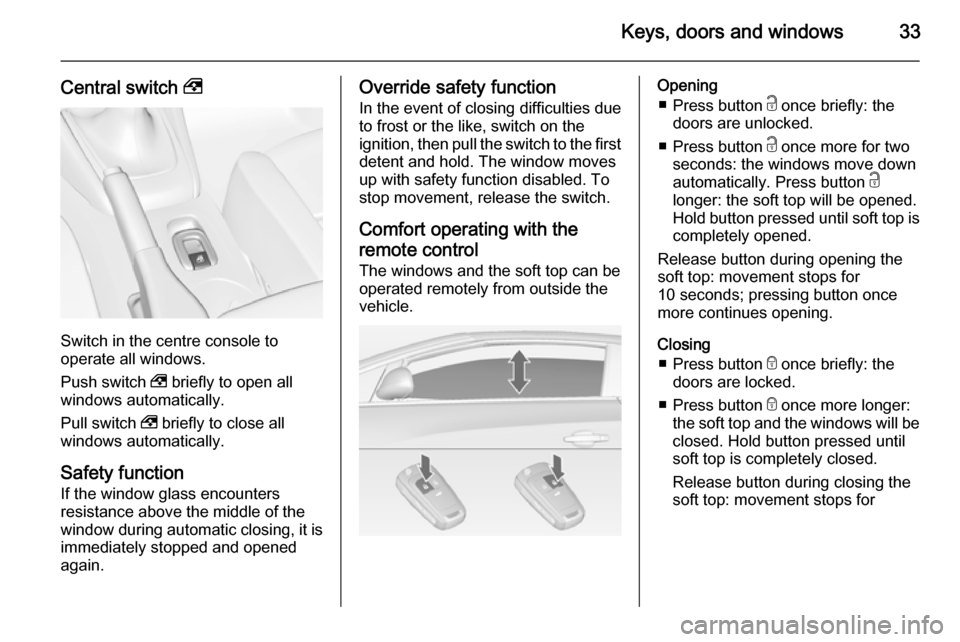
Central switch ,
Switch in the centre console to
operate all windows.
Push switch , briefly to open all
windows automatically.
Pull switch , briefly to close all
windows automatically.
Safety function
If the window glass encounters
resistance above the middle of the
window during automatic closing, it is
immediately stopped and opened again.
Override safety function
In the event of closing difficulties due
to frost or the like, switch on the
ignition, then pull the switch to the first
detent and hold. The window moves
up with safety function disabled. To
stop movement, release the switch.
Comfort operating with the
remote control
The windows and the soft top can be
operated remotely from outside the vehicle.Opening
■ Press button c once briefly: the
doors are unlocked.
■ Press button c once more for two
seconds: the windows move down
automatically. Press button c
longer: the soft top will be opened.
Hold button pressed until soft top is
completely opened.
Release button during opening the
soft top: movement stops for
10 seconds; pressing button once
more continues opening.
Closing ■ Press button e once briefly: the
doors are locked.
■ Press button e once more longer:
the soft top and the windows will be
closed. Hold button pressed until
soft top is completely closed.
Release button during closing the
soft top: movement stops for
Page 36 of 253

34Keys, doors and windows
10 seconds; pressing button once
more continues closing.
■ If the soft top is already closed but windows are opened: pressing
button e for two seconds will close
the windows.
Confirmation
Complete opening or closing of the
soft top is confirmed by the hazard
warning flashers.
OverloadIf the windows are repeatedly
operated within short intervals, the
window operation is disabled for
some time.
Initialising the power windows
If the windows cannot be closed
automatically (e.g. after
disconnecting the vehicle battery), a
warning message is displayed in the
Driver Information Centre.
Vehicle messages 3 102.Activate the window electronics for
each window, beginning with the rear windows, as following:
1. Soft top must be closed.
2. Close doors.
3. Switch on ignition.
4. Pull switch to the second detent until the window starts to close,
and hold pulled for an additional
4 seconds.
5. Push switch to the second detent until the window starts to open
automatically.
6. Repeat for each window.Heated rear window
Operated by pressing the Ü button.
The LED in the button indicates
activation.
Heating works with the engine
running and is switched off
automatically after a short time.
Heated rear window is deactivated
when the soft top is opened.
Sun visors The sun visors can be folded down orswivelled to the side to prevent
dazzling.
Page 37 of 253
Keys, doors and windows35
If the sun visors have integral mirrors,the mirror covers should be closed
when driving.
A ticket holder is located on the
backside of the sun visor.Roof
Soft top9 Warning
Take care when operating the soft
top. Risk of injury. Monitor the
action zone above, to the side and to the rear of the vehicle during
operation.
Make sure that no body parts or
objects could get pinched. Make
sure that people stay clear of the
action zone of the soft top or soft
top lid. Risk of injury.
Check the height, length and width of the available space before
operating the soft top, e.g. in a
garage, parking garage or when a
bicycle rack is fitted.
Vehicle passengers should be
informed accordingly.
Before leaving the vehicle, remove the ignition key in order to prevent
unauthorised operation of the
windows and the soft top.
Operation with the switch in the
centre console
Operable with ignition switch in
position 1 or 2 (ignition on) 3 134.
The soft top can be opened and
closed while driving up to a speed of
50 km/h.
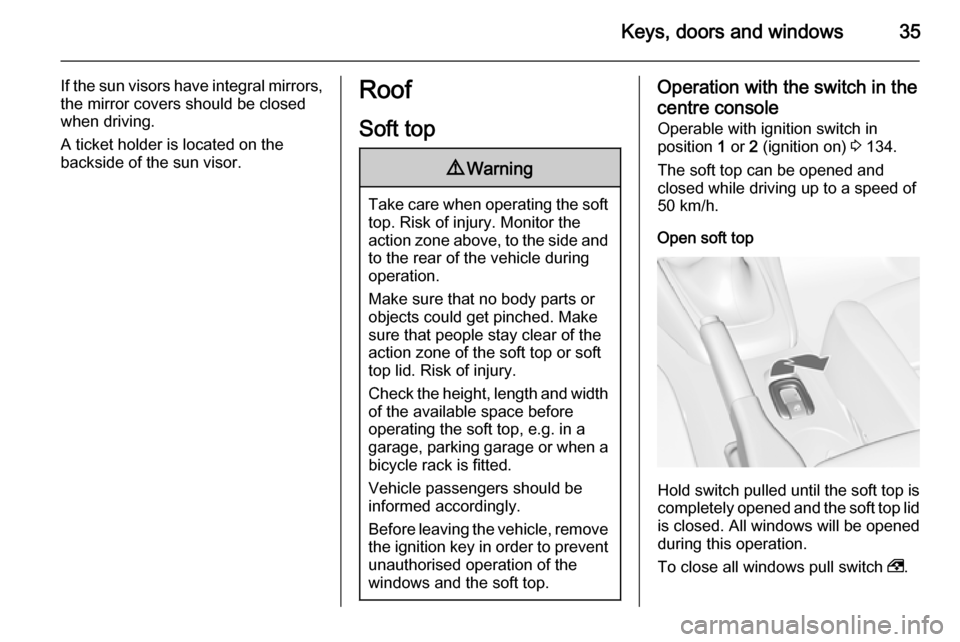
Open soft top
Hold switch pulled until the soft top is completely opened and the soft top lid
is closed. All windows will be opened
during this operation.
To close all windows pull switch ,.
Page 40 of 253
38Keys, doors and windows
General hintsNote■ Always actuate the operation switch until the acoustic signal
sounds or the hazard warning flashers illuminate, to ensure thatthe soft top is completely opened
or closed.
■ The soft top can be held in an intermediate position to facilitate
cleaning of hood spaces and
gaskets. Release the switch in the
centre console during operation to
stop soft top movement in
intermediate position for a
maximum of 7 minutes when
ignition is on. After this time a warning chime sounds, the
hydraulic pressure in the system
decreases and the soft top can
start to move by itself.
■ Do not open the soft top if it is wet,
frozen or dirty.
■ Activating the soft top on uneven ground can lead to malfunctions
and damage.
■ Vehicle care 3 222.Manual closing in the event of a
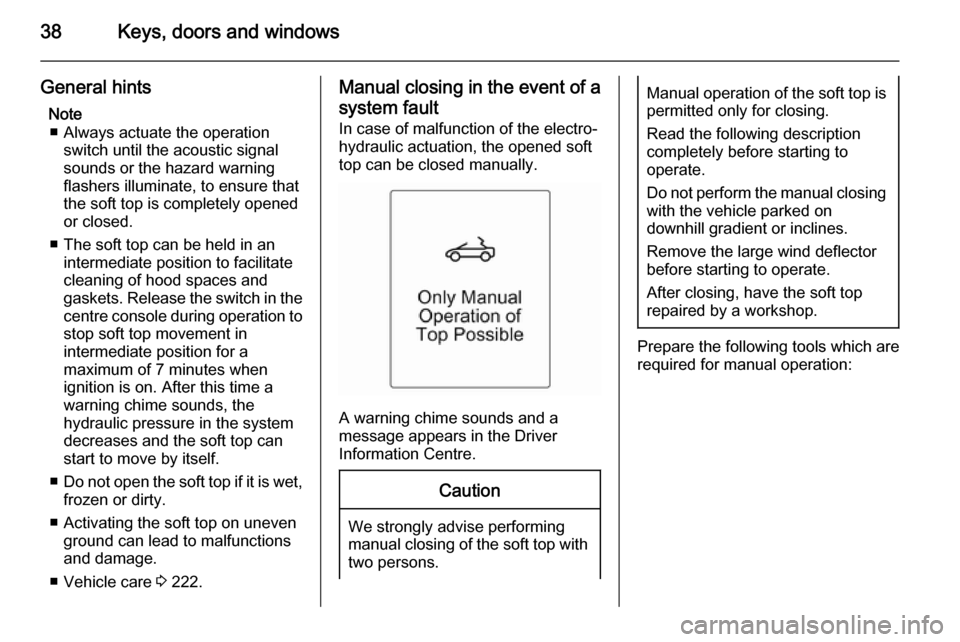
system fault In case of malfunction of the electro-
hydraulic actuation, the opened soft
top can be closed manually.
A warning chime sounds and a
message appears in the Driver
Information Centre.
Caution
We strongly advise performing manual closing of the soft top with
two persons.
Manual operation of the soft top is permitted only for closing.
Read the following description
completely before starting to
operate.
Do not perform the manual closing with the vehicle parked on
downhill gradient or inclines.
Remove the large wind deflector
before starting to operate.
After closing, have the soft top
repaired by a workshop.
Prepare the following tools which are
required for manual operation:
Page 41 of 253
Keys, doors and windows39
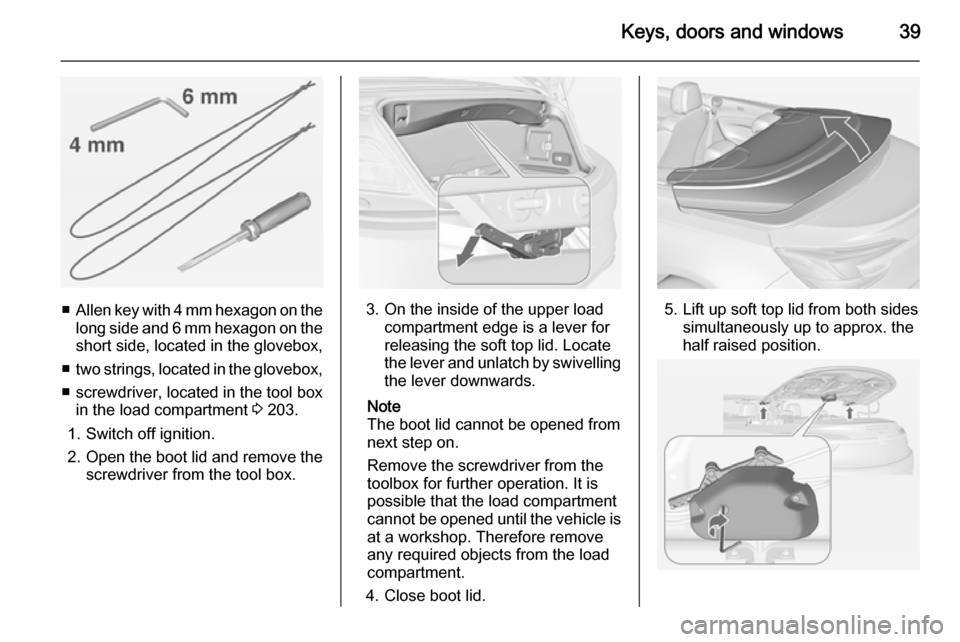
■Allen key with 4 mm hexagon on the
long side and 6 mm hexagon on the short side, located in the glovebox,
■ two strings, located in the glovebox,
■ screwdriver, located in the tool box in the load compartment 3 203.
1. Switch off ignition.
2. Open the boot lid and remove the
screwdriver from the tool box.3. On the inside of the upper load compartment edge is a lever for
releasing the soft top lid. Locate
the lever and unlatch by swivelling the lever downwards.
Note
The boot lid cannot be opened from
next step on.
Remove the screwdriver from the
toolbox for further operation. It is
possible that the load compartment
cannot be opened until the vehicle is
at a workshop. Therefore remove
any required objects from the load
compartment.
4. Close boot lid.5. Lift up soft top lid from both sides simultaneously up to approx. the
half raised position.
Page 54 of 253
52Seats, restraints
To restore, lift backrest to upright
position and engage. The seat slides
automatically backwards to the
original position.
In case the head restraint of the
folded backrest is blocked by the
upper windscreen frame, allow the
seat to move backwards or
downwards slightly 3 52, or set
head restraint to lowest position
3 46.
Safety function
If the power seat encounters
resistance while sliding forwards or
rearwards, it is immediately stopped
and moved in the opposite direction.
Note
Do not sit on the seat while seat is
moving.
Power disconnection
If seat remains in forward position
with opened door for more than
10 minutes, power adjustment is
disconnected. In this event, close and open the door or switch on ignition
and operate power adjustment again.Overload
If the folding function is electrically
overloaded, the power supply is
automatically cut-off for a short time.
Power seat adjustment9 Warning
Care must be taken when
operating the power seats. There
is a risk of injury, particularly for
children. Objects could become
trapped.
Keep a close watch on the seats
when adjusting them. Vehicle
passengers should be informed
accordingly.
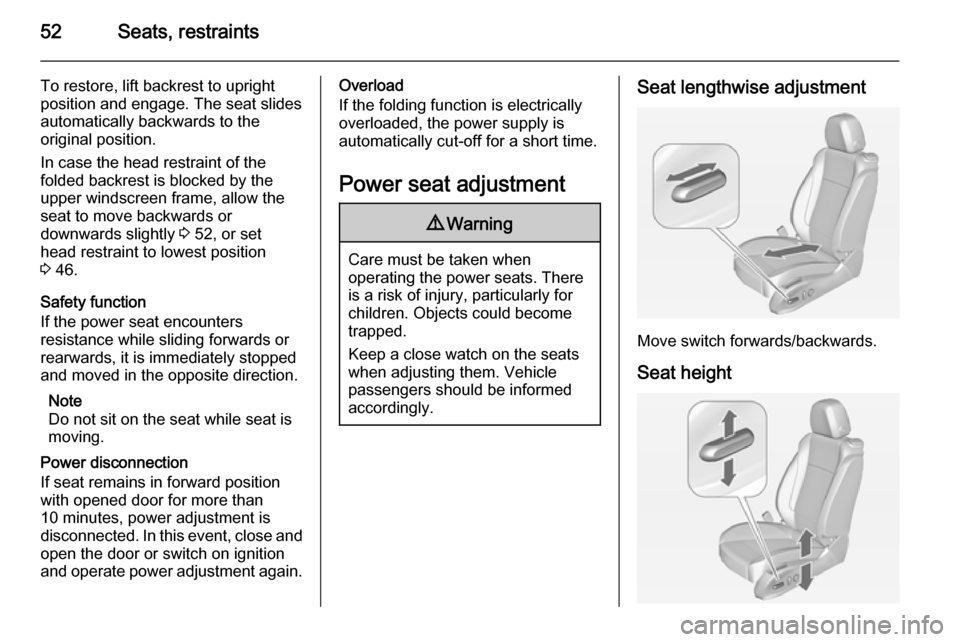
Seat lengthwise adjustment
Move switch forwards/backwards.
Seat height
Page 56 of 253
54Seats, restraintsArmrest
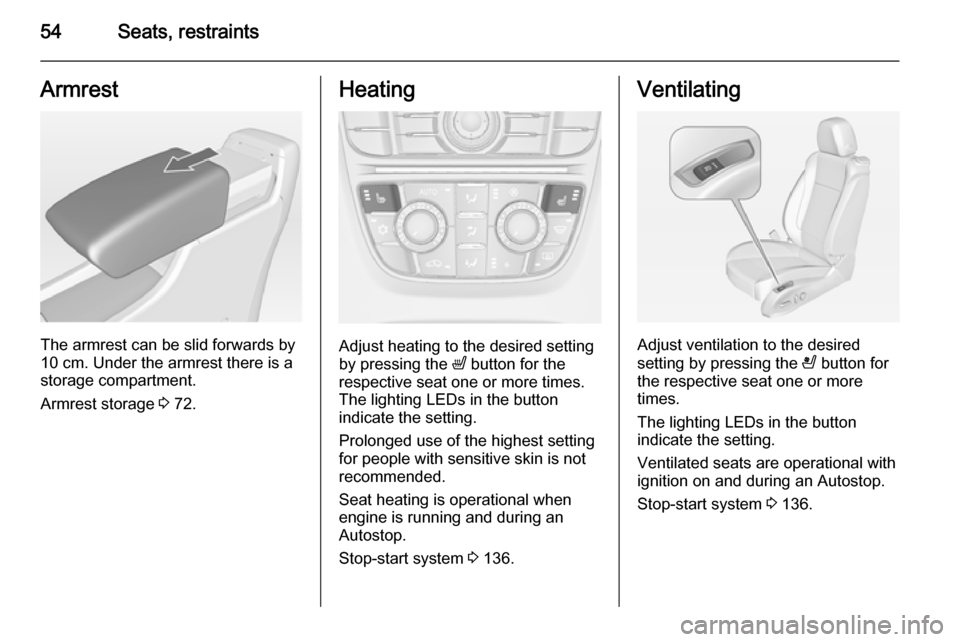
The armrest can be slid forwards by
10 cm. Under the armrest there is a
storage compartment.
Armrest storage 3 72.
Heating
Adjust heating to the desired setting
by pressing the ß button for the
respective seat one or more times.
The lighting LEDs in the button
indicate the setting.
Prolonged use of the highest setting
for people with sensitive skin is not
recommended.
Seat heating is operational when engine is running and during an
Autostop.
Stop-start system 3 136.
Ventilating
Adjust ventilation to the desired
setting by pressing the A button for
the respective seat one or more
times.
The lighting LEDs in the button
indicate the setting.
Ventilated seats are operational with
ignition on and during an Autostop.
Stop-start system 3 136.
Page 57 of 253
Seats, restraints55Seat belts
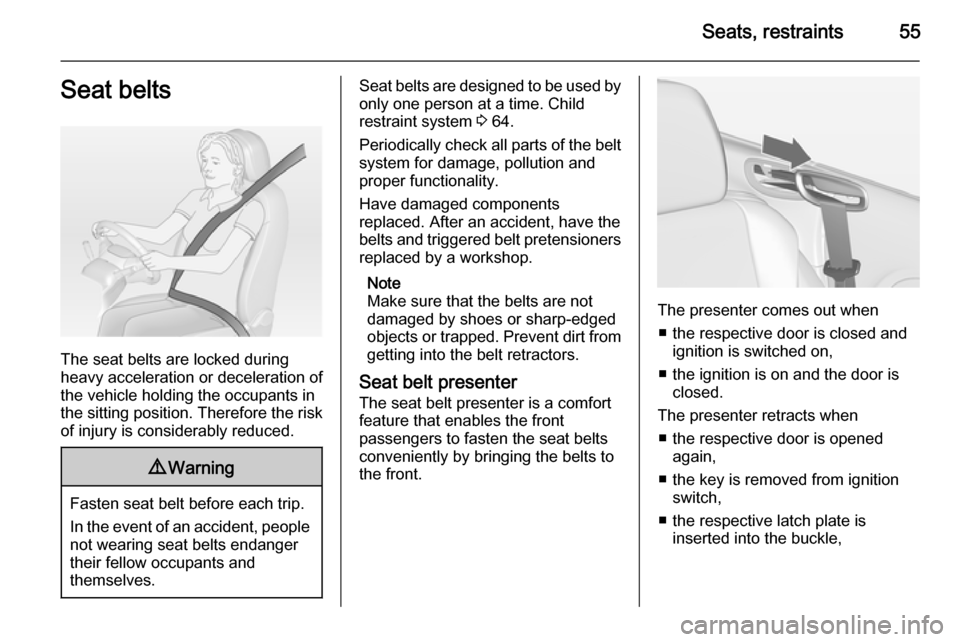
The seat belts are locked during
heavy acceleration or deceleration of
the vehicle holding the occupants in
the sitting position. Therefore the risk
of injury is considerably reduced.
9 Warning
Fasten seat belt before each trip.
In the event of an accident, people
not wearing seat belts endanger their fellow occupants and
themselves.
Seat belts are designed to be used by only one person at a time. Child
restraint system 3 64.
Periodically check all parts of the belt
system for damage, pollution and
proper functionality.
Have damaged components
replaced. After an accident, have the
belts and triggered belt pretensioners replaced by a workshop.
Note
Make sure that the belts are not
damaged by shoes or sharp-edged
objects or trapped. Prevent dirt from
getting into the belt retractors.
Seat belt presenter
The seat belt presenter is a comfort
feature that enables the front
passengers to fasten the seat belts
conveniently by bringing the belts to
the front.
The presenter comes out when
■ the respective door is closed and ignition is switched on,
■ the ignition is on and the door is closed.
The presenter retracts when ■ the respective door is opened again,
■ the key is removed from ignition switch,
■ the respective latch plate is inserted into the buckle,
Page 63 of 253
Seats, restraints61
LV: NEKĀDĀ GADĪJUMĀ
neizmantojiet uz aizmuguri vērstu bērnu sēdeklīti sēdvietā, kas tiek
aizsargāta ar tās priekšā uzstādītu AKTĪVU DROŠĪBAS SPILVENU, jo
pretējā gadījumā BĒRNS var gūt
SMAGAS TRAUMAS vai IET BOJĀ.
ET: ÄRGE kasutage tahapoole
suunatud lapseturvaistet istmel, mille
ees on AKTIIVSE TURVAPADJAGA
kaitstud iste, sest see võib
põhjustada LAPSE SURMA või
TÕSISE VIGASTUSE.
MT: QATT tuża trażżin għat-tfal li
jħares lejn in-naħa ta’ wara fuq sit
protett b’AIRBAG ATTIV quddiemu;
dan jista’ jikkawża l-MEWT jew
ĠRIEĦI SERJI lit-TFAL.
Beyond the warning required by
ECE R94.02, for safety reasons
never use a forward-facing child
restraint system on the passenger
seat with an active front airbag.9 Danger
Do not use a child restraint system
on the passenger seat with active
front airbag.
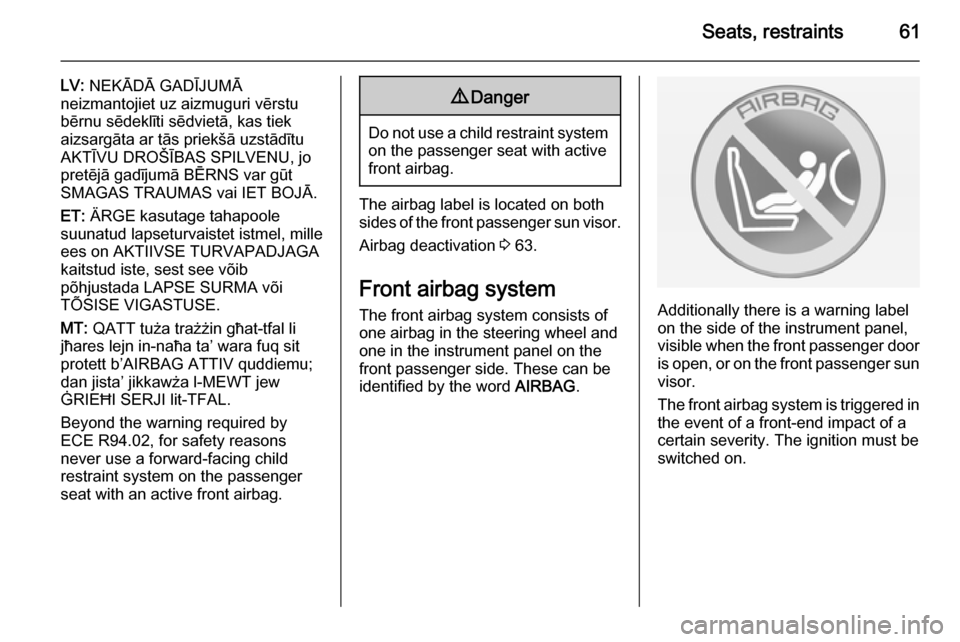
The airbag label is located on both
sides of the front passenger sun visor.
Airbag deactivation 3 63.
Front airbag system The front airbag system consists of
one airbag in the steering wheel and
one in the instrument panel on the
front passenger side. These can be
identified by the word AIRBAG.
Additionally there is a warning label
on the side of the instrument panel,
visible when the front passenger door is open, or on the front passenger sun
visor.
The front airbag system is triggered in
the event of a front-end impact of a
certain severity. The ignition must be
switched on.
Page 64 of 253
62Seats, restraints
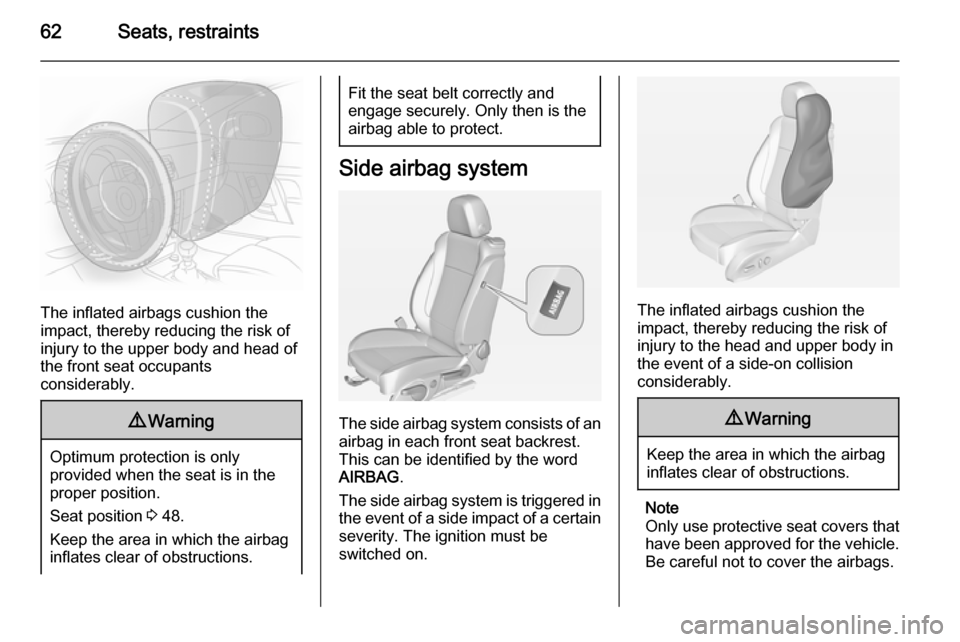
The inflated airbags cushion the
impact, thereby reducing the risk of
injury to the upper body and head of
the front seat occupants
considerably.
9 Warning
Optimum protection is only
provided when the seat is in the
proper position.
Seat position 3 48.
Keep the area in which the airbag
inflates clear of obstructions.
Fit the seat belt correctly and
engage securely. Only then is the
airbag able to protect.
Side airbag system
The side airbag system consists of an
airbag in each front seat backrest.
This can be identified by the word
AIRBAG .
The side airbag system is triggered in the event of a side impact of a certain
severity. The ignition must be
switched on.
The inflated airbags cushion the
impact, thereby reducing the risk of
injury to the head and upper body in
the event of a side-on collision
considerably.
9 Warning
Keep the area in which the airbag
inflates clear of obstructions.
Note
Only use protective seat covers that
have been approved for the vehicle.Be careful not to cover the airbags.