key OPEL CORSA E 2019 Manual user
[x] Cancel search | Manufacturer: OPEL, Model Year: 2019, Model line: CORSA E, Model: OPEL CORSA E 2019Pages: 231, PDF Size: 6.87 MB
Page 30 of 231
28Keys, doors and windowsActivation● Self-activated 30 seconds after locking the vehicle by pressing e
once.
● Directly by pressing e twice
within 5 seconds.
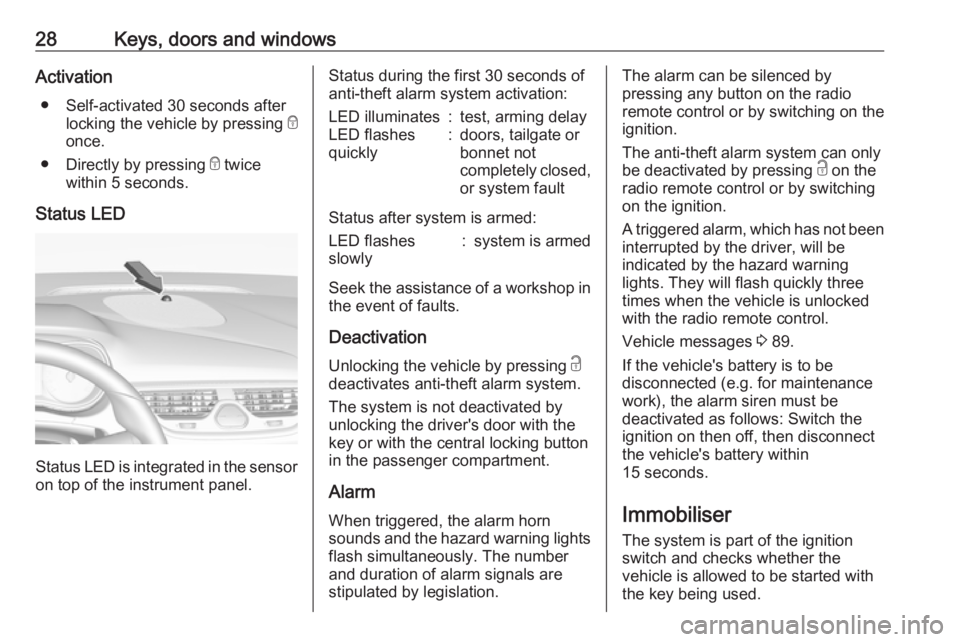
Status LED
Status LED is integrated in the sensor
on top of the instrument panel.
Status during the first 30 seconds of
anti-theft alarm system activation:LED illuminates:test, arming delayLED flashes
quickly:doors, tailgate or
bonnet not
completely closed,
or system fault
Status after system is armed:
LED flashes
slowly:system is armed
Seek the assistance of a workshop in the event of faults.
Deactivation Unlocking the vehicle by pressing c
deactivates anti-theft alarm system.
The system is not deactivated by
unlocking the driver's door with the
key or with the central locking button
in the passenger compartment.
Alarm When triggered, the alarm horn
sounds and the hazard warning lights
flash simultaneously. The number
and duration of alarm signals are
stipulated by legislation.
The alarm can be silenced by
pressing any button on the radio
remote control or by switching on the
ignition.
The anti-theft alarm system can only
be deactivated by pressing c on the
radio remote control or by switching
on the ignition.
A triggered alarm, which has not been interrupted by the driver, will be
indicated by the hazard warning
lights. They will flash quickly three
times when the vehicle is unlocked
with the radio remote control.
Vehicle messages 3 89.
If the vehicle's battery is to be
disconnected (e.g. for maintenance
work), the alarm siren must be
deactivated as follows: Switch the
ignition on then off, then disconnect
the vehicle's battery within
15 seconds.
Immobiliser The system is part of the ignition
switch and checks whether the
vehicle is allowed to be started with
the key being used.
Page 31 of 231
Keys, doors and windows29The immobiliser is activated
automatically after the key has been removed from the ignition switch.
If the control indicator d flashes when
the ignition is on, there is a fault in the
system; the engine cannot be started. Switch off the ignition and repeat the
start attempt.
If the control indicator continues
flashing, attempt to start the engine
using the spare key and seek the
assistance of a workshop.
Note
The immobiliser does not lock the
doors. You should always lock the
vehicle after leaving it.
Switch on the anti-theft alarm
system 3 23, 3 27.
Control indicator d 3 82.Exterior mirrors
Convex shape The shape of the mirror makes
objects appear smaller, which will
affect the ability to estimate
distances.
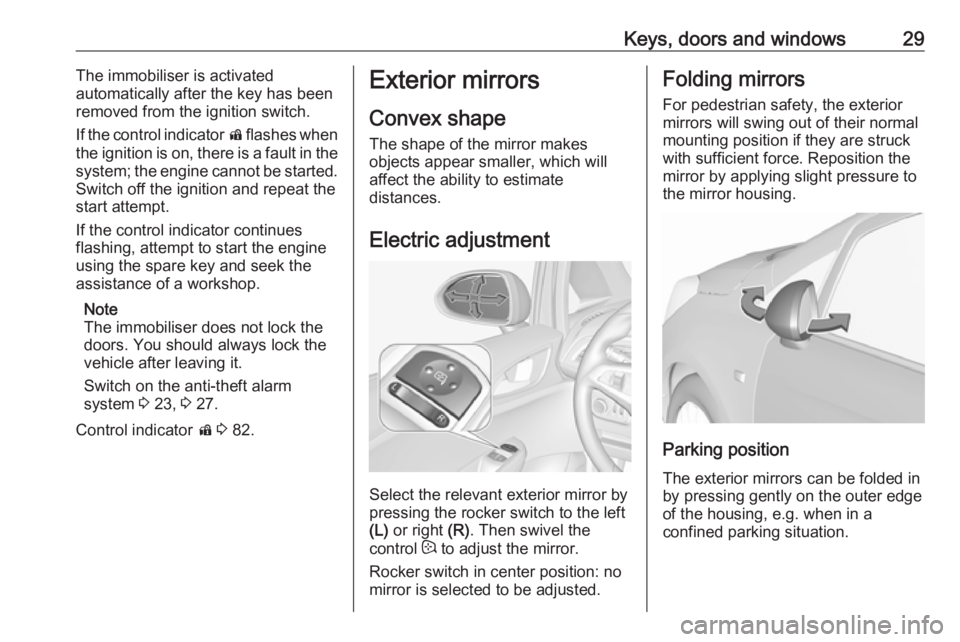
Electric adjustment
Select the relevant exterior mirror by
pressing the rocker switch to the left (L) or right (R). Then swivel the
control : to adjust the mirror.
Rocker switch in center position: no
mirror is selected to be adjusted.
Folding mirrors
For pedestrian safety, the exterior
mirrors will swing out of their normal
mounting position if they are struck
with sufficient force. Reposition the
mirror by applying slight pressure to
the mirror housing.
Parking position
The exterior mirrors can be folded in
by pressing gently on the outer edge
of the housing, e.g. when in a
confined parking situation.
Page 32 of 231
30Keys, doors and windowsHeated mirrors
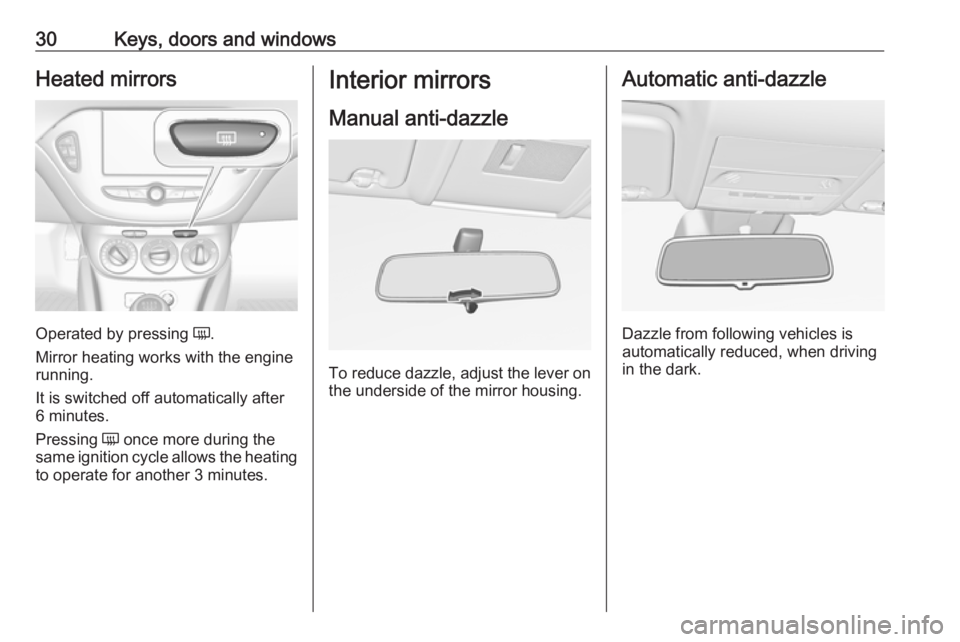
Operated by pressing Ü.
Mirror heating works with the engine
running.
It is switched off automatically after
6 minutes.
Pressing Ü once more during the
same ignition cycle allows the heating to operate for another 3 minutes.
Interior mirrors
Manual anti-dazzle
To reduce dazzle, adjust the lever on the underside of the mirror housing.
Automatic anti-dazzle
Dazzle from following vehicles is
automatically reduced, when driving
in the dark.
Page 33 of 231
Keys, doors and windows31Windows
Windscreen
Windscreen stickers
Do not attach stickers, e.g. toll road stickers or similar, on the windscreen
in the area of the interior mirror.
Otherwise the detection zone of the
sensor in the mirror housing could be
restricted.
Windscreen replacementCaution
If the vehicle has a front-looking
camera sensor for the driver
assistance systems, it is very
important that any windscreen
replacement is performed
accurately according to Opel
specifications. Otherwise, these
systems may not work properly
and there is a risk of unexpected
behaviour and / or messages from these systems.
Manual windows
The rear door windows can be
opened or closed manually with the
window cranks.
Power windows9 Warning
Take care when operating the
power windows. Risk of injury,
particularly to children.
Be careful when closing the
windows. Ensure that nothing
becomes trapped in them as they
move.
Operable with ignition on (position 2)
3 120.
Retained power off 3 121.
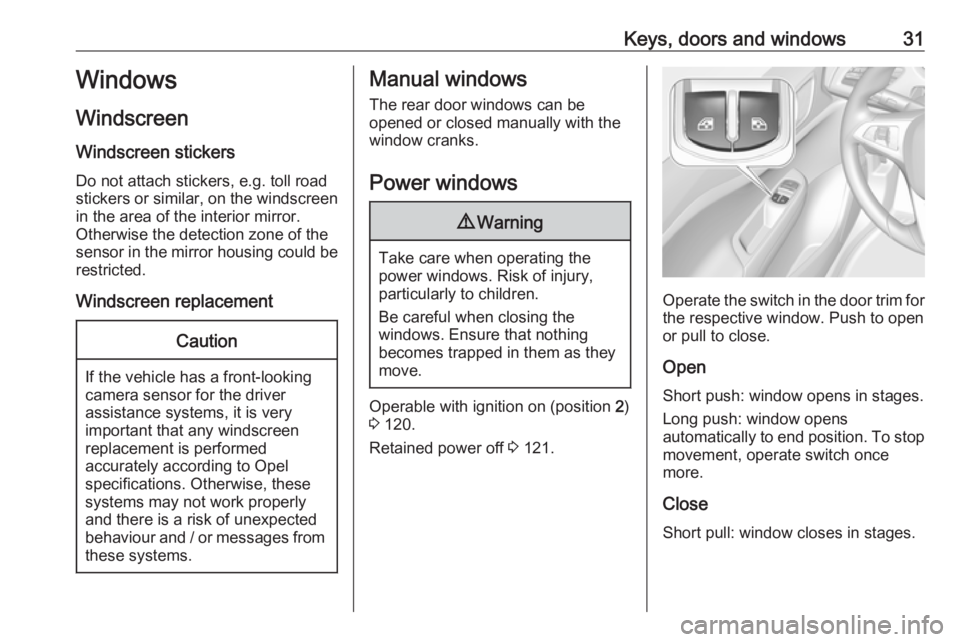
Operate the switch in the door trim for
the respective window. Push to open
or pull to close.
Open
Short push: window opens in stages. Long push: window opens
automatically to end position. To stop movement, operate switch once
more.
Close
Short pull: window closes in stages.
Page 34 of 231
32Keys, doors and windowsLonger pull: window closes
automatically to end position. To stop movement, operate switch once
more.
Safety function
If the window glass encounters
resistance above the middle of the
window during automatic closing, it is immediately stopped and opened
again.
Override safety function In the event of closing difficulties due
to frost or the like, switch on the
ignition, then pull the switch several
times to close the windows in stages.
Overload
If the windows are repeatedly
operated at short intervals, the
window operation is disabled for
some time.Fault
If the windows cannot be opened or
closed automatically, activate the window electronics as follows:
1. Close the doors.
2. Switch on ignition.
3. Close the window completely and
operate the button for an
additional 5 seconds.
4. Open the window completely and operate the button for 1 second
further.
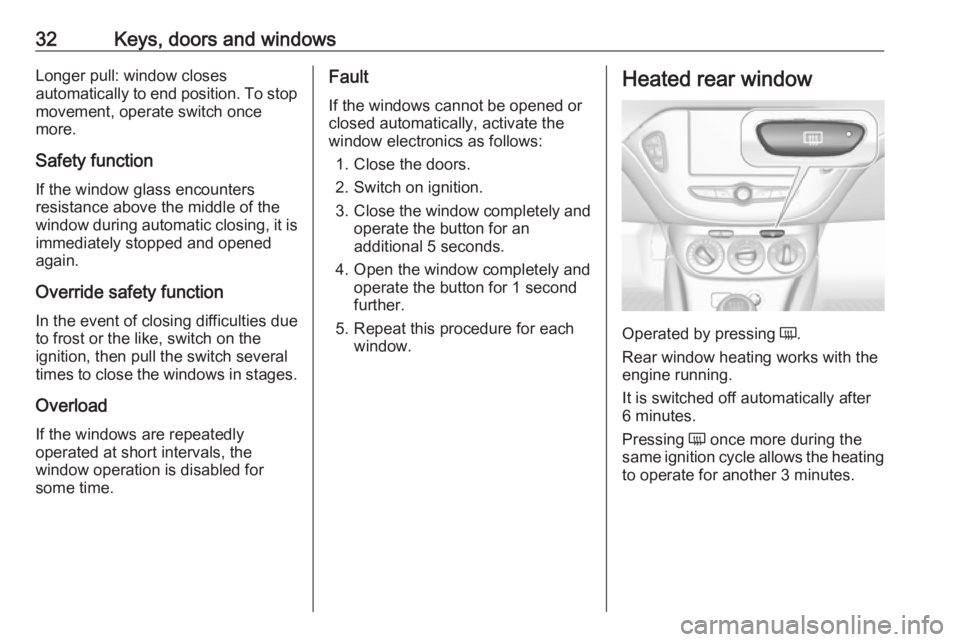
5. Repeat this procedure for each window.Heated rear window
Operated by pressing Ü.
Rear window heating works with the engine running.
It is switched off automatically after
6 minutes.
Pressing Ü once more during the
same ignition cycle allows the heating to operate for another 3 minutes.
Page 35 of 231

Keys, doors and windows33Heated windscreen
Operated by pressing Ü.
Windscreen heating works together with heated rear window and enginerunning.
It is switched off automatically after
6 minutes.
Pressing Ü once more during the
same ignition cycle allows the heating to operate for another 3 minutes.
Sun visors
The sun visors can be folded down or
swivelled to the side to prevent
dazzling.
The cover of the mirrors should be closed when driving.
A ticket holder is located on the
backside of the sun visor.
Page 49 of 231
Seats, restraints47Curtain airbag system
The curtain airbag system consists of an airbag in the roof frame on each
side. The location is identified by the
word AIRBAG on the roof pillars.
The curtain airbag system is triggered in the event of a side-on impact of a
certain severity. The ignition must be
switched on.
The inflated airbags cushion the
impact, thereby reducing the risk of
injury to the head in the event of a
side-on impact considerably.
9 Warning
Keep the area in which the airbag
inflates clear of obstructions.
The hooks on the handles in the
roof frame are only suitable for
hanging up light articles of
clothing, without coat hangers. Do not keep any items in these
clothes.
Airbag deactivation
The front passenger airbag system must be deactivated for a child
restraint system on the passenger
seat according to the instructions in
the tables 3 52.
The other airbag systems, the belt
pretensioners and all driver airbag
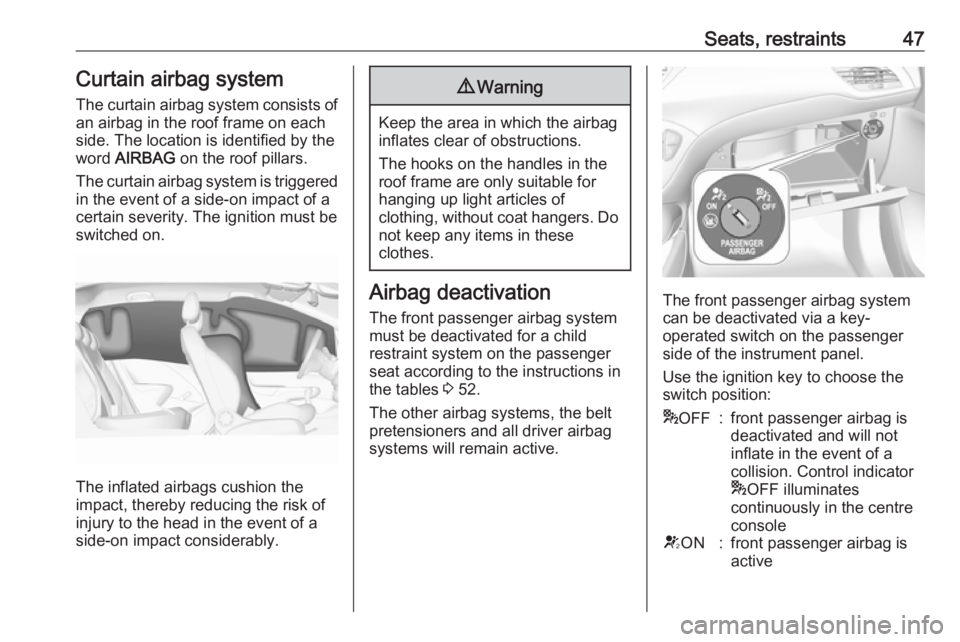
systems will remain active.The front passenger airbag system can be deactivated via a key-
operated switch on the passenger
side of the instrument panel.
Use the ignition key to choose the
switch position:
* OFF:front passenger airbag is
deactivated and will not
inflate in the event of a
collision. Control indicator
* OFF illuminates
continuously in the centre
consoleV ON:front passenger airbag is
active
Page 82 of 231
80Instruments and controls9Warning
Stop. Do not continue your
journey. Consult a workshop.
Illuminates when the manual parking
brake is applied and ignition is
switched on 3 132.
Operate pedal - illuminates or flashes yellow.
Illuminates
Clutch pedal must be depressed to
start the engine in Autostop mode.
Stop-start system 3 122.
Flashes
Clutch pedal must be depressed to
start the engine with the key 3 18,
3 121.
On some versions, the Driver
Information Centre indicates a
message to operate the clutch pedal
3 89.
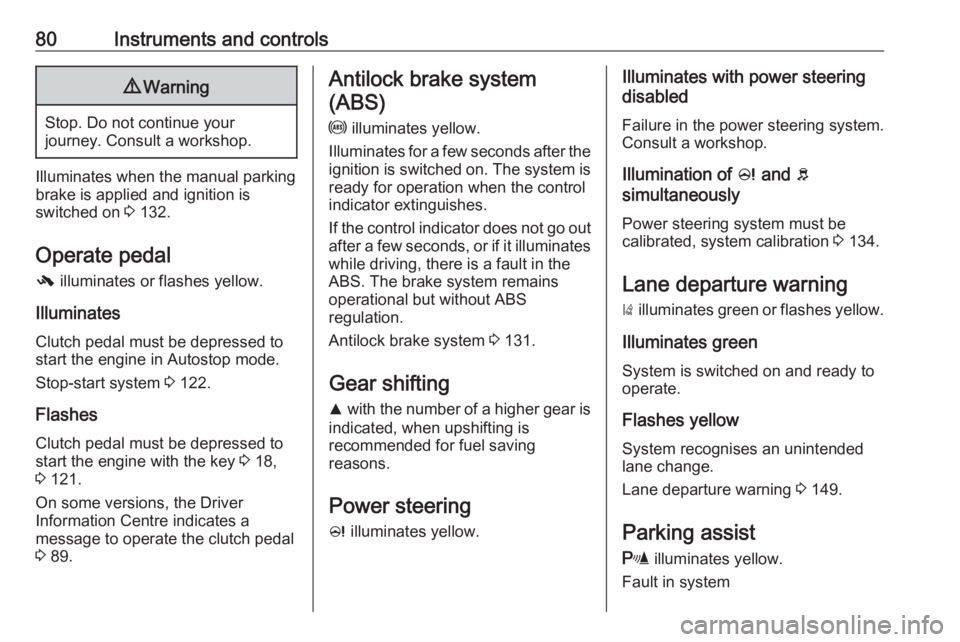
Antilock brake system
(ABS)
u illuminates yellow.
Illuminates for a few seconds after the ignition is switched on. The system is
ready for operation when the control
indicator extinguishes.
If the control indicator does not go out after a few seconds, or if it illuminates while driving, there is a fault in the
ABS. The brake system remains
operational but without ABS
regulation.
Antilock brake system 3 131.
Gear shifting
R with the number of a higher gear is
indicated, when upshifting is
recommended for fuel saving
reasons.
Power steering
c illuminates yellow.Illuminates with power steering
disabled
Failure in the power steering system.
Consult a workshop.
Illumination of c and b
simultaneously
Power steering system must be
calibrated, system calibration 3 134.
Lane departure warning ) illuminates green or flashes yellow.
Illuminates green
System is switched on and ready to
operate.
Flashes yellow System recognises an unintended
lane change.
Lane departure warning 3 149.
Parking assist r illuminates yellow.
Fault in system
Page 84 of 231
82Instruments and controlsIlluminates when the engine is
runningCaution
Engine lubrication may be
interrupted. This may result in
damage to the engine and/or
locking of the drive wheels.
1. Depress the clutch.
2. Set selector lever to neutral.
3. Move out of the flow of traffic as quickly as possible without
impeding other vehicles.
4. Switch off the ignition.
9 Warning
When the engine is off,
considerably more force is needed
to brake and steer.
During an Autostop, the brake
servo unit will still be operational.
Do not remove key until vehicle is stationary, otherwise the steeringwheel lock could engage
unexpectedly.
Keep engine turned off and let the
vehicle be towed to a workshop.
Low fuel Y illuminates or flashes yellow.
Illuminates
Level in fuel tank is too low.
Flashes
Fuel used up. Refuel immediately.
Never run the fuel tank dry.
Refuelling 3 152.
Catalytic converter 3 126.
Immobiliser
d flashes yellow.
Fault in the immobiliser system. The
engine cannot be started.
Immobiliser 3 28.
Reduced engine power
# illuminates yellow.
The engine power is limited. Consult
a workshop.Autostop
Autostop active D illuminates red or white.
Engine is in an Autostop.
Stop-start system 3 122.
Exterior light 8 illuminates green.
The exterior lights are on 3 100.
High beam C illuminates blue.
Illuminated when high beam is on or
during headlight flash 3 102.
Front fog lights > illuminates green.
The front fog lights are on 3 104.
Rear fog light r illuminates yellow.
The rear fog light is on 3 105.
Page 94 of 231
92Instruments and controlsWhen the vehicle is parked and /
or the driver's door is opened
● With exterior lights on.
During an Autostop ● If the driver's door is opened.
Battery voltage Uplevel display
When the vehicle battery voltage is
running low, a warning message will
appear in the Driver Information
Centre.
Midlevel display
When the vehicle battery voltage is
running low, a warning code 174 will appear in the Driver Information
Centre.
1. Switch off immediately any electrical consumers which are
not required for a safe drive, e.g.
seat heating, heated windscreen
and heated rear window or other
main consumers.
2. Charge the vehicle battery by driving continuously for a while or
by using a charging device.The warning message or warning
code will disappear after the engine
has been started twice consecutively
without a voltage drop.
If the vehicle battery cannot be
recharged, have the cause of the fault
remedied by a workshop.Vehicle personalisation
The vehicle's behaviour can be
personalised by changing the settings
in the Info Display.
Some of the personal settings for
different drivers can be memorised
individually for each vehicle key.
Memorised settings 3 23.
Depending on vehicle equipment and country-specific regulations, some of
the functions described below might
not be available.
Some functions are only displayed or
active when the engine is running.
Personal settings
Graphic Info Display
Press CONFIG for the Settings menu.
Turn the MENU-TUNE control to
move to the desired setup menu, and then press MENU-TUNE .