light OPEL GT 2011 Owners Manual
[x] Cancel search | Manufacturer: OPEL, Model Year: 2011, Model line: GT, Model: OPEL GT 2011Pages: 190, PDF Size: 2.46 MB
Page 8 of 190

8In brief
Fitting sea t b elt:
Dra w sea t b elt smoothly from
inertia reel, guide o ver shoulder,
e nga ge in buc kl e
The b elt must not be twiste d at any point.
The lap be lt must lie s nugly against the
body.
The b ackrests must not b e tilted back too
far (recom mende d max imum tilting angle
approx. 2 5
o).
To rele as e be lt, pre ss re d button on belt
buckle .
6Seat position - s ee page 3 8,
Three -point s e at belts - s ee pag e 4 0 ,
O pel F ull Size airbag s ys te m - s ee page 4 5.
Adjusting electrical exterior
mirrors:
Four way switc h in driver’s door
Move switch be low four way switch to le ft
or right from centre position: four way
switch ope rates corresponding mirror.
6F urthe r information - s ee pag e 2 9 .
A djusting interior mirror:
Swivel mirror hou sing
S wivel lever on underside of m irror housing
to re duce d azzle at night.
Take care when driving with interior mirror
adjus ted for night vision. Re ar v iew may be
s lightly dis torte d in this position.
6Further information - se e page 2 9.
Page 9 of 190

In brief9
S t e e r in g c o l u m n lo c k an d i g n it i o n :
Rotate steering wheel slightly,
turn key to position ACC
P o si t i o n s:
To lock the ste ering whe el, switch ignition
off, rem ov e k ey and turn ste ering whe el
s lig htly until lock is engage d.
6Starting - s ee page 1 7,
Parking the vehicle - s ee page 1 7,
Ele ctronic immobilis er - s ee pag e 2 1 .
Steering wheel adju stment:
S w iv e l le v e r do w n , ad ju s t h ei g h t ,
swivel lever up, engage
Do not adjust steering w heel unless v ehicle
is s tationary and s tee ring column lock has
been released.
Push the le ver firmly upwards to e nsure
that the s tee ring whee l is locke d in pos ition.
6O pel F ull Size airbag sy ste m -
se e p age 45 . J
JJ J= Ignition off
ACC= Steering unlock ed, ignition off
I= Ignition on
Y=Start
Page 13 of 190

In brief13
Exterio r lamps: Turn light switch
6Headla mp warning de vice - s ee p age 7 1,
L ighting - se e page 73 ,
He adlamps whe n driving abroad -
s ee page 7 7.
Front fog lamps, fog tail lam p:
Press bu tton
6F ront fog la mps - s ee page 7 5,
Fog tail lamp - s e e pa ge 7 5 .
H e adl a mp fl as h, h ig h and l ow
beam:
6High be am, he adlamp fla sh -
s ee page 7 4.
9=High or low beam
8=Parking lamps
A UTO = Auto lig ht c ontrol
X= Auto lig ht c ontrol
off/ on>=Front fog lamps
r=Fog tail lampHeadlamp
flash= Pull lever towards
steering wheel
and release
H ig h b eam = Push lev er
forwards
Low beam = Pull lever towards
steering wheel
Page 17 of 190

In brief17
Sta rting the en gine:
Transmission in neutral, depress
clutch ped a l fully , do not
ac celerate, turn key toY
an d release
The engine cranking is comp ute r controlle d
and will c ontinue until the engine starts or
up to a maximum of 15 s econds . To s top
the e ngine cranking, turn the ignition k ey
back to the AC C or J
JJ J position.
W hen the fue l leve l is low, the controlle d
cranking fe ature is disa bled to preve nt
e ngine dama ge. Hold the k ey in the Y
position to start the e ngine.
Start a tte mpts should not last longer than
1 5 se c o nd s. If en g i n e d o es n o t s ta rt , w a i t
1 0 se cond s b efore re peating proce dure.
To switch on ignition, only turn the ke y to I.
6Elec tronic imm obilis e r - s ee page 2 1,
F urther information - s ee page s 1 10 to 1 1 4.
Releasing the hand brake:
Raise lever slightly,
press release button,
lower lever fully
6Hand brake - s ee page 1 24 .
Pa rkin g the vehicle:
Apply hand brake firmly,
switch ignition off,
engage steerin g column lock,
lock the vehicle
To lock vehicle , pres s button e.
6Further information - se e page 2 1,
Re mote control - s ee pag e 2 2 ,
C entral locking s ys tem - se e page 24 ,
V ehicle decom miss ioning - se e page 16 0 .
Page 29 of 190
29Loc ks, do ors, windo ws
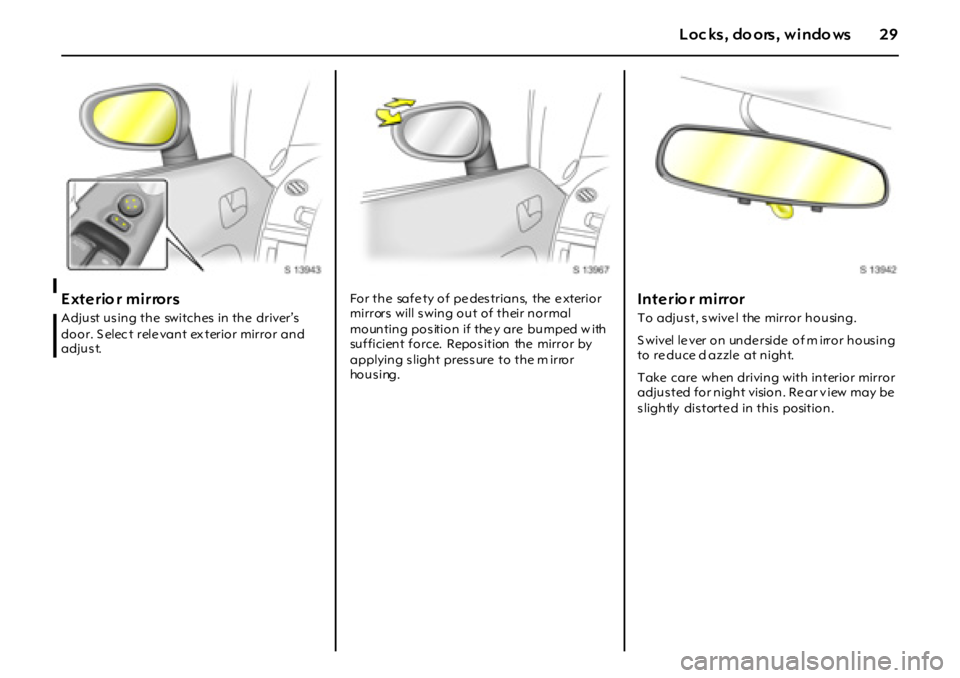
Exterio r mirrors
Adjust us ing the switches in the driver’s
door. S elec t rele vant ex terior mirror and
adjus t.For the safe ty of pe destrians, the e xterior
mirrors will s wing out of their normal
mounting position if the y are bumped w ith
sufficient force. Reposition the mirror by
applying s light pres s ure to the m irror
ho u s i ng .
Interio r mirror
To adjust, swive l the mirror housing.
S wivel lever on underside of m irror housing
to re duce d azzle at night.
Take care when driving with interior mirror
adjus ted for night vision. Re ar v iew may be
s lightly dis torte d in this position.
Page 38 of 190
38 Seats, interior
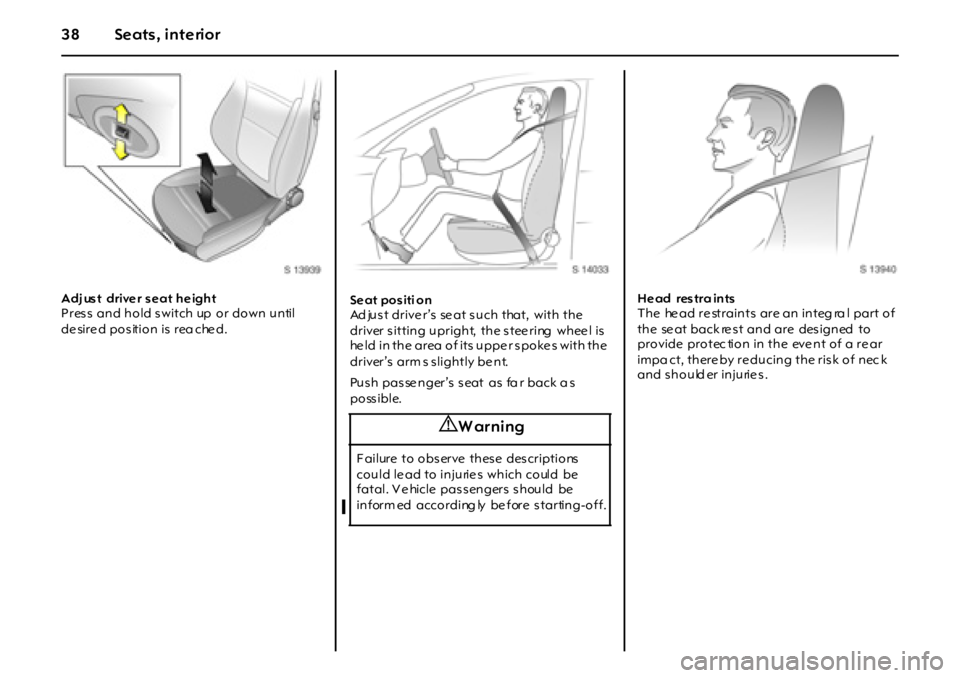
Adj ust driver seat height
Press and hold switch up or down until
de sire d pos ition is rea che d.Se at pos iti on
Ad just drive r’s se at such that, with the
dr i ver s i t t i n g u p r i g h t, t h e s t ee r i ng w h ee l i s
he ld in the area of its uppe r s poke s with the
driver’s arm s s lightly be nt.
Pus h pas se nger’s s eat as fa r back a s
poss ible. He ad restra ints
The he ad re straints are an integ ra l part of
the se at back re s t and are des igned to
provide protec tion in the event of a rear
impa ct, there by re ducing the ris k of nec k
and s hould er injurie s .
9 Warning
F ailure to observe these descriptions
could le ad to injurie s which could be
fatal. Vehicle passengers should be
inform ed according ly be fore starting-off.
Page 53 of 190
53Seats , interior
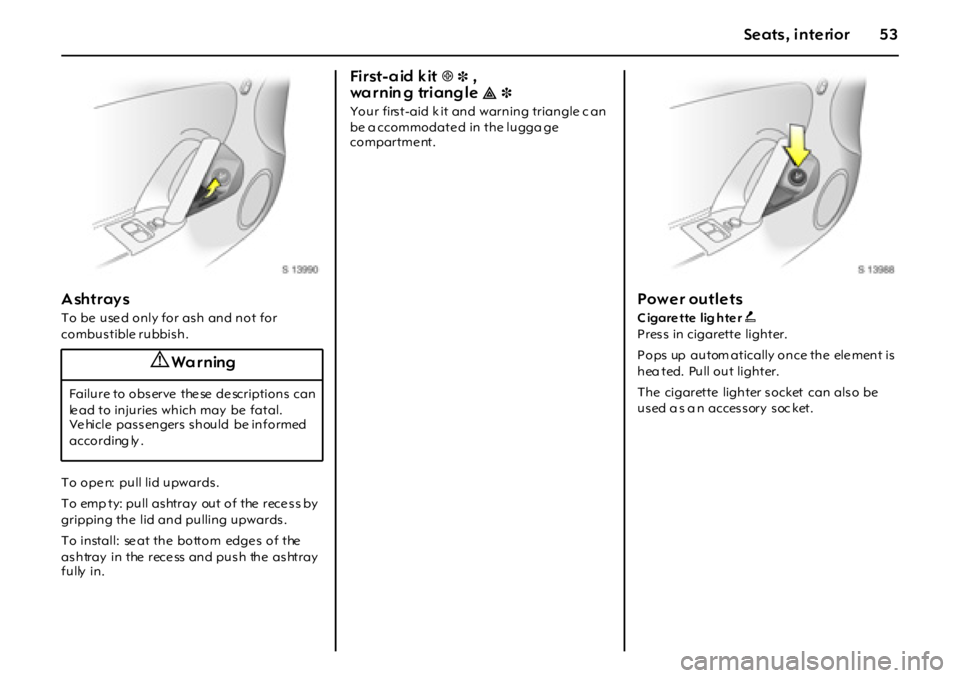
Ashtrays
To be used only for ash and not for
combus tible rubbis h.
To ope n: pull lid upwards .
T o emp ty: pu ll as htr ay ou t o f the r ece s s by
gripping the lid and pulling upwards .
To install: se at the bottom edge s of the
as htray in the rece ss and pus h the as htray
fully in.
Fi r st - a id k it+3,
warnin g triangle¨3
Your firs t-aid k it and warning triangle c an
be a ccommodate d in the lugga ge
compartme nt.
Power outlets
C igare tte lig hte r )
Pres s in cigarette lighter.
Pops up autom atically once the ele ment is
hea ted. Pull out lighter.
The cigarette lighter s ocket can als o be
used a s a n accessory soc ket.
9 Wa r ning
Failure to observe these descriptions can
le ad to in ju r ies wh ich may be f atal.
Vehicle passengers should be informed
according ly .
Page 66 of 190
66 In struments, controls
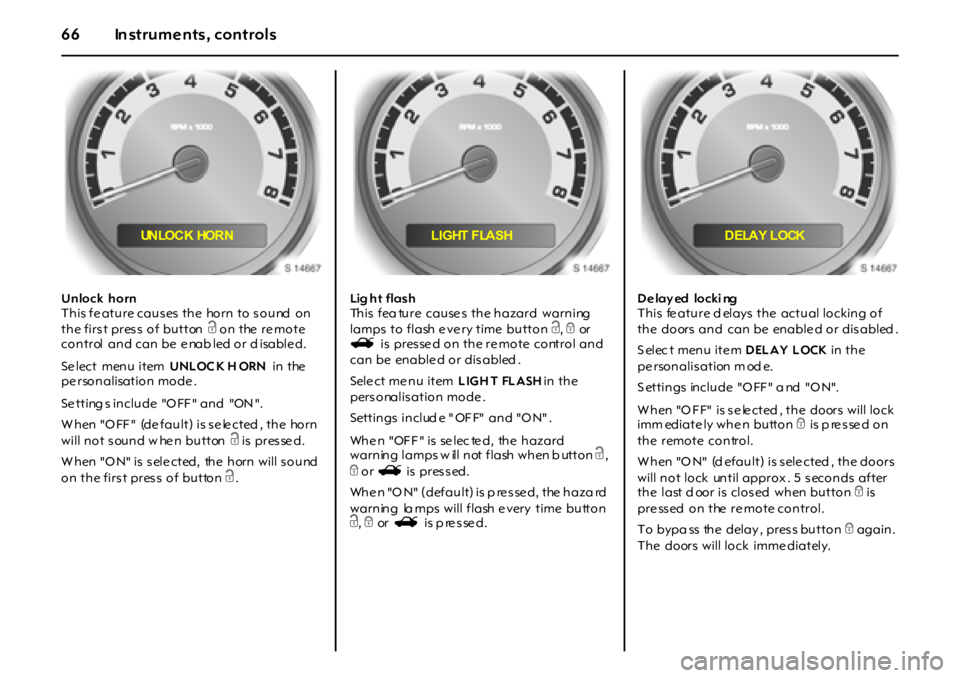
Unlock horn
T h i s f e a t u r e ca u s es t h e ho r n t o s o u nd o n
the first press of button c on the re mote
control and can be e nab led or d isable d.
Se lect menu item UNLOC K H ORN in the
pe rsonalisation mode .
Se tting s in clu de "O FF " an d "ON ".
W h en "O FF " (de f a u l t ) i s s e le ct ed , t h e ho r n
will not sound w hen button c is pres se d.
W hen "O N" is s ele cted, the horn will s ound
on the first press of button c.Lig h t f la s h
This fea ture causes the hazard warning
lamps to flash e ve ry time button c, e or
s i s p r es se d o n t h e r e m o t e co nt r o l a n d
can be enable d or dis abled .
Sele ct me nu item LIGH T FLASH in the
pers onalis ation mode .
Settings include "OFF" and "ON".
When "OFF" is selected, the hazard
warning lamps w ill not flash when b utton c,
e or s is pressed.
When "ON" (default) is p ressed, the haza rd
warning la mps will flash e very time button
c, e or s is p re s se d.D e lay ed locki ng
This fe ature d elays the actual locking of
the doors and can be enable d or dis abled .
S elec t menu ite m DELAY LOCK in the
pe rsonalis ation m od e.
S ettin gs in clu de "O FF " a nd "O N".
W h en "O F F" i s s e le ct ed , t h e do or s w i l l l o ck
imm ediately when button e is p re s se d on
the remote control.
W h en "O N" (d ef a u l t ) i s s el e ct ed , t h e do o r s
will not lock until approx . 5 s econds after
t h e l a st d oo r i s cl o s ed w h en bu t t o n e is
pressed on the remote control.
To bypa ss the delay , pres s button e again.
The doors will lock imme diately.
UN LO C K HO R N LIGHT FLASH DELAY LOCK
Page 67 of 190
67Instru men ts, c ontrols
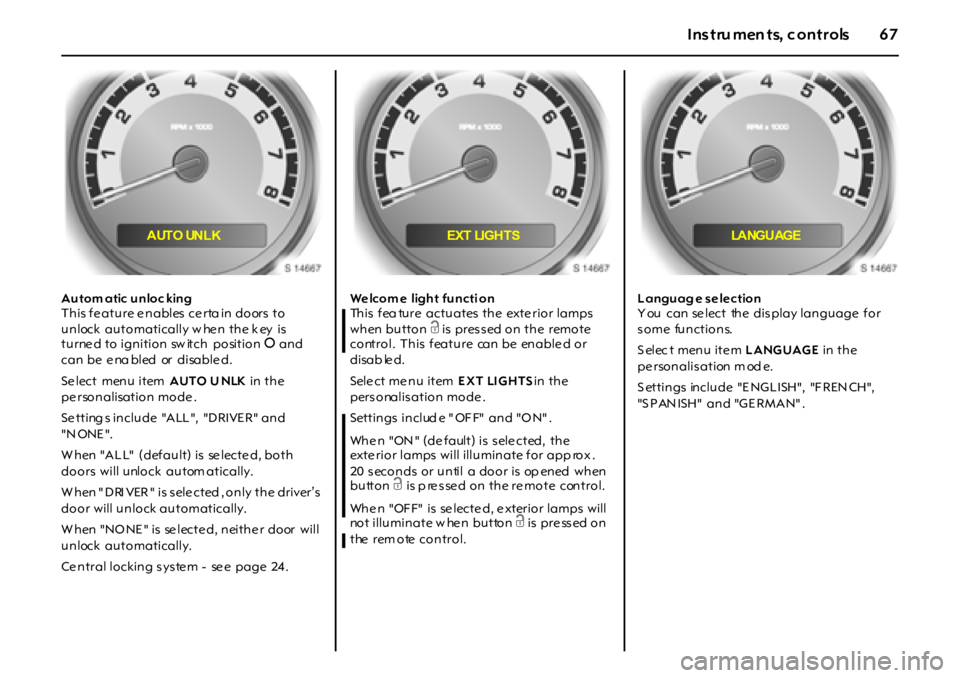
Autom atic unloc king
This fe ature e nables ce rta in doors to
unlock automatically w he n the k ey is
turne d to ignition sw itch position J and
can be e na bled or disable d.
Se lect menu item AUTO U NLK in the
pe rsonalisation mode .
Se tting s in clu de "A LL ", "D RIVE R" an d
"N ONE ".
W h en "A L L" (defau lt) is se lecte d, bo th
doors will unlock autom atically.
W h en " D RI VER " i s s el e ct ed , o n l y t h e dr i ver ’s
door will unlock automatically.
W hen "NO NE " is se lecte d, neithe r door will
unlock automatically.
Ce ntral locking s ys te m - se e page 24 .We lcom e light functi on
Th i s f ea tu r e a ct u a t es t h e ext e r i o r l a m p s
when button c is pressed on the remote
control. This feature can be enable d or
disab le d.
Sele ct me nu item EXT LI GHTS in the
pers onalis ation mode .
Settings include "OFF" and "ON".
Whe n "ON " (de fault) is s ele cted, the
exte rior lamps will illuminate for app rox .
20 s eco n ds o r u n ti l a do o r i s op en ed w h en
buttonc is p re sse d on the re mote control.
Whe n "OF F" is se lecte d, e xterior lamps will
not illuminate w he n button c is pre ss ed on
the rem ote control.Languag e selection
You can select the display language for
some functions.
S elec t menu ite m LANGUAGE in the
pe rsonalis ation m od e.
S ettin gs in clu de "E NG L ISH", "F REN CH",
"S P AN ISH" an d "G E RMA N" .
AUTO UNLK EXT LIGHTS LANGUAGE
Page 68 of 190
68 In struments, controls
The p ers onalis ation mode ends after
mak ing your language selection and the
display g oes back to the previously
dis playe d me nu ite m in the informa tion
dis play - se e page 60 .
Alternative ly, pre ss and hold buttons S
and T at the sam e time to e xit the
pe rsonalisation mode .
Re mote control - s ee page 2 2,
Ce ntral locking - s ee page 2 4 ,
Dela yed locking - s ee page 2 4,
Autom atic locking - s e e pa ge 2 5 ,
Autom atic unlock ing - s ee page 2 5.Che ck co ntro l w ar ni ng me ss ag e s
Check control monitors s e veral fluid le vels ,
the remote control batte ry , the e ng ine , the
fue l fille r cap and the s tatus of se veral
vehicle features including cruise control,
tra ction control, the Ele ctronic S tability
Program (ESP) and the airbag sy ste ms.
"ES C" ap pears in some warning mes s ages .
Elec tronic S tability C ontrol (ES C) is a
component part of the Ele ctronic S tability
Program (ESP), im proving driving s tability.
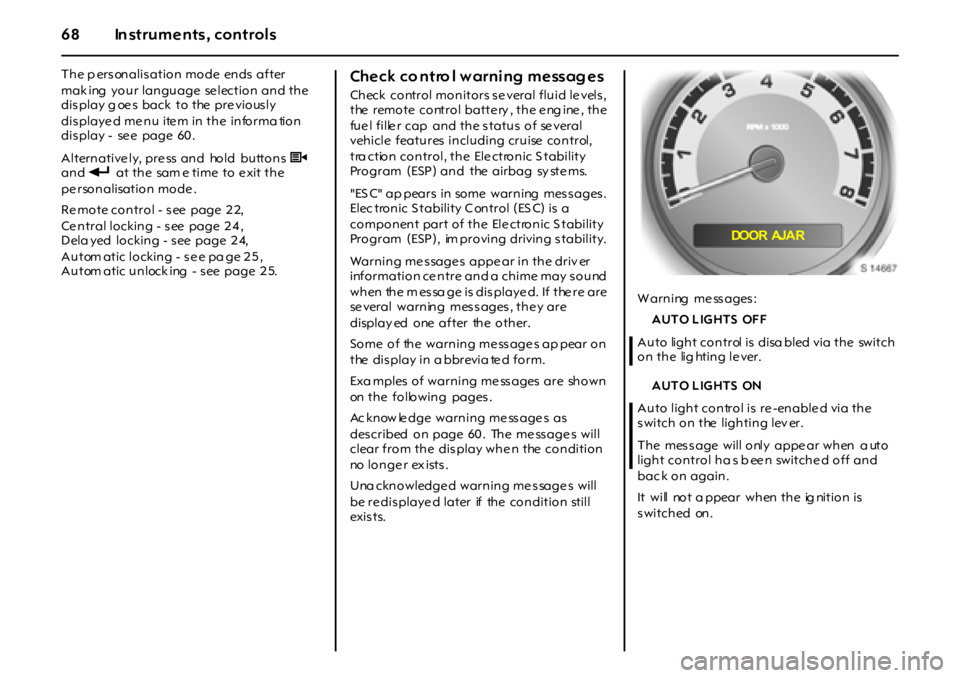
Warning me s sage s appe ar in the driv er
information ce ntre and a chime may s ound
w h en th e m es sa g e i s di s p l a ye d. If t he r e a r e
se veral warning mes s ages , the y are
display ed one after the other.
Some of the warning me ss age s ap pear on
the dis play in a bbrevia te d form.
Exa mples of warning me ss ages are shown
on the following pages .
Ac know le dge warning me ss age s as
des cribed on page 60 . The me ss age s will
clear from the display when the condition
no longe r ex ists .
Una cknowledge d warning me s sage s will
be re dis playe d later if the condition still
exi s t s.W arning me ss ages :
AUTO LIGHTS OFF
Auto light control is disa bled via the switch
on the lig hting le ver.
AUTO LIGHTS ON
Auto light control is re -enable d via the
switch on the lighting lev er.
The mes s age will only appe ar when a uto
light control ha s b een switched off and
bac k on again.
It will not a ppear when the ig nition is
switched on.
DOOR AJA R