box OPEL INSIGNIA BREAK 2020 Owner's Manual
[x] Cancel search | Manufacturer: OPEL, Model Year: 2020, Model line: INSIGNIA BREAK, Model: OPEL INSIGNIA BREAK 2020Pages: 315, PDF Size: 9.45 MB
Page 13 of 315

In brief111Power windows .....................41
2 Exterior mirrors .....................38
3 Central locking system ..........26
4 Side air vents ...................... 149
5 Cruise control .....................178
Speed limiter ....................... 180
Adaptive cruise control .......181
Forward collision alert .........190
6 Turn and lane-change
signals, headlight flash,
low/high beam, high beam
assist ................................... 135
Exit lighting ......................... 138
Parking lights ...................... 136
Buttons for Driver
Information Centre ..............111
7 Instruments ........................ 101
Driver Information Centre .... 111
8 Buttons for Driver
Information Centre ..............111
9 Head-up display ..................11810Windscreen wiper and
washer, headlight washer,
rear wiper and washer .........90
11 Centre air vents .................. 149
12 Hazard warning flashers ....134
13 Info Display ......................... 117
14 Anti-theft alarm system
status LED ........................... 35
15 Electronic Stability Control . 175
Traction Control system .....174
16 Glovebox .............................. 74
17 Controls for Info Display
operation ............................. 117
18 Climate control system ........ 140
19 Power outlet .......................... 94
20 Flexride controls .................. 176
Parking assist / advanced
parking assist .....................199
Lane keep assist ................218
Eco button for stop-start
system ................................. 157
21 Manual transmission ..........169
Automatic transmission ......16522Electric parking brake .........171
23 Power switch ....................... 153
24 Steering wheel adjustment ..89
25 Horn ..................................... 90
26 Bonnet release lever ..........231
27 Fuse box ............................ 252
28 Light switch ........................ 129
Headlight range
adjustment ......................... 132
Front / rear fog lights ..........135
Instrument illumination .......136
29 Head-up display controls ....118
Page 76 of 315
74StorageStorageStorage compartments................74
Glovebox ................................... 74
Cupholders ................................ 74
Front storage ............................. 75
Sunglasses storage ...................75
Armrest storage .........................75
Centre console storage .............75
Load compartment .......................76
Rear storage .............................. 79
Load compartment cover ...........79
Rear floor storage cover ............81
Lashing eyes ............................. 81
Cargo management system ......81
Safety net .................................. 82
Warning triangle ........................84
First aid kit ................................. 85
Roof rack system .........................86
Roof rack ................................... 86
Loading information .....................86Storage compartments9Warning
Do not store heavy or sharp
objects in the storage
compartments. Otherwise, the
storage compartment lid could
open and vehicle occupants could be injured by objects being thrown
around in the event of hard
braking, a sudden change in
direction or an accident.
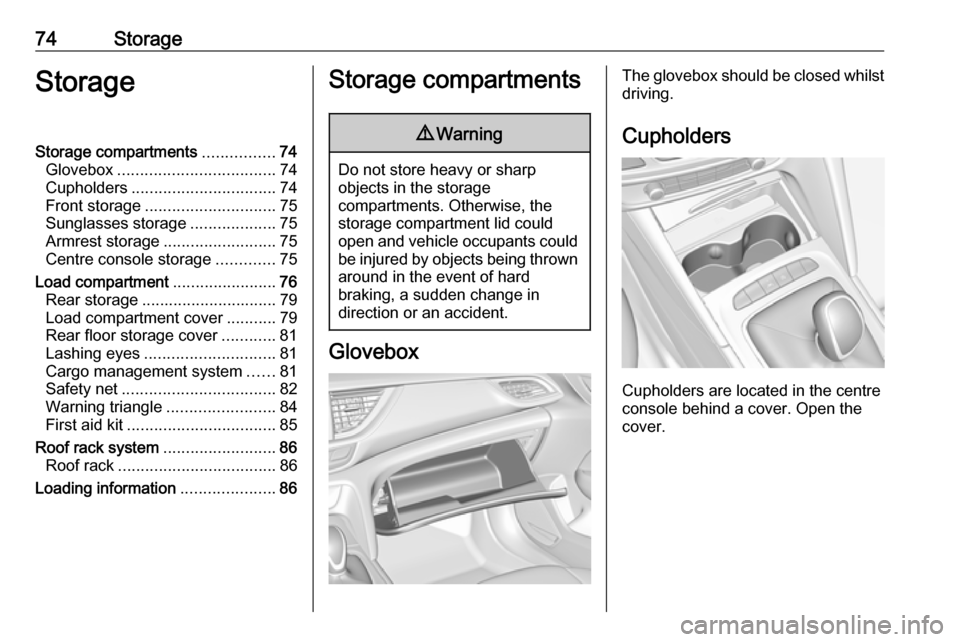
Glovebox
The glovebox should be closed whilst driving.
Cupholders
Cupholders are located in the centre
console behind a cover. Open the
cover.
Page 77 of 315

Storage75
Additional cupholders are located in
the rear armrest. Fold down armrest.
Front storage
A storage box is located in the centre
console. Push cover to the front.
Sunglasses storage
Fold down and open.
Do not use for storing heavy objects.
Armrest storage
Storage under the front armrest
Push button to fold up the armrest.
Centre console storage The storage container can be used to
store small items.
Depending on the version, the
storage compartment is located
under a cover.
Page 81 of 315

Storage79
The seat belt of the centre seat couldbe blocked when the backrest is
folded up too quickly. To unlock the
retractor, push in the seat belt or pull
it out by approx. 20 mm then release.
Rear storage
Storage box
A storage box is located in the load
compartment. Remove the cover to
gain access to the storage box.
Rear floor storage cover 3 81.
Load compartment cover Do not place any objects on the cover.
Grand Sport
Removing cover
Unhook retaining straps from tailgate.
Page 114 of 315
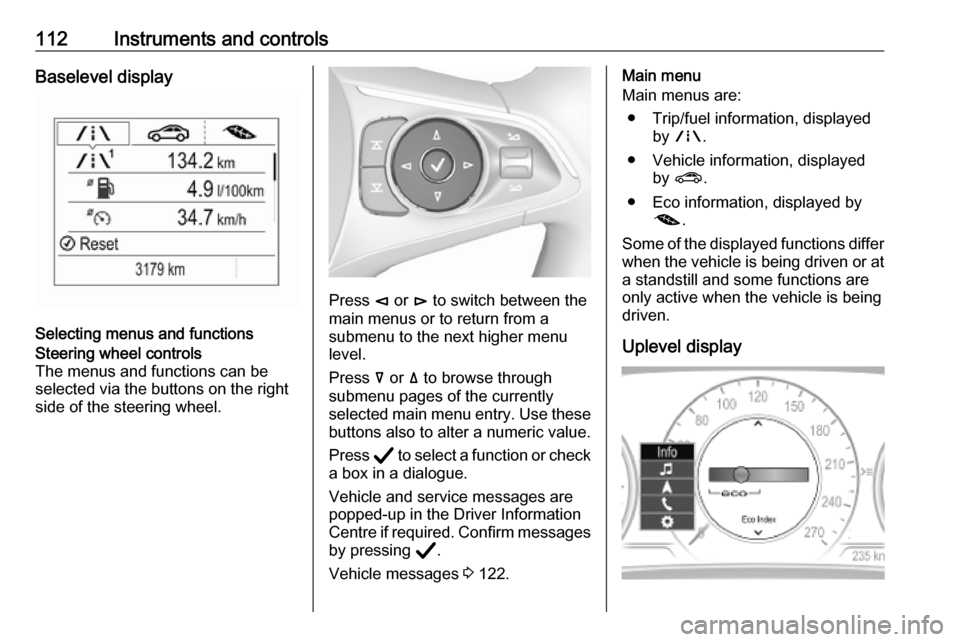
112Instruments and controlsBaselevel display
Selecting menus and functions
Steering wheel controls
The menus and functions can be selected via the buttons on the right
side of the steering wheel.
Press è or é to switch between the
main menus or to return from a
submenu to the next higher menu
level.
Press å or ä to browse through
submenu pages of the currently
selected main menu entry. Use these
buttons also to alter a numeric value.
Press Å to select a function or check
a box in a dialogue.
Vehicle and service messages are
popped-up in the Driver Information
Centre if required. Confirm messages by pressing Å.
Vehicle messages 3 122.
Main menu
Main menus are:
● Trip/fuel information, displayed by ; .
● Vehicle information, displayed by ? .
● Eco information, displayed by @ .
Some of the displayed functions differ
when the vehicle is being driven or at
a standstill and some functions are
only active when the vehicle is being
driven.
Uplevel display
Page 115 of 315
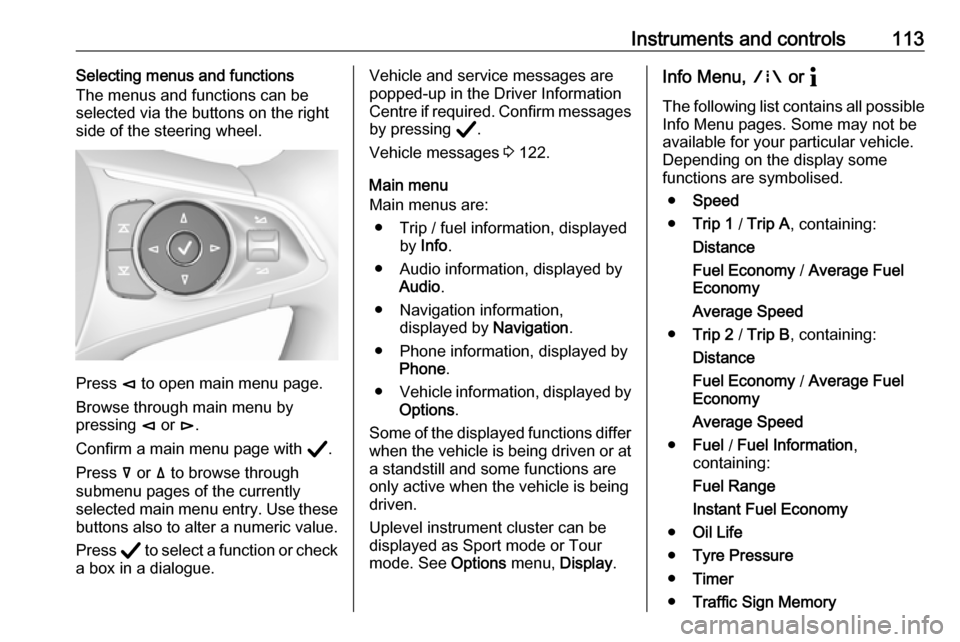
Instruments and controls113Selecting menus and functions
The menus and functions can be
selected via the buttons on the right
side of the steering wheel.
Press è to open main menu page.
Browse through main menu by
pressing è or é.
Confirm a main menu page with Å.
Press å or ä to browse through
submenu pages of the currently
selected main menu entry. Use these
buttons also to alter a numeric value.
Press Å to select a function or check
a box in a dialogue.
Vehicle and service messages are
popped-up in the Driver Information
Centre if required. Confirm messages by pressing Å.
Vehicle messages 3 122.
Main menu
Main menus are:
● Trip / fuel information, displayed by Info .
● Audio information, displayed by Audio .
● Navigation information, displayed by Navigation.
● Phone information, displayed by Phone .
● Vehicle information, displayed by
Options .
Some of the displayed functions differ
when the vehicle is being driven or at
a standstill and some functions are
only active when the vehicle is being
driven.
Uplevel instrument cluster can be
displayed as Sport mode or Tour
mode. See Options menu, Display.Info Menu, ; or "
The following list contains all possible Info Menu pages. Some may not be
available for your particular vehicle.
Depending on the display some
functions are symbolised.
● Speed
● Trip 1 / Trip A , containing:
Distance
Fuel Economy / Average Fuel
Economy
Average Speed
● Trip 2 / Trip B , containing:
Distance
Fuel Economy / Average Fuel
Economy
Average Speed
● Fuel / Fuel Information ,
containing:
Fuel Range
Instant Fuel Economy
● Oil Life
● Tyre Pressure
● Timer
● Traffic Sign Memory
Page 118 of 315
116Instruments and controlsFor further information, see
Infotainment manual.
Vehicle information menu, ?,
Options or %
The following list contains all possible Options Menu pages. Some may not
be available for your particular
vehicle. Depending on the display
some functions are symbolised.
● Units
● Display
● Info Page Options
● Home Page Options
● Adaptive Cruise
● Speed Warning
● Tyre Load
● Gauges
● Software Information
● Head-up Display
● AdBlue Level
Units
Select display unit system: imperial or
metric.Display
Press é and select Sport or Touring
mode. Sport mode includes more
vehicle information, Tour mode
includes more media information.
This setting is only available with
Uplevel display.
Info Page Options
A list of all pages in the Info Menu is
displayed, see above. Select the
pages to be displayed in the Info
Menu. Selected pages have a 0.
Non viewable functions have a blank
checkbox.
Home Page Options
Select, which values are shown on
the Driver Information Center home
page, e.g. speed or fuel range.
Adaptive Cruise
Activates or deactivates adaptive
cruise control 3 181.
Speed Warning
The speed warning page allows you
to set a speed that you do not want to exceed.Speed limit can only be set when
speed warning is enabled. Once the
speed is set, this feature can be
turned off by pressing Å while
viewing this page. If the selected
speed limit is exceeded, a pop-up
warning is displayed with a chime.
Tyre Load
The tyre pressure category according
to the actual tyre inflation pressure
can be selected 3 256.
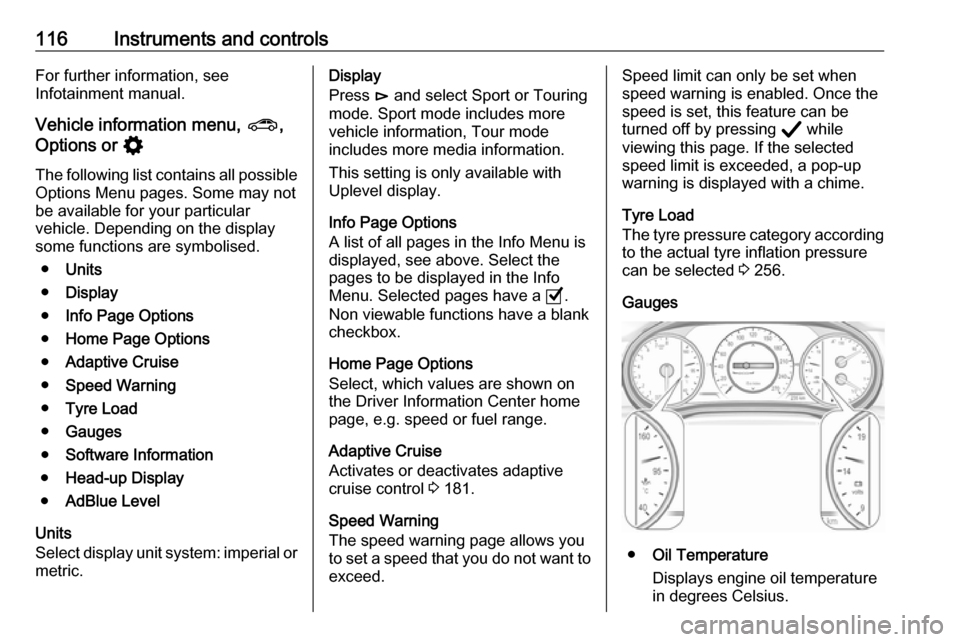
Gauges
● Oil Temperature
Displays engine oil temperature
in degrees Celsius.
Page 226 of 315
224Driving and operatingPlace the nozzle in straight position tothe filler neck and press with slight
force to insert.
To refuel, switch on pump nozzle.
After the automatic cut-off, the tank can be topped up by operating the
pump nozzle a maximum of two more
times.Caution
Wipe off any overflowing fuel
immediately.
Close the flap and allow it to engage.
Misfuel inhibitor
9 Warning
Do not try to open the flap of the
fuel filler neck manually on
vehicles with misfuel inhibitor.
Disregarding this could lead to
trapping of the fingers.
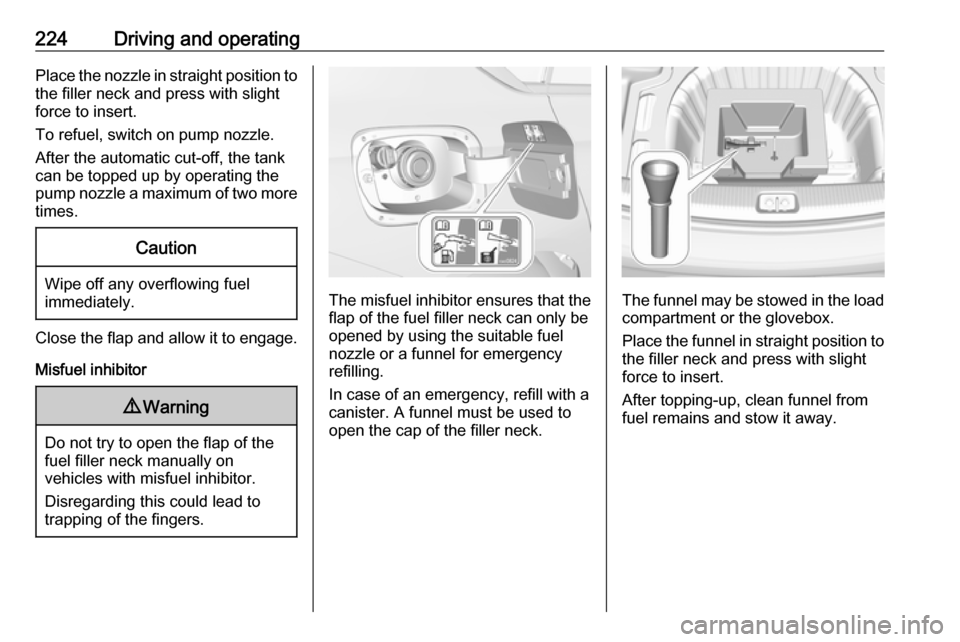
The misfuel inhibitor ensures that the
flap of the fuel filler neck can only be
opened by using the suitable fuel
nozzle or a funnel for emergency
refilling.
In case of an emergency, refill with a
canister. A funnel must be used to
open the cap of the filler neck.The funnel may be stowed in the load
compartment or the glovebox.
Place the funnel in straight position to the filler neck and press with slight
force to insert.
After topping-up, clean funnel from
fuel remains and stow it away.
Page 231 of 315

Vehicle care229Vehicle careGeneral Information...................229
Accessories and vehicle modifications .......................... 229
Vehicle storage ........................230
End-of-life vehicle recovery .....230
Vehicle checks ........................... 231
Performing work ......................231
Bonnet ..................................... 231
Engine oil ................................. 232
Engine coolant ......................... 233
Washer fluid ............................ 234
Brakes ..................................... 234
Brake fluid ............................... 234
Vehicle battery ......................... 235
Diesel fuel system bleeding .....237
Wiper blade replacement ........237
Bulb replacement .......................238
Halogen headlights ..................238
LED headlights ........................ 240
Front fog lights ......................... 240
Tail lights ................................. 242
Side turn lights ......................... 247
Number plate light ...................248
Interior lights ............................ 248Electrical system........................248
Fuses ....................................... 248
Engine compartment fuse box . 249
Instrument panel fuse box .......252
Vehicle tools .............................. 253
Tools ........................................ 253
Wheels and tyres .......................254
Winter tyres ............................. 254
Tyre designations ....................255
Tyre pressure .......................... 255
Tyre pressure monitoring system .................................... 256
Tread depth ............................. 258
Changing tyre and wheel size . 259
Wheel covers ........................... 259
Tyre chains .............................. 260
Tyre repair kit .......................... 260
Wheel changing .......................265
Spare wheel ............................ 265
Jump starting ............................. 269
Towing ....................................... 271
Towing the vehicle ...................271
Towing another vehicle ...........272
Appearance care .......................273
Exterior care ............................ 273
Interior care ............................. 275
Floor mats ............................... 276General Information
Accessories and vehicle modifications
We recommend the use of genuine parts and accessories and factory
approved parts specific for your
vehicle type. We cannot assess or
guarantee reliability of other products - even if they have a regulatory or
otherwise granted approval.
Any modification, conversion or other
changes made to standard vehicle
specifications (including, without
limitation, software modifications,
modifications of the electronic control units) may invalidate the warranty
offered by Opel. Furthermore, such
changes may affect driver assistance
systems, fuel consumption, CO 2
emissions and other emissions of the
vehicle. They may also invalidate the
vehicle operating permit.
Page 250 of 315
248Vehicle care4. Insert bulb holder and turnclockwise.
5. Insert left end of the lamp, slide to
the left and insert right end.
Number plate light
The number plate light is designed as
LEDs and can not be changed. In
case of defective LEDs, have them
replaced by a workshop.
Interior lights
Have the following bulbs replaced by
a workshop:
● courtesy light, reading lights
● load compartment light
● instrument panel illuminationElectrical system
Fuses Data on the replacement fuse mustmatch the data on the defective fuse.
There are two fuse boxes in the
vehicle:
● engine compartment
● instrument panel
Before replacing a fuse, turn off the
respective switch and the ignition.
A blown fuse can be recognised by its melted wire.Caution
Do not replace the fuse until the
cause of the fault has been
remedied.
Some functions are protected by
several fuses.
Fuses may also be inserted without
existence of a function.
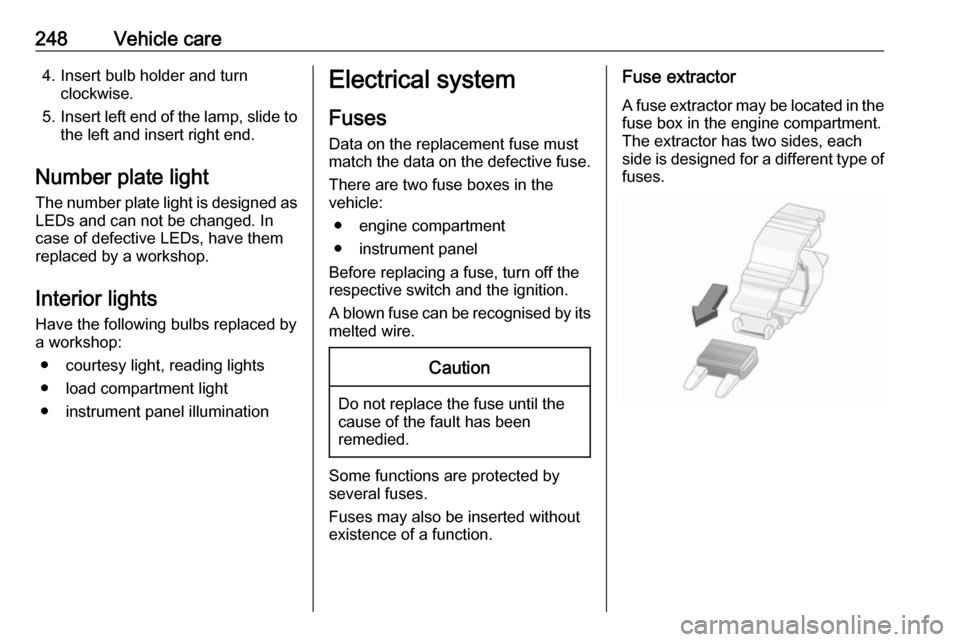
Fuse extractor
A fuse extractor may be located in the
fuse box in the engine compartment.
The extractor has two sides, each
side is designed for a different type of fuses.