OPEL MOKKA X 2019.5 Manual user
Manufacturer: OPEL, Model Year: 2019.5, Model line: MOKKA X, Model: OPEL MOKKA X 2019.5Pages: 247, PDF Size: 6.86 MB
Page 31 of 247

Keys, doors and windows29ON: When pressing the central
locking button, three chimes will
sound to signal delayed locking is
activated.
The doors will not lock until
five seconds after the last door is
closed. You can temporarily override
delayed locking by pressing the
central locking button or the locking
button on the radio remote control.
OFF : The doors will lock immediately
when pressing the power lock switch
or e on the radio remote control.
Automatic locking Automatic locking after driving off
This security feature can be
configured to automatically lock all
doors, load compartment and fuel
filler flap after driving off and
exceeding a certain speed.
When at a standstill after driving, the
vehicle will be unlocked automatically
as soon as the key is removed from
the ignition switch, or with electronic
key system when the ignition is
switched off.Activation or deactivation of
automatic locking can be set in the
settings menu in the Info Display.
Info Display 3 102.
Vehicle personalisation 3 106.
The setting can be saved for the
remote control or electronic key being used 3 25.
Automatic relock after unlocking
This feature can be configured to
automatically lock all doors, load
compartment and fuel filler flap a
short time after unlocking with the
remote control or electronic key,
provided no door has been opened.
Activation or deactivation of
automatic relock can be set in the
settings menu in the Info Display.
Info Display 3 102.
Vehicle personalisation 3 106.
The setting can be saved for the
remote control or electronic key being used 3 25.Passive locking
On vehicles with electronic key
system, this feature locks the vehicle
automatically after several seconds if
an electronic key has been
recognised previously inside the
vehicle, all doors have then been
closed and the electronic key does
not remain within the vehicle.
If the electronic key remains in the
vehicle or the ignition is still on,
passive locking will not be permitted.
If there have been two or more
electronic keys in the vehicle and the
ignition was on once, the feature
locks the vehicle if just one electronic key is taken out of the vehicle.
Passive locking can be disabled by
pressing c for a few seconds while
one door is open. It remains disabled
until e is pressed or the ignition is
switched on.
Activation or deactivation of passive
locking can be set in the settings
menu in the Info Display.
Info Display 3 102.
Vehicle personalisation 3 106.
Page 32 of 247
30Keys, doors and windowsThe setting can be saved for the
electronic key being used 3 25.
Child locks9 Warning
Use the child locks whenever
children are occupying the rear
seats.
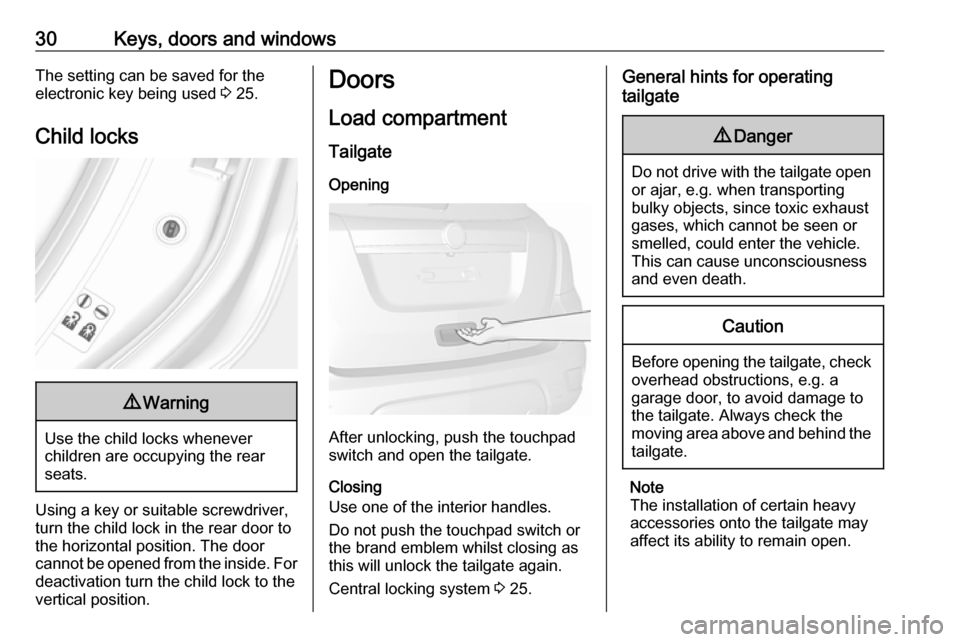
Using a key or suitable screwdriver,
turn the child lock in the rear door to
the horizontal position. The door
cannot be opened from the inside. For
deactivation turn the child lock to the
vertical position.
Doors
Load compartment Tailgate
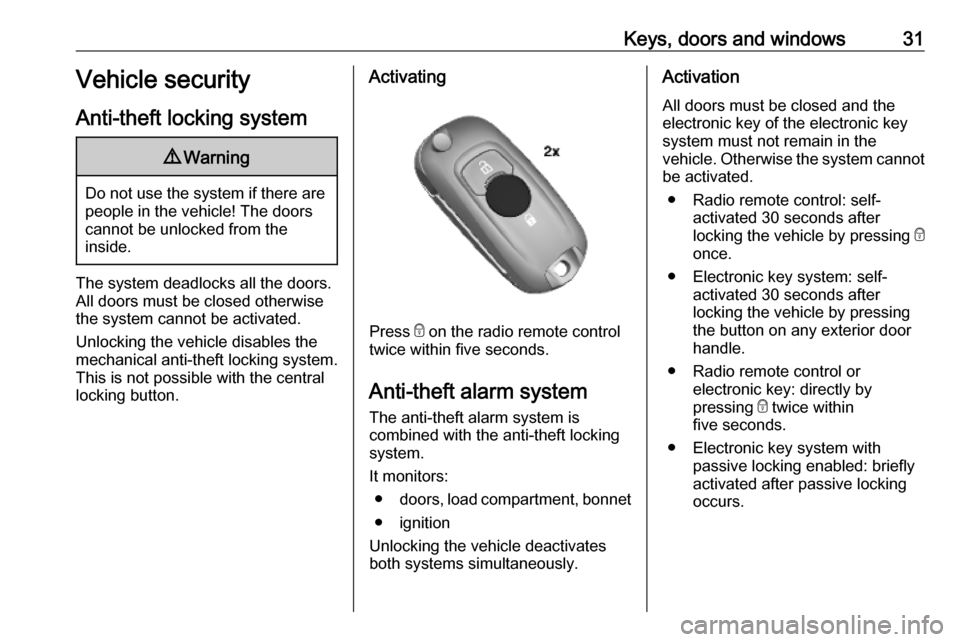
Opening
After unlocking, push the touchpad
switch and open the tailgate.
Closing
Use one of the interior handles.
Do not push the touchpad switch or
the brand emblem whilst closing as
this will unlock the tailgate again.
Central locking system 3 25.
General hints for operating
tailgate9 Danger
Do not drive with the tailgate open
or ajar, e.g. when transporting
bulky objects, since toxic exhaust
gases, which cannot be seen or
smelled, could enter the vehicle.
This can cause unconsciousness
and even death.
Caution
Before opening the tailgate, check overhead obstructions, e.g. a
garage door, to avoid damage to
the tailgate. Always check the
moving area above and behind the
tailgate.
Note
The installation of certain heavy
accessories onto the tailgate may
affect its ability to remain open.
Page 33 of 247
Keys, doors and windows31Vehicle security
Anti-theft locking system9 Warning
Do not use the system if there are
people in the vehicle! The doorscannot be unlocked from the
inside.
The system deadlocks all the doors. All doors must be closed otherwise
the system cannot be activated.
Unlocking the vehicle disables the
mechanical anti-theft locking system.
This is not possible with the central
locking button.
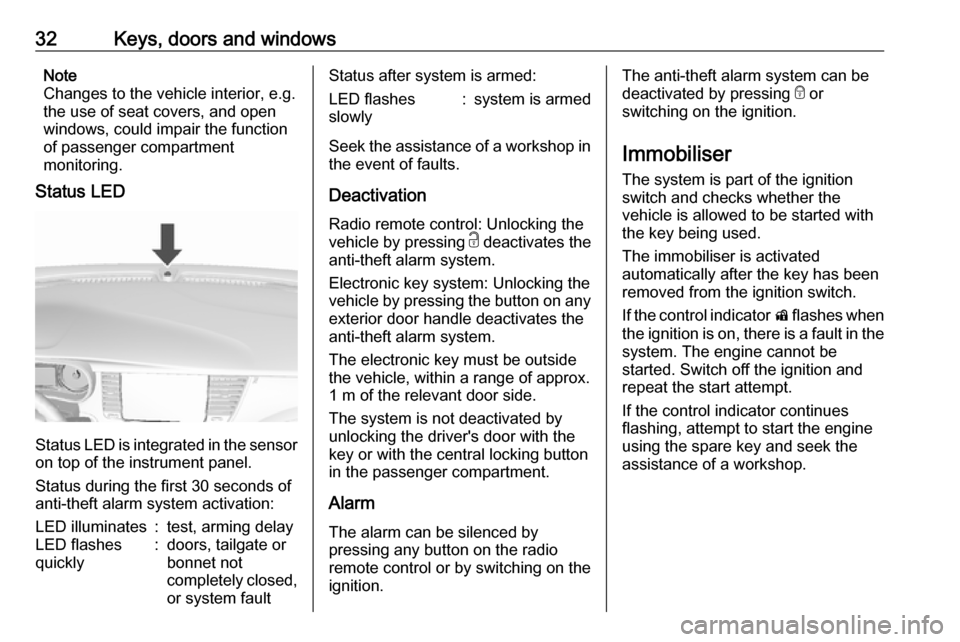
Activating
Press e on the radio remote control
twice within five seconds.
Anti-theft alarm system The anti-theft alarm system is
combined with the anti-theft locking
system.
It monitors: ● doors, load compartment, bonnet
● ignition
Unlocking the vehicle deactivates
both systems simultaneously.
Activation
All doors must be closed and theelectronic key of the electronic key
system must not remain in the
vehicle. Otherwise the system cannot
be activated.
● Radio remote control: self- activated 30 seconds after
locking the vehicle by pressing e
once.
● Electronic key system: self- activated 30 seconds after
locking the vehicle by pressing the button on any exterior door
handle.
● Radio remote control or electronic key: directly by
pressing e twice within
five seconds.
● Electronic key system with passive locking enabled: briefly
activated after passive locking
occurs.
Page 34 of 247
32Keys, doors and windowsNote
Changes to the vehicle interior, e.g.
the use of seat covers, and open
windows, could impair the function
of passenger compartment
monitoring.
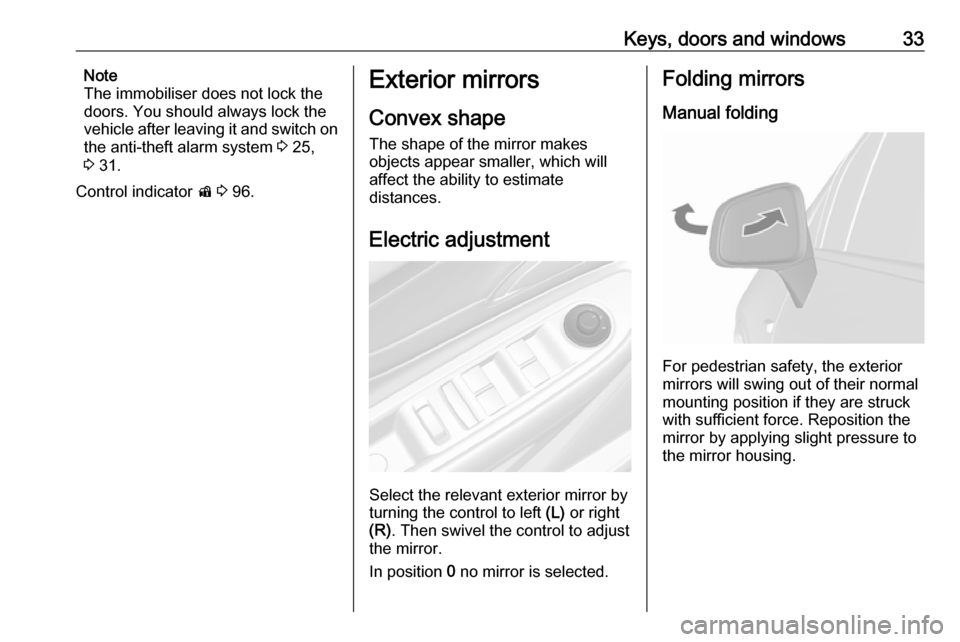
Status LED
Status LED is integrated in the sensor
on top of the instrument panel.
Status during the first 30 seconds of
anti-theft alarm system activation:
LED illuminates:test, arming delayLED flashes
quickly:doors, tailgate or
bonnet not
completely closed,
or system faultStatus after system is armed:LED flashes
slowly:system is armed
Seek the assistance of a workshop in
the event of faults.
Deactivation
Radio remote control: Unlocking the
vehicle by pressing c deactivates the
anti-theft alarm system.
Electronic key system: Unlocking the
vehicle by pressing the button on any exterior door handle deactivates the
anti-theft alarm system.
The electronic key must be outside
the vehicle, within a range of approx. 1 m of the relevant door side.
The system is not deactivated by
unlocking the driver's door with the
key or with the central locking button
in the passenger compartment.
Alarm The alarm can be silenced by
pressing any button on the radio
remote control or by switching on the
ignition.
The anti-theft alarm system can be
deactivated by pressing e or
switching on the ignition.
Immobiliser
The system is part of the ignition
switch and checks whether the
vehicle is allowed to be started with
the key being used.
The immobiliser is activated
automatically after the key has been
removed from the ignition switch.
If the control indicator d flashes when
the ignition is on, there is a fault in the system. The engine cannot be
started. Switch off the ignition and repeat the start attempt.
If the control indicator continues
flashing, attempt to start the engine
using the spare key and seek the
assistance of a workshop.
Page 35 of 247
Keys, doors and windows33Note
The immobiliser does not lock the
doors. You should always lock the
vehicle after leaving it and switch on
the anti-theft alarm system 3 25,
3 31.
Control indicator d 3 96.Exterior mirrors
Convex shape
The shape of the mirror makes
objects appear smaller, which will
affect the ability to estimate
distances.
Electric adjustment
Select the relevant exterior mirror by
turning the control to left (L) or right
(R) . Then swivel the control to adjust
the mirror.
In position 0 no mirror is selected.
Folding mirrors
Manual folding
For pedestrian safety, the exterior
mirrors will swing out of their normal
mounting position if they are struck
with sufficient force. Reposition the mirror by applying slight pressure tothe mirror housing.
Page 36 of 247
34Keys, doors and windowsElectric folding
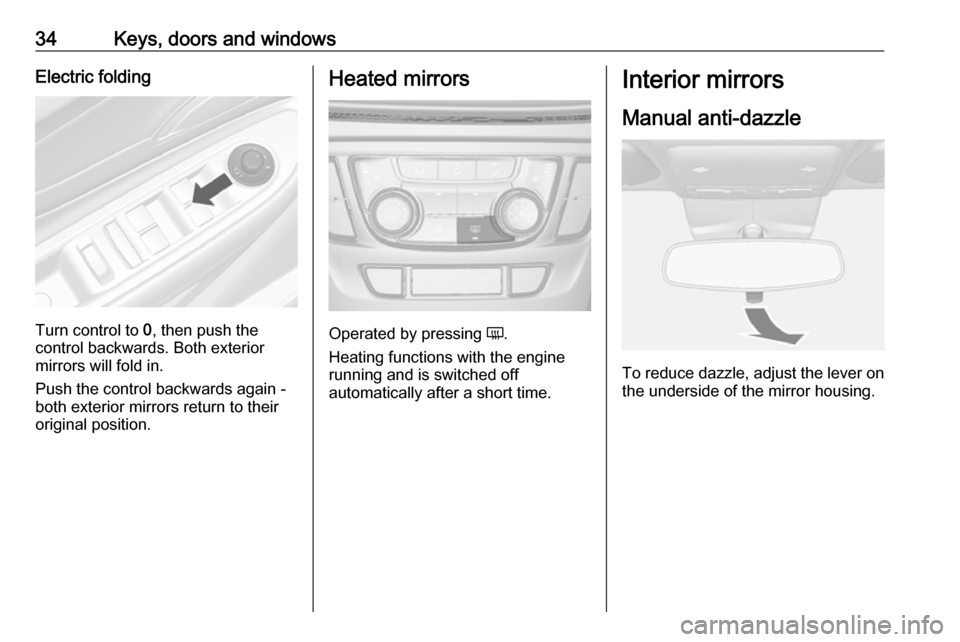
Turn control to 0, then push the
control backwards. Both exterior
mirrors will fold in.
Push the control backwards again -
both exterior mirrors return to their
original position.
Heated mirrors
Operated by pressing Ü.
Heating functions with the engine running and is switched off
automatically after a short time.
Interior mirrors
Manual anti-dazzle
To reduce dazzle, adjust the lever on the underside of the mirror housing.
Page 37 of 247
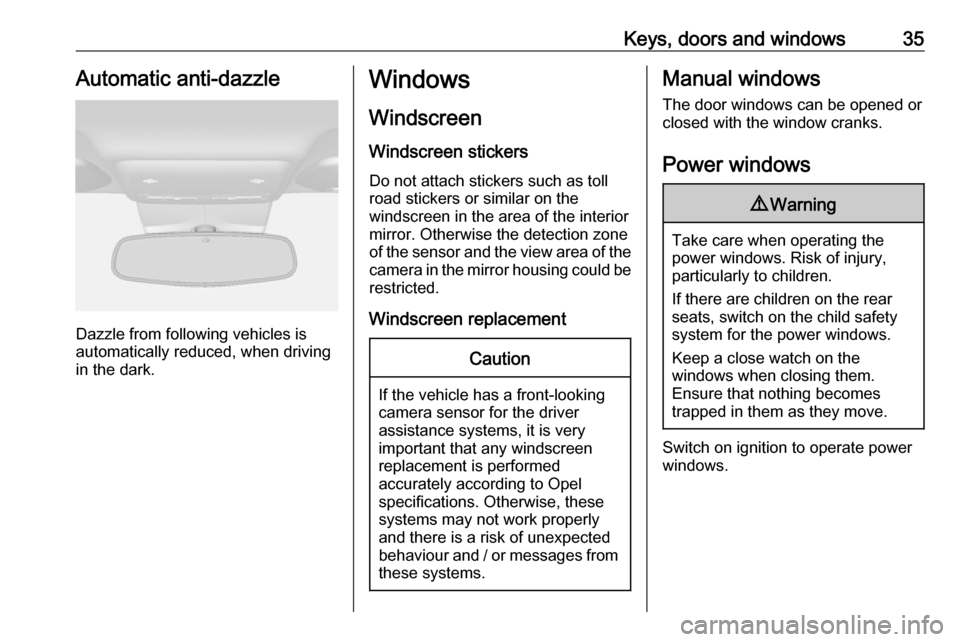
Keys, doors and windows35Automatic anti-dazzle
Dazzle from following vehicles is
automatically reduced, when driving
in the dark.
Windows
Windscreen
Windscreen stickers
Do not attach stickers such as toll
road stickers or similar on the
windscreen in the area of the interior
mirror. Otherwise the detection zone
of the sensor and the view area of the camera in the mirror housing could be
restricted.
Windscreen replacementCaution
If the vehicle has a front-looking
camera sensor for the driver
assistance systems, it is very
important that any windscreen
replacement is performed
accurately according to Opel
specifications. Otherwise, these
systems may not work properly
and there is a risk of unexpected
behaviour and / or messages from these systems.
Manual windows
The door windows can be opened or
closed with the window cranks.
Power windows9 Warning
Take care when operating the
power windows. Risk of injury,
particularly to children.
If there are children on the rear seats, switch on the child safety
system for the power windows.
Keep a close watch on the
windows when closing them.
Ensure that nothing becomes
trapped in them as they move.
Switch on ignition to operate power
windows.
Page 38 of 247

36Keys, doors and windows
Operate the switch for the respective
window by pushing to open or pulling to close.
Pushing or pulling gently to the first
detent: window moves up or down as long as the switch is operated.
Pushing or pulling firmly to the second
detent and then releasing: window
moves up or down automatically with
safety function enabled. To stop
movement, operate the switch once
more in the same direction.
Safety function
If the window glass encounters
resistance above the middle of the
window during automatic closing, it is
immediately stopped and opened
again.
Override safety function In the event of closing difficulties due
to frost or the like, switch on the
ignition, then pull the switch to the first
detent and hold. The window moves
up without safety function enabled.
To stop movement, release the
switch.Child safety system for rear
windows
Press z to deactivate rear power
windows.
To activate, press z again.
Overload
If the windows are repeatedly
operated within short intervals, the
window operation is disabled for
some time.
Page 39 of 247
Keys, doors and windows37Initialising the power windowsIf the windows cannot be closed
automatically (e.g. after
disconnecting the vehicle battery),
activate the window electronics as
follows:
1. Close doors.
2. Switch on ignition.
3. Pull switch until the window is closed and keep pulling for
additional two seconds.
4. Repeat for each window.
Heated rear window
Operated by pressing Ü.
The LED in the button indicates
activation.
Heating works with the engine
running and is switched off
automatically after a short time.
Sun visors The sun visors can be folded down or
swivelled to the side to prevent
dazzling.
The sun visors mirror covers should
be closed when driving.
If the sun visors have a vanity mirror
lamp, the lamp will illuminate when
opening the vanity mirror cover.Roof
Sunroof9 Warning
Take care when operating the
sunroof. Risk of injury, particularly to children.
Keep a close eye on the movable parts when operating them.
Ensure that nothing becomes
trapped in them as they move.
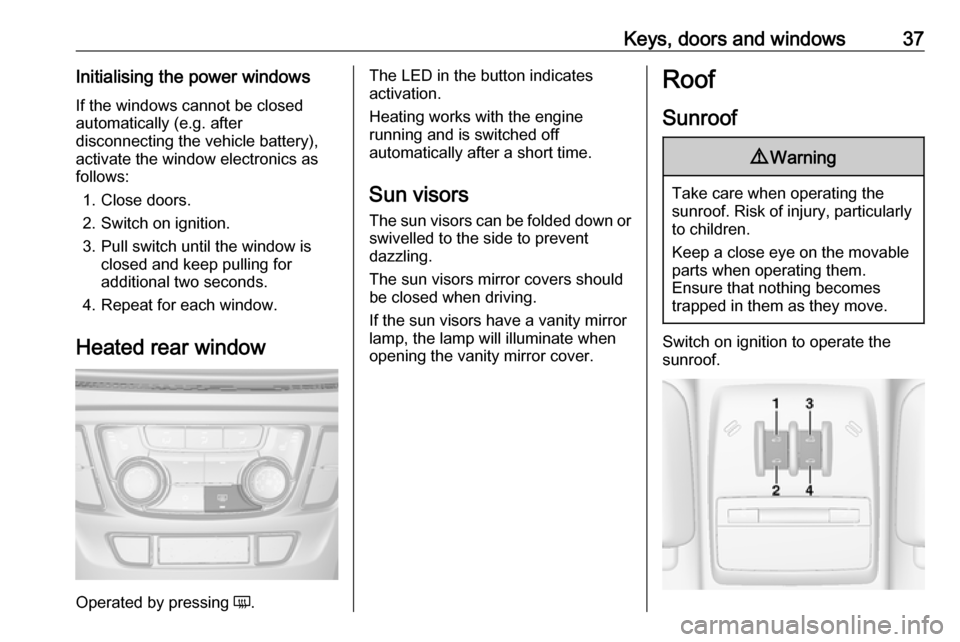
Switch on ignition to operate the
sunroof.
Page 40 of 247

38Keys, doors and windowsOpen or closePress switch 1 or switch 2 gently to
the first detent: sunroof is opened or
closed as long as the switch is
operated.
Press switch 1 or switch 2 firmly to the
second detent and then release: the
sunroof is opened or closed
automatically with safety function
enabled. To stop movement, operate
the switch once more.
Raise or close Press switch 3 or switch 4: sunroof is
raised or closed automatically with
safety function enabled.
If the sunroof is raised, it can be
opened in one step by pressing
switch 1.
Sunblind
The sunblind is operated manually.
Close or open the sunblind by sliding. When the sunroof is open, the
sunblind is always open.Dirt and debris may collect on the
sunroof seal or in the track that could
cause an issue with sunroof
operation, noise or plug the water
drainage system. Periodically open
the sunroof and remove any
obstacles or loose debris. Wipe the
sunroof seal and roof sealing area
using a clean cloth, mild soap, and
water. Do not remove grease from the sunroof.
General hints
Safety function
If the sunroof encounters resistance
during automatic closing, it is
immediately stopped and opened
again.
Override safety function
In the event of closing difficulties due
to frost or the like, press and hold
switch 2. The sunroof closes without
safety function enabled. To stop
movement, release the switch.Initialising after a power failure
After a power failure, it may only be possible to operate the sunroof to a
limited extent. Have the system
initialised by your workshop.