OPEL VIVARO 2015 Owners Manual
Manufacturer: OPEL, Model Year: 2015, Model line: VIVARO, Model: OPEL VIVARO 2015Pages: 205, PDF Size: 4.47 MB
Page 101 of 205
Lighting99Interior lightsFront courtesy lights
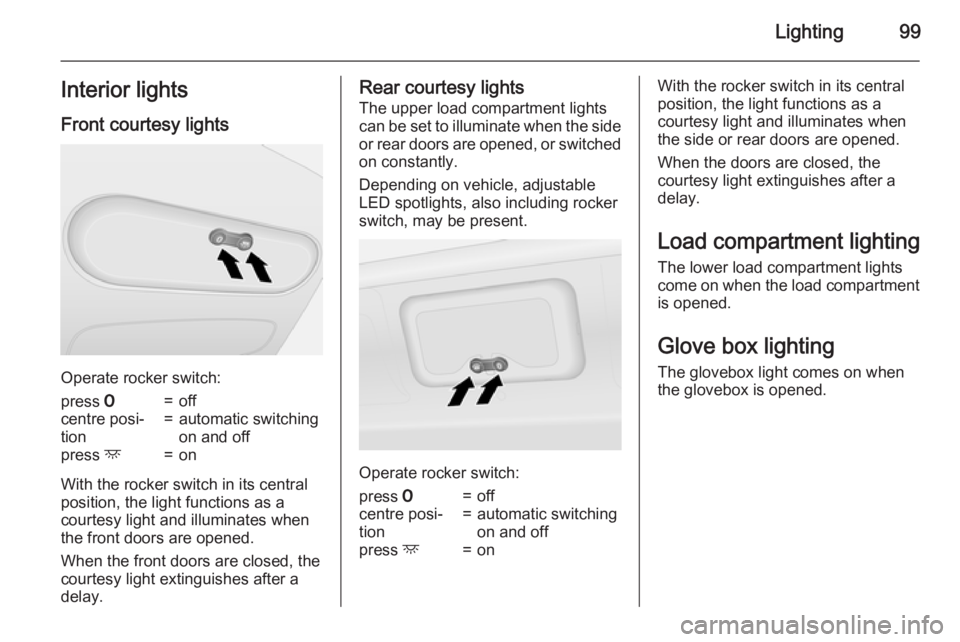
Operate rocker switch:
press 7=offcentre posi‐
tion=automatic switching
on and offpress d=on
With the rocker switch in its central
position, the light functions as a
courtesy light and illuminates when
the front doors are opened.
When the front doors are closed, the
courtesy light extinguishes after a
delay.
Rear courtesy lights
The upper load compartment lights
can be set to illuminate when the side or rear doors are opened, or switchedon constantly.
Depending on vehicle, adjustable LED spotlights, also including rocker
switch, may be present.
Operate rocker switch:
press 7=offcentre posi‐
tion=automatic switching
on and offpress d=onWith the rocker switch in its central
position, the light functions as a
courtesy light and illuminates when
the side or rear doors are opened.
When the doors are closed, the
courtesy light extinguishes after a
delay.
Load compartment lighting The lower load compartment lights
come on when the load compartment
is opened.
Glove box lighting
The glovebox light comes on when
the glovebox is opened.
Page 102 of 205
100LightingLighting featuresEntry lighting
Welcome lighting Vehicle lights are switched on for a
short time to facilitate locating the
vehicle when it is dark.
Remote control operation
Lights switch on when unlocking the
vehicle with the remote control.
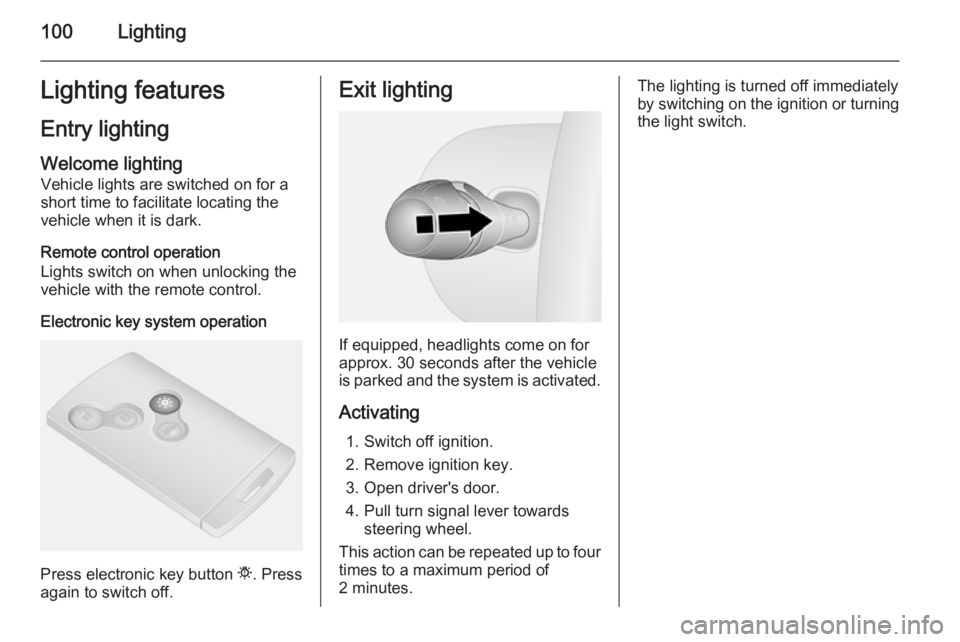
Electronic key system operation
Press electronic key button t. Press
again to switch off.
Exit lighting
If equipped, headlights come on for
approx. 30 seconds after the vehicle
is parked and the system is activated.
Activating 1. Switch off ignition.
2. Remove ignition key.
3. Open driver's door.
4. Pull turn signal lever towards steering wheel.
This action can be repeated up to four
times to a maximum period of
2 minutes.
The lighting is turned off immediately
by switching on the ignition or turning
the light switch.
Page 103 of 205
Climate control101Climate controlClimate control systems ............. 101
Air vents ..................................... 110
Maintenance .............................. 111Climate control systems
Heating and ventilation
system
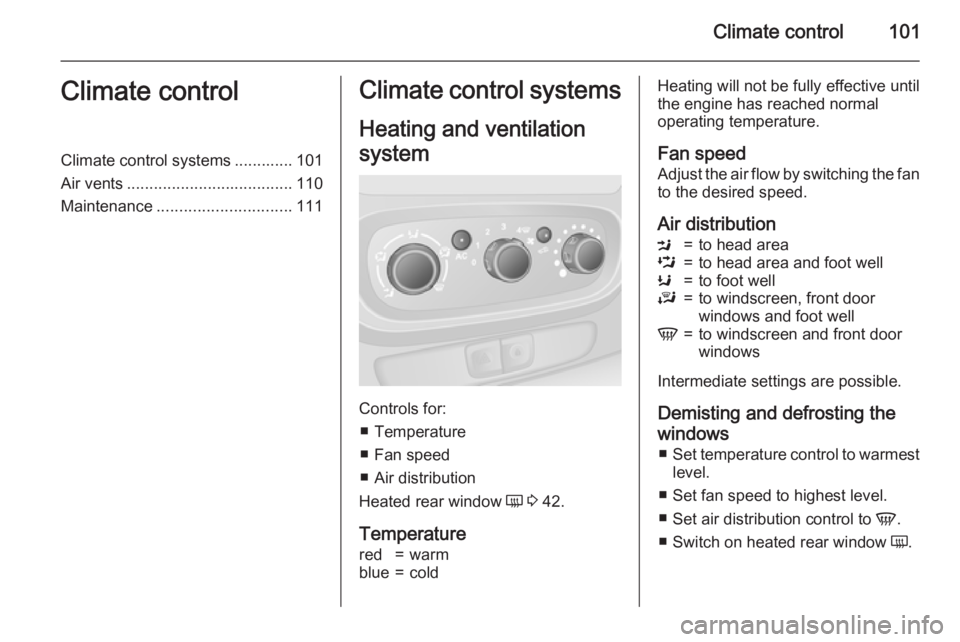
Controls for: ■ Temperature
■ Fan speed
■ Air distribution
Heated rear window Ü 3 42.
Temperature
red=warmblue=coldHeating will not be fully effective until
the engine has reached normal
operating temperature.
Fan speed Adjust the air flow by switching the fan
to the desired speed.
Air distributionM=to head areaL=to head area and foot wellK=to foot wellJ=to windscreen, front door
windows and foot wellV=to windscreen and front door
windows
Intermediate settings are possible.
Demisting and defrosting the
windows ■ Set temperature control to warmest
level.
■ Set fan speed to highest level.
■ Set air distribution control to V.
■ Switch on heated rear window Ü.
Page 104 of 205
102Climate control
■Open side air vents as required and
direct them towards door windows.
■ For simultaneous warming of the foot well, set air distribution control
to J.
Heated rear window 3 42.
Air conditioning system
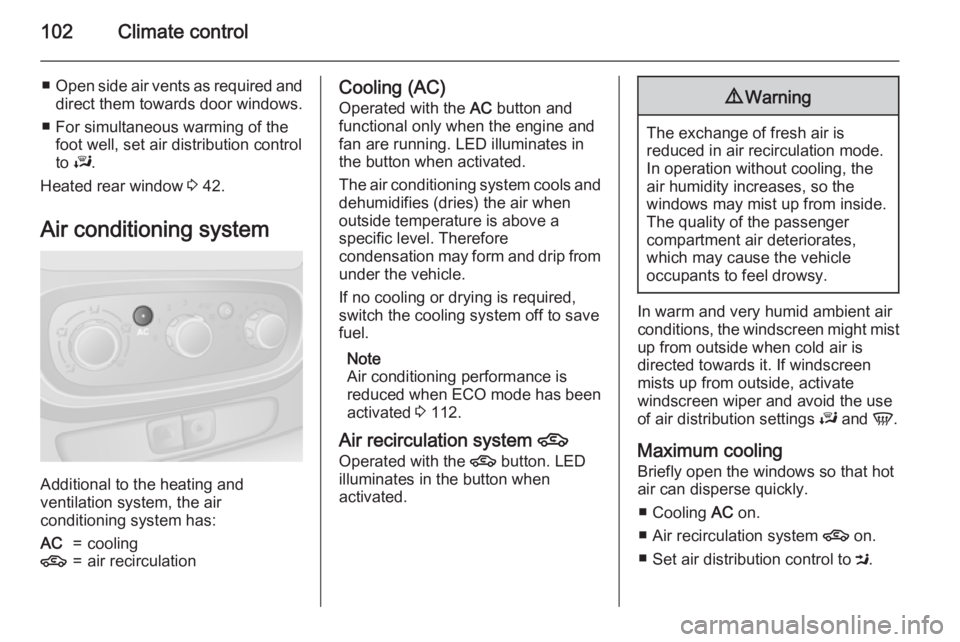
Additional to the heating and
ventilation system, the air
conditioning system has:
AC=cooling4=air recirculationCooling (AC)
Operated with the AC button and
functional only when the engine and
fan are running. LED illuminates in
the button when activated.
The air conditioning system cools and
dehumidifies (dries) the air when
outside temperature is above a
specific level. Therefore
condensation may form and drip from under the vehicle.
If no cooling or drying is required,
switch the cooling system off to save
fuel.
Note
Air conditioning performance is
reduced when ECO mode has been
activated 3 112.
Air recirculation system 4
Operated with the 4 button. LED
illuminates in the button when
activated.9 Warning
The exchange of fresh air is
reduced in air recirculation mode.
In operation without cooling, the
air humidity increases, so the
windows may mist up from inside.
The quality of the passenger
compartment air deteriorates,
which may cause the vehicle
occupants to feel drowsy.
In warm and very humid ambient air conditions, the windscreen might mist up from outside when cold air is
directed towards it. If windscreen
mists up from outside, activate
windscreen wiper and avoid the use
of air distribution settings J and V.
Maximum cooling
Briefly open the windows so that hot
air can disperse quickly.
■ Cooling AC on.
■ Air recirculation system 4 on.
■ Set air distribution control to M.
Page 105 of 205
Climate control103
■ Set temperature control to coldestlevel.
■ Set fan speed to highest level.
■ Open all air vents.
Demisting and defrosting the
windows ■ Set temperature control to warmest
level.
■ Set fan speed to highest level.
■ Set air distribution control to V.
■ Switch cooling AC on.
■ Switch on heated rear window Ü.
■ Open side air vents as required and
direct them towards door windows.
■ For simultaneous warming of the foot well, set air distribution control
to J.
Heated rear window 3 42.Electronic climate control
system
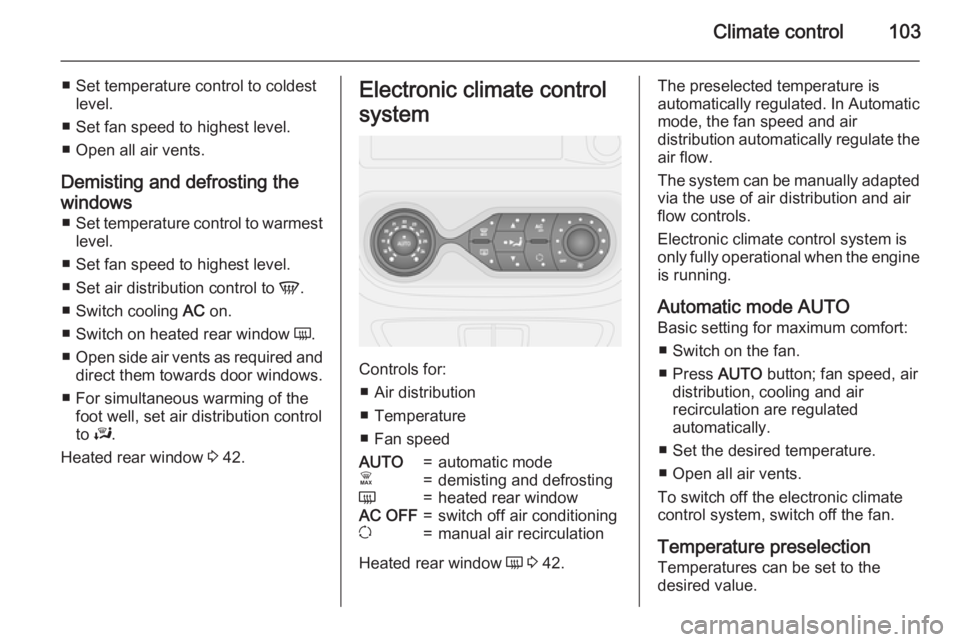
Controls for: ■ Air distribution
■ Temperature
■ Fan speed
AUTO=automatic modeÊ=demisting and defrostingÜ=heated rear windowAC OFF=switch off air conditioningu=manual air recirculation
Heated rear window Ü 3 42.
The preselected temperature is
automatically regulated. In Automatic mode, the fan speed and air
distribution automatically regulate the
air flow.
The system can be manually adapted via the use of air distribution and air
flow controls.
Electronic climate control system is
only fully operational when the engine is running.
Automatic mode AUTO
Basic setting for maximum comfort:
■ Switch on the fan.
■ Press AUTO button; fan speed, air
distribution, cooling and air
recirculation are regulated
automatically.
■ Set the desired temperature.
■ Open all air vents.
To switch off the electronic climate
control system, switch off the fan.
Temperature preselection
Temperatures can be set to the
desired value.
Page 106 of 205
104Climate control
If the minimum temperature is set, the
climate control system runs at
maximum cooling.
If the maximum temperature is set, the climate control system runs at
maximum heating.
Demisting and defrosting the windows ■ Press button Ê. LED illuminates in
the button when activated.
■ Temperature, air distribution and cooling are regulated automaticallyand the fan runs at high speed.
■ Switch on heated rear window Ü
3 42.
To return to Automatic mode: press button Ê or AUTO .
Note
If the Ê button is pressed while the
engine is running, an Autostop will
be inhibited until the Ê button is
pressed again.
If the Ê button is pressed while the
engine is in an Autostop, the engine will restart automatically.
Stop-start system 3 117.Manual settings
Manually changing any of the
following settings will deactivate
Automatic mode:
Fan speed Z
Adjust the air flow manually by
switching the fan to the desired
speed.
If the fan is switched off, the air
conditioning is also deactivated.
Air distribution M
Press appropriate button for desired
adjustment. LED illuminates in the
button when activated.R=to windscreen and front door
windows.M=to head area.S=to foot well.
Combinations of settings are possible
by pressing two buttons until both
LEDs are illuminated.
To return to Automatic mode: Press
AUTO button.
Cooling AC
The air conditioning system cools and
dehumidifies (dries) the air when
outside temperature is above a
specific level. Therefore
condensation may form and drip from
under the vehicle.
Note
Air conditioning performance is
reduced when ECO mode has been
activated 3 112.
If no cooling or drying is required press the AC OFF button to switch the
cooling system off, thus saving fuel.
LED illuminates in the button.
To return to Automatic mode: Press
AUTO button.
Air recirculation mode u
Activate or deactivate manual air recirculation mode with the u button.
LED illuminates in the button when
activated.
Page 107 of 205
Climate control1059Warning
The exchange of fresh air is
reduced in air recirculation mode.
In operation without cooling the air humidity increases, so the
windows may mist up from inside.
The quality of the passenger
compartment air deteriorates,
which may cause the vehicle
occupants to feel drowsy.
To return to Automatic mode: Press
AUTO button.
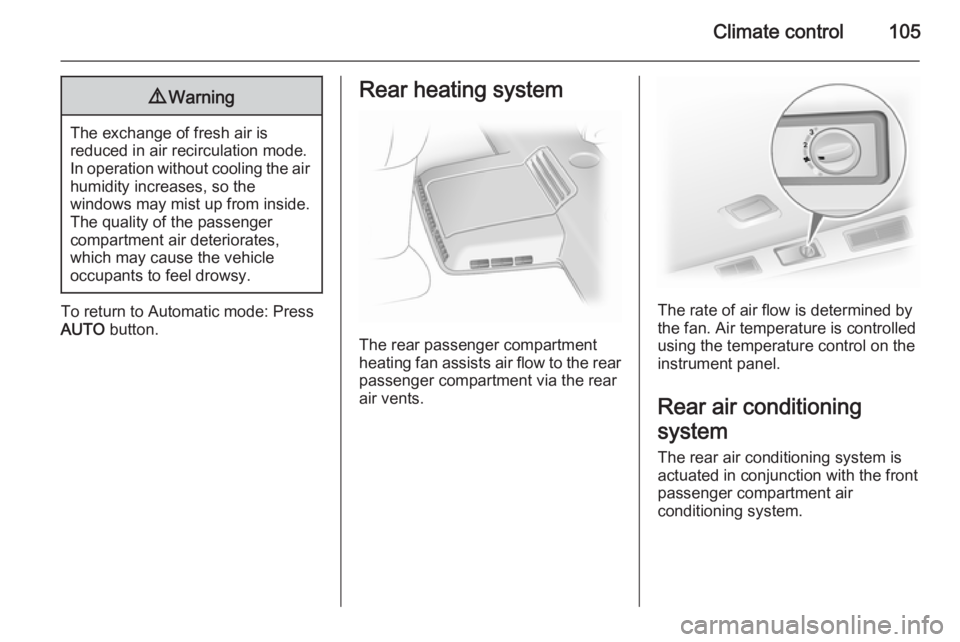
Rear heating system
The rear passenger compartment
heating fan assists air flow to the rear
passenger compartment via the rear
air vents.
The rate of air flow is determined by
the fan. Air temperature is controlled
using the temperature control on the
instrument panel.
Rear air conditioning
system
The rear air conditioning system is
actuated in conjunction with the front
passenger compartment air
conditioning system.
Page 108 of 205
106Climate control
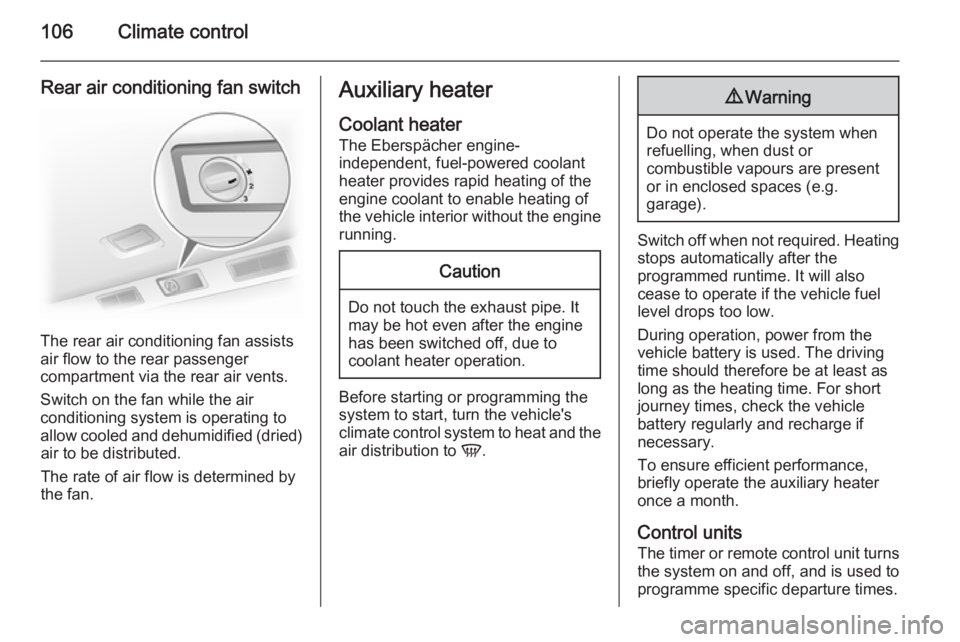
Rear air conditioning fan switch
The rear air conditioning fan assists
air flow to the rear passenger
compartment via the rear air vents.
Switch on the fan while the air
conditioning system is operating to
allow cooled and dehumidified (dried) air to be distributed.
The rate of air flow is determined by
the fan.
Auxiliary heater
Coolant heater The Eberspächer engine-
independent, fuel-powered coolant
heater provides rapid heating of the
engine coolant to enable heating of
the vehicle interior without the engine
running.Caution
Do not touch the exhaust pipe. It
may be hot even after the engine
has been switched off, due to
coolant heater operation.
Before starting or programming the
system to start, turn the vehicle's
climate control system to heat and the
air distribution to V.
9Warning
Do not operate the system when
refuelling, when dust or
combustible vapours are present
or in enclosed spaces (e.g.
garage).
Switch off when not required. Heating stops automatically after the
programmed runtime. It will also
cease to operate if the vehicle fuel
level drops too low.
During operation, power from the
vehicle battery is used. The driving
time should therefore be at least as
long as the heating time. For short
journey times, check the vehicle
battery regularly and recharge if
necessary.
To ensure efficient performance,
briefly operate the auxiliary heater
once a month.
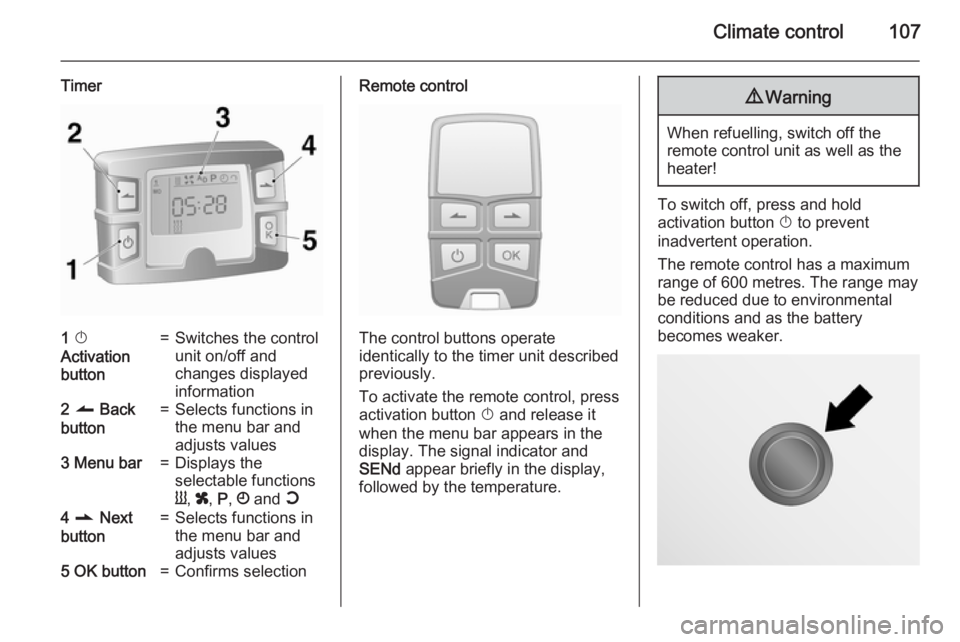
Control units The timer or remote control unit turns
the system on and off, and is used to
programme specific departure times.
Page 109 of 205
Climate control107
Timer1 X
Activation
button=Switches the control
unit on/off and
changes displayed
information2 q Back
button=Selects functions in
the menu bar and
adjusts values3 Menu bar=Displays the
selectable functions
Y , x , P , Ö and Y4 r Next
button=Selects functions in
the menu bar and
adjusts values5 OK button=Confirms selectionRemote control
The control buttons operate
identically to the timer unit described
previously.
To activate the remote control, press activation button X and release it
when the menu bar appears in the display. The signal indicator and
SENd appear briefly in the display,
followed by the temperature.
9 Warning
When refuelling, switch off the
remote control unit as well as the
heater!
To switch off, press and hold
activation button X to prevent
inadvertent operation.
The remote control has a maximum
range of 600 metres. The range may
be reduced due to environmental
conditions and as the battery
becomes weaker.
Page 110 of 205
108Climate control
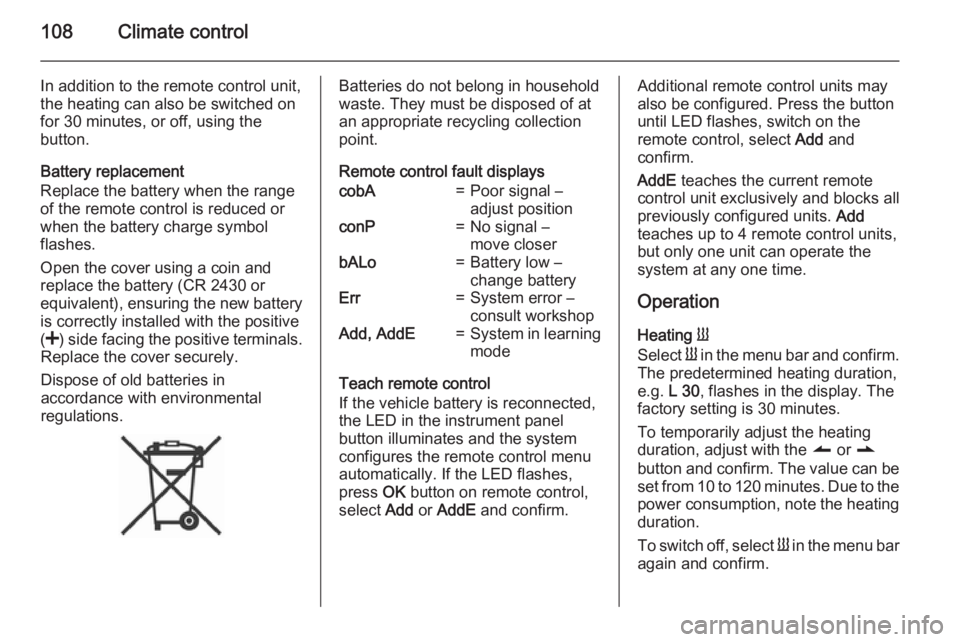
In addition to the remote control unit,
the heating can also be switched on
for 30 minutes, or off, using the
button.
Battery replacement
Replace the battery when the range
of the remote control is reduced or
when the battery charge symbol
flashes.
Open the cover using a coin and
replace the battery (CR 2430 or
equivalent), ensuring the new battery
is correctly installed with the positive
( < ) side facing the positive terminals.
Replace the cover securely.
Dispose of old batteries in
accordance with environmental
regulations.Batteries do not belong in household
waste. They must be disposed of at
an appropriate recycling collection
point.
Remote control fault displayscobA=Poor signal –
adjust positionconP=No signal –
move closerbALo=Battery low –
change batteryErr=System error –
consult workshopAdd, AddE=System in learning
mode
Teach remote control
If the vehicle battery is reconnected, the LED in the instrument panel
button illuminates and the system
configures the remote control menu
automatically. If the LED flashes,
press OK button on remote control,
select Add or AddE and confirm.
Additional remote control units may
also be configured. Press the button
until LED flashes, switch on the
remote control, select Add and
confirm.
AddE teaches the current remote
control unit exclusively and blocks all
previously configured units. Add
teaches up to 4 remote control units,
but only one unit can operate the
system at any one time.
Operation
Heating Y
Select Y in the menu bar and confirm.
The predetermined heating duration,
e.g. L 30, flashes in the display. The
factory setting is 30 minutes.
To temporarily adjust the heating
duration, adjust with the q or r
button and confirm. The value can be
set from 10 to 120 minutes. Due to the power consumption, note the heatingduration.
To switch off, select Y in the menu bar
again and confirm.