lock OPEL ZAFIRA C 2019 Manual user
[x] Cancel search | Manufacturer: OPEL, Model Year: 2019, Model line: ZAFIRA C, Model: OPEL ZAFIRA C 2019Pages: 317, PDF Size: 9.38 MB
Page 183 of 317

Driving and operating181Driving and
operatingDriving hints ............................... 182
Control of the vehicle ...............182
Steering ................................... 182
Starting and operating ...............182
New vehicle running-in ............182
Ignition switch positions ...........182
Retained power off ..................183
Starting the engine ..................183
Overrun cut-off ........................ 184
Stop-start system ....................185
Parking .................................... 187
Engine exhaust .......................... 188
Exhaust filter ............................ 188
Catalytic converter ...................189
AdBlue ..................................... 190
Automatic transmission ..............192
Transmission display ...............192
Selector lever .......................... 193
Manual mode ........................... 194
Electronic driving programmes 194
Fault ........................................ 194
Interruption of power supply ....195
Manual transmission ..................196Brakes........................................ 196
Antilock brake system .............196
Parking brake .......................... 197
Brake assist ............................. 199
Hill start assist ......................... 199
Ride control systems .................199
Traction Control system ..........199
Electronic Stability Control ......200
Interactive driving system ........201
Driver assistance systems .........203
Cruise control .......................... 203
Speed limiter ........................... 204
Adaptive cruise control ............206
Forward collision alert .............212
Following distance indication ...215
Active Emergency Braking ......216
Parking assist .......................... 218
Side blind spot alert .................221
Rear view camera ...................222
Traffic sign assistant ................224
Lane departure warning ..........227
Fuel ............................................ 229
Fuel for petrol engines .............229
Fuel for diesel engines ............230
Refuelling ................................ 231
Trailer hitch ................................ 233
General information .................233
Driving characteristics and towing tips .............................. 233Trailer towing........................... 234
Towing equipment ...................234
Trailer stability assist ...............237
Page 185 of 317
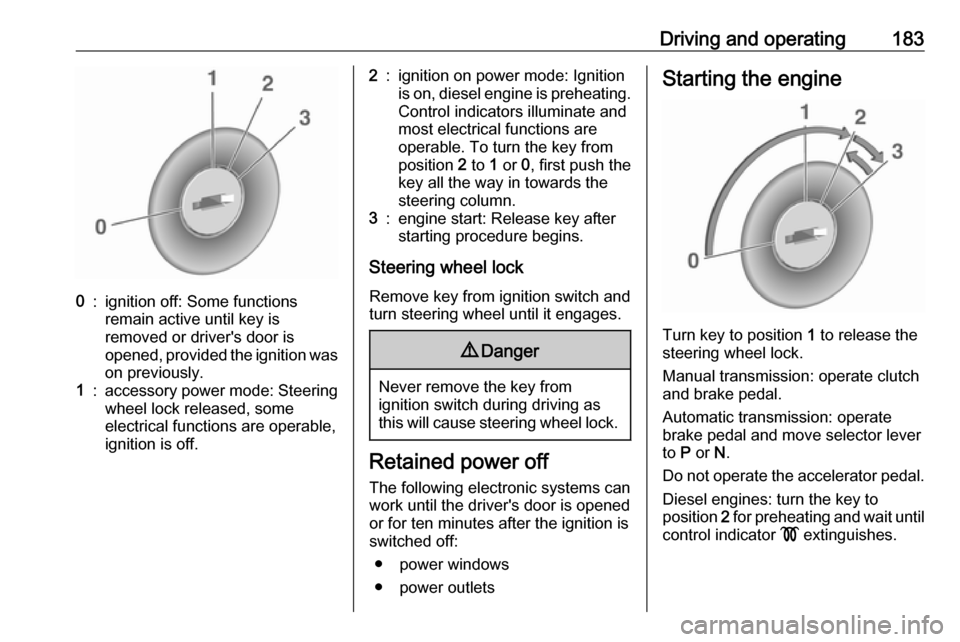
Driving and operating1830:ignition off: Some functions
remain active until key is
removed or driver's door is
opened, provided the ignition was
on previously.1:accessory power mode: Steering wheel lock released, some
electrical functions are operable,
ignition is off.2:ignition on power mode: Ignition
is on, diesel engine is preheating.
Control indicators illuminate and
most electrical functions are
operable. To turn the key from
position 2 to 1 or 0, first push the
key all the way in towards the steering column.3:engine start: Release key after
starting procedure begins.
Steering wheel lock
Remove key from ignition switch and
turn steering wheel until it engages.
9 Danger
Never remove the key from
ignition switch during driving as
this will cause steering wheel lock.
Retained power off
The following electronic systems can
work until the driver's door is opened
or for ten minutes after the ignition is
switched off:
● power windows
● power outlets
Starting the engine
Turn key to position 1 to release the
steering wheel lock.
Manual transmission: operate clutch
and brake pedal.
Automatic transmission: operate
brake pedal and move selector lever
to P or N.
Do not operate the accelerator pedal. Diesel engines: turn the key to
position 2 for preheating and wait until
control indicator ! extinguishes.
Page 189 of 317

Driving and operating187● The charge level of the vehiclebattery is below a defined level.
● The brake vacuum is not sufficient.
● The vehicle is driven at least at walking speed.
● The climate control system requests an engine start.
● The air conditioning is manually switched on.
If the bonnet is not fully closed, a warning message is displayed in the
Driver Information Centre.
If an electrical accessory, e.g. a
portable CD player, is connected to
the power outlet, a brief power drop
during engine restart may be
noticeable.Parking9 Warning
● Do not park the vehicle on an
easily ignitable surface. The
high temperature of the
exhaust system could ignite the
surface.
● Always apply the parking brake. Activate the manual
parking brake without pressing the release button. Apply as
firmly as possible on a downhill slope or uphill slope. Depress
brake pedal at the same time to
reduce operating force.
For vehicles with electric
parking brake, pull switch m for
a minimum of one second until
control indicator m illuminates
constantly and electric parking
brake is applied 3 96.
● Switch off the engine. ● If the vehicle is on a level surface or uphill slope, engage
first gear or set the selector
lever to position P before
removing the ignition key. On
an uphill slope, turn the front
wheels away from the kerb.
If the vehicle is on a downhill
slope, engage reverse gear or
set the selector lever to position
P before removing the ignition
key. Turn the front wheels
towards the kerb.
● Close the windows.
● Remove the ignition key from the ignition switch. Turn the
steering wheel until the
steering wheel lock is felt to
engage.
For vehicles with automatic
transmission, the key can only
be removed when the selector
lever is in position P.
● Lock the vehicle.
● Activate the anti-theft alarm system.
● The engine cooling fans may run
after the engine has been
switched off 3 240.
Page 194 of 317
192Driving and operatingThe vehicle must be parked on a levelsurface.
The filler neck for AdBlue is located behind the fuel filler flap, which islocated at right rear side of the
vehicle.
The fuel filler flap can only be opened
if the vehicle is unlocked.
1. Remove key from ignition switch.2. Close all doors to avoid ammonia fumes entering the interior of the
vehicle.
3. Release the fuel filler flap by pushing the flap 3 231.
4. Unscrew protective cap from the
filler neck.
5. Open AdBlue canister.
6. Mount one end of the hose on the
canister and screw the other end
on the filler neck.
7. Lift the canister until it is empty, or
until the flow from the canister has stopped. This can take up to five
minutes.
8. Place the canister on the ground to empty the hose, wait 15
seconds.
9. Unscrew the hose from the filler neck.
10. Mount the protective cap and turn
clockwise until it engages.
Note
Dispose of AdBlue canister
according to environmental
requirements. To reuse the hose
flush it with clear water after usage.Automatic transmission
The automatic transmission permits
automatic gearshifting (automatic
mode) or manual gearshifting
(manual mode).
Manual shifting is possible in manual
mode M by tapping the selector lever
to + or - 3 194.
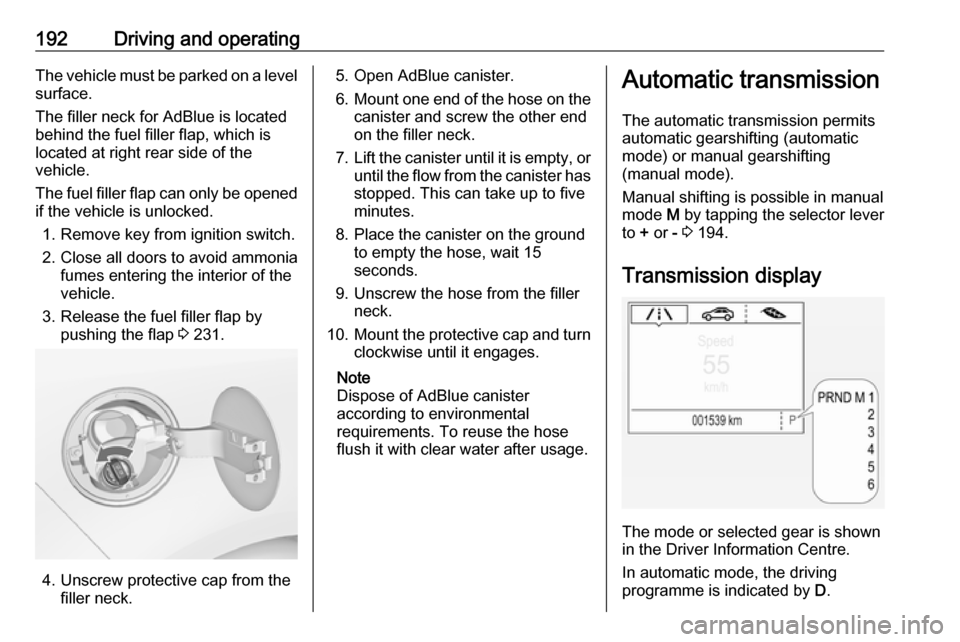
Transmission display
The mode or selected gear is shown
in the Driver Information Centre.
In automatic mode, the driving
programme is indicated by D.
Page 195 of 317

Driving and operating193In manual mode, M and the number
of the selected gear is indicated.
R indicates reverse gear.
N indicates neutral position.
P indicates park position.
Selector leverP:park position, wheels are locked, engage only when the vehicle is
stationary and the parking brake
is appliedR:reverse gear, engage only when
the vehicle is stationaryN:neutralD:automatic modeM:manual mode<:upshift in manual mode]:downshift in manual mode
The selector lever is locked in P and
can only be moved when the ignition
is on, the release button on the
selector lever is pushed and the brake
pedal is applied.
Without brake pedal applied, the
control indicator j illuminates.
If the selector lever is not in P when
the ignition is switched off, control
indicator j flashes.
To engage P or R, press the release
button.
The engine can only be started with the lever in position P or N. When
position N is selected, press the brake
pedal or apply the parking brake
before starting.
Do not accelerate while engaging a
gear. Never depress the accelerator
pedal and brake pedal at the same
time.
When a gear is engaged, the vehicle
slowly begins to creep when the
brake is released.
Engine braking To utilise the engine braking effect,select a lower gear in good time when
driving downhill, see manual mode.
Rocking the vehicle
Rocking the vehicle is only
permissible if the vehicle is stuck in
sand, mud or snow. Move the selector
lever between D and R in a repeat
pattern. Do not race the engine and
avoid sudden acceleration.
Page 197 of 317
Driving and operating195Only the highest gear is available.
Depending on the fault, 2nd gear may also be available in manual mode.
Shift only when vehicle is at a
standstill.
Have the cause of the fault remedied by a workshop.
Interruption of power supply In the event of an interruption of
power supply, the selector lever
cannot be moved out of the P
position. The ignition key cannot be
removed from the ignition switch.
If the vehicle battery is discharged,
start the vehicle using jump leads
3 276.
If the vehicle battery is not the cause
of the fault, release the selector lever.
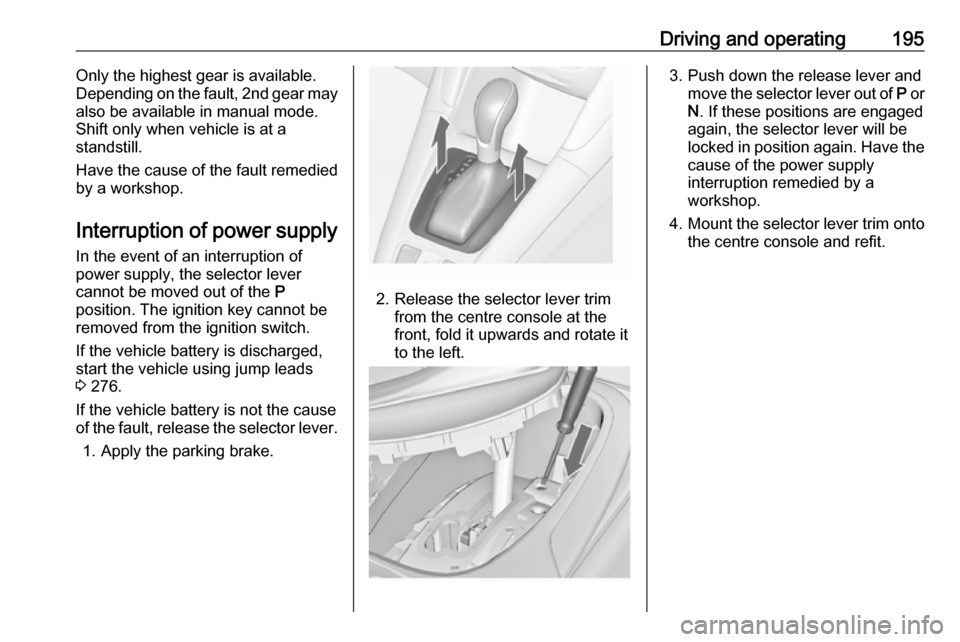
1. Apply the parking brake.
2. Release the selector lever trim from the centre console at the
front, fold it upwards and rotate it
to the left.
3. Push down the release lever and move the selector lever out of P or
N . If these positions are engaged
again, the selector lever will be
locked in position again. Have the cause of the power supply
interruption remedied by a
workshop.
4. Mount the selector lever trim onto
the centre console and refit.
Page 198 of 317
196Driving and operatingManual transmission
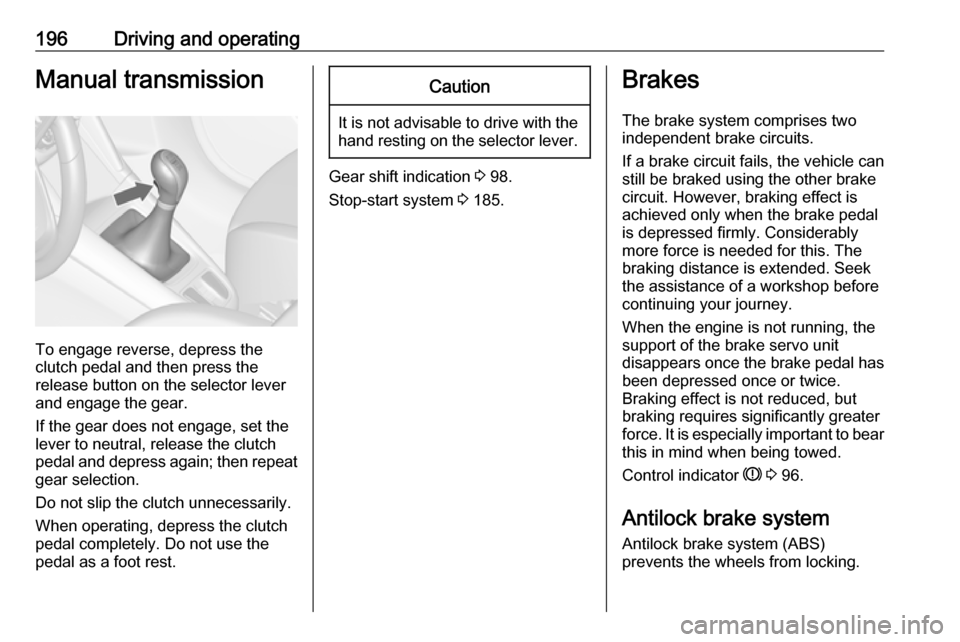
To engage reverse, depress the
clutch pedal and then press the
release button on the selector lever
and engage the gear.
If the gear does not engage, set the
lever to neutral, release the clutch
pedal and depress again; then repeat
gear selection.
Do not slip the clutch unnecessarily.
When operating, depress the clutch
pedal completely. Do not use the
pedal as a foot rest.
Caution
It is not advisable to drive with the hand resting on the selector lever.
Gear shift indication 3 98.
Stop-start system 3 185.
Brakes
The brake system comprises two
independent brake circuits.
If a brake circuit fails, the vehicle can
still be braked using the other brake
circuit. However, braking effect is
achieved only when the brake pedal
is depressed firmly. Considerably
more force is needed for this. The
braking distance is extended. Seek
the assistance of a workshop before
continuing your journey.
When the engine is not running, the
support of the brake servo unit
disappears once the brake pedal has been depressed once or twice.
Braking effect is not reduced, but
braking requires significantly greater
force. It is especially important to bear this in mind when being towed.
Control indicator R 3 96.
Antilock brake system
Antilock brake system (ABS)
prevents the wheels from locking.
Page 199 of 317
Driving and operating197ABS starts to regulate brake pressure
as soon as a wheel shows a tendency to lock. The vehicle remains
steerable, even during hard braking.
ABS control is made apparent
through a pulse in the brake pedal
and the noise of the regulation
process.
For optimum braking, keep the brake
pedal fully depressed throughout the
braking process, despite the fact that
the pedal is pulsating. Do not reduce
the pressure on the pedal.
After starting off the system performs a self-test which may be audible.
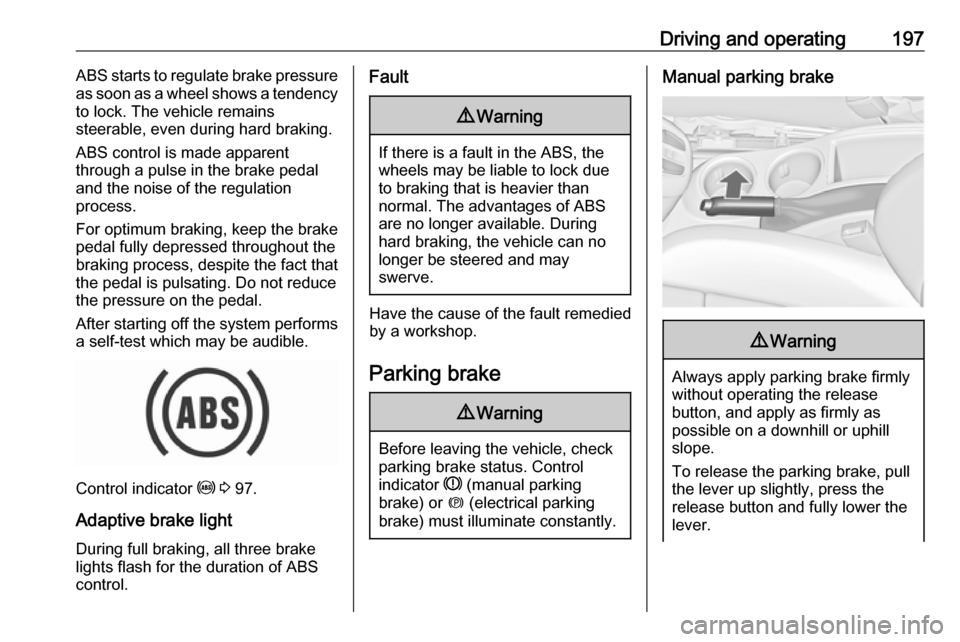
Control indicator u 3 97.
Adaptive brake light
During full braking, all three brake
lights flash for the duration of ABS
control.
Fault9 Warning
If there is a fault in the ABS, the
wheels may be liable to lock due
to braking that is heavier than
normal. The advantages of ABS are no longer available. During
hard braking, the vehicle can no longer be steered and may
swerve.
Have the cause of the fault remedied
by a workshop.
Parking brake
9 Warning
Before leaving the vehicle, check
parking brake status. Control
indicator R (manual parking
brake) or m (electrical parking
brake) must illuminate constantly.
Manual parking brake9 Warning
Always apply parking brake firmly
without operating the release
button, and apply as firmly as
possible on a downhill or uphill
slope.
To release the parking brake, pull
the lever up slightly, press the
release button and fully lower the
lever.
Page 211 of 317
Driving and operating2099Warning
The driver accepts full
responsibility for the appropriate
following distance based on traffic, weather and visibility conditions.
Following distance must be
adjusted or the system switched
off when required by the prevailing
conditions.
Detecting the vehicle ahead
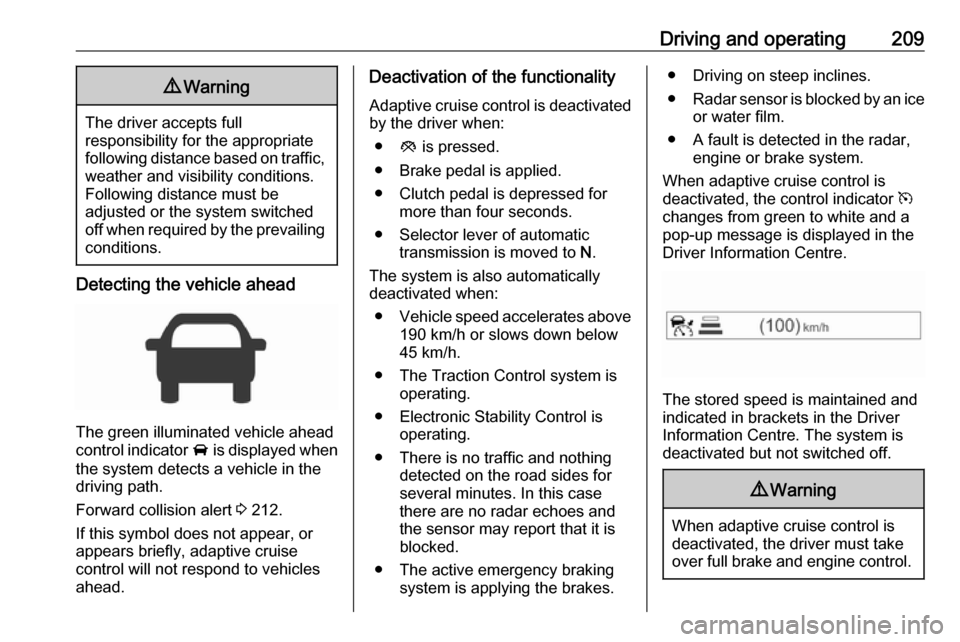
The green illuminated vehicle ahead
control indicator A is displayed when
the system detects a vehicle in the driving path.
Forward collision alert 3 212.
If this symbol does not appear, or appears briefly, adaptive cruise
control will not respond to vehicles
ahead.
Deactivation of the functionality
Adaptive cruise control is deactivated by the driver when:
● y is pressed.
● Brake pedal is applied.
● Clutch pedal is depressed for more than four seconds.
● Selector lever of automatic transmission is moved to N.
The system is also automatically deactivated when:
● Vehicle speed accelerates above
190 km/h or slows down below
45 km/h.
● The Traction Control system is operating.
● Electronic Stability Control is operating.
● There is no traffic and nothing detected on the road sides forseveral minutes. In this case
there are no radar echoes and
the sensor may report that it is
blocked.
● The active emergency braking system is applying the brakes.● Driving on steep inclines.
● Radar sensor is blocked by an ice
or water film.
● A fault is detected in the radar, engine or brake system.
When adaptive cruise control is
deactivated, the control indicator m
changes from green to white and a
pop-up message is displayed in the
Driver Information Centre.
The stored speed is maintained and
indicated in brackets in the Driver
Information Centre. The system is
deactivated but not switched off.
9 Warning
When adaptive cruise control is
deactivated, the driver must take
over full brake and engine control.
Page 212 of 317
210Driving and operatingSwitching off the system
Press C to switch off adaptive cruise
control. The control indicator m and
C in the Driver Information Centre
extinguish. The stored speed is
deleted.
Switching off the ignition also
switches off adaptive cruise control
and deletes the stored speed.
Driver's attention ● Use adaptive cruise control carefully on bends or mountain
roads, as it can lose the vehicle
ahead and require time to detect
it again.
● Do not use the system on slippery roads as it can create
rapid changes in tyre traction
(wheel spinning), so that you
could lose control of the vehicle.
● Do not use adaptive cruise control during rain, snow or
heavy dirt, as the radar sensor
can be covered by a water film,
dust, ice or snow. This reduces or completely suppresses thevisibility. In case of sensor
blockage, clean the sensor
cover.
System limits ● The system's automatic brake force does not permit hard
braking and the braking level
may not be sufficient to avoid a
collision.
● After a sudden lane change, the system needs a certain time to
detect the next preceding
vehicle. So if a new vehicle is
detected, the system may
accelerate instead of braking.
● Adaptive cruise control does ignore the oncoming traffic.
● Adaptive cruise control does not brake for pedestrians, animals,very slow speed driving or
stopped vehicles.
● Don't use adaptive cruise control when towing a trailer.Bends
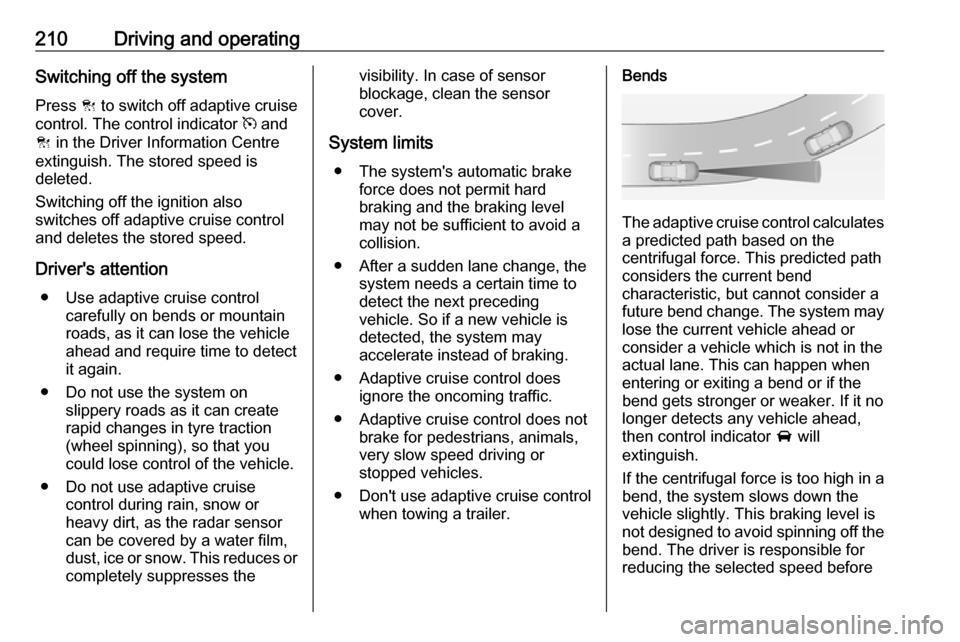
The adaptive cruise control calculates
a predicted path based on the
centrifugal force. This predicted path
considers the current bend
characteristic, but cannot consider a
future bend change. The system may lose the current vehicle ahead or
consider a vehicle which is not in the
actual lane. This can happen when
entering or exiting a bend or if the
bend gets stronger or weaker. If it no
longer detects any vehicle ahead,
then control indicator A will
extinguish.
If the centrifugal force is too high in a bend, the system slows down the vehicle slightly. This braking level is
not designed to avoid spinning off the bend. The driver is responsible for
reducing the selected speed before