start stop button PEUGEOT 108 2016 Owners Manual
[x] Cancel search | Manufacturer: PEUGEOT, Model Year: 2016, Model line: 108, Model: PEUGEOT 108 2016Pages: 268, PDF Size: 6.17 MB
Page 27 of 268
25
108 _en_Chap01_instrument- de-bord_ed01-2016
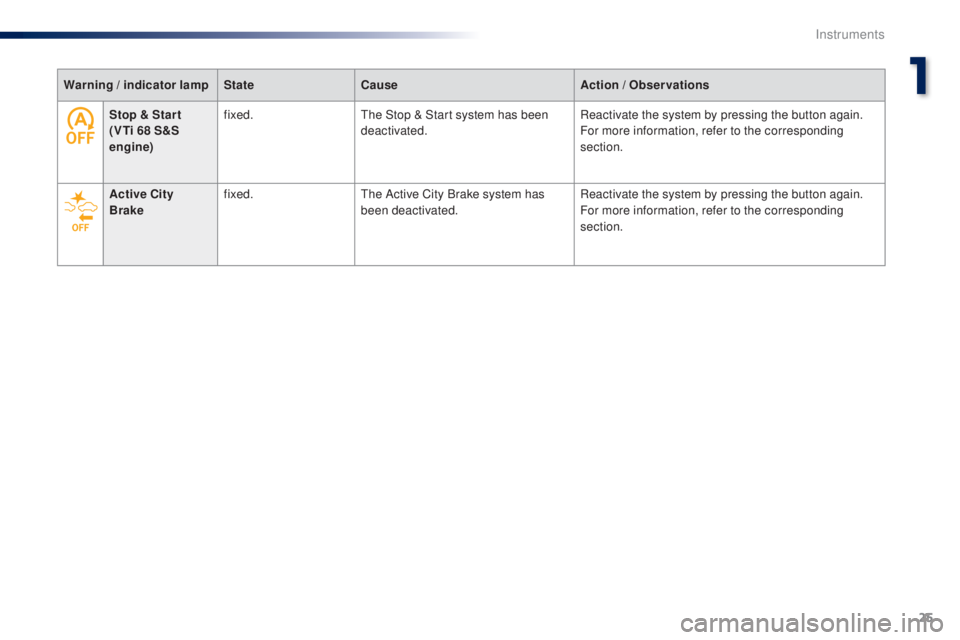
Warning / indicator lampStateCause Action / ob servations
Stop & Star t
( V
t
i 68 S&S
engine) fixed.
th
e Stop & Start system has been
deactivated. Reactivate the system by pressing the button again.
For more information, refer to the corresponding
section.
Active City
Brake fixed.
th
e Active City Brake system has
been deactivated. Reactivate the system by pressing the button again.
For more information, refer to the corresponding
section.
1
Instruments
Page 29 of 268
27
108 _en_Chap01_instrument- de-bord_ed01-2016
tr i p c o m p u t e r
System that gives you information on the journey in progress (range, fuel consumption…).
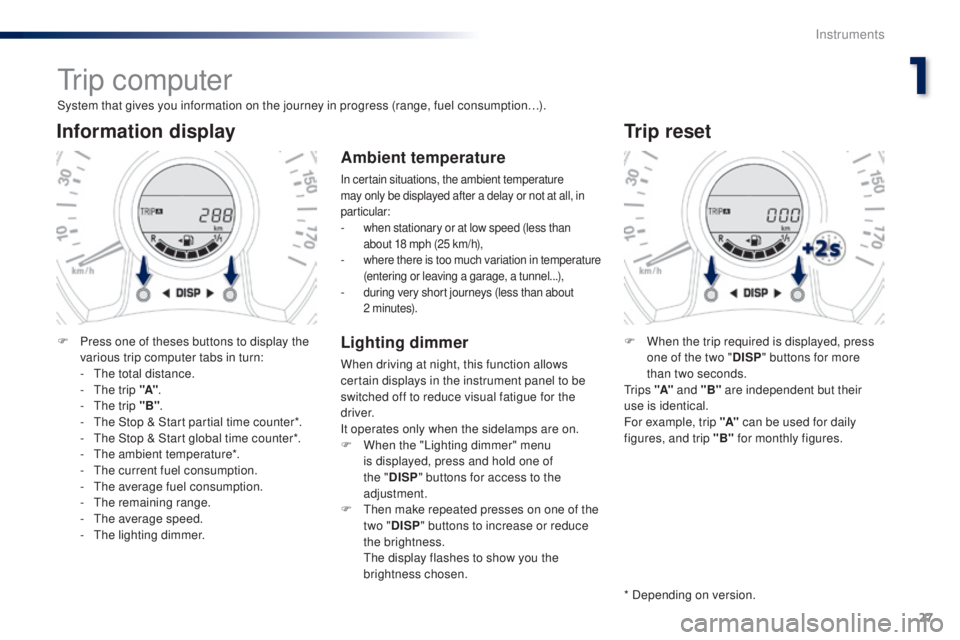
Information display
F Press one of theses buttons to display the various trip computer tabs in turn:
-
t
h
e total distance.
-
t
h
e trip "A".
-
t
h
e trip "B" .
-
t
h
e Stop & Start partial time counter*.
-
t
h
e Stop & Start global time counter*.
-
t
h
e ambient temperature*.
-
t
h
e current fuel consumption.
-
t
h
e average fuel consumption.
-
t
he
remaining range.
-
t
h
e average speed.
-
t
h
e lighting dimmer.
trip reset
F When the trip required is displayed, press one of the two " DISP" buttons for more
than two seconds.
t
r i p s "A" and "B" are independent but their
use is identical.
For example, trip "A" can be used for daily
figures, and trip "B" for monthly figures.
* Depending on version.
Ambient temperature
In certain situations, the ambient temperature
may only be displayed after a delay or not at all, in
particular:
- when stationary or at low speed (less than about 18 mph (25 km/h),
- where there is too much variation in temperature (entering or leaving a garage, a tunnel...),
- during very short journeys (less than about 2 minutes).
Lighting dimmer
When driving at night, this function allows
certain displays in the instrument panel to be
switched off to reduce visual fatigue for the
driver.
It operates only when the sidelamps are on.
F
W
hen the "Lighting dimmer" menu
is displayed, press and hold one of
the " DISP " buttons for access to the
adjustment.
F
t
h
en make repeated presses on one of the
two " DISP " buttons to increase or reduce
the brightness.
t
h
e display flashes to show you the
brightness chosen.
1
Instruments
Page 30 of 268
28
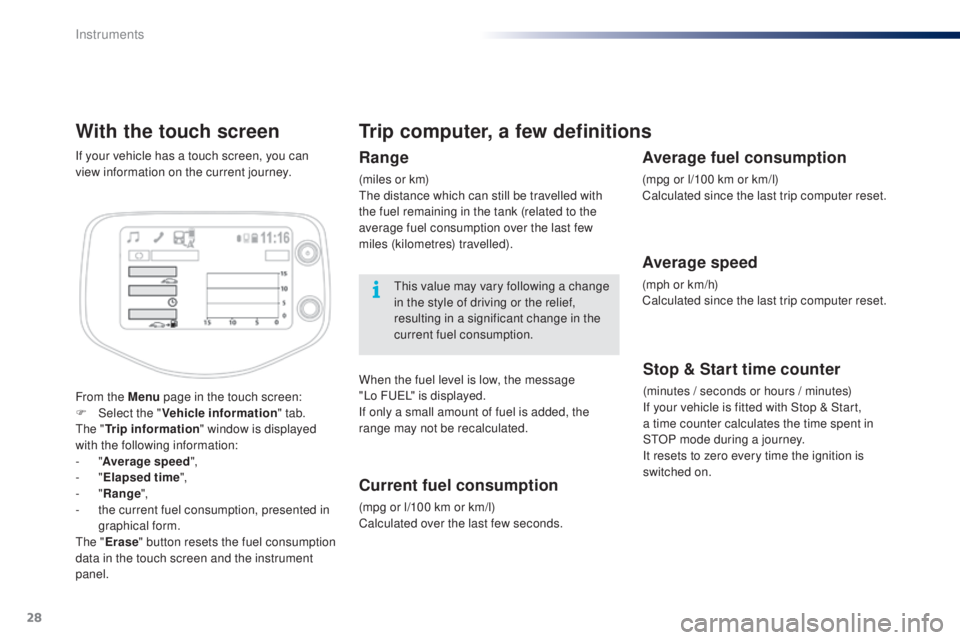
With the touch screen
From the Menu page in the touch screen:
F Sel ect the " Vehicle information " tab.
th
e "
tr
ip information " window is displayed
with the following information:
-
"Average speed ",
-
"
ela
psed time ",
-
"Range ",
-
t
he current fuel consumption, presented in
graphical form.
th
e "
er
ase" button resets the fuel consumption
data in the touch screen and the instrument
panel. If your vehicle has a touch screen, you can
view information on the current journey.
trip computer, a few definitions
Range
(miles or km)th e distance which can still be travelled with
the fuel remaining in the tank (related to the
average fuel consumption over the last few
miles (kilometres) travelled).
th
is value may vary following a change
in the style of driving or the relief,
resulting in a significant change in the
current fuel consumption.
When the fuel level is low, the message
"Lo
F
u
e
L
" is displayed.
If only a small amount of fuel is added, the
range may not be recalculated.
Current fuel consumption
(mpg or l/100 km or km/l)
Calculated over the last few seconds.
Stop & Start time counter
(minutes / seconds or hours / minutes)
If your vehicle is fitted with Stop & Start,
a
time counter calculates the time spent in
S
tO
P mode during a journey.
It resets to zero every time the ignition is
switched on.
Average fuel consumption
(mpg or l/100 km or km/l)
Calculated since the last trip computer reset.
Average speed
(mph or km/h)
Calculated since the last trip computer reset.
Instruments
Page 39 of 268
37
108_en_Chap02_ouvertures_ed01-2016
Changing the battery of
the electronic key
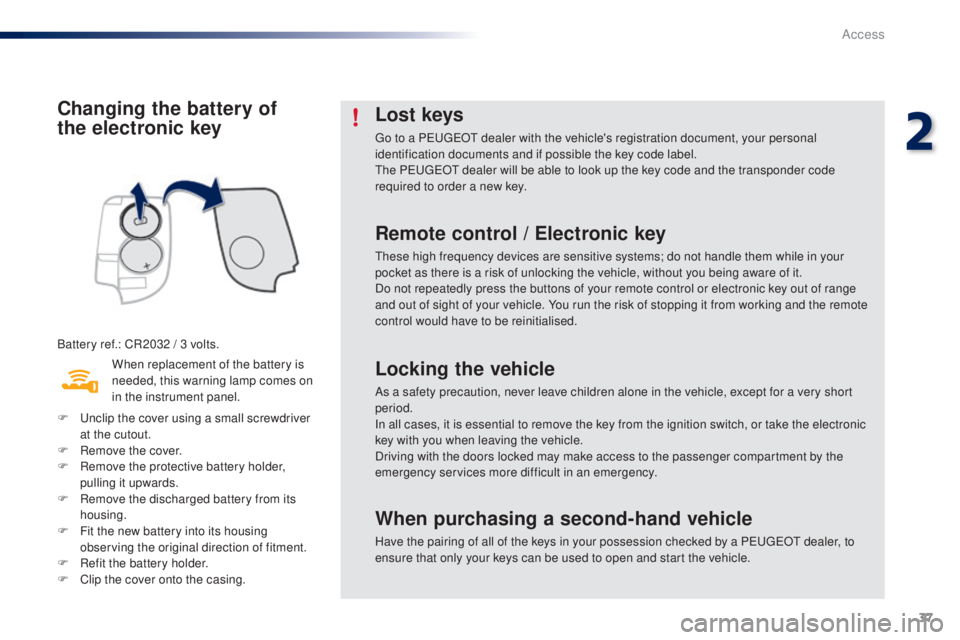
Battery ref.: CR2032 / 3 volts.When replacement of the battery is
needed, this warning lamp comes on
in the instrument panel.
F
u
n
clip the cover using a small screwdriver
at the cutout.
F
R
emove the cover.
F
R
emove the protective battery holder,
pulling it upwards.
F
R
emove the discharged battery from its
housing.
F
F
it the new battery into its housing
observing the original direction of fitment.
F
R
efit the battery holder.
F
C
lip the cover onto the casing.
Lost keys
go to a PeugeOt dealer with the vehicle's registration document, your personal
identification documents and if possible the key code label.
th
e P
e
uge
Ot
dealer will be able to look up the key code and the transponder code
required to order a new key.
Remote control / el ectronic key
these high frequency devices are sensitive systems; do not handle them while in your
pocket as there is a risk of unlocking the vehicle, without you being aware of it.
Do not repeatedly press the buttons of your remote control or electronic key out of range
and out of sight of your vehicle. You run the risk of stopping it from working and the remote
control would have to be reinitialised.
Locking the vehicle
As a safety precaution, never leave children alone in the vehicle, except for a very short
period.
In all cases, it is essential to remove the key from the ignition switch, or take the electronic
key with you when leaving the vehicle.
When purchasing a second-hand vehicle
Have the pairing of all of the keys in your possession checked by a Pe ugeOt dealer, to
ensure that only your keys can be used to open and start the vehicle. Driving with the doors locked may make access to the passenger compartment by the
emergency services more difficult in an emergency.
2
Access
Page 85 of 268
83
108_en_Chap04_conduite_ed01-2016
Stop & Start (Vti 68 S&S engine)
operation
going into engine St oP
mode
this indicator lamp comes on in the
instrument panel and the engine
goes into standby automatically:
-
w
hen stationary, in neutral, and you
release the clutch pedal.
Never refuel with the engine in
S
tO
P mode; you must switch off the
ignition with the button. For smoother operation, during
parking manoeuvres StO P mode is
not available for a few seconds after
coming out of reverse gear.
th
e Stop & Start does not affect the
vehicle's systems, such as for example,
braking, power steering...
th
e Stop & Start
system puts the engine
temporarily into standby - S
tO
P mode - during
stops in the traffic (red lights, traffic jams, or
other...).
th
e engine restarts automatically -
StA
Rt
mode - as soon as you want to move
off.
t
h
e restart takes place instantly, quickly
and silently.
Per fect for urban use, the Stop & Start system
reduces fuel consumption and exhaust
emissions as well as the noise level when
stationary.
Stop & Start time counters
A partial time counter counts the periods in
StO P mode during a journey.
It is displayed in the trip computer once the
Stop & Start is operating.
Press one of the " DISP" buttons to return to the
previous display.
A global time counter counts the periods in
S
tO
P mode since the last reset.
When it is displayed, press one of the
" DISP "
buttons to reset the counter.
4
Driving
Page 87 of 268
85
108_en_Chap04_conduite_ed01-2016
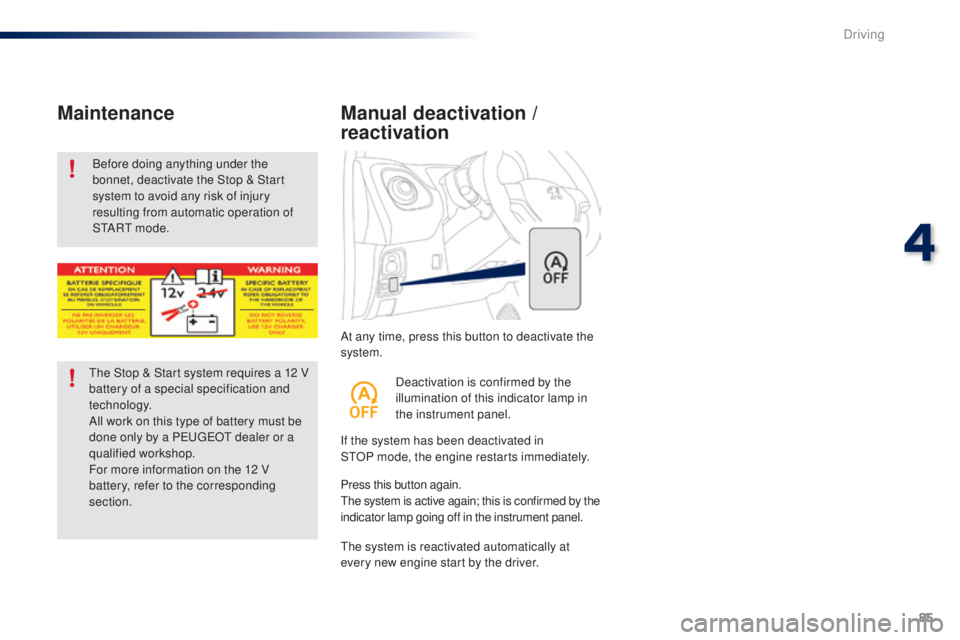
At any time, press this button to deactivate the
system.
Manual deactivation /
reactivation
If the system has been deactivated in
StOP mode, the engine restarts immediately.
th
e system is reactivated automatically at
every new engine start by the driver. Press this button again.
th
e system is active again; this is confirmed by the
indicator lamp going off in the instrument panel. Deactivation is confirmed by the
illumination of this indicator lamp in
the instrument panel.
Before doing anything under the
bonnet, deactivate the Stop & Start
system to avoid any risk of injury
resulting from automatic operation of
S
t
A R
t m
o d e .
Maintenance
the Stop & Start system requires a 12
V
battery of a special specification and
technology.
All work on this type of battery must be
done only by a P
e
uge
Ot
dealer or a
qualified workshop.
For more information on the 12 V
battery, refer to the corresponding
section.
4
Driving