change wheel Peugeot 508 2020 Owner's Manual
[x] Cancel search | Manufacturer: PEUGEOT, Model Year: 2020, Model line: 508, Model: Peugeot 508 2020Pages: 276, PDF Size: 8.43 MB
Page 9 of 276
7
Eco-driving
Eco-driving
Eco-driving refers to a range of everyday
practices that allow the motorist to optimise their
fuel consumption and CO
2emissions.
Optimise your use of the gearbox
With a manual gearbox, move off gently and
change up promptly. While accelerating, change
up early.
With an automatic gearbox, favour automatic
mode and avoid pressing the accelerator pedal
heavily or suddenly.
The gear efficiency indicator prompts you to
engage the most suitable gear: whenever this
indication is displayed on the instrument panel,
follow it straight away.
With an automatic gearbox, this indicator
appears only in manual mode.
Drive smoothly
Maintain a safe distance between vehicles, use
engine braking rather than the brake pedal and
press the accelerator gradually. These attitudes
help to save fuel, reduce CO
2 emissions and
decrease general traffic noise.
Favour the use of the "Eco" driving mode by
selecting it using the "Drive Mode" control.
If the vehicle has the steering-mounted
"CRUISE" control, use cruise control at speeds
above 25 mph (40
km/h) when the traffic is
flowing well.
Use electrical equipment wisely
Before moving off, if the passenger compartment
is too warm, ventilate it by opening the windows
and air vents before using the air conditioning.
At speeds above 31
mph (50 km/h), close the
windows and leave the air vents open.
Consider using equipment that can help keep
the temperature in the passenger compartment
down (sunroof blind and window blinds, etc.).
Unless automatically regulated, switch off the air
conditioning as soon as the desired temperature
has been reached.
Switch off the demisting and defrosting functions,
if they are not managed automatically.
Switch off the heated seat as soon as possible.
Switch off the headlamps and foglamps when
the visibility conditions do not require their use.
Avoid running the engine before moving off,
particularly in winter; your vehicle will warm up
much faster while driving.
As a passenger, avoid connecting your
multimedia devices (film, music, video game,
etc.) to help reduce consumption of electrical
energy, and hence fuel.
Disconnect all portable devices before leaving
the vehicle.
Limit the causes of excess consumption
Spread loads throughout the vehicle; place the
heaviest items in the boot, as close as possible
to the rear seats.
Limit the loads carried in the vehicle and
minimise wind resistance (roof bars, roof rack, bicycle carrier, trailer, etc.). Preferably, use a
roof box.
Remove roof bars and roof racks after use.
At the end of winter, remove snow tyres and refit
summer tyres.
Comply with servicing instructions
Check tyre pressures regularly, with the tyres
cold, referring to the label in the door aperture on
the driver's side.
Carry out this check in particular:
–
before a long journey
.
–
at each change of season.
–
after a long period out of use.
Do not overlook the spare wheel and, where
applicable, the tyres on your trailer or caravan.
Have your vehicle serviced regularly (engine oil,
oil filter
, air filter, passenger compartment filter,
etc.) and observe the schedule of operations in
the manufacturer's service schedule.
With a BlueHDi Diesel engine, if the SCR system
is faulty, your vehicle will emit pollution. Visit
a PEUGEOT dealer or a qualified workshop
as soon as possible to restore your vehicle’s
nitrogen oxide emissions to regulatory
compliance.
When filling the fuel tank, do not continue after
the third nozzle cut-out, to avoid overflow.
You will only see the fuel consumption of your
new vehicle settle down to a consistent average
after the first 1,900 miles (3,000 kilometres).
Page 47 of 276
45
Ease of use and comfort
3From the front seat:► Press this button; its green indicator
lamp comes on.
The settings page is displayed on the touch
screen with the last memorised settings.
If the settings suit you and you make no
changes, the display returns to its previous state,
and the function activates immediately
.
Seats must be adjusted one after another,
starting with the driver's seat.
To modify the settings:
►
Begin with the driver
’s seat.
►
Select a massage intensity from the three
levels offered: " 1
" (Low), "2" (Normal) or "3"
(High).
►
Select another type of massage from the
ones offered.
►
W
ait for the driver's seat settings page to
disappear.
►
Next, proceed with the passenger's seat in
the same way
.
The changes are applied immediately.
Once activated, the system starts a one hour
massage cycle, made up of sequences of 6
minutes of massage followed by 3 minutes at
rest.
The system automatically stops at the end of the
cycle; the indicator lamp for the button goes off.Steering wheel
adjustment
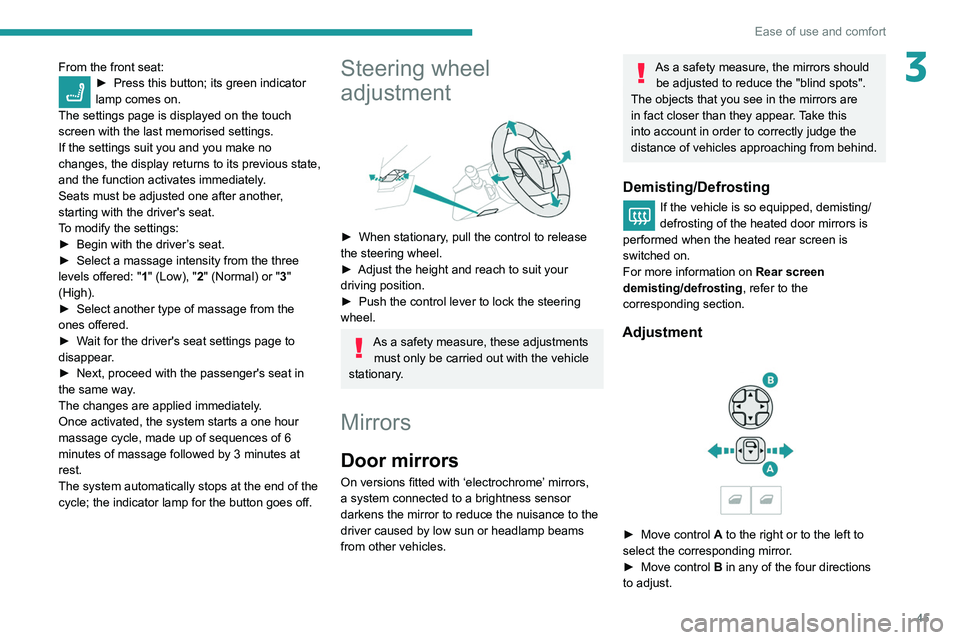
► When stationary , pull the control to release
the steering wheel.
►
Adjust the height and reach to suit your
driving position.
►
Push the control lever to lock the steering
wheel.
As a safety measure, these adjustments must only be carried out with the vehicle
stationary.
Mirrors
Door mirrors
On versions fitted with ‘electrochrome’ mirrors,
a system connected to a brightness sensor
darkens the mirror to reduce the nuisance to the
driver caused by low sun or headlamp beams
from other vehicles.
As a safety measure, the mirrors should be adjusted to reduce the "blind spots".
The objects that you see in the mirrors are
in fact closer than they appear. Take this
into account in order to correctly judge the
distance of vehicles approaching from behind.
Demisting/Defrosting
If the vehicle is so equipped, demisting/
defrosting of the heated door mirrors is
performed when the heated rear screen is
switched on.
For more information on Rear screen
demisting/defrosting , refer to the
corresponding section.
Adjustment
► Move control A to the right or to the left to
select the corresponding mirror.
►
Move control
B in any of the four directions
to adjust.
Page 71 of 276
69
Lighting and visibility
4This indicator lamp goes out when the function is deactivated.
Pause
If the situation requires a change of headlamp
beam, the driver can take over at any time.
►
A
"headlamp flash" pauses the function:
•
if the "AUT
O" and "Dipped beam" indicator
lamps were on, the system changes to main
beam,
•
if the "AUT
O" and "Main beam" indicator
lamps were on, the system changes to
dipped beam.
To reactivate the system, flash the headlamps
again.
The system may suffer interference or not work correctly:
–
under conditions of poor visibility (snow
,
heavy rain, etc.),
–
if the windscreen in front of the camera is
dirty
, misted or obscured (for example, by a
sticker, etc.),
–
if the vehicle is facing highly reflective
signs.
When the system detects thick fog, it
temporarily deactivates the function.
The system is not able to detect:
–
road users that do not have their own
lighting, such as pedestrians,
–
vehicles whose lighting is obscured (for
example: vehicles running behind a safety
barrier on a motorway),
– vehicles at the top or bottom of a steep
slope, on winding roads, on crossroads.
Clean the windscreen regularly,
particularly the area in front of the
camera.
The internal surface of the windscreen can
also become misted around the camera.
In humid and cold weather, demist the
windscreen regularly.
Do not allow snow to accumulate on the
bonnet or roof of the vehicle as this could
obstruct the detection camera.
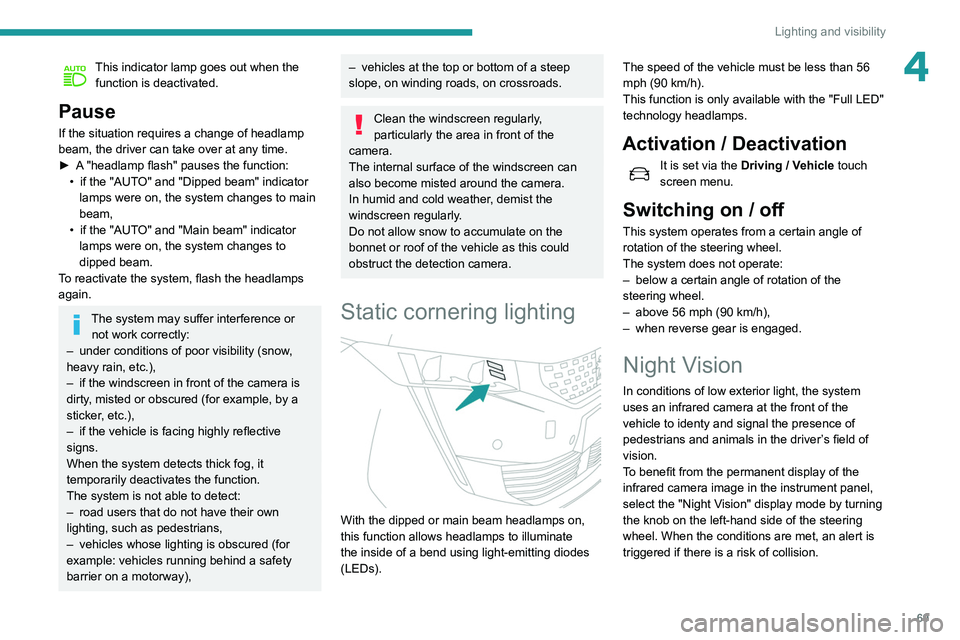
Static cornering lighting
With the dipped or main beam headlamps on,
this function allows headlamps to illuminate
the inside of a bend using light-emitting diodes
(LEDs). The speed of the vehicle must be less than 56
mph (90 km/h).
This function is only available with the "Full LED"
technology headlamps.
Activation / Deactivation
It is set via the
Driving / Vehicle touch
screen menu.
Switching on / off
This system operates from a certain angle of
rotation of the steering wheel.
The system does not operate:
–
below a certain angle of rotation of the
steering wheel.
–
above 56 mph (90
km/h),
–
when reverse gear is engaged.
Night Vision
In conditions of low exterior light, the system
uses an infrared camera at the front of the
vehicle to
identy and signal the presence of
pedestrians and animals in the driver’s field of
vision.
T
o benefit from the permanent display of the
infrared camera image in the instrument panel,
select the "Night Vision" display mode by turning
the knob on the left-hand side of the steering
wheel. When the conditions are met, an alert is
triggered if there is a risk of collision.
Page 100 of 276
98
Driving
For Diesel engines, when the temperature is
below zero and/or the engine is cold, starting will
only occur once the preheating warning lamp is
off.
If this warning lamp comes on after
pressing the "START/STOP" button:
►
Keep the pedal fully depressed and do not
press the "
START/STOP" button again until the
engine is running.
If one of the starting conditions is not met, a
message is displayed.
In some circumstances, a message indicates
that it is necessary to turn the steering wheel
while pressing the " START/STOP" button to
assist unlocking of the steering column.
With petrol engines , after a cold start,
preheating the catalytic converter can
cause noticeable engine vibrations for
anything up to 2 minutes while stationary with
the engine running (accelerated idle speed).
If the engine stalls, release the clutch
pedal and fully depress it again, the
engine will restart automatically.
Starting hybrid vehicles
► Fully depress the brake pedal and press
briefly on the START/STOP button.
► Keep you foot on the pedal until this
indicator lamp comes on, indicating the
activation of the hybrid system (confirmed by an
audible signal).
By default, the system starts in ELECTRIC
mode.
Depending on certain parameters (battery
charge level or exterior temperature), the system
determines whether it is necessary to start the
petrol engine.
It is possible to change the driving mode at any
time using the mode selector.
When the vehicle starts in electric mode,
it makes no noise.
Pay particular attention to pedestrians and
cyclists who may not hear the vehicle coming
despite the pedestrian horn.
Switching off
► Immobilise the vehicle, with the engine at
idle.
►
With a
manual gearbox, ideally put the gear
lever into neutral.
►
With an
automatic gearbox, ideally select
mode
P or N.
►
Press the "
START/STOP" button..
►
For hybrid vehicles, before leaving the
vehicle, check that the
READY warning lamp is
switched off.
In some circumstances, it is necessary to turn
the steering wheel to lock the steering column.
On certain versions with an automatic gearbox
(EAT6 / EAT8), the steering column does not
lock, but the gearbox locks in mode P.
If the vehicle is not immobilised, the
engine will not switch off.
With the engine off, the braking and
steering assistance systems are also cut
off - risk of loss of control of the vehicle!
Never leave your vehicle with the
electronic key still inside.
Switching on the ignition
without starting the engine
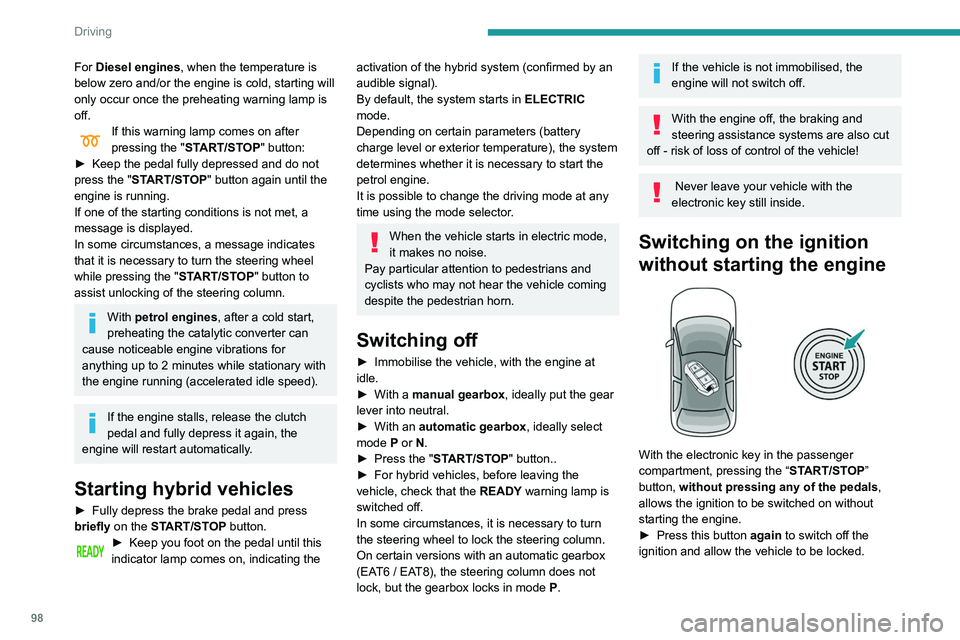
With the electronic key in the passenger
compartment, pressing the “ START/STOP”
button, without pressing any of the pedals ,
allows the ignition to be switched on without
starting the engine.
►
Press this button
again to switch off the
ignition and allow the vehicle to be locked.
Key not detected
Back-up starting
A back-up reader is fitted to the steering column,
to enable the engine to be started if the system
fails to detect the key in the recognition zone, or
if the battery in the electronic key is discharged.
► Place and hold the remote control against the
reader.
► With a manual gearbox, place the gear lever
in neutral, then fully depress the clutch pedal.
► With an automatic gearbox, select mode P,
then fully depress the brake pedal.
► Press the "START/STOP" button.
The engine starts.
Page 104 of 276
102
Driving
If emergency braking malfunctions, the message
"Parking brake control faulty" will be displayed
on the instrument panel.
If the ABS and DSC systems
malfunction, indicated by lighting
one or both warning lamps on the instrument
panel, the vehicle’s stability is no longer ensured.
In this event, the driver must keep the vehicle
stable by successively pulling and releasing the
control lever, repeating the operation until the
vehicle has stopped.
6-speed manual gearbox
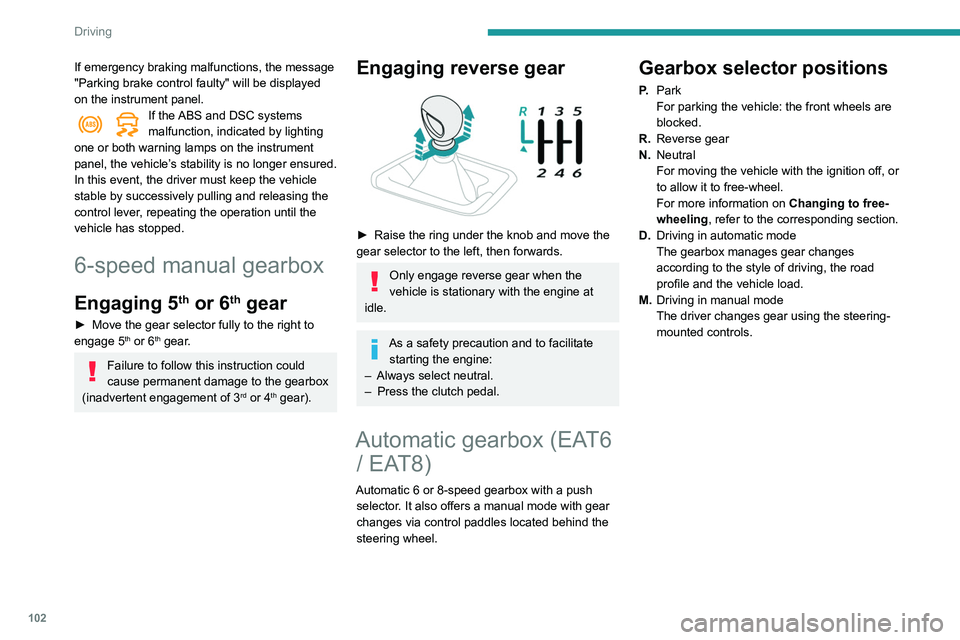
Engaging 5th or 6th gear
► Move the gear selector fully to the right to
engage 5th or 6th gear.
Failure to follow this instruction could
cause permanent damage to the gearbox
(inadvertent engagement of 3
rd or 4th gear).
Engaging reverse gear
► Raise the ring under the knob and move the
gear selector to the left, then forwards.
Only engage reverse gear when the
vehicle is stationary with the engine at
idle.
As a safety precaution and to facilitate starting the engine:
–
Always select neutral.
–
Press the clutch pedal.
Automatic gearbox (EAT6 / EAT8)
Automatic 6 or 8-speed gearbox with a push
selector. It also offers a manual mode with gear
changes via control paddles located
behind the
steering wheel.
Gearbox selector positions
P. Park
For parking the vehicle: the front wheels are
blocked.
R. Reverse gear
N. Neutral
For moving the vehicle with the ignition off, or
to allow it to free-wheel.
For more information on Changing to free-
wheeling , refer to the corresponding section.
D. Driving in automatic mode
The gearbox manages gear changes
according to the style of driving, the road
profile and the vehicle load.
M. Driving in manual mode
The driver changes gear using the steering-
mounted controls.
Push selector
A.Button P
To put the gearbox into Park mode.
B. Unlock button To unlock the gearbox and come out of P or
to change to R, with the foot on the brake
pedal.
Press and hold this button before pushing the
selector.
C. Button M
To change from mode D to permanent
manual mode.
(Depending on version: with Full Park Assist,
the manual mode is accessed via the DRIVE
MODE control)
D. Gearbox state indicator lamps (R, N, D)
Page 106 of 276
104
Driving
in order to change mode, an alert message is
displayed in the instrument panel.
Only appropriate attempted changes of mode
are accepted.
With the engine running and the brakes
released, if R, D or M is selected, the
vehicle moves off, even without pressing the
accelerator pedal.
Never press the accelerator and brake
pedals at the same time - risk of damage
to the gearbox!
In the event of a battery failure, you must
place the chock supplied with the vehicle
tools against one of the wheels to immobilise
the vehicle.
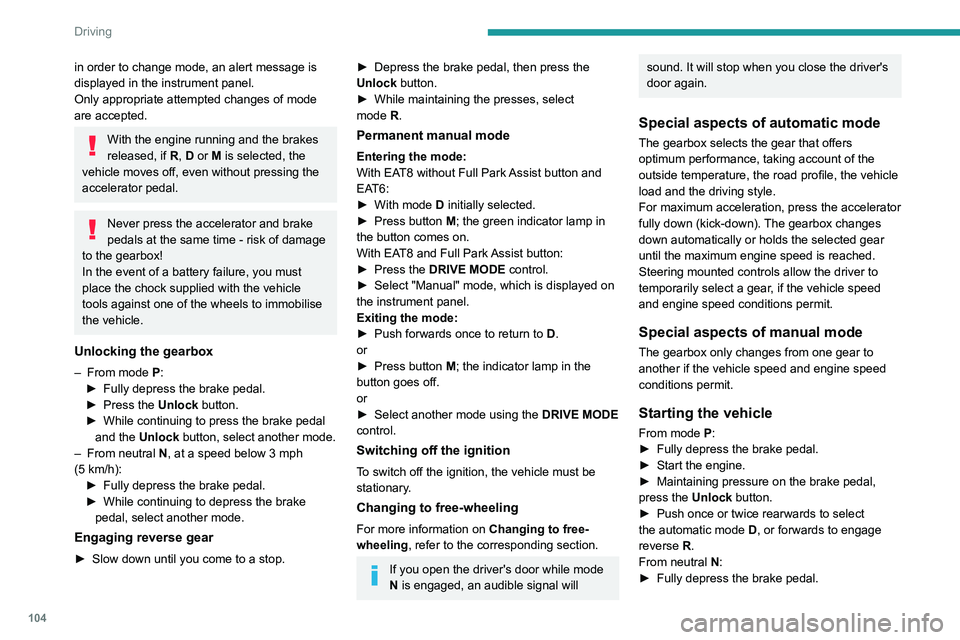
Unlocking the gearbox
– From mode P:
► Fully depress the brake pedal.
►
Press the
Unlock button.
►
While continuing to press the brake pedal
and the
Unlock button, select another mode.
–
From neutral
N, at a speed below 3 mph
(5
km/h):
►
Fully depress the brake pedal.
►
While continuing to depress the brake
pedal, select another mode.
Engaging reverse gear
► Slow down until you come to a stop.
► Depress the brake pedal, then press the
Unlock button.
►
While maintaining the presses, select
mode
R.
Permanent manual mode
Entering the mode:
With EAT8 without Full Park Assist button and
EAT6:
►
With mode
D initially selected.
►
Press button
M; the green indicator lamp in
the button comes on.
With EAT8 and Full Park Assist button:
►
Press the
DRIVE MODE control.
►
Select "Manual" mode, which is displayed on
the instrument panel.
Exiting the mode:
►
Push forwards once to return to
D.
or
►
Press button
M; the indicator lamp in the
button goes off.
or
►
Select another mode using the DRIVE MODE
control.
Switching off the ignition
To switch off the ignition, the vehicle must be
stationary.
Changing to free-wheeling
For more information on Changing to free-
wheeling , refer to the corresponding section.
If you open the driver's door while mode
N is engaged, an audible signal will
sound. It will stop when you close the driver's
door again.
Special aspects of automatic mode
The gearbox selects the gear that offers
optimum performance, taking account of the
outside temperature, the road profile, the vehicle
load and the driving style.
For maximum acceleration, press the accelerator
fully down (kick-down). The gearbox changes
down automatically or holds the selected gear
until the maximum engine speed is reached.
Steering mounted controls allow the driver to
temporarily select a gear, if the vehicle speed
and engine speed conditions permit.
Special aspects of manual mode
The gearbox only changes from one gear to
another if the vehicle speed and engine speed
conditions permit.
Starting the vehicle
From mode P:
►
Fully depress the brake pedal.
►
Start the engine.
►
Maintaining pressure on the brake pedal,
press the
Unlock button.
►
Push once or twice rearwards to select
the automatic mode
D, or forwards to engage
reverse
R.
From neutral
N:
►
Fully depress the brake pedal.
► Start the engine.
► Maintaining pressure on the brake pedal,
push rearwards to select the automatic mode D,
or forwards, while pressing the Unlock button to
engage reverse R.
Then, from D or R:
► Release the brake pedal.
► Accelerate gradually to automatically release
the electric parking brake.
The vehicle moves off immediately.
With an automatic gearbox, never try to
start the engine by pushing the vehicle.
Stopping the vehicle
Whatever the state of the gearbox, when the
ignition is switched off, mode P is engaged
automatically and immediately.
However, in mode N, mode P will be engaged
after a delay of 5 seconds (allowing for the
process of putting the vehicle into free-wheeling
mode).
Check that mode P has been engaged and
that the electric parking brake was applied
automatically; if not, apply it manually.
The corresponding indicator lamps in the selector and the electric parking brake
control lever must be on, as well as those in the
instrument panel.
Page 107 of 276
105
Driving
6► Start the engine.
► Maintaining pressure on the brake pedal,
push rearwards to select the automatic mode
D
,
or forwards, while pressing the Unlock
button to
engage reverse
R
.
Then, from
D or R:
►
Release the brake pedal.
►
Accelerate gradually to automatically release
the electric parking brake.
The vehicle moves off immediately
.
With an automatic gearbox, never try to
start the engine by pushing the vehicle.
Stopping the vehicle
Whatever the state of the gearbox, when the
ignition is switched off, mode P is engaged
automatically and immediately.
However, in mode N, mode P will be engaged
after a delay of 5 seconds (allowing for the
process of putting the vehicle into free-wheeling
mode).
Check that mode
P has been engaged and
that the electric parking brake was applied
automatically; if not, apply it manually.
The corresponding indicator lamps in the selector and the electric parking brake
control lever must be on, as well as those in the
instrument panel.
Gearbox malfunction
This warning lamp comes on, accompanied by an audible signal and the
display of a message.
Visit a PEUGEOT dealer or a qualified workshop.
Do not drive faster than 62
mph (100 km/h),
keeping to the speed limit.
The gearbox switches to back-up mode: mode
D
is locked in third gear, the steering-mounted
control paddles are inoperative, mode
M
is no
longer available. You may feel a significant jolt
on engaging reverse gear. This will not damage
the gearbox.
Selector malfunction
Minor malfunction
This warning lamp comes on, accompanied by the display of a message
and an audible signal.
Drive cautiously and visit a PEUGEOT dealer or
a qualified workshop.
In certain cases, the selector indicator lamps
may no longer come on, but the gearbox state is
still displayed on the instrument panel.
Major malfunction
This warning lamp comes on, accompanied by the display of a
message.
Stop as soon as it is safe to do so, away
from traffic, and call a PEUGEOT dealer
or a qualified workshop.
e-EAT8 electric automatic
gearbox (Hybrid)
Automatic 8-speed gearbox with a push selector and regenerative braking function.
With the exception of manual mode and
regenerative braking, the operation is identical to
that of other EAT8 gearboxes.
For more information on the Operation or the
Malfunctions of the EAT8 gearbox, refer to the
corresponding sections.
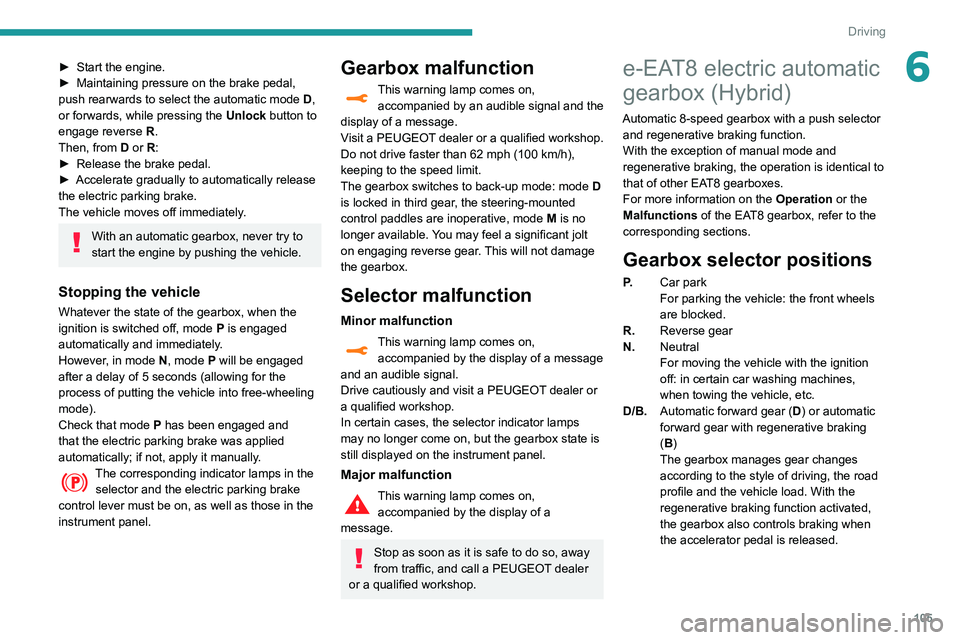
Gearbox selector positions
P. Car park
For parking the vehicle: the front wheels
are blocked.
R. Reverse gear
N. Neutral
For moving the vehicle with the ignition
off: in certain car washing machines,
when towing the vehicle, etc.
D/B. Automatic forward gear ( D) or automatic
forward gear with regenerative braking
(B)
The gearbox manages gear changes
according to the style of driving, the road
profile and the vehicle load. With the
regenerative braking function activated,
the gearbox also controls braking when
the accelerator pedal is released.
Page 112 of 276
11 0
Driving
Putting the engine into standby
(STOP mode)
The engine automatically goes into standby
as soon as the driver indicates the intention of
stopping.
–
W
ith a manual gearbox, at a speed below 2
mph (3
km/h), when you place the gear lever in
neutral and release the clutch pedal.
–
W
ith an automatic gearbox:
•
at a speed below 12 mph (20
km/h) for
BlueHDi versions, or below 0.6 mph (1
km/h)
for PureTech 180 and 225 versions, when
you brake hard with the gear selector in
mode D,
•
with the vehicle stationary
, when you place
the gear selector in mode N.
Time counter
A time counter adds up the time spent in standby
during a journey. It resets to zero every time the
ignition is switched on.
Special cases:
The engine will not go into standby if all of the
conditions for operation are not met and in the
following cases.
–
Steep slope (ascending or descending).
–
Needed
to maintain a comfortable temperature
in the passenger compartment.
–
Demisting active.
In these cases, this indicator lamp flashes
for a few seconds, then goes off.
After the engine has restarted, STOP mode is not available until the vehicle
has reached a speed of 5 mph (8
km/h).
During parking manoeuvres, STOP mode
is not available for a few seconds after
coming out of reverse gear or turning the
steering wheel.
Engine restarting (START mode)
The engine automatically restarts as soon as the
driver indicates the intention of moving off again.
►
W
ith a manual gearbox: with the clutch
pedal fully depressed.
►
W
ith an automatic gearbox:
•
With the selector in position D
or M: with the
brake pedal released.
•
With the selector in position N
and the brake
pedal released: with the selector at D or M.
•
With the selector in position P
and the brake
pedal depressed: with the selector at R, N,
D or M.
•
Reverse gear engaged.
Special cases
The engine restarts automatically if all the
operating conditions are met again and in the
following cases.
–
With a manual gearbox: vehicle speed
exceeds 2.5 mph (4
km/h),
–
With an automatic gearbox, in mode N
, vehicle
speed exceeds 0.6 mph (1
km/h).
In these cases, this indicator lamp flashes
for a few seconds, then goes off.
Malfunctions
In the event of a malfunction, this warning
lamp flashes for a few moments, then
remains on, accompanied by an onscreen
message.
Have the vehicle checked by a PEUGEOT
dealer or a qualified workshop.
The vehicle stalls in STOP mode
All of the instrument panel warning lamps come
on if there is a fault.
►
Switch off the ignition then start the engine
again with the " ST
ART/STOP" button.
The Stop & Start system requires a 12 V
battery of specific technology and
specification.
All work concerning the battery must be
carried out only by a PEUGEOT
dealer or a
qualified workshop.
Under-inflation detection
This system automatically checks the pressures of the tyres while driving.
It compares the information given by the wheel
speed sensors with reference values, which
must be reinitialised every time the tyre
pressures are adjusted or a wheel changed.
Page 120 of 276
11 8
Driving
and Recommendation, as shown on the
instrument panel:
►
Press button
5 once; a message is displayed
to confirm the memorisation request.
►
Press button
5 again to save the suggested
speed.
The speed is immediately shown on the
instrument panel as the new speed setting.
Temporarily exceeding the
speed setting
► Press the accelerator pedal down fully .
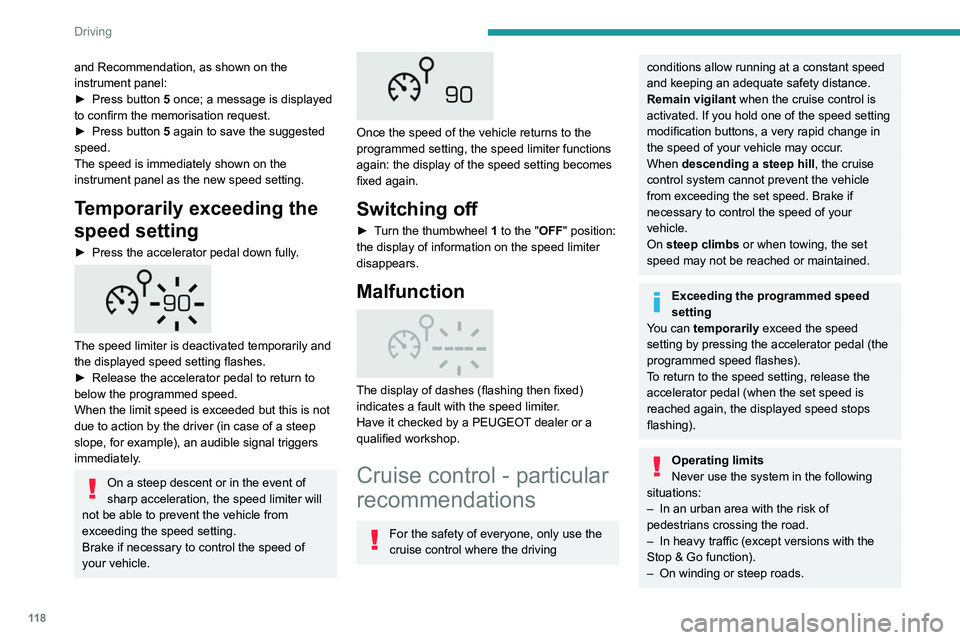
The speed limiter is deactivated temporarily and
the displayed speed setting flashes.
►
Release the accelerator pedal to return to
below the programmed speed.
When the limit speed is exceeded but this is not
due to action by the driver (in case of a steep
slope, for example), an audible signal triggers
immediately
.
On a steep descent or in the event of
sharp acceleration, the speed limiter will
not be able to prevent the vehicle from
exceeding the speed setting.
Brake if necessary to control the speed of
your vehicle.
Once the speed of the vehicle returns to the
programmed setting, the speed limiter functions
again: the display of the speed setting becomes
fixed again.
Switching off
► Turn the thumbwheel 1 to the "OFF" position:
the display of information on the speed limiter
disappears.
Malfunction
The display of dashes (flashing then fixed)
indicates a fault with the speed limiter.
Have it checked by a PEUGEOT dealer or a
qualified workshop.
Cruise control - particular
recommendations
For the safety of everyone, only use the
cruise control where the driving
conditions allow running at a constant speed
and keeping an adequate safety distance.
Remain vigilant when the cruise control is
activated. If you hold one of the speed setting
modification buttons, a very rapid change in
the speed of your vehicle may occur.
When descending a steep hill , the cruise
control system cannot prevent the vehicle
from exceeding the set speed. Brake if
necessary to control the speed of your
vehicle.
On steep climbs or when towing, the set
speed may not be reached or maintained.
Exceeding the programmed speed
setting
You can temporarily exceed the speed
setting by pressing the accelerator pedal (the
programmed speed flashes).
To return to the speed setting, release the
accelerator pedal (when the set speed is
reached again, the displayed speed stops
flashing).
Operating limits
Never use the system in the following
situations:
–
In an urban area with the risk of
pedestrians crossing the road.
–
In heavy traffic (except versions with the
Stop & Go function).
–
On winding or steep roads.
– On slippery or flooded roads.
– In poor weather conditions.
– Driving on a speed circuit.
– Driving on a rolling road.
– When using snow chains, non-slip covers
or studded tyres.
Programmable cruise
control
Refer to the General recommendations on the
use of driving and manoeuvring aids and to
Cruise control - particular recommendations.
This system automatically keeps the vehicle’s speed at the cruise value
programmed by the driver (speed setting),
without using the accelerator pedal.
The cruise control is switched on manually.
It requires a minimum vehicle speed of 25 mph
(40 km/h).
With a manual gearbox, third gear or higher must
be engaged.
With an automatic gearbox, mode D or second
gear or higher in mode M must be engaged.
The cruise control remains active after
changing gear, regardless of the gearbox
type, on engines fitted with Stop & Start.
Switching off the ignition cancels any
speed setting.
Page 122 of 276
120
Driving
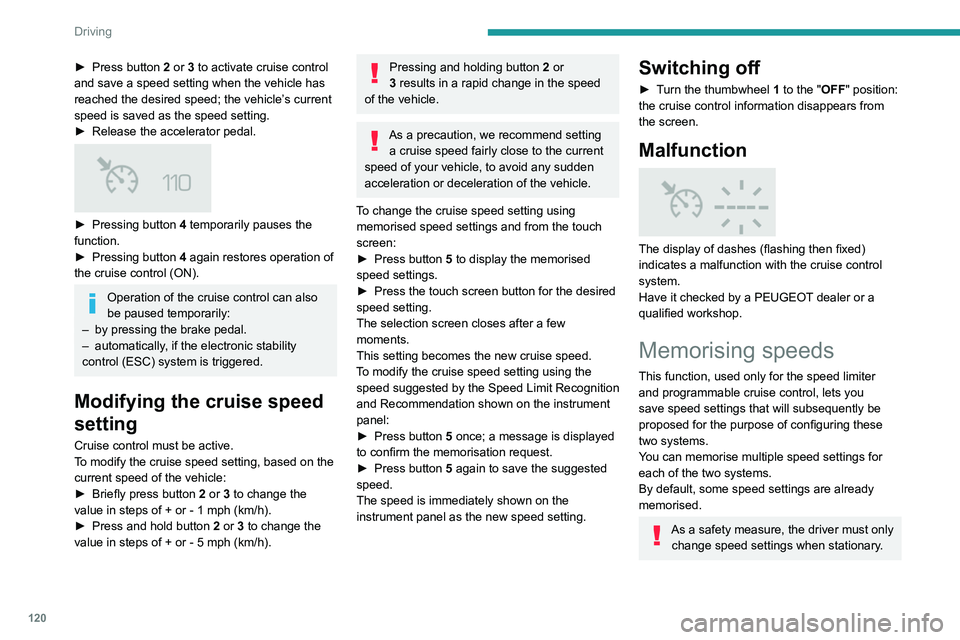
► Press button 2 or 3 to activate cruise control
and save a speed setting when the vehicle has
reached the desired speed; the vehicle’s current
speed is saved as the speed setting.
►
Release the accelerator pedal.
► Pressing button 4 temporarily pauses the
function.
►
Pressing button 4
again restores operation of
the cruise control (ON).
Operation of the cruise control can also
be paused temporarily:
–
by pressing the brake pedal.
–
automatically
, if the electronic stability
control (ESC) system is triggered.
Modifying the cruise speed
setting
Cruise control must be active.
To modify the cruise speed setting, based on the
current speed of the vehicle:
►
Briefly press button
2 or 3 to change the
value in steps of +
or - 1 mph (km/h).
►
Press and hold button
2
or 3 to change the
value in steps of +
or - 5 mph (km/h).
Pressing and holding button 2 or
3 results in a rapid change in the speed
of the vehicle.
As a precaution, we recommend setting a cruise speed fairly close to the current
speed of your vehicle, to avoid any sudden
acceleration or deceleration of the vehicle.
To change the cruise speed setting using memorised speed settings and from the touch
screen:
►
Press button
5 to display the memorised
speed settings.
►
Press the touch screen button for the desired
speed setting.
The selection screen closes after a few
moments.
This setting becomes the new cruise speed.
T
o modify the cruise speed setting using the
speed suggested by the Speed Limit Recognition
and Recommendation shown on the instrument
panel:
►
Press button
5 once; a message is displayed
to confirm the memorisation request.
►
Press button
5 again to save the suggested
speed.
The speed is immediately shown on the
instrument panel as the new speed setting.
Switching off
► Turn the thumbwheel 1 to the "OFF" position:
the cruise control information disappears from
the screen.
Malfunction
The display of dashes (flashing then fixed)
indicates a malfunction with the cruise control
system.
Have it checked by a PEUGEOT dealer or a
qualified workshop.
Memorising speeds
This function, used only for the speed limiter
and programmable cruise control, lets you
save speed settings that will subsequently be
proposed for the purpose of configuring these
two systems.
You can memorise multiple speed settings for
each of the two systems.
By default, some speed settings are already
memorised.
As a safety measure, the driver must only change speed settings when stationary.
Changing a speed setting
Speed settings can be activated,
deactivated, selected and changed in the
Driving / Vehicle touch screen menu.
"MEM" button
With this button, you can select a memorised
speed setting to use with the speed limiter or the
programmable cruise control.
For more information on the Speed limiter
or Cruise control, refer to the corresponding
section.
Drive Assist Plus
Only available on versions with automatic
gearbox.
This system automatically adjusts the speed and
corrects the trajectory, using the Adaptive Cruise
Control with Stop & Go function in conjunction
with the Lane Positioning Assist.
These two functions must be activated and in
operation.