warning Peugeot Bipper 2010.5 User Guide
[x] Cancel search | Manufacturer: PEUGEOT, Model Year: 2010.5, Model line: Bipper, Model: Peugeot Bipper 2010.5Pages: 166, PDF Size: 4.22 MB
Page 24 of 166
26
Instruments and controls
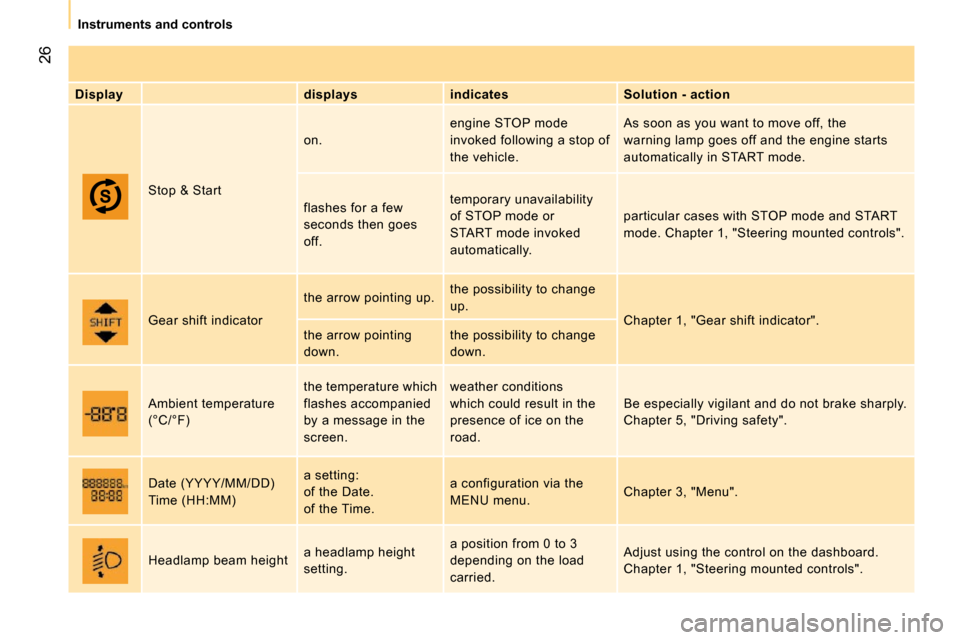
Display displays indicates Solution - action
Stop & Start on.
engine STOP mode
invoked following a stop of
the vehicle. As soon as you want to move off, the
warning lamp goes off and the engine starts
automatically in START mode.
flashes for a few
seconds then goes
off. temporary unavailability
of STOP mode or
START mode invoked
automatically.
particular cases with STOP mode and START
mode. Chapter 1, "Steering mounted controls".
Gear shift indicator the arrow pointing up.
the possibility to change
up.
Chapter 1, "Gear shift indicator".
the arrow pointing
down. the possibility to change
down.
Ambient temperature
(°C/°F) the temperature which
flashes accompanied
by a message in the
screen. weather conditions
which could result in the
presence of ice on the
road.
Be especially vigilant and do not brake sharply.
Chapter 5, "Driving safety".
Date (YYYY/MM/DD)
Time (HH:MM) a setting:
of the Date.
of the Time. a configuration via the
MENU menu.
Chapter 3, "Menu".
Headlamp beam height a headlamp height
setting. a position from 0 to 3
depending on the load
carried. Adjust using the control on the dashboard.
Chapter 1, "Steering mounted controls".
Page 25 of 166

1
READY TO SET OFF
Instruments and controls
FUEL GAUGE
The fuel level is tested each time the key is
turned to the "ignition on" position.
The gauge is positioned on:
- F (full): the capacity of the fuel tank is
approximately 45 litres .
- E (empty): the reserve is now being
used, the warning lamp comes on
continuously.
The reserve when the warning first comes
on is approximately 6 litres. COOLANT TEMPERATURE
The needle is positioned between
C (cold) and H (hot): normal operation.
In arduous conditions of use or hot climatic
conditions, the needle may move close to
the red graduations. - wait approximately 15 minutes to allow
the engine to cool down in order to check
the level and top it up if necessary. The
cooling system is pressurised. In order to
avoid any risk of scalding, unscrew the
cap by two turns to allow the pressure to
drop.
When the pressure has dropped, check the
level and remove the cap to top up.
If the needle remains in the red zone,
contact a PEUGEOT dealer. EMISSION CONTROL
EOBD (European On Board Diagnosis) is a
diagnostics system which meets the exhaust
emissions standards for:
- CO (carbon monoxide),
- HC (unburnt hydrocarbons),
- NOx (nitrous oxides) or particles detected by oxygen sensors placed upstream and
downstream of the catalytic converters.
Refer to the "Levels" section of chapter 7. Refer to the "Levels" section of chapter 7.
The driver is warned of any
fault with this emission control
system by flashing of this specific
warning lamp in the instrument
panel.
What you should do if the needle
enters the red zone, or if the warning
lamp comes on:
- stop immediately, switch off the ignition. The cooling fan may continue to operate
for a certain time up to approximately
10 minutes.
Page 26 of 166
28
Instruments and controls
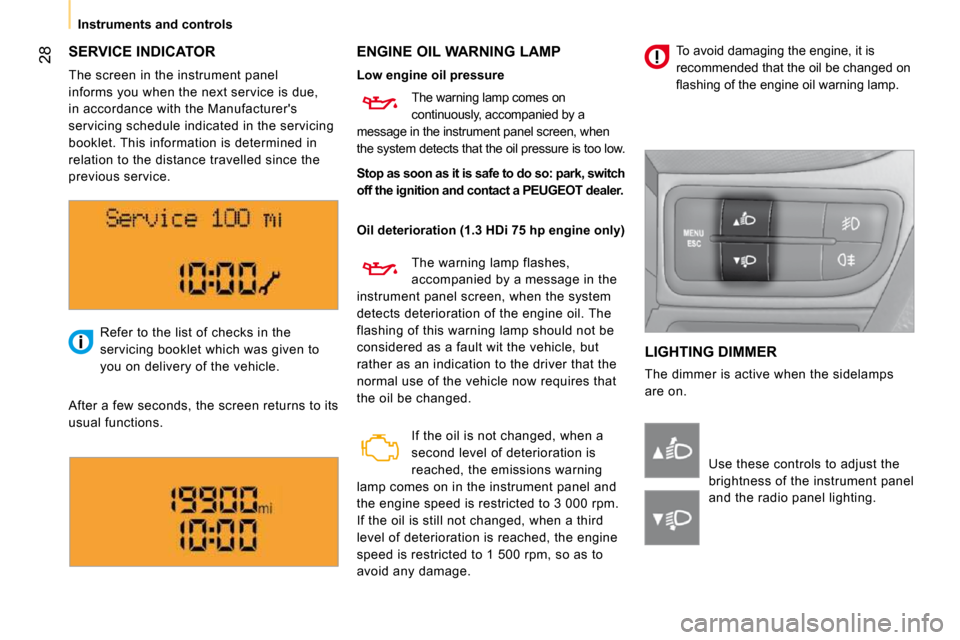
SERVICE INDICATOR ENGINE OIL WARNING LAMP
LIGHTING DIMMER
The dimmer is active when the sidelamps
are on.
Refer to the list of checks in the
servicing booklet which was given to
you on delivery of the vehicle.
After a few seconds, the screen returns to its
usual functions.
Use these controls to adjust the
brightness of the instrument panel
and the radio panel lighting.
The screen in the instrument panel
informs you when the next service is due,
in accordance with the Manufacturer's
servicing schedule indicated in the servicing
booklet. This information is determined in
relation to the distance travelled since the
previous service.
Low engine oil pressure
Oil deterioration (1.3 HDi 75 hp engine only)
The warning lamp comes on
continuously, accompanied by a
message in the instrument panel screen, when
the system detects that the oil pressure is too low .
The warning lamp flashes,
accompanied by a message in the
instrument panel screen, when the system
detects deterioration of the engine oil. The
flashing of this warning lamp should not be
considered as a fault wit the vehicle, but
rather as an indication to the driver that the
normal use of the vehicle now requires that
the oil be changed.
If the oil is not changed, when a
second level of deterioration is
reached, the emissions warning
lamp comes on in the instrument panel and
the engine speed is restricted to 3 000 rpm.
If the oil is still not changed, when a third
level of deterioration is reached, the engine
speed is restricted to 1 500 rpm, so as to
avoid any damage. To avoid damaging the engine, it is
recommended that the oil be changed on
�fl� �a�s�h�i�n�g� �o�f� �t�h�e� �e�n�g�i�n�e� �o�i�l� �w�a�r�n�i�n�g� �l�a�m�p�.� � �
Stop as soon as it is safe to do so:
park, switch
off the ignition and contact a
PEUGEOT
dealer.
Page 30 of 166
32
Access
ELECTRONIC IMMOBILISER
All of the keys contain an electronic
immobiliser device.
This device locks the engine supply system.
It is activated automatically when the key is
removed from the ignition.
After the ignition is switched on, a dialogue
is established between the key and the
electronic immobiliser system. This warning lamp is switched off
after the ignition is switched on
and the key has been recognised,
the engine can be started.
If the key is not recognised, the engine
cannot be started. Use another key and
have the faulty key checked by a PEUGEOT
dealer. Good practice
Do not make any modifications to the
electronic immobiliser system.
Operating the remote control, even when it
is in your pocket, may result in involuntary
unlocking of the doors.
The simultaneous use of other high
frequency equipment (mobile telephones,
domestic alarms…), may interfere with the
operation of the remote control temporarily.
When purchasing a second-hand vehicle:
- ensure that you are given the confidential card,
- have the keys memorised by a PEUGEOT dealer to ensure that the keys in your
possession are the only ones which can
start the vehicle.
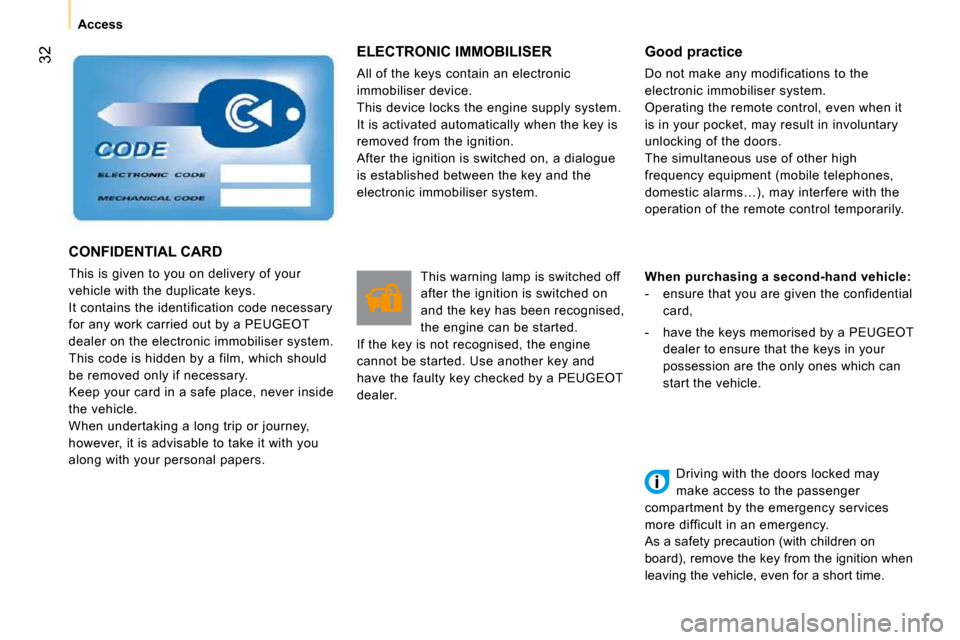
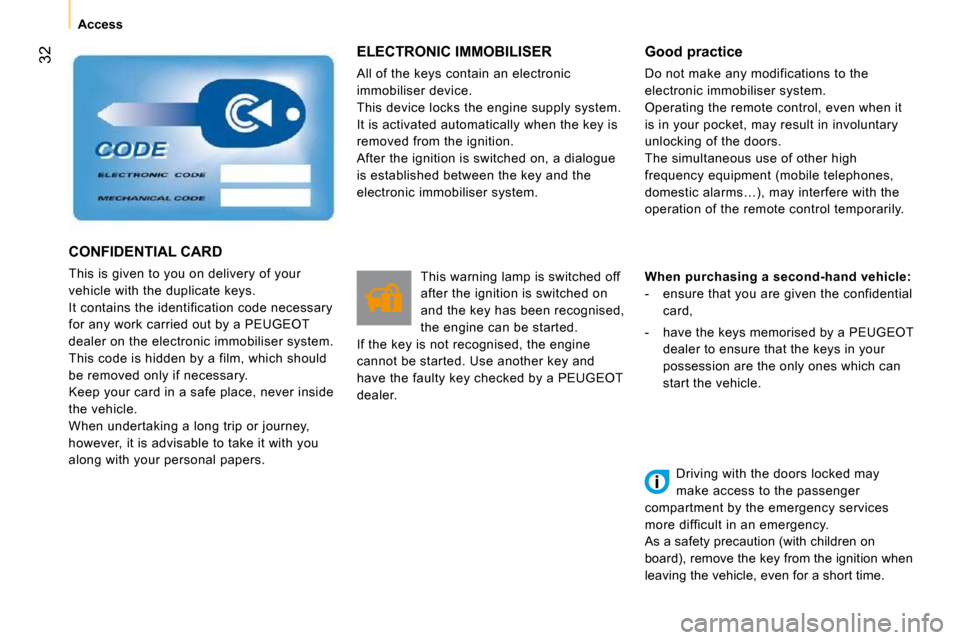
CONFIDENTIAL CARD
This is given to you on delivery of your
vehicle with the duplicate keys.
It contains the identification code necessary
for any work carried out by a PEUGEOT
dealer on the electronic immobiliser system.
This code is hidden by a film, which should
be removed only if necessary.
Keep your card in a safe place, never inside
the vehicle.
When undertaking a long trip or journey,
however, it is advisable to take it with you
along with your personal papers. Driving with the doors locked may
make access to the passenger
compartment by the emergency services
more difficult in an emergency.
As a safety precaution (with children on
board), remove the key from the ignition when
leaving the vehicle, even for a short time.
Page 32 of 166
32
Access
ELECTRONIC IMMOBILISER
All of the keys contain an electronic
immobiliser device.
This device locks the engine supply system.
It is activated automatically when the key is
removed from the ignition.
After the ignition is switched on, a dialogue
is established between the key and the
electronic immobiliser system. This warning lamp is switched off
after the ignition is switched on
and the key has been recognised,
the engine can be started.
If the key is not recognised, the engine
cannot be started. Use another key and
have the faulty key checked by a PEUGEOT
dealer. Good practice
Do not make any modifications to the
electronic immobiliser system.
Operating the remote control, even when it
is in your pocket, may result in involuntary
unlocking of the doors.
The simultaneous use of other high
frequency equipment (mobile telephones,
domestic alarms…), may interfere with the
operation of the remote control temporarily.
When purchasing a second-hand vehicle:
- ensure that you are given the confidential card,
- have the keys memorised by a PEUGEOT dealer to ensure that the keys in your
possession are the only ones which can
start the vehicle.
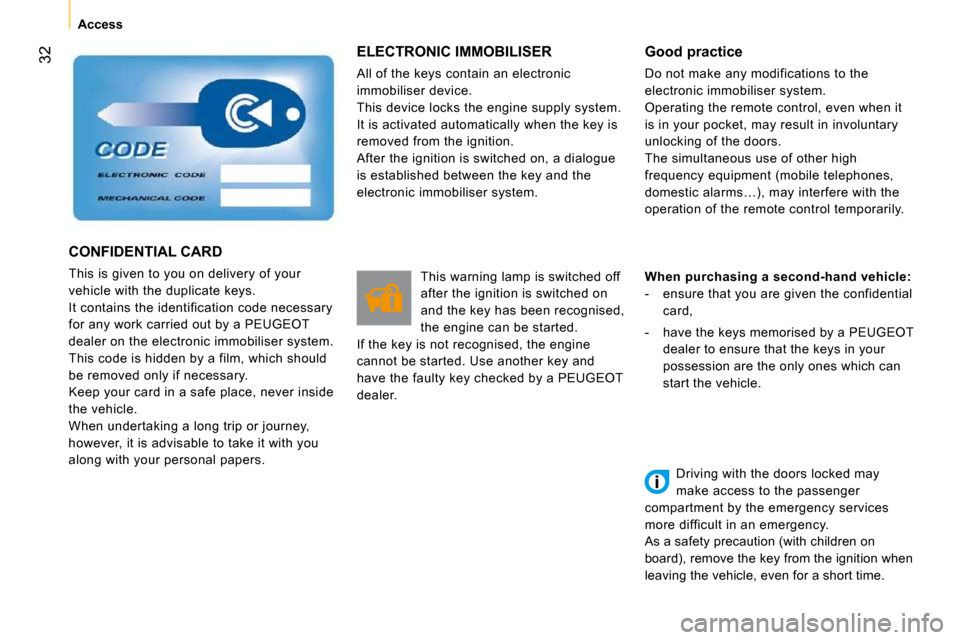
CONFIDENTIAL CARD
This is given to you on delivery of your
vehicle with the duplicate keys.
It contains the identification code necessary
for any work carried out by a PEUGEOT
dealer on the electronic immobiliser system.
This code is hidden by a film, which should
be removed only if necessary.
Keep your card in a safe place, never inside
the vehicle.
When undertaking a long trip or journey,
however, it is advisable to take it with you
along with your personal papers. Driving with the doors locked may
make access to the passenger
compartment by the emergency services
more difficult in an emergency.
As a safety precaution (with children on
board), remove the key from the ignition when
leaving the vehicle, even for a short time.
Page 33 of 166
32
Access
ELECTRONIC IMMOBILISER
All of the keys contain an electronic
immobiliser device.
This device locks the engine supply system.
It is activated automatically when the key is
removed from the ignition.
After the ignition is switched on, a dialogue
is established between the key and the
electronic immobiliser system. This warning lamp is switched off
after the ignition is switched on
and the key has been recognised,
the engine can be started.
If the key is not recognised, the engine
cannot be started. Use another key and
have the faulty key checked by a PEUGEOT
dealer. Good practice
Do not make any modifications to the
electronic immobiliser system.
Operating the remote control, even when it
is in your pocket, may result in involuntary
unlocking of the doors.
The simultaneous use of other high
frequency equipment (mobile telephones,
domestic alarms…), may interfere with the
operation of the remote control temporarily.
When purchasing a second-hand vehicle:
- ensure that you are given the confidential card,
- have the keys memorised by a PEUGEOT dealer to ensure that the keys in your
possession are the only ones which can
start the vehicle.
CONFIDENTIAL CARD
This is given to you on delivery of your
vehicle with the duplicate keys.
It contains the identification code necessary
for any work carried out by a PEUGEOT
dealer on the electronic immobiliser system.
This code is hidden by a film, which should
be removed only if necessary.
Keep your card in a safe place, never inside
the vehicle.
When undertaking a long trip or journey,
however, it is advisable to take it with you
along with your personal papers. Driving with the doors locked may
make access to the passenger
compartment by the emergency services
more difficult in an emergency.
As a safety precaution (with children on
board), remove the key from the ignition when
leaving the vehicle, even for a short time.
Page 34 of 166
33
1
READY TO SET OFF
Access
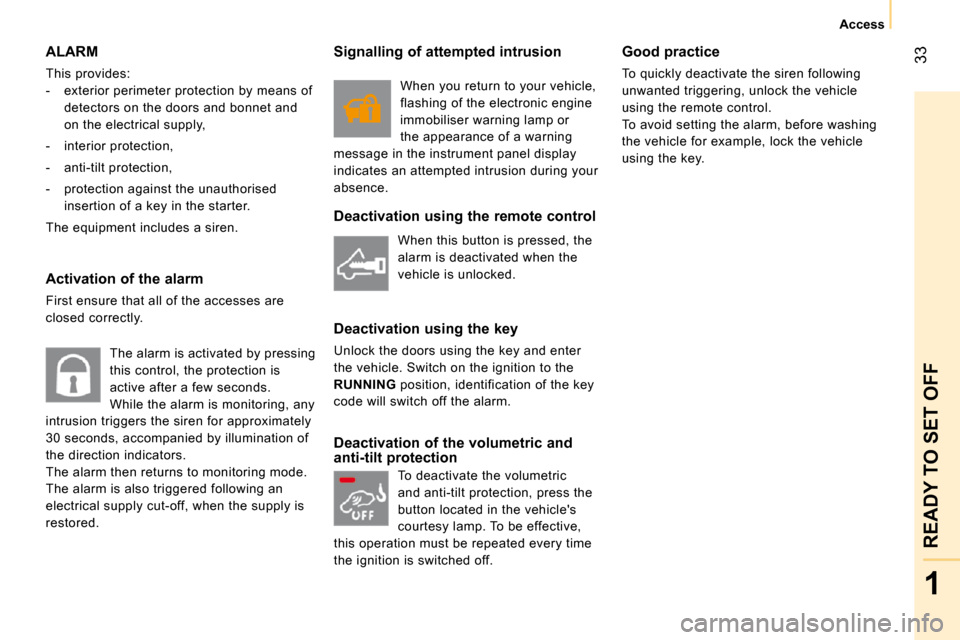
ALARM
This provides:
- exterior perimeter protection by means of detectors on the doors and bonnet and
on the electrical supply,
- interior protection,
- anti-tilt protection,
- protection against the unauthorised insertion of a key in the starter.
The equipment includes a siren.
Activation of the alarm
First ensure that all of the accesses are
closed correctly.
The alarm is activated by pressing
this control, the protection is
active after a few seconds.
While the alarm is monitoring, any
intrusion triggers the siren for approximately
30 seconds, accompanied by illumination of
the direction indicators.
The alarm then returns to monitoring mode.
The alarm is also triggered following an
electrical supply cut-off, when the supply is
restored. Deactivation using the remote control
Deactivation using the key
Unlock the doors using the key and enter
the vehicle. Switch on the ignition to the
RUNNING
position, identification of the key
code will switch off the alarm.
Deactivation of the volumetric and
anti-tilt protection Good practice
To quickly deactivate the siren following
unwanted triggering, unlock the vehicle
using the remote control.
To avoid setting the alarm, before washing
the vehicle for example, lock the vehicle
using the key.
When this button is pressed, the
alarm is deactivated when the
vehicle is unlocked.
Signalling of attempted intrusion
When you return to your vehicle,
flashing of the electronic engine
immobiliser warning lamp or
the appearance of a warning
message in the instrument panel display
indicates an attempted intrusion during your
absence.
To deactivate the volumetric
and anti-tilt protection, press the
button located in the vehicle's
courtesy lamp. To be effective,
this operation must be repeated every time
the ignition is switched off.
Page 46 of 166
39
1
READY TO SET OFF
Steering mounted controls
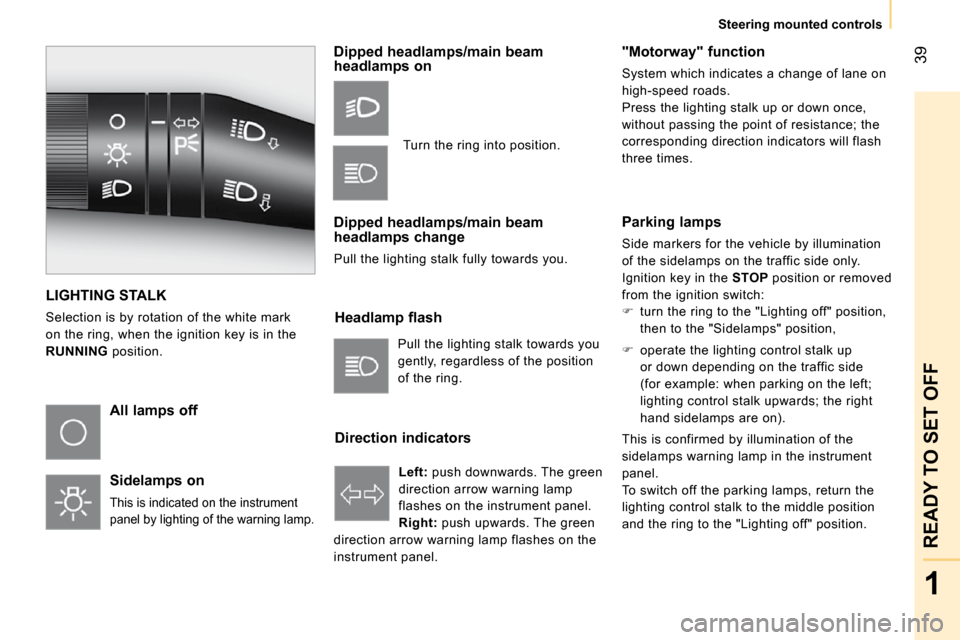
LIGHTING STALK
Selection is by rotation of the white mark
on the ring, when the ignition key is in the
RUNNING position.
All lamps off
Sidelamps on
This is indicated on the instrument
panel by lighting of the warning lamp.
Dipped headlamps/main beam
headlamps on
Dipped headlamps/main beam
headlamps change
Pull the lighting stalk fully towards you. Headlamp flash
Direction indicators "Motorway" function
System which indicates a change of lane on
high-speed roads.
Press the lighting stalk up or down once,
without passing the point of resistance; the
corresponding direction indicators will flash
three times.
Pull the lighting stalk towards you
gently, regardless of the position
of the ring. Left: push downwards. The green
direction arrow warning lamp
flashes on the instrument panel.
Right: push upwards. The green
direction arrow warning lamp flashes on the
instrument panel. Turn the ring into position.
Parking lamps
Side markers for the vehicle by illumination
of the sidelamps on the traffic side only.
Ignition key in the STOP position or removed
from the ignition switch:
� turn the ring to the "Lighting off" position,
then to the "Sidelamps" position,
� operate the lighting control stalk up
or down depending on the traffic side
(for example: when parking on the left;
lighting control stalk upwards; the right
hand sidelamps are on).
This is confirmed by illumination of the
sidelamps warning lamp in the instrument
panel.
To switch off the parking lamps, return the
lighting control stalk to the middle position
and the ring to the "Lighting off" position.
Page 47 of 166
40
Steering mounted controls Headlamp beam
You are advised to adjust the height of the
headlamp beams in accordance with the
load in your vehicle.
This function can only be accessed in
the main beam headlamps and dipped
headlamps position.
Press these controls, located
on the fascia panel, several
times in succession to adjust the
headlamps.
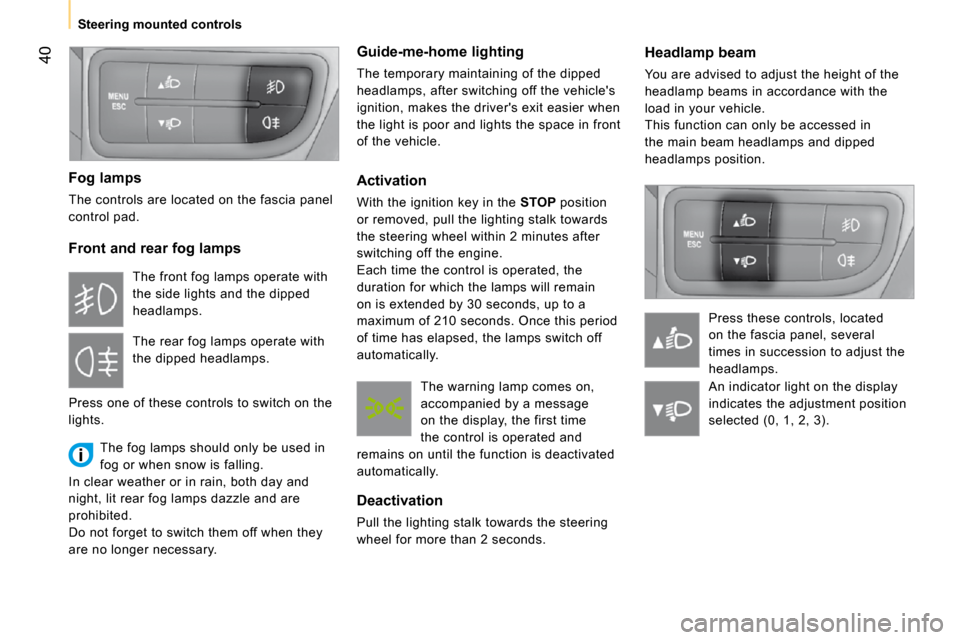
Fog lamps
The controls are located on the fascia panel
control pad.
Front and rear fog lamps
The fog lamps should only be used in
fog or when snow is falling.
In clear weather or in rain, both day and
night, lit rear fog lamps dazzle and are
prohibited.
Do not forget to switch them off when they
are no longer necessary. Guide-me-home lighting
The temporary maintaining of the dipped
headlamps, after switching off the vehicle's
ignition, makes the driver's exit easier when
the light is poor and lights the space in front
of the vehicle.
Activation
With the ignition key in the
STOP position
or removed, pull the lighting stalk towards
the steering wheel within 2 minutes after
switching off the engine.
Each time the control is operated, the
duration for which the lamps will remain
on is extended by 30 seconds, up to a
maximum of 210 seconds. Once this period
of time has elapsed, the lamps switch off
automatically.
Deactivation
Pull the lighting stalk towards the steering
wheel for more than 2 seconds.
The front fog lamps operate with
the side lights and the dipped
headlamps.
The rear fog lamps operate with
the dipped headlamps.
Press one of these controls to switch on the
lights. The warning lamp comes on,
accompanied by a message
on the display, the first time
the control is operated and
remains on until the function is deactivated
automatically. An indicator light on the display
indicates the adjustment position
selected (0, 1, 2, 3).
Page 48 of 166
40
Steering mounted controls Headlamp beam
You are advised to adjust the height of the
headlamp beams in accordance with the
load in your vehicle.
This function can only be accessed in
the main beam headlamps and dipped
headlamps position.
Press these controls, located
on the fascia panel, several
times in succession to adjust the
headlamps.
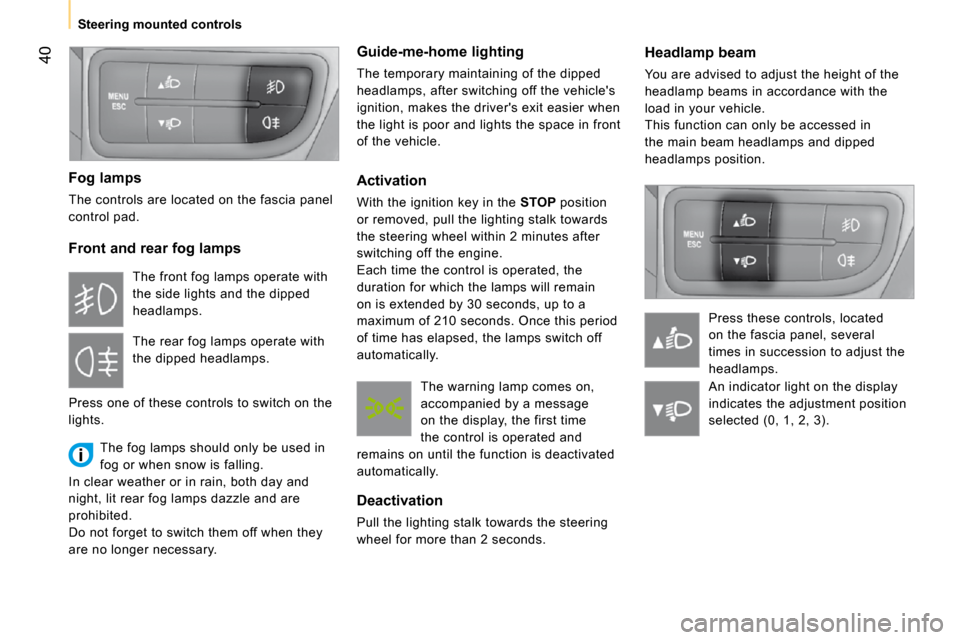
Fog lamps
The controls are located on the fascia panel
control pad.
Front and rear fog lamps
The fog lamps should only be used in
fog or when snow is falling.
In clear weather or in rain, both day and
night, lit rear fog lamps dazzle and are
prohibited.
Do not forget to switch them off when they
are no longer necessary. Guide-me-home lighting
The temporary maintaining of the dipped
headlamps, after switching off the vehicle's
ignition, makes the driver's exit easier when
the light is poor and lights the space in front
of the vehicle.
Activation
With the ignition key in the
STOP position
or removed, pull the lighting stalk towards
the steering wheel within 2 minutes after
switching off the engine.
Each time the control is operated, the
duration for which the lamps will remain
on is extended by 30 seconds, up to a
maximum of 210 seconds. Once this period
of time has elapsed, the lamps switch off
automatically.
Deactivation
Pull the lighting stalk towards the steering
wheel for more than 2 seconds.
The front fog lamps operate with
the side lights and the dipped
headlamps.
The rear fog lamps operate with
the dipped headlamps.
Press one of these controls to switch on the
lights. The warning lamp comes on,
accompanied by a message
on the display, the first time
the control is operated and
remains on until the function is deactivated
automatically. An indicator light on the display
indicates the adjustment position
selected (0, 1, 2, 3).