Mode button Peugeot Boxer 2018 User Guide
[x] Cancel search | Manufacturer: PEUGEOT, Model Year: 2018, Model line: Boxer, Model: Peugeot Boxer 2018Pages: 232, PDF Size: 9.09 MB
Page 53 of 232
51
If after an extended stop in sunshine, the
interior temperature is very high, first air
the passenger compartment for a few
moments.
Put the air flow control at a
setting high
enough to quickly change the air in the
passenger compartment.
The condensation created by the air
conditioning results in a
discharge of
water under the vehicle which is per fectly
normal.
Contains fluorinated greenhouse
gases R134A
Depending on model and country of
sale, the air conditioning system may
contain fluorinated greenhouse gases
R13 4A .
Stop & Star t
The heating and air conditioning systems
only work when the engine is running.
To maintain a
comfortable temperature
in the passenger compartment, you can
temporarily deactivate the Stop & Start
system.
For more information on Stop & Star t ,
refer to the corresponding section.Front demist – defrost
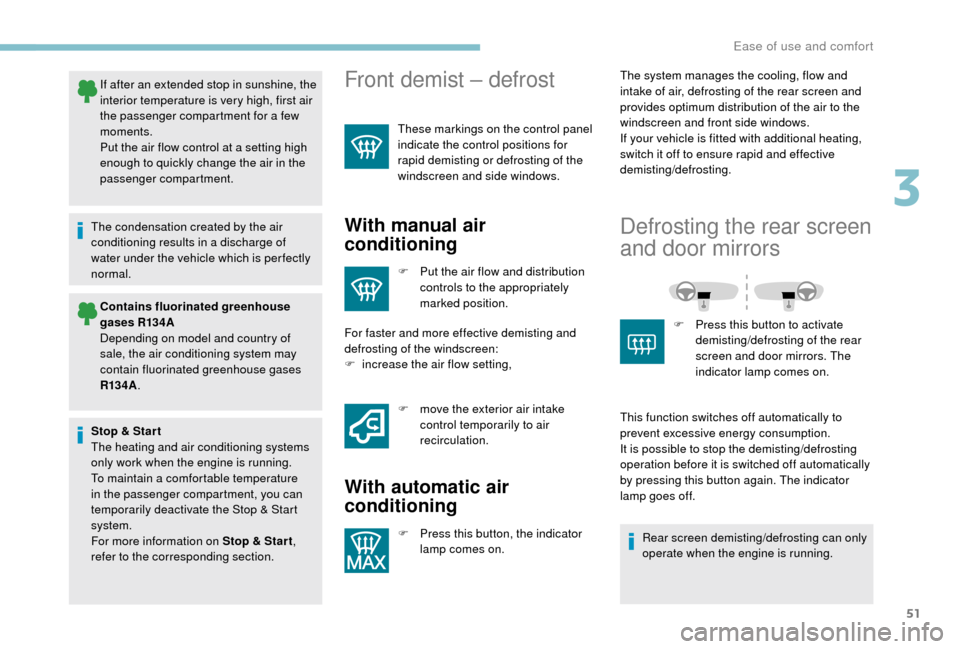
These markings on the control panel
indicate the control positions for
rapid demisting or defrosting of the
windscreen and side windows.
With manual air
conditioning
F Put the air flow and distribution controls to the appropriately
marked position.
For faster and more effective demisting and
defrosting of the windscreen:
F
i
ncrease the air flow setting, F
m
ove the exterior air intake
control temporarily to air
recirculation.
With automatic air
conditioning
F Press this button, the indicator lamp comes on. The system manages the cooling, flow and
intake of air, defrosting of the rear screen and
provides optimum distribution of the air to the
windscreen and front side windows.
If your vehicle is fitted with additional heating,
switch it off to ensure rapid and effective
demisting/defrosting.
Defrosting the rear screen
and door mirrors
F Press this button to activate
demisting/defrosting of the rear
screen and door mirrors. The
indicator lamp comes on.
This function switches off automatically to
prevent excessive energy consumption.
It is possible to stop the demisting/defrosting
operation before it is switched off automatically
by pressing this button again. The indicator
lamp goes off. Rear screen demisting/defrosting can only
operate when the engine is running.
3
Ease of use and comfort
Page 65 of 232
63
up to approximately 3 minutes. When this
t ime has elapsed, the lamps are switched off
automatically.
Deactivate this control by keeping the stalk
pulled towards the steering wheel for more than
2
seconds.
Adaptive lighting
System which automatically changes to main
beam according to the ambient light level and
the driving conditions, using a camera located
at the top of the windscreen.
This system is a
driving aid.
The driver remains responsible for the
vehicle's lighting, its correct use for the
prevailing conditions of light, visibility
and traffic, and obser vation of driving
regulations.
Activation
F Turn the lighting control stalk ring to this position.
F
A
ctivate the function with the MODE button;
in the "Automatic headlamp dipping" menu,
select "ON". For more information on Vehicle
configuration
, refer to the corresponding
section.
F
F
lash the headlamps (going beyond the
point of resistance) to activate the function.
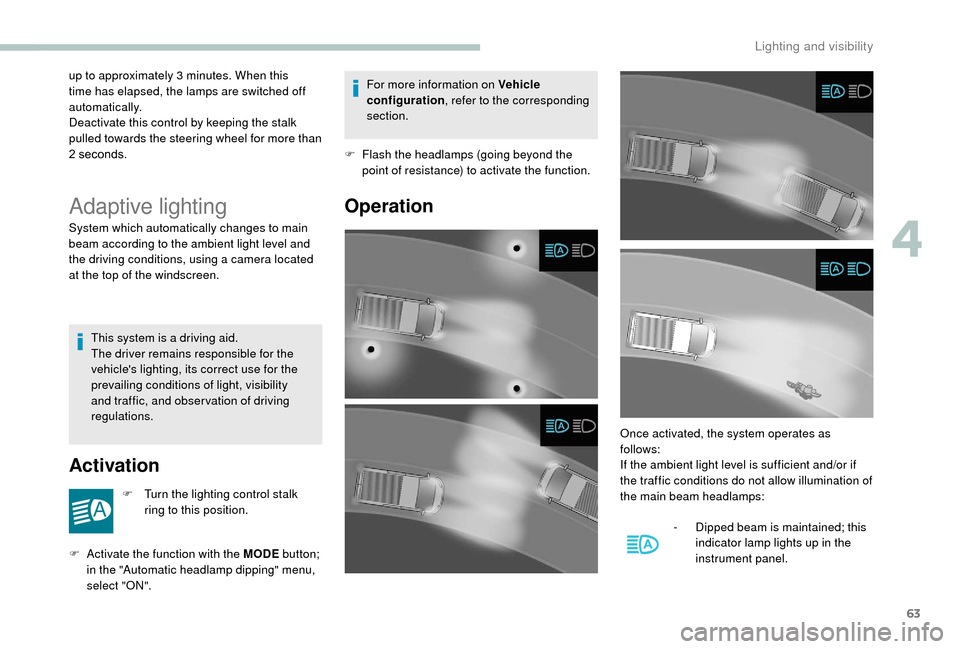
Operation
Once activated, the system operates as
follows:
If the ambient light level is sufficient and/or if
the traffic conditions do not allow illumination of
the main beam headlamps:
-
D
ipped beam is maintained; this
indicator lamp lights up in the
instrument panel.
4
Lighting and visibility
Page 74 of 232
72
Seat belts
Front seat belts
The driver's seat is fitted with a pyrotechnic
p retensioner and a force limiter.
On models with a
passenger's front airbag,
the passenger's seat is also fitted with
a
pyrotechnic pretensioner and a force limiter.
The front bench seat is fitted with two seat
belts.
Switching on
On starting the vehicle, the system is
deactivated.
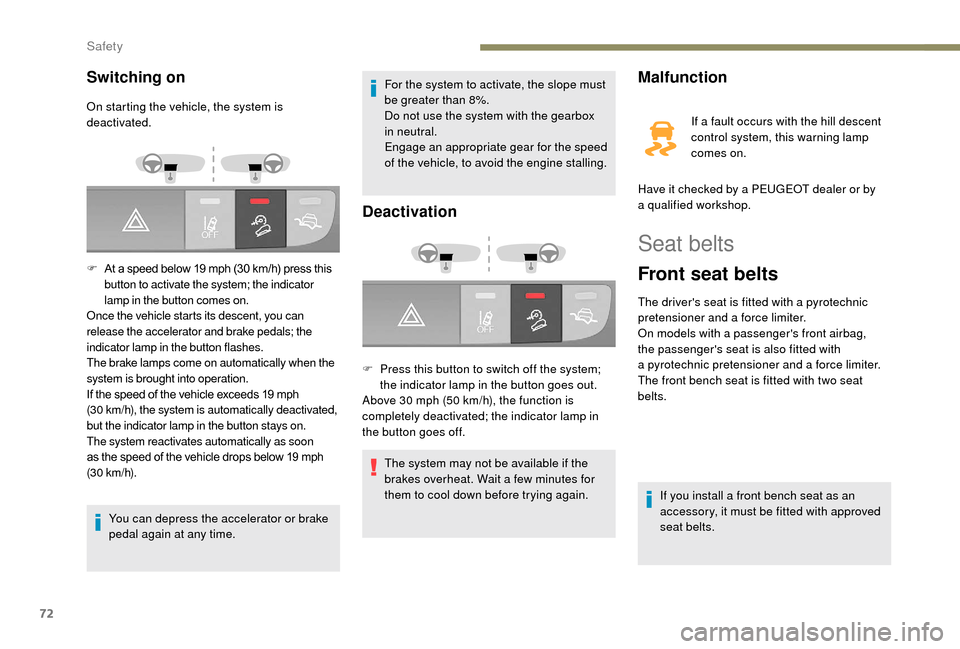
F
A
t a speed below 19 mph (30 km/h) press this
button to activate the system; the indicator
lamp in the button comes on.
Once the vehicle starts its descent, you can
release the accelerator and brake pedals; the
indicator lamp in the button flashes.
The brake lamps come on automatically when the
system is brought into operation.
If the speed of the vehicle exceeds 19
mph
(30
km/h), the system is automatically deactivated,
but the indicator lamp in the button stays on.
The system reactivates automatically as soon
as the speed of the vehicle drops below 19
mph
(30
km/h).You can depress the accelerator or brake
pedal again at any time. For the system to activate, the slope must
be greater than 8%.
Do not use the system with the gearbox
in neutral.
Engage an appropriate gear for the speed
of the vehicle, to avoid the engine stalling.
Deactivation
F Press this button to switch off the system;
the indicator lamp in the button goes out.
Above 30
mph (50 km/h), the function is
completely deactivated; the indicator lamp in
the button goes off.
The system may not be available if the
brakes overheat. Wait a
few minutes for
them to cool down before trying again.
Malfunction
If a fault occurs with the hill descent
c ontrol system, this warning lamp
comes on.
Have it checked by a
PEUGEOT dealer or by
a
qualified workshop.
If you install a
front bench seat as an
accessory, it must be fitted with approved
seat belts.
Safety
Page 75 of 232
73
Fastening
Unfastening
F Press the red button on the buckle, the seat belt rolls up automatically but you are
advised to guide it.
For safety reasons, these operations must
not be carried out while driving.
Height adjustment
Seat belts not fastened warning
lamp
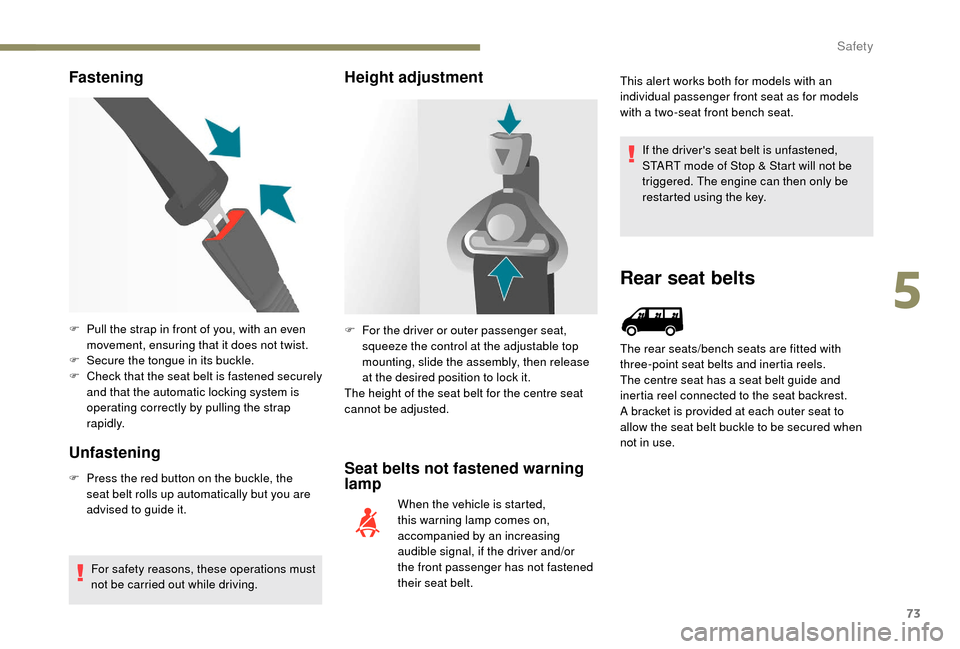
F Pull the strap in front of you, with an even movement, ensuring that it does not twist.
F
S
ecure the tongue in its buckle.
F
C
heck that the seat belt is fastened securely
and that the automatic locking system is
operating correctly by pulling the strap
rapidly. F
F or the driver or outer passenger seat,
squeeze the control at the adjustable top
mounting, slide the assembly, then release
at the desired position to lock it.
The height of the seat belt for the centre seat
cannot be adjusted.
When the vehicle is started,
this warning lamp comes on,
accompanied by an increasing
audible signal, if the driver and/or
the front passenger has not fastened
their seat belt. This alert works both for models with an
individual passenger front seat as for models
with a
two-seat front bench seat.
If the driver's seat belt is unfastened,
START mode of Stop & Start will not be
triggered. The engine can then only be
restarted using the key.
Rear seat belts
The rear seats/bench seats are fitted with
three-point seat belts and inertia reels.
The centre seat has a seat belt guide and
inertia reel connected to the seat backrest.
A bracket is provided at each outer seat to
allow the seat belt buckle to be secured when
not in use.
5
5
Safety
Page 80 of 232
78
"Forward facing "
When a "for ward facing" child seat
is installed on the front passenger
seat, adjust the vehicle's seat to
the intermediate longitudinal and
highest position with seat backrest
upright, and leave the passenger's
front airbag activated.
Ensure that the seat belt is correctly
tensioned.
For child seats with a
support leg, ensure
that the latter is in firm contact with the
floor. If necessary, adjust the passenger
seat.
Deactivating the
passenger's front airbag
Never install a rear ward facing child
r estraint system on a seat protected by an
active front airbag. This could cause the
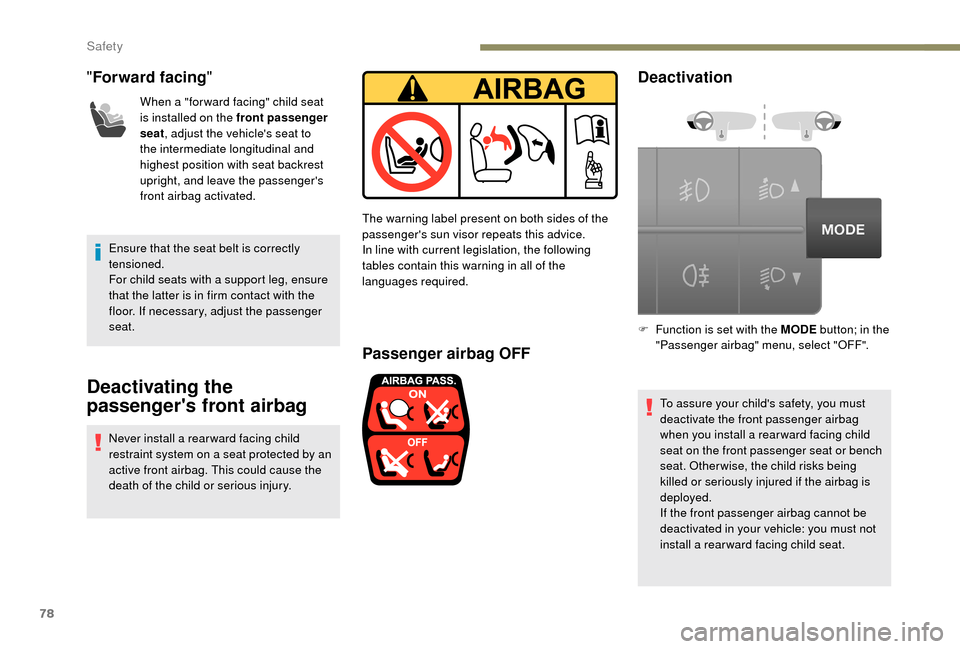
death of the child or serious injury. The warning label present on both sides of the
passenger's sun visor repeats this advice.
In line with current legislation, the following
tables contain this warning in all of the
languages required.
Passenger airbag OFF
Deactivation
To assure your child's safety, you must
deactivate the front passenger airbag
when you install a
rear ward facing child
seat on the front passenger seat or bench
seat. Otherwise, the child risks being
killed or seriously injured if the airbag is
deployed.
If the front passenger airbag cannot be
deactivated in your vehicle: you must not
install a
rearward facing child seat.
F
F
unction is set with the MODE
button; in the
"Passenger airbag" menu, select "OFF".
Safety
Page 94 of 232
92
Releasing
When the vehicle is being driven,
this warning lamp coming on
indicates that the parking brake is
still applied or has not been fully
released.
Manual gearbox
To change gear easily, always depress the
clutch pedal fully.
To prevent the mat from becoming caught
under the pedal:
-
e
nsure that the mat is positioned
correctly,
-
n
ever fit one mat on top of another.
Avoid leaving your hand on the gear knob as
the force exerted, even if slight, may wear the
internal components of the gearbox over time.
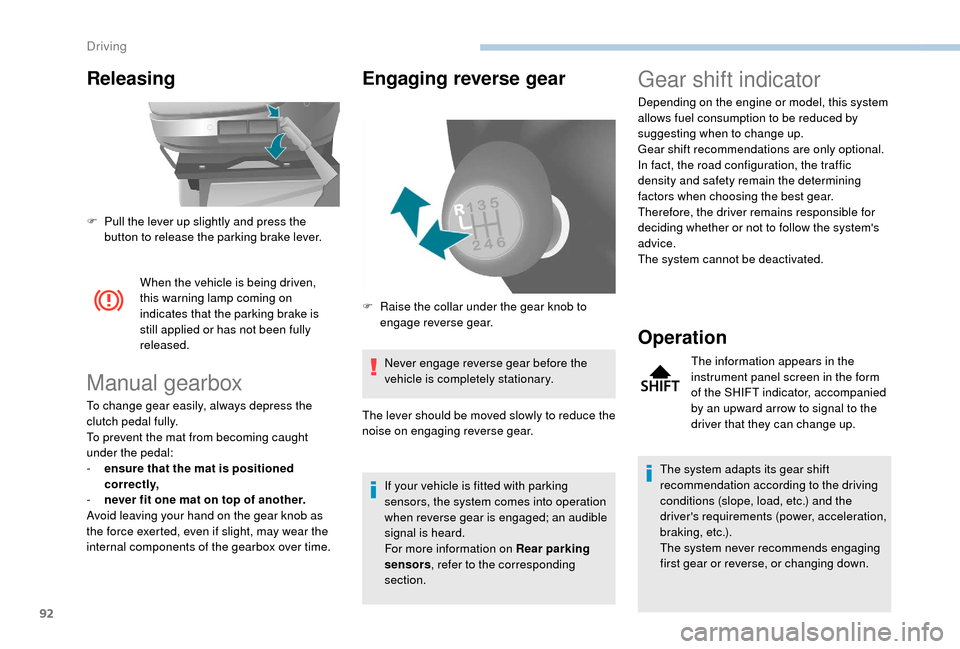
Engaging reverse gear
Never engage reverse gear before the
vehicle is completely stationary.
If your vehicle is fitted with parking
sensors, the system comes into operation
when reverse gear is engaged; an audible
signal is heard.
For more information on Rear parking
sensors , refer to the corresponding
section.
F
P
ull the lever up slightly and press the
button to release the parking brake lever.
Gear shift indicator
Depending on the engine or model, this system
allows fuel consumption to be reduced by
suggesting when to change up.
Gear shift recommendations are only optional.
In fact, the road configuration, the traffic
density and safety remain the determining
factors when choosing the best gear.
Therefore, the driver remains responsible for
deciding whether or not to follow the system's
advice.
The system cannot be deactivated.
Operation
The information appears in the
instrument panel screen in the form
of the SHIFT indicator, accompanied
by an upward arrow to signal to the
driver that they can change up.
The system adapts its gear shift
recommendation according to the driving
conditions (slope, load, etc.) and the
driver's requirements (power, acceleration,
b r a k i n g , e t c .) .
The system never recommends engaging
first gear or reverse, or changing down.
F
R
aise the collar under the gear knob to
engage reverse gear.
The lever should be moved slowly to reduce the
noise on engaging reverse gear.
Driving
Page 96 of 232
94
Special cases: START mode
activated automatically
The START mode may be triggered
automatically in the following circumstances:
-
t
he vehicle is free-wheeling on a gradient,
-
t
he windscreen wipers are on fast wipe,
-
t
he air conditioning is on,
-
t
he engine has been stopped for around
3
minutes with Stop & Start,
-
s
ome special conditions (battery charge,
engine temperature, braking assistance, air
conditioning setting, etc.) where the engine
is needed to control a
system or the vehicle.
In this case, a message appears
in the instrument panel screen,
accompanied by this indicator lamp,
which flashes for a
few seconds,
then goes off.
This operation is perfectly normal. While in STOP mode with a
manual
gearbox, if a gear is engaged without fully
depressing the clutch pedal, restarting
may not take place.
An indicator lamp and/or message is
displayed in the instrument panel asking
you to fully depress the clutch pedal to
allow restarting.
With the engine stopped in STOP
mode, if the driver unfastens their
seat belt and opens a
front door, the
engine can only be restarted using
the ignition key. There is an audible
signal, accompanied by flashing of
this indicator lamp, and the display
of a
message.
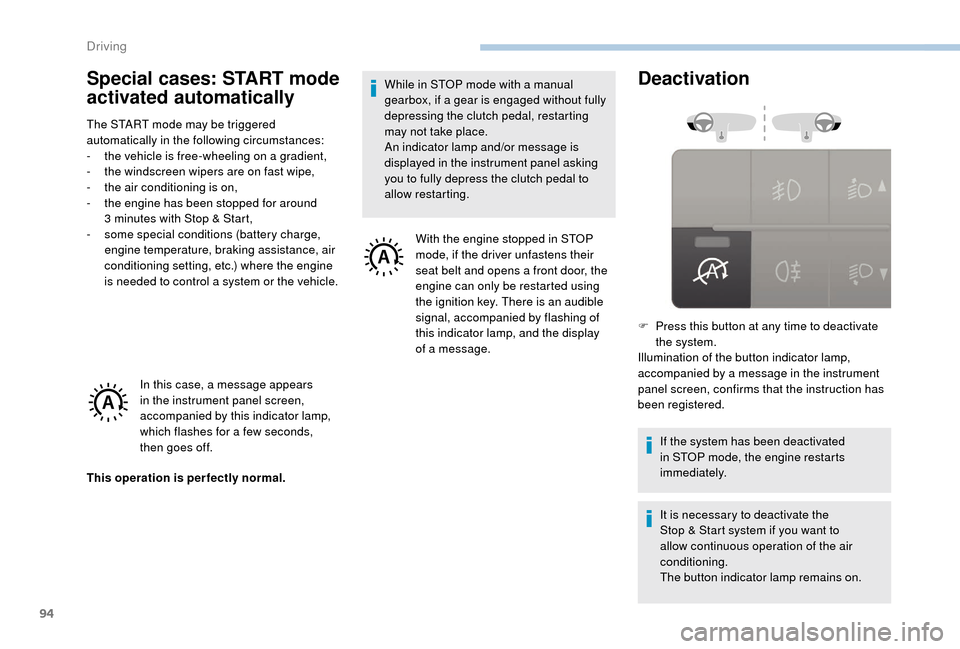
Deactivation
If the system has been deactivated
in STOP mode, the engine restarts
immediately.
It is necessary to deactivate the
Stop & Start system if you want to
allow continuous operation of the air
conditioning.
The button indicator lamp remains on.
F
P
ress this button at any time to deactivate
the system.
Illumination of the button indicator lamp,
accompanied by a message in the instrument
panel screen, confirms that the instruction has
been registered.
Driving
Page 97 of 232
95
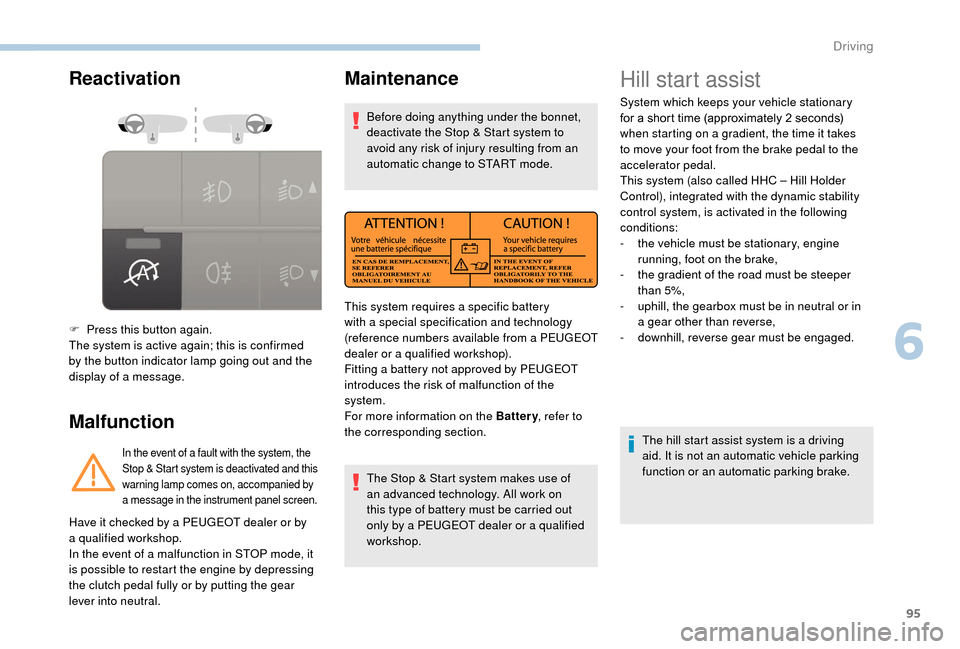
Reactivation
Malfunction
F Press this button again.
The system is active again; this is confirmed
by the button indicator lamp going out and the
display of a message.
In the event of a fault with the system, the
S top & Start system is deactivated and this
warning lamp comes on, accompanied by
a
message in the instrument panel screen.
Maintenance
Before doing anything under the bonnet,
deactivate the Stop & Start system to
avoid any risk of injury resulting from an
automatic change to START mode.
The Stop & Start system makes use of
an advanced technology. All work on
this type of battery must be carried out
only by a
PEUGEOT dealer or a qualified
workshop.
Have it checked by a
PEUGEOT dealer or by
a
qualified workshop.
In the event of a
malfunction in STOP mode, it
is possible to restart the engine by depressing
the clutch pedal fully or by putting the gear
lever into neutral. This system requires a
specific battery
with a
special specification and technology
(reference numbers available from a
PEUGEOT
dealer or a
qualified workshop).
Fitting a
battery not approved by PEUGEOT
introduces the risk of malfunction of the
system.
For more information on the Battery , refer to
the corresponding section.
Hill start assist
System which keeps your vehicle stationary
for a short time (approximately 2 seconds)
when starting on a
gradient, the time it takes
to move your foot from the brake pedal to the
accelerator pedal.
This system (also called HHC – Hill Holder
Control), integrated with the dynamic stability
control system, is activated in the following
conditions:
-
t
he vehicle must be stationary, engine
running, foot on the brake,
-
t
he gradient of the road must be steeper
than 5%,
-
u
phill, the gearbox must be in neutral or in
a
gear other than reverse,
-
do
wnhill, reverse gear must be engaged.
The hill start assist system is a
driving
aid. It is not an automatic vehicle parking
function or an automatic parking brake.
6
Driving
Page 100 of 232
98
Additional traffic signs are filtered as follows:
- S igns related to snow or ice are displayed
only if the exterior temperature is below
3°C.
-
S
igns related to snow, rain or fog are
displayed only if the wipers are on and the
exterior temperature is below 3°C.
-
S
igns related to heavy goods vehicles are
only displayed if they apply to vehicles
weighing less than 4
tonnes.
-
S
igns related to farm vehicles are not
displayed.
Signs such as the no overtaking sign disappear
after about 40
seconds in the instrument panel.
Activation/Deactivation
The function is set with the MODE button; in
the "Traffic Sign" menu, select "ON" or "OFF".
For more information on Vehicle
configuration , refer to the corresponding
section.
Operating limits
The legislation on speed limits is specific to
each country.
The system does not take account of reduced
speed limits in the following cases:
-
p
oor weather (rain, snow),
-
a
tmospheric pollution,
-
t
railer, caravan,
-
d
riving with snow chains fitted,
-
d
riving with a non-genuine suspension kit,
-
p
uncture repair using the temporary repair
kit,
-
y
oung drivers. The following situations may interfere with
the operation of the system or prevent it
from working:
-
p
oor visibility (dazzling sun, inadequate
street lighting, falling snow, heavy rain,
dense fog, vehicle too far from the
traffic sign),
-
l
ow temperatures and particularly
severe climatic conditions,
-
w
indscreen area in front of the camera
being: dirty, misted up, frost-covered,
snow-covered, damaged or covered by
a
s t i c ke r,
-
f
ault with the camera,
-
o
bsolete or incorrect mapping,
-
o
bstructed road signs (by other
vehicles, vegetation, snow),
-
t
raffic signs that do not conform to the
standard, are damaged or distorted,
-
r
oad inclination causing the sign to be
out of the camera view (for example, to
one side).
-
v
ariation of load causing the camera
to be significantly inclined (the system
may not work for a
moment while the
camera recalibrates itself).
Driving
Page 112 of 232
110
Under-inflation detection
The tyre under-inflation detection system
is a driving aid which does not replace the
need for vigilance on the part of the driver.This system does not relieve you of
the monthly check of the tyre inflation
pressures (including the spare) and before
a
long journey.
Driving with under-inflated tyres impairs
handling, extends braking distances and
causes premature tyre wear, particularly
in adverse conditions (heavy loads, high
speeds, long journeys).
Driving with under-inflated tyres
increases fuel consumption. The tyre pressure measurement unit can be
configured with the MODE
button: in the "Tyre
pressure measurement" menu, select "psi/bar/
k Pa".
For more information on Vehicle
configuration , refer to the corresponding
section.
Under-inflation warning
This warning is indicated by
continuous illumination of this lamp,
an audible signal and, depending on
the equipment installed, a message
displayed on the screen.
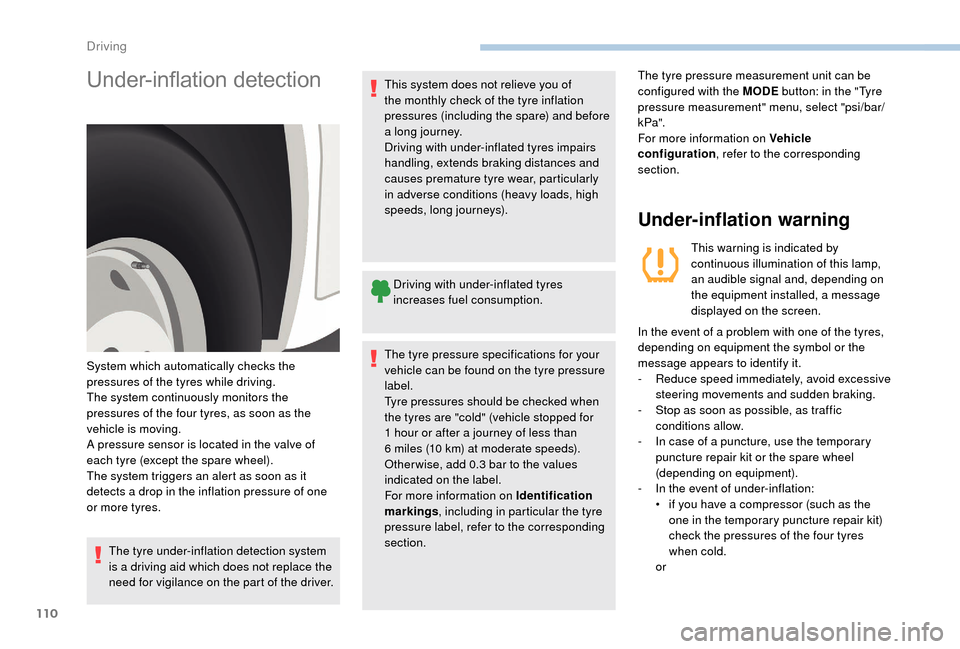
System which automatically checks the
pressures of the tyres while driving.
The system continuously monitors the
pressures of the four tyres, as soon as the
vehicle is moving.
A pressure sensor is located in the valve of
each tyre (except the spare wheel).
The system triggers an alert as soon as it
detects a
drop in the inflation pressure of one
or more tyres. In the event of a
problem with one of the tyres,
depending on equipment the symbol or the
message appears to identify it.
-
R
educe speed immediately, avoid excessive
steering movements and sudden braking.
-
S
top as soon as possible, as traffic
conditions allow.
-
I
n case of a puncture, use the temporary
puncture repair kit or the spare wheel
(depending on equipment).
-
I
n the event of under-inflation:
•
i
f you have a compressor (such as the
one in the temporary puncture repair kit)
check the pressures of the four tyres
when cold.
or
The tyre pressure specifications for your
vehicle can be found on the tyre pressure
label.
Tyre pressures should be checked when
the tyres are "cold" (vehicle stopped for
1
hour or after a
journey of less than
6
miles (10
km) at moderate speeds).
Other wise, add 0.3
bar to the values
indicated on the label.
For more information on Identification
markings , including in particular the tyre
pressure label, refer to the corresponding
section.
Driving