sensor Peugeot Boxer 2018 Owner's Manual
[x] Cancel search | Manufacturer: PEUGEOT, Model Year: 2018, Model line: Boxer, Model: Peugeot Boxer 2018Pages: 232, PDF Size: 9.09 MB
Page 5 of 232
3
.
.
10
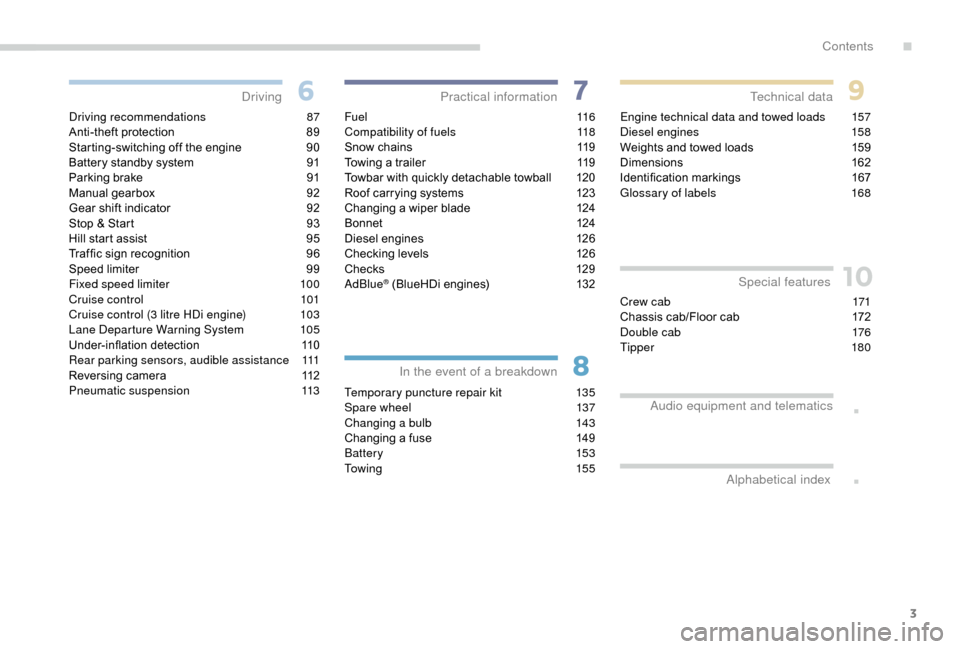
Driving recommendations 87
Anti-theft protection 8 9
Starting-switching off the engine
9
0
Battery standby system
9
1
Parking brake
9
1
Manual gearbox
9
2
Gear shift indicator
9
2
Stop & Start
9
3
Hill start assist
9
5
Traf fic sign recognition
9
6
Speed limiter
9
9
Fixed speed limiter
1
00
Cruise control
1
01
Cruise control (3
litre HDi engine)
1
03
Lane Departure Warning System
1
05
Under-inflation detection
1
10
Rear parking sensors, audible assistance
1
11
Reversing camera
1
12
Pneumatic suspension
1
13F u e l
11 6
Compatibility of fuels 1 18
Snow chains
1
19
Towing a
trailer
1
19
Towbar with quickly detachable towball
1
20
Roof carrying systems
1
23
Changing a
wiper blade
1
24
Bonnet
12
4
Diesel engines
1
26
Checking levels
1
26
Chec ks
12
9
AdBlue
® (BlueHDi engines) 1 32
Temporary puncture repair kit
1
35
Spare wheel
1
37
Changing a
bulb
1
43
Changing a
fuse
1
49
Battery
153
To w i n g
15 5Engine technical data and towed loads
1
57
Diesel engines
1
58
Weights and towed loads
1
59
Dimensions
1
62
Identification markings
1
67
Glossary of labels
1
68
Driving
Practical information
In the event of a breakdown Technical data
Alphabetical index Special features
Crew cab 1
71
Chassis cab/Floor cab 1 72
Double cab
1
76
Tipper
18
0
Audio equipment and telematics
.
Contents
Page 15 of 232
13
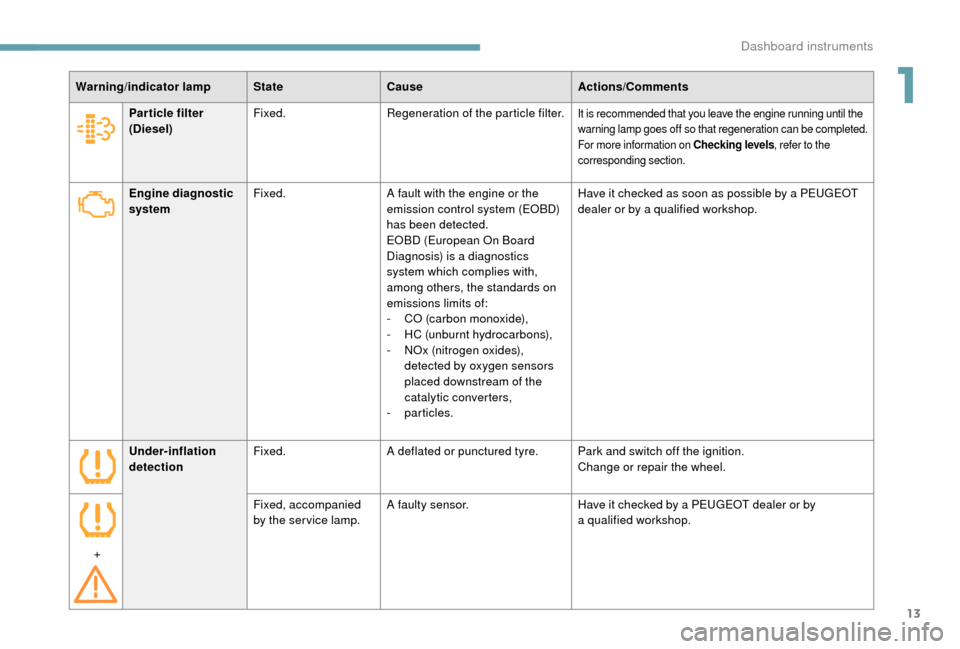
Warning/indicator lampStateCause Actions/Comments
Engine diagnostic
system Fixed.
A fault with the engine or the
emission control system (EOBD)
has been detected.
EOBD (European On Board
Diagnosis) is a
diagnostics
system which complies with,
among others, the standards on
emissions limits of:
-
CO
(carbon monoxide),
-
H
C (unburnt hydrocarbons),
-
N
Ox (nitrogen oxides),
detected by oxygen sensors
placed downstream of the
catalytic converters,
-
particles.Have it checked as soon as possible by a
PEUGEOT
dealer or by a
qualified workshop.
Par ticle filter
(Diesel)
Fixed.
Regeneration of the particle filter.
It is recommended that you leave the engine running until the
warning lamp goes off so that regeneration can be completed.
For more information on Checking levels , refer to the
corresponding section.
Under-inflation
detection Fixed.
A deflated or punctured tyre. Park and switch off the ignition.
Change or repair the wheel.
+ Fixed, accompanied
by the ser vice lamp.
A faulty sensor.
Have it checked by a
PEUGEOT dealer or by
a
qualified workshop.
1
Dashboard instruments
Page 26 of 232
24
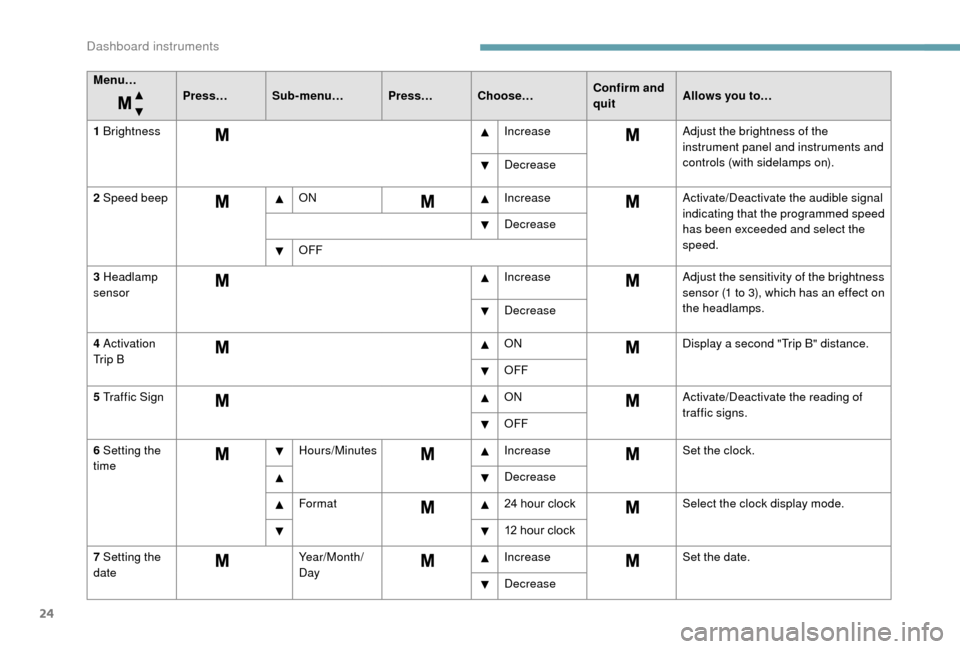
Menu…Press…Sub-menu… Press…Choose… Confirm and
quitAllows you to…
1
Brightness IncreaseAdjust the brightness of the
instrument panel and instruments and
controls (with sidelamps on).
Decrease
2
Speed beep ON IncreaseActivate/Deactivate the audible signal
indicating that the programmed speed
has been exceeded and select the
speed.
Decrease
OFF
3
Headlamp
sensor Increase
Adjust the sensitivity of the brightness
sensor (1
to 3), which has an effect on
the headlamps.
Decrease
4
Activation
Tr i p B ON
Display a
second "Trip B" distance.
OFF
5
Traffic Sign ONActivate/Deactivate the reading of
traffic signs.
OFF
6
Setting the
time Hours/Minutes
IncreaseSet the clock.
Decrease
Format 24
hour clockSelect the clock display mode.
12
hour clock
7
Setting the
date Year/Month/
DayIncrease
Set the date.
Decrease
Dashboard instruments
Page 30 of 232
28
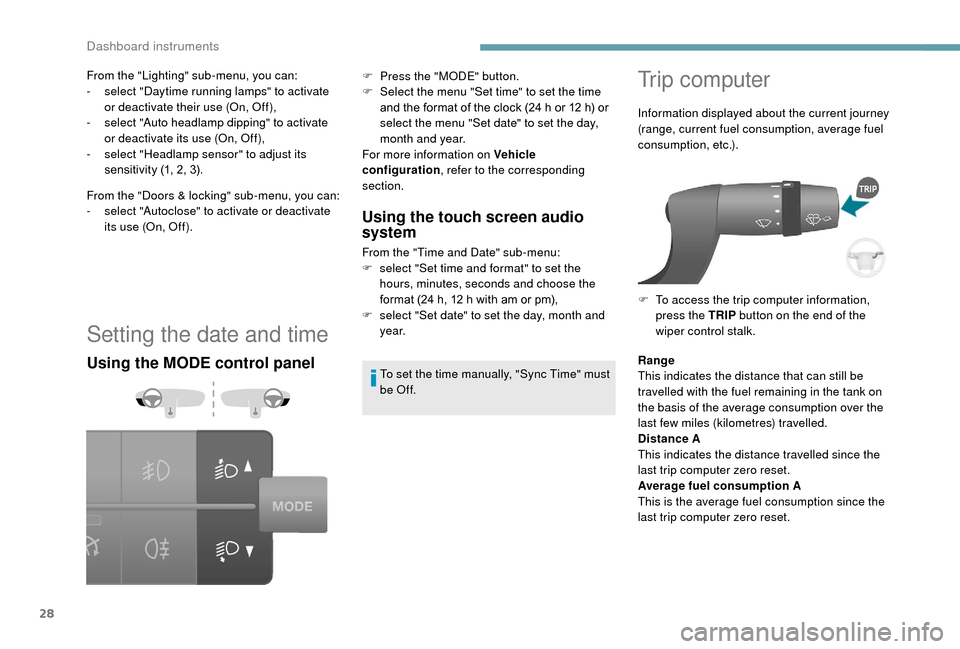
Setting the date and time
Using the MODE control panelUsing the touch screen audio
system
From the "Time and Date" sub-menu:
F
s elect "Set time and format" to set the
hours, minutes, seconds and choose the
format (24
h, 12 h with am or pm),
F
s
elect "Set date" to set the day, month and
ye a r.
To set the time manually, "Sync Time" must
be Of f.
Trip computer
Information displayed about the current journey
(range, current fuel consumption, average fuel
consumption, etc.).
F
T
o access the trip computer information,
press the TRIP button on the end of the
wiper control stalk.
From the "Lighting" sub-menu, you can:
-
s
elect "Daytime running lamps" to activate
or deactivate their use (On, Off),
-
s
elect "Auto headlamp dipping" to activate
or deactivate its use (On, Off),
-
s
elect "Headlamp sensor" to adjust its
sensitivity (1, 2, 3).
From the "Doors & locking" sub-menu, you can:
-
s
elect "Autoclose" to activate or deactivate
its use (On, Off). F
P
ress the "MODE" button.
F
S
elect the menu "Set time" to set the time
and the format of the clock (24
h or 12
h) or
select the menu "Set date" to set the day,
month and year.
For more information on Vehicle
configuration , refer to the corresponding
section.
Range
This indicates the distance that can still be
travelled with the fuel remaining in the tank on
the basis of the average consumption over the
last few miles (kilometres) travelled.
Distance A
This indicates the distance travelled since the
last trip computer zero reset.
Average fuel consumption A
This is the average fuel consumption since the
last trip computer zero reset.
Dashboard instruments
Page 52 of 232
50
To avoid the risks of poisoning or
asphyxia, the additional heating must
not be used, even for short periods, in
a closed environment such as a garage or
workshop which are not equipped with an
exhaust gas extraction system.
The additional heating switches off when
the battery voltage is low, so as to allow
engine starting.
The additional heating is fed by the
vehicle's fuel tank. Ensure that the low fuel
warning lamp is not on.
Always switch off the additional heating
when refuelling to avoid any risk of fire or
explosion!
The temperature near the heating
system must not exceed 120°C. A higher
temperature (e.g. when baking the
paint) could damage the components of
electronic circuits.
The additional heating is fitted with
a
temperature limiter which cuts off
the combustion in the event of engine
overheating due to a
lack of coolant.
Check the level and top up if necessary.
For more information on Checking levels ,
refer to the corresponding section.
Then press the programme selection
button before switching the heating on
again.Recommendations for ventilation and air conditioning
In order for these systems to be fully effective,
follow the operation and maintenance
guidelines below:
F
T
o ensure that the air is distributed evenly,
keep the external air intake grilles at the
base of the windscreen, the nozzles, the
vents, the air outlets and the air extractor
in the boot free from obstructions.
F
D
o not cover the sunshine sensor,
located on the dashboard; this is used for
regulation of the automatic air conditioning
system.
F
O
perate the air conditioning system for
at least 5
to 10 minutes once or twice
a
month to keep it in per fect working order.
F
E
nsure that the passenger compartment
filter is in good condition and replace
the filter elements periodically. We
recommend the use of a
combined
passenger compartment filter. Thanks to
its special active additive, it helps both to
purify the air breathed by the occupants
and to keep the passenger compartment
clean (reduction of allergic symptoms, bad
odours and greasy deposits). F
T o ensure correct operation of the
air conditioning system, you are also
advised to have it checked regularly
as recommended in the Warranty and
Maintenance Record.
F
I
f the system does not produce cold air,
switch it off and contact a
PEUGEOT
dealer or a
qualified workshop.
When towing the maximum load on a
steep
gradient in high temperatures, switching off
the air conditioning increases the available
engine power and so improves the towing
ability.
To avoid the windows misting up and
deterioration in the quality of the air:
-
d
o not drive for too long with the
ventilation switched off.
-
d
o not keep air recirculation set for an
extended period.
Ease of use and comfort
Page 64 of 232
62
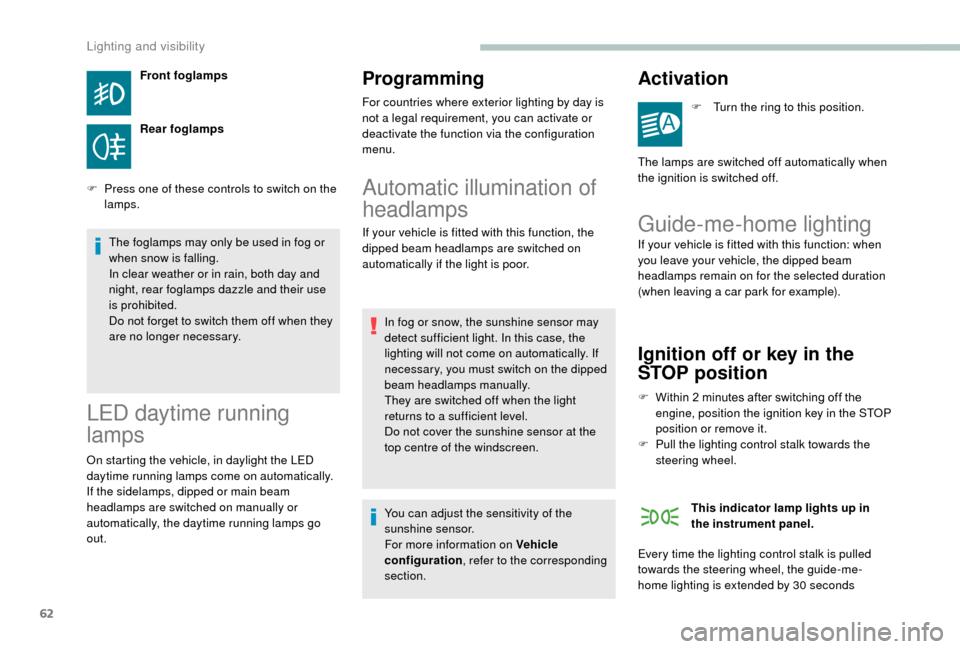
Front foglamps
Rear foglamps
F
P
ress one of these controls to switch on the
lamps.
The foglamps may only be used in fog or
when snow is falling.
In clear weather or in rain, both day and
night, rear foglamps dazzle and their use
is prohibited.
Do not forget to switch them off when they
are no longer necessary.
LED daytime running
lamps
On starting the vehicle, in daylight the LED
daytime running lamps come on automatically.
If the sidelamps, dipped or main beam
headlamps are switched on manually or
automatically, the daytime running lamps go
out.
Programming
For countries where exterior lighting by day is
not a legal requirement, you can activate or
deactivate the function via the configuration
menu.
Automatic illumination of
headlamps
If your vehicle is fitted with this function, the
dipped beam headlamps are switched on
automatically if the light is poor.
In fog or snow, the sunshine sensor may
detect sufficient light. In this case, the
lighting will not come on automatically. If
necessary, you must switch on the dipped
beam headlamps manually.
They are switched off when the light
returns to a
sufficient level.
Do not cover the sunshine sensor at the
top centre of the windscreen.
Activation
F Turn the ring to this position.
The lamps are switched off automatically when
the ignition is switched off.
Guide-me-home lighting
If your vehicle is fitted with this function: when
you leave your vehicle, the dipped beam
headlamps remain on for the selected duration
(when leaving a car park for example).
Ignition off or key in the
STOP position
F Within 2 minutes after switching off the
engine, position the ignition key in the STOP
position or remove it.
F
P
ull the lighting control stalk towards the
steering wheel.
This indicator lamp lights up in
the instrument panel.
Every time the lighting control stalk is pulled
towards the steering wheel, the guide-me-
home lighting is extended by 30
seconds
You can adjust the sensitivity of the
sunshine sensor.
For more information on
Vehicle
configuration , refer to the corresponding
section.
Lighting and visibility
Page 67 of 232
65
Headlamp beam height
adjustment
To avoid causing a nuisance to other road
u sers, the height of the halogen headlamp
beams must be adjusted according to the load
in the vehicle.
This function works in the dipped and main
beam headlamps position.
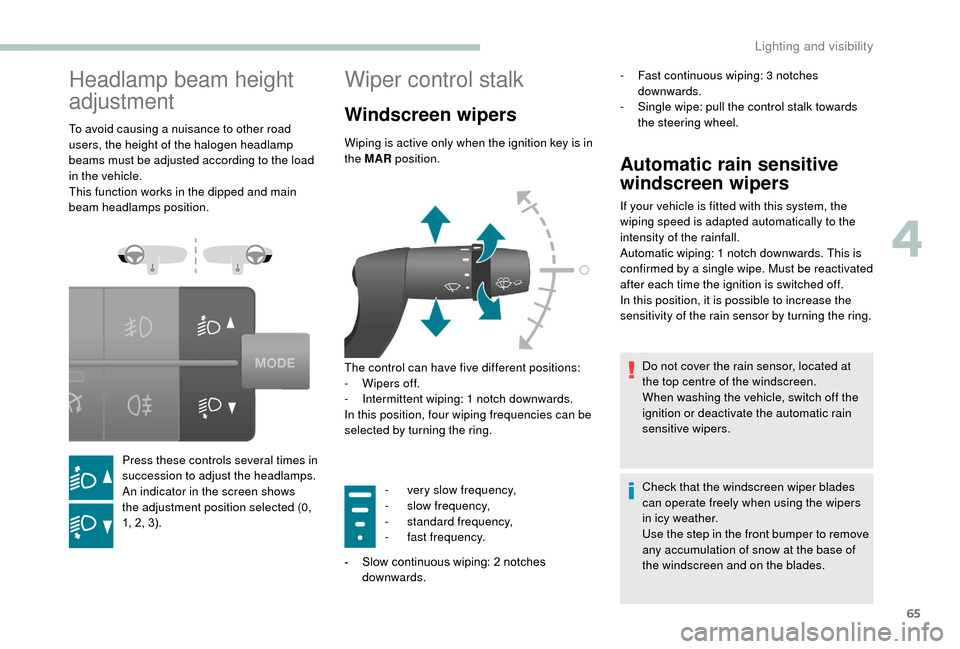
Press these controls several times in
succession to adjust the headlamps.
An indicator in the screen shows
the adjustment position selected (0,
1, 2, 3).
Wiper control stalk
Windscreen wipers
Wiping is active only when the ignition key is in
the MAR position.
The control can have five different positions:
-
W
ipers off.
-
I
ntermittent wiping: 1 notch downwards.
In this position, four wiping frequencies can be
selected by turning the ring.
Automatic rain sensitive
windscreen wipers
If your vehicle is fitted with this system, the
wiping speed is adapted automatically to the
intensity of the rainfall.
Automatic wiping: 1
notch downwards. This is
confirmed by a
single wipe. Must be reactivated
after each time the ignition is switched off.
In this position, it is possible to increase the
sensitivity of the rain sensor by turning the ring.
Do not cover the rain sensor, located at
the top centre of the windscreen.
When washing the vehicle, switch off the
ignition or deactivate the automatic rain
sensitive wipers.
Check that the windscreen wiper blades
can operate freely when using the wipers
in icy weather.
Use the step in the front bumper to remove
any accumulation of snow at the base of
the windscreen and on the blades.
-
v
ery slow frequency,
-
sl
ow frequency,
-
s
tandard frequency,
-
f
ast frequency.
-
S
low continuous wiping: 2
notches
downwards. -
F
ast continuous wiping: 3 notches
downwards.
-
S
ingle wipe: pull the control stalk towards
the steering wheel.
4
Lighting and visibility
Page 91 of 232
89
Cooling
Towing a trailer on a slope increases the
t emperature of the coolant.
As the fan is electrically controlled, its cooling
capacity is not dependent on the engine speed.
F
T
o lower the engine speed, reduce your
speed.
The maximum towable load on an incline
depends on the gradient and the exterior
temperature.
In all cases, keep a
check on the coolant
temperature.
F
I
f this warning lamp and the
STOP warning lamp come on,
stop the vehicle and switch off
the engine as soon as possible.
New vehicle
Do not pull a
trailer before having driven at
least 620
miles (1,000 kilometres).
Braking
Towing a trailer increases the braking distance.
T o avoid overheating of the brakes, the use of
engine braking is recommended.
Ty r e s
F Check the tyre pressures of the towing vehicle and of the trailer, observing the
recommended pressures.
Lighting
F Check the electrical lighting and signalling on the trailer and the headlamp beam height
of your vehicle.
For more information on Headlamp
beam height adjustment , refer to the
corresponding section.
The rear parking sensors will be
deactivated automatically to avoid the
audible signal if a
genuine PEUGEOT
towbar is used.
Anti-theft protection
Electronic immobiliser
The keys contain an electronic immobiliser
device.
This device locks the engine supply system.
It activates automatically when the key is
removed from the ignition.
This warning lamp goes off after the
key has been recognised, the ignition is
switched on and the engine can be started.
If the key is not recognised, the engine
cannot be started. Use another key
and have the faulty key checked by
a
PEUGEOT dealer.
Note the number of the keys carefully;
in case of loss, inter vention by the
PEUGEOT dealer will be more efficient
and quicker if you present this number and
the confidential card.
When the ignition switch is turned on, a
dialogue is set up between the key and the
electronic immobiliser.
Do not make any modifications to the
electronic immobiliser system.
Operating the remote control, even when it
is in your pocket, may result in involuntary
unlocking of the doors.
The simultaneous use of other high
frequency equipment (mobile telephones,
domestic alarms, etc.), may inter fere
with the operation of the remote control
temporarily.
The remote control does not operate
while the key is in the ignition, even if the
ignition is off, except for reinitialisation.
6
Driving
Page 94 of 232
92
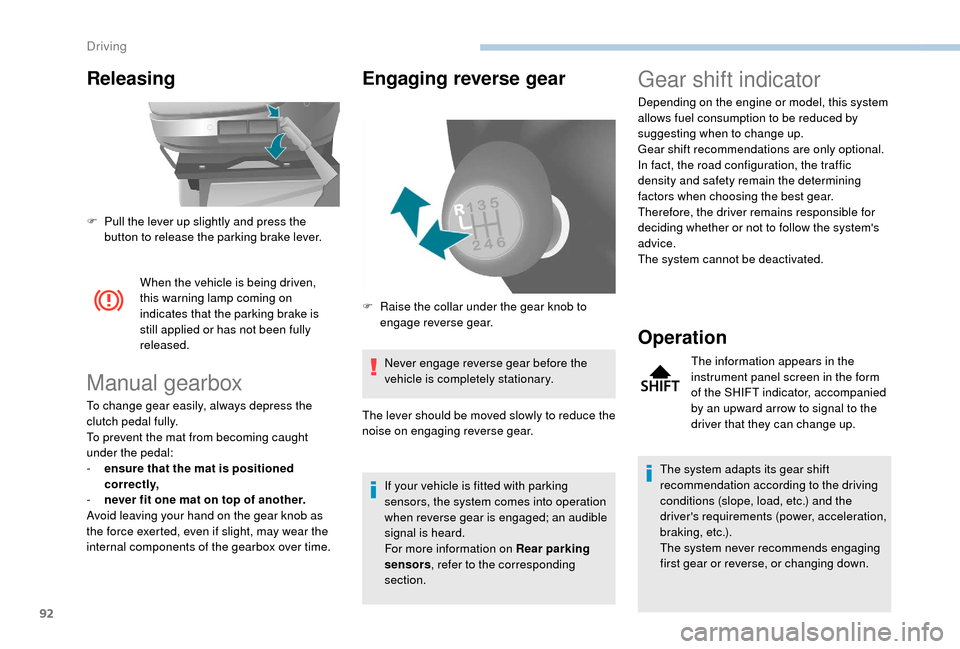
Releasing
When the vehicle is being driven,
this warning lamp coming on
indicates that the parking brake is
still applied or has not been fully
released.
Manual gearbox
To change gear easily, always depress the
clutch pedal fully.
To prevent the mat from becoming caught
under the pedal:
-
e
nsure that the mat is positioned
correctly,
-
n
ever fit one mat on top of another.
Avoid leaving your hand on the gear knob as
the force exerted, even if slight, may wear the
internal components of the gearbox over time.
Engaging reverse gear
Never engage reverse gear before the
vehicle is completely stationary.
If your vehicle is fitted with parking
sensors, the system comes into operation
when reverse gear is engaged; an audible
signal is heard.
For more information on Rear parking
sensors , refer to the corresponding
section.
F
P
ull the lever up slightly and press the
button to release the parking brake lever.
Gear shift indicator
Depending on the engine or model, this system
allows fuel consumption to be reduced by
suggesting when to change up.
Gear shift recommendations are only optional.
In fact, the road configuration, the traffic
density and safety remain the determining
factors when choosing the best gear.
Therefore, the driver remains responsible for
deciding whether or not to follow the system's
advice.
The system cannot be deactivated.
Operation
The information appears in the
instrument panel screen in the form
of the SHIFT indicator, accompanied
by an upward arrow to signal to the
driver that they can change up.
The system adapts its gear shift
recommendation according to the driving
conditions (slope, load, etc.) and the
driver's requirements (power, acceleration,
b r a k i n g , e t c .) .
The system never recommends engaging
first gear or reverse, or changing down.
F
R
aise the collar under the gear knob to
engage reverse gear.
The lever should be moved slowly to reduce the
noise on engaging reverse gear.
Driving
Page 112 of 232
110
Under-inflation detection
The tyre under-inflation detection system
is a driving aid which does not replace the
need for vigilance on the part of the driver.This system does not relieve you of
the monthly check of the tyre inflation
pressures (including the spare) and before
a
long journey.
Driving with under-inflated tyres impairs
handling, extends braking distances and
causes premature tyre wear, particularly
in adverse conditions (heavy loads, high
speeds, long journeys).
Driving with under-inflated tyres
increases fuel consumption. The tyre pressure measurement unit can be
configured with the MODE
button: in the "Tyre
pressure measurement" menu, select "psi/bar/
k Pa".
For more information on Vehicle
configuration , refer to the corresponding
section.
Under-inflation warning
This warning is indicated by
continuous illumination of this lamp,
an audible signal and, depending on
the equipment installed, a message
displayed on the screen.
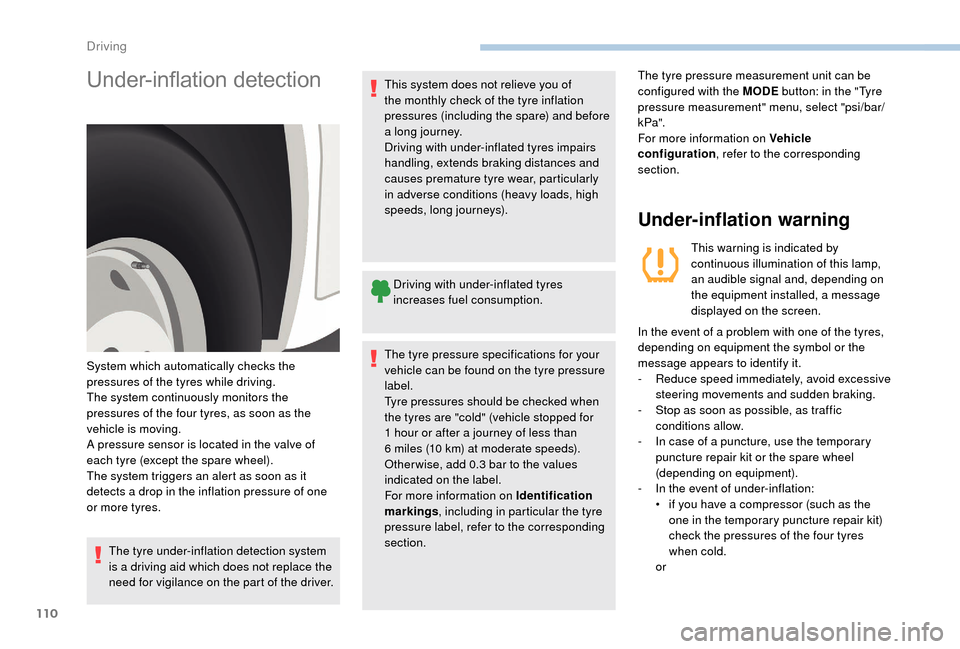
System which automatically checks the
pressures of the tyres while driving.
The system continuously monitors the
pressures of the four tyres, as soon as the
vehicle is moving.
A pressure sensor is located in the valve of
each tyre (except the spare wheel).
The system triggers an alert as soon as it
detects a
drop in the inflation pressure of one
or more tyres. In the event of a
problem with one of the tyres,
depending on equipment the symbol or the
message appears to identify it.
-
R
educe speed immediately, avoid excessive
steering movements and sudden braking.
-
S
top as soon as possible, as traffic
conditions allow.
-
I
n case of a puncture, use the temporary
puncture repair kit or the spare wheel
(depending on equipment).
-
I
n the event of under-inflation:
•
i
f you have a compressor (such as the
one in the temporary puncture repair kit)
check the pressures of the four tyres
when cold.
or
The tyre pressure specifications for your
vehicle can be found on the tyre pressure
label.
Tyre pressures should be checked when
the tyres are "cold" (vehicle stopped for
1
hour or after a
journey of less than
6
miles (10
km) at moderate speeds).
Other wise, add 0.3
bar to the values
indicated on the label.
For more information on Identification
markings , including in particular the tyre
pressure label, refer to the corresponding
section.
Driving