display PEUGEOT EXPERT 2022 Owner's Manual
[x] Cancel search | Manufacturer: PEUGEOT, Model Year: 2022, Model line: EXPERT, Model: PEUGEOT EXPERT 2022Pages: 324, PDF Size: 10.39 MB
Page 28 of 324
26
Dashboard instruments
The average result for the current trip is stated in
kWh/100 km.
►
Y
ou can change the displayed time scale by
pressing the
-
or + buttons.
A current trip is any trip of more than 20 minutes without switching off the ignition.
Charging
This page allows you to programme deferred
charging.
For more information on Charging the traction
battery (Electric) , refer to the corresponding
section.
Additional remotely operable functions
(Electric)
(Depending on country of sale)
The following functions are
available from the MYPEUGEOT
APP application, which is
accessible from a smartphone:
–
Managing the traction battery charging
(deferred charging).
–
Managing the temperature pre-conditioning.
–
V
iewing the state of charge and range of the
vehicle.
Installation procedure
► Download the MYPEUGEOT APP application
from the appropriate online store for your
smartphone.
►
Create an account.
►
Enter the vehicle’
s VIN (code beginning with
"VF" on the vehicle registration certificate).
For more information on Identification
markings, refer to the corresponding section.
Network coverage
In order to be able to use the various
remotely operable features, ensure that your
vehicle is located in an area covered by the
mobile network.
A lack of network coverage may prevent
communication with the vehicle (for example,
if it is in an underground car park). In such
cases, the application will display a message
indicating that the connection with the vehicle
could not be established.
Setting the date and time
With audio system
► Press the MENU button for access to the
main menu.
►
Press the "
7" or "8" button to select the
"Personalisation-configuration " menu, then
confirm by pressing the OK button. ►
Press the "
5" or "6" button to select the
Display configuration menu, then confirm by
pressing the OKbutton.
►
Press the "
5" or "6" and "7" or "8" buttons
to adjust the date and time values, then confirm
by pressing the OK button.
With Audio System with
Touch Screen
► Select the Settings menu in the upper
banner of the touch screen.
►
Select "
Configuration ".
► Select "Date and time".
►
Select "
Date" or "Time".
►
Choose the display formats.
►
Change the date and/or time using the
numeric keypad.
►
Confirm with "
OK".
With 3D Connected
Navigation
Time and date settings are only available if GPS
synchronisation is deactivated.
► Select the Settings menu in the
banner of the touch screen.
►
Press the "
OPTIONS " button to access the
secondary page.
► Select " Setting the time-date".
►
Select the "
Date:" or "Time" tab.
Page 29 of 324
27
Dashboard instruments
1► Set the date and/or time using the numeric
keypad.
►
Confirm with "
OK".
Additional settings
You can choose:
– T o change the time zone.
–
T
o change the display format of the date and
time (12h/24h).
–
T
o activate or deactivate the summer time
management function (+1 hour).
–
T
o activate or deactivate GPS synchronisation
(UTC).
The system does not automatically change between winter and summer time
(depending on the country of sale).
Page 32 of 324
30
Access
Purchasing a second-hand vehicle
Have the key codes memorised by a
PEUGEOT dealer, to ensure that the keys
in your possession are the only ones able to
start the vehicle.
To preserve the battery charge in the electronic key and the vehicle's battery,
the "hands-free" functions are set to
hibernation mode after 21 days without use.
To restore these functions, press one of the
remote control buttons or start the engine with
the electronic key in the reader.
For more information on starting with the
Keyless Entry and Start system, refer to the
corresponding section.
Electrical interference
The electronic key may not work if it is
close to an electronic device (e.g.
mobile
telephone (switched on or on standby), laptop
computer, strong magnetic fields). If this
occurs, move the electronic key away from
the electronic device.
Accumulations (water, dust, grime, salt, etc.) on the inner surface of the door
handle may affect detection.
If cleaning the inner surface of the door
handle using a cloth does not restore
detection, contact a PEUGEOT dealer or a
qualified workshop.
A sudden splash of water (stream of water,
high pressure jet washer, etc.) may be
identified by the system as the desire to open
the vehicle.
Unlocking/Complete or
selective unlocking
What is the purpose of total
or selective unlocking?
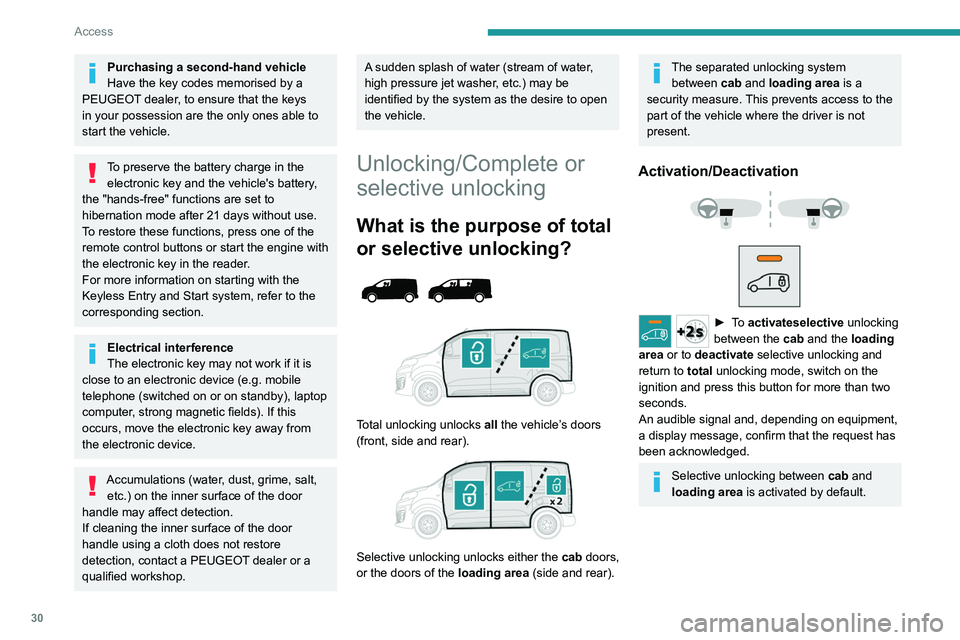
Total unlocking unlocks all the vehicle’s doors
(front, side and rear).
Selective unlocking unlocks either the cab doors,
or the doors of the loading area (side and rear).
The separated unlocking system between cab and loading area is a
security measure. This prevents access to the
part of the vehicle where the driver is not
present.
Activation/Deactivation
► To activateselective unlocking
between the cab and the loading
area or to deactivate selective unlocking and
return to total unlocking mode, switch on the
ignition and press this button for more than two
seconds.
An audible signal and, depending on equipment,
a display message, confirm that the request has
been acknowledged.
Selective unlocking between cab and
loading area is activated by default.
Page 38 of 324
36
Access
Changing the battery
If the battery is flat, this warning lamp
comes on, accompanied by an audible
signal and the display of a message.
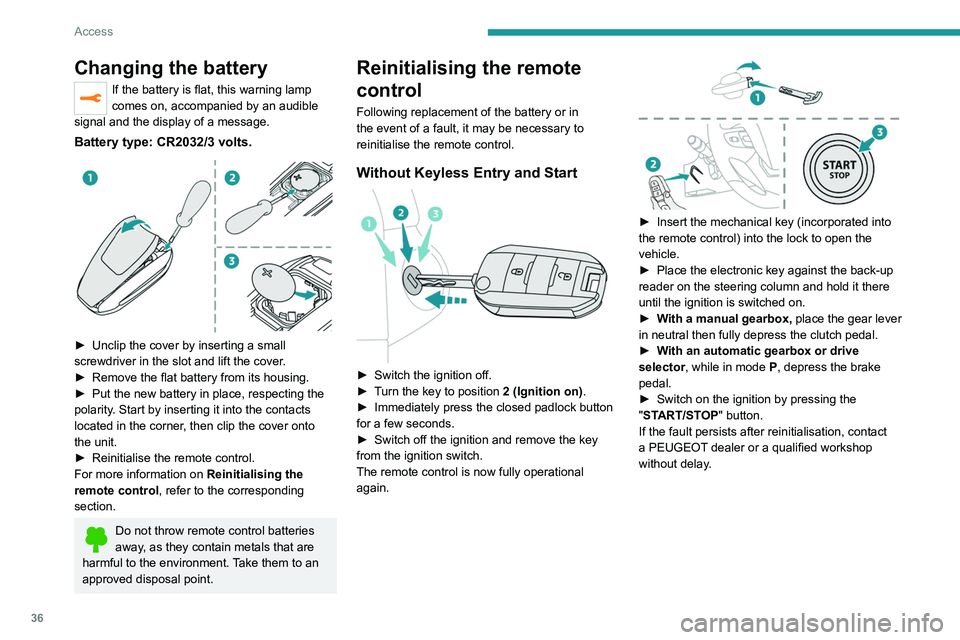
Battery type: CR2032/3 volts.
► Unclip the cover by inserting a small
screwdriver in the slot and lift the cover .
►
Remove the flat battery from its housing.
►
Put the new battery in place, respecting the
polarity
. Start by inserting it into the contacts
located in the corner, then clip the cover onto
the unit.
►
Reinitialise the remote control.
For more information on Reinitialising the
remote control
, refer to the corresponding
section.
Do not throw remote control batteries
away, as they contain metals that are
harmful to the environment. Take them to an
approved disposal point.
Reinitialising the remote
control
Following replacement of the battery or in
the event of a fault, it may be necessary to
reinitialise the remote control.
Without Keyless Entry and Start
► Switch the ignition off.
► T urn the key to position 2 (Ignition on) .
►
Immediately press the closed padlock button
for a few seconds.
►
Switch off the ignition and remove the key
from the ignition switch.
The remote control is now fully operational
again.
► Insert the mechanical key (incorporated into
the remote control) into the lock to open the
vehicle.
►
Place the electronic key against the back-up
reader on the steering column and hold it there
until the ignition is switched on.
►
W
ith a manual gearbox, place the gear lever
in neutral then fully depress the clutch pedal.
►
W
ith an automatic gearbox or drive
selector, while in mode
P
, depress the brake
pedal.
►
Switch on the ignition by pressing the
"
START/STOP" button.
If the fault persists after reinitialisation, contact
a PEUGEOT dealer or a qualified workshop
without delay.
Page 72 of 324
70
Ease of use and comfort
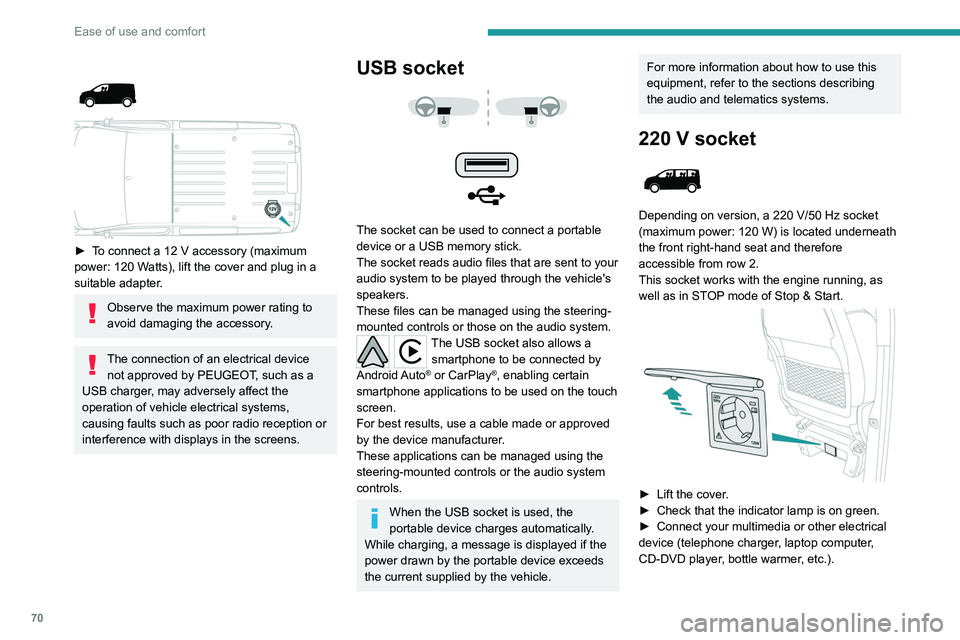
► To connect a 12 V accessory (maximum
power: 120 Watts), lift the cover and plug in a
suitable adapter.
Observe the maximum power rating to
avoid damaging the accessory.
The connection of an electrical device not approved by PEUGEOT, such as a
USB charger, may adversely affect the
operation of vehicle electrical systems,
causing faults such as poor radio reception or
interference with displays in the screens.
USB socket
The socket can be used to connect a portable
device or a USB memory stick.
The socket reads audio files that are sent to your
audio system to be played through the vehicle's
speakers.
These files can be managed using the steering-
mounted controls or those on the audio system.
The USB socket also allows a smartphone to be connected by
Android Auto
® or CarPlay®, enabling certain
smartphone applications to be used on the touch
screen.
For best results, use a cable made or approved
by the device manufacturer.
These applications can be managed using the
steering-mounted controls or the audio system
controls.
When the USB socket is used, the
portable device charges automatically.
While charging, a message is displayed if the
power drawn by the portable device exceeds
the current supplied by the vehicle.
For more information about how to use this
equipment, refer to the sections describing
the audio and telematics systems.
220 V socket
Depending on version, a 220 V/50 Hz socket
(maximum power: 120 W) is located underneath
the front right-hand seat and therefore
accessible from row 2.
This socket works with the engine running, as
well as in STOP mode of
Stop & Start.
► Lift the cover.
► Check that the indicator lamp is on green.
►
Connect your multimedia or other electrical
device (telephone charger
, laptop computer,
CD-DVD player, bottle warmer, etc.).
Page 82 of 324
80
Ease of use and comfort
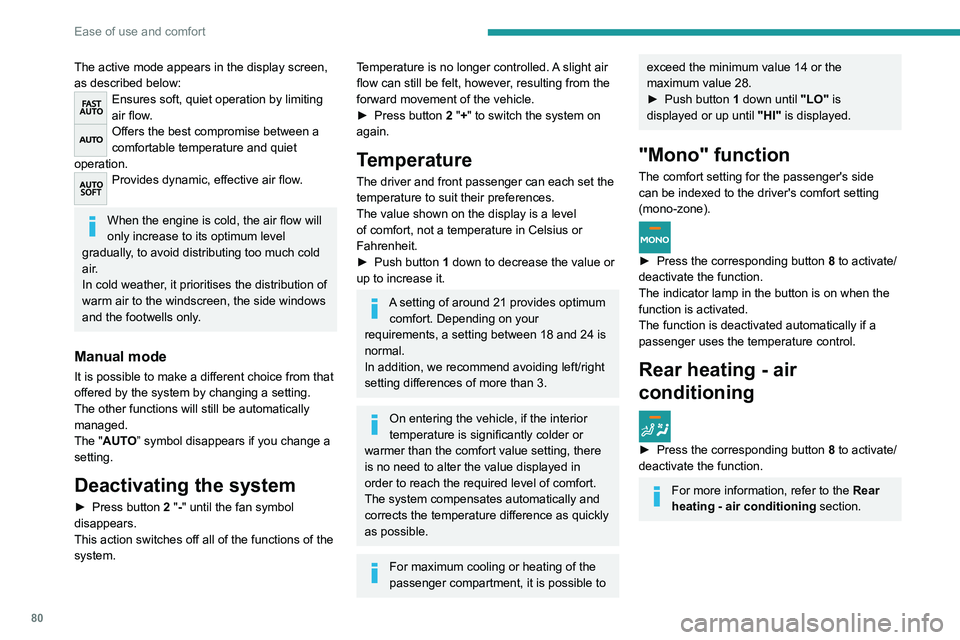
The active mode appears in the display screen,
as described below:
Ensures soft, quiet operation by limiting
air flow.
Offers the best compromise between a
comfortable temperature and quiet
operation.
Provides dynamic, effective air flow.
When the engine is cold, the air flow will
only increase to its optimum level
gradually, to avoid distributing too much cold
air.
In cold weather, it prioritises the distribution of
warm air to the windscreen, the side windows
and the footwells only.
Manual mode
It is possible to make a different choice from that
offered by the system by changing a setting.
The other functions will still be automatically
managed.
The "AUTO” symbol disappears if you change a
setting.
Deactivating the system
► Press button 2 "-" until the fan symbol
disappears.
This action switches off all of the functions of the
system.
Temperature is no longer controlled. A slight air
flow can still be felt, however, resulting from the
forward movement of the vehicle.
►
Press button
2 "+" to switch the system on
again.
Temperature
The driver and front passenger can each set the
temperature to suit their preferences.
The value shown on the display is a level
of comfort, not a temperature in Celsius or
Fahrenheit.
►
Push button
1 down to decrease the value or
up to increase it.
A setting of around 21 provides optimum comfort. Depending on your
requirements, a setting between 18 and 24 is
normal.
In addition, we recommend avoiding left/right
setting differences of more than 3.
On entering the vehicle, if the interior
temperature is significantly colder or
warmer than the comfort value setting, there
is no need to alter the value displayed in
order to reach the required level of comfort.
The system compensates automatically and
corrects the temperature difference as quickly
as possible.
For maximum cooling or heating of the
passenger compartment, it is possible to
exceed the minimum value 14 or the
maximum value 28.
►
Push button
1 down until "LO" is
displayed or up until "HI" is displayed.
"Mono" function
The comfort setting for the passenger's side
can be indexed to the driver's comfort setting
(mono-zone).
► Press the corresponding button 8 to activate/
deactivate the function.
The indicator lamp in the button is on when the
function is activated.
The function is deactivated automatically if a
passenger uses the temperature control.
Rear heating - air
conditioning
► Press the corresponding button 8 to activate/
deactivate the function.
For more information, refer to the Rear
heating - air conditioning section.
Page 86 of 324
84
Ease of use and comfort
Using these two clocks and depending
on the season you can, for example,
select one or the other start time.
A message on the screen confirms your
choice.
With Audio System with Touch
Screen
Press Connect-App to display the main
page.
Then press "Programmable heating/ ventilation ".
►
Select the "
Status" tab to activate/deactivate
the system.
►
Select the "
Other settings" tab to choose
the "Heating" mode, to heat the engine and
passenger compartment, or " Ventilation" to
ventilate the passenger compartment.
►
Then set/save the time at which the
preheating temperature will be reached for each
selection.
Press this button to save.
With 3D Connected Navigation
In the Applications > Car Apps menu:
► Select Temperature conditioning .
►
Press the
Status tab to activate/deactivate
the system.
► Press the Settings tab to select Heating
mode to heat the engine and passenger
compartment or Ventilation to ventilate the
passenger compartment.
►
Then programme/save the activation time for
each selection.
►
Press
OK to confirm.
You must allow at least 60 minutes between programming operations.
Depending on the outside temperature, a
certain amount of pre-conditioning time is
necessary in order to reach the programmed
temperature by the stored activation time.
This pre-conditioning time lasts up to 45
min.
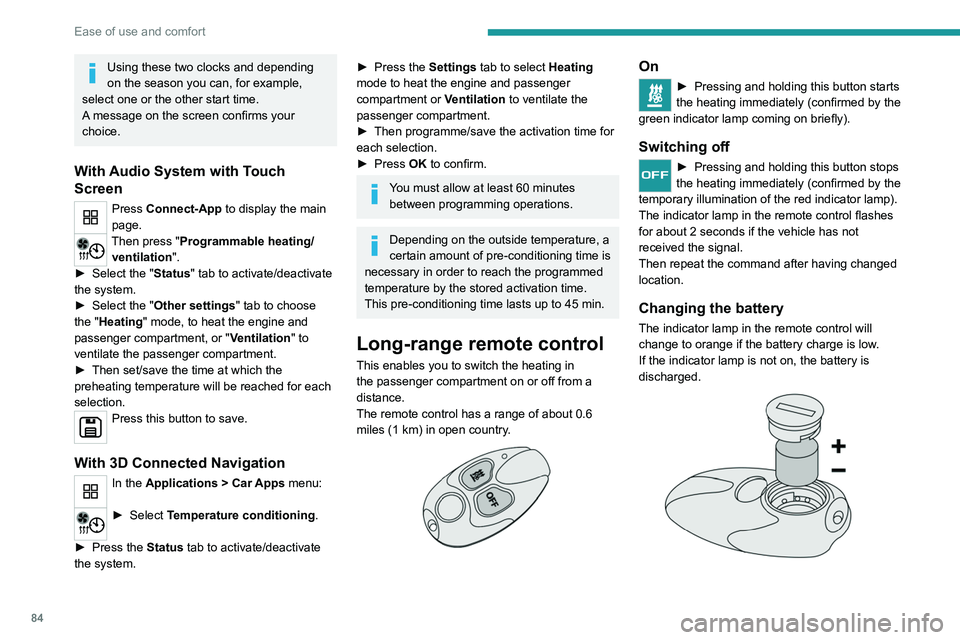
Long-range remote control
This enables you to switch the heating in
the passenger compartment on or off from a
distance.
The remote control has a range of about 0.6
miles (1 km) in open country.
On
► Pressing and ho lding this button starts
the heating immediately (confirmed by the
green indicator lamp coming on briefly).
Switching off
► Pressing and ho lding this button stops
the heating immediately (confirmed by the
temporary illumination of the red indicator lamp).
The indicator lamp in the remote control flashes
for about 2 seconds if the vehicle has not
received the signal.
Then repeat the command after having changed
location.
Changing the battery
The indicator lamp in the remote control will
change to orange if the battery charge is low.
If the indicator lamp is not on, the battery is
discharged.
Page 88 of 324
86
Ease of use and comfort
Temperature pre-conditioning (Electric)
This function allows you to programme the
temperature in the passenger compartment to
reach a pre-defined, non-modifiable temperature
(approx. 21°C) before you enter the vehicle, on
the days and at the times of your choice.
This function is available when the vehicle is
connected or not connected.
Programming
With Bluetooth® audio system
Temperature pre-conditioning is not available
with the Bluetooth® audio system.
With the Audio System with T ouch Screen
or 3D Connected Navigation system
Programming can be carried out from a
smartphone using the MYPEUGEOT APP
application.
For more information on Remote functions,
refer to the corresponding section.
With 3D Connected Navigation system
In the Applications menu:
Press " Car Apps" to display the applications
home page.
Select Temperature conditioning .
►
Press
+ to add a programme.
► Select the time of entry into the vehicle and
the desired days. Press OK.
►
Press
ON to activate this programme.
The temperature pre-conditioning sequence
begins approximately 45 minutes before the
programmed time when the vehicle is connected
(20 minutes when it is not connected) and is
maintained for 10 minutes after.
You can set multiple programmes. Each one is saved in the system.
To optimise the driving range, we recommend
starting a programme while the vehicle is
connected.
The fan noise that occurs during temperature pre-conditioning is perfectly
normal.
Operating conditions
– The function is only activated when the
ignition is switched off and the
vehicle
locked.
–
When the vehicle is not connected, the
function is only activated if the battery charge
level is greater than 50%.
–
When the vehicle is not connected and a
recurring programme is active (e.g. from Monday
to Friday), if two temperature pre-conditioning
sequences are run without the vehicle being
used, the programme will be deactivated.
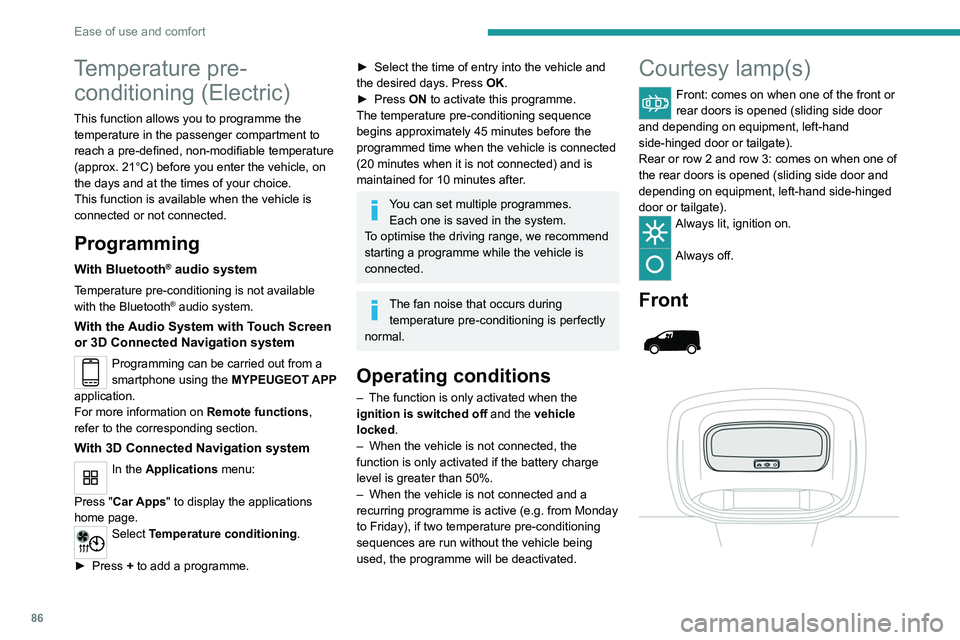
Courtesy lamp(s)
Front: comes on when one of the front or
rear doors is opened (sliding side door
and depending on equipment, left-hand
side-hinged door or tailgate).
Rear or row 2 and row 3: comes on when one of
the rear doors is opened (sliding side door and
depending on equipment, left-hand side-hinged
door or tailgate).
Always lit, ignition on.
Always off.
Front
Page 92 of 324
90
Lighting and visibility
on if rain is detected, at the same time as the
automatic rain sensitive wipers.
As soon as the brightness returns to a sufficient
level or after the windscreen wipers are switched
off, the lamps are switched off automatically.
Malfunction
In the event of a malfunction of the rain/sunshine
sensor, the vehicle’s lamps come on and this
warning lamp is displayed on the instrument
panel, accompanied by an audible signal and/or
the display of a message.
Have it checked by a PEUGEOT dealer or a
qualified workshop.
Do not cover the rain/sunshine sensor
located at the top centre of the
windscreen behind the interior rear view
mirror; the associated functions would no
longer be controlled.
In fog or snow, the rain/sunshine sensor
may detect sufficient light. For this
reason, the lighting will not come on
automatically.
The inner surface of the windscreen may become misted up and affect the proper
operation of the rain/sunshine sensor.
In humid and cold weather, demist the
windscreen regularly.
Guide-me-home and
welcome lighting
Guide-me-home lighting
Manual
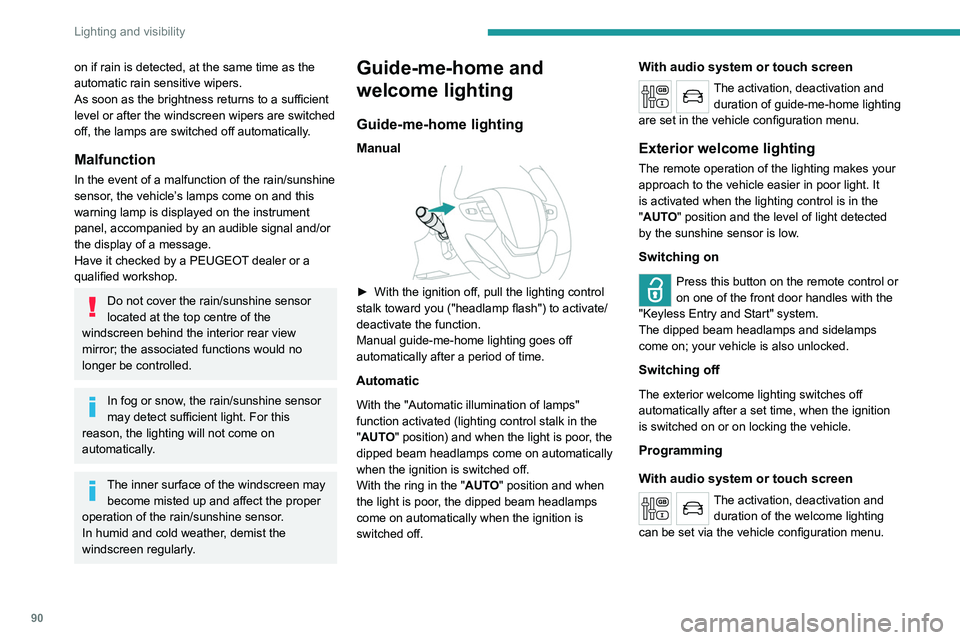
► With the ignition off, pull the lighting control
stalk toward you ("headlamp flash") to activate/
deactivate the function.
Manual guide-me-home lighting goes off
automatically after a period of time.
Automatic
With the "Automatic illumination of lamps"
function activated (lighting control stalk in the
"AUTO" position) and when the light is poor, the
dipped beam headlamps come on automatically
when the ignition is switched off.
With the ring in the "AUTO" position and when
the light is poor, the dipped beam headlamps
come on automatically when the ignition is
switched off.
With audio system or touch screen
The activation, deactivation and duration of guide-me-home lighting
are set in the vehicle configuration menu.
Exterior welcome lighting
The remote operation of the lighting makes your
approach to the vehicle easier in poor light. It
is activated when the lighting control is in the
"AUTO" position and the level of light detected
by the sunshine sensor is low.
Switching on
Press this button on the remote control or
on one of the front door handles with the
"Keyless Entry and Start" system.
The dipped beam headlamps and sidelamps
come on; your vehicle is also unlocked.
Switching off
The exterior welcome lighting switches off
automatically after a set time, when the ignition
is switched on or on locking the vehicle.
Programming
With audio system or touch screen
The activation, deactivation and duration of the welcome lighting
can be set via the vehicle configuration menu.
Page 102 of 324
100
Safety
reduction in the resistance of the pedal and an
increase in braking efficiency.
Anti-slip regulation (ASR)/Dynamic stability control
(DSC)
Anti-slip regulation (or traction control) optimises
traction by using engine braking and by applying
the brakes on the driving wheels to avoid one
or more wheels spinning. It also enhances the
vehicle's directional stability.
If there is a difference between the vehicle’s
trajectory and the path desired by the driver, the
dynamic stability control system automatically
uses engine braking and the brakes on one or
more wheels to return the vehicle to the desired
path, within the limits of the laws of physics.
These systems are activated automatically every
time the vehicle is started.
These systems are activated in the event of a problem with grip or trajectory
(confirmed by this warning lamp flashing on the
instrument panel).
Deactivation/Reactivation
In exceptional conditions (moving a vehicle that
is bogged down in mud, stuck in snow, on loose
soil, etc.), it may prove useful to deactivate the
DSC/ASR systems, so that the wheels can move
freely and regain grip.
However, it is recommended that the systems be
reactivated as soon as possible.
Only the ASR system can be deactivated
from the touch screen.
Deactivating using the button or Advanced
Grip Control
Press this button or turn the thumbwheel
to this position.
The indicator lamp in the button or thumbwheel
comes on: the DSC/ASR systems no longer
have an effect on engine operation.
Deactivating using the touch screen
In the "Driving/Vehicle" menu, deactivate
the ASR system.
A confirmation message is displayed and this warning lamp on the instrument panel
comes on.
The ASR system no longer acts on the operation
of the engine.
Reactivating using the button or Advanced
Grip Control
Press this button.
Or
Turn the thumbwheel to this position.
The indicator lamp in the button or thumbwheel
goes off.
Reactivating using the touch screen
In the "Driving/Vehicle" menu, activate
the ASR system.
A confirmation message is displayed and this warning lamp on the instrument panel
goes off.
These systems are reactivated automatically
every time the ignition is switched off, or at
speeds over 31 mph (50
km/h).
Below 31 mph (50
km/h), these systems must be
reactivated manually.
Malfunction
In the event of a malfunction, this warning
lamp lights up on the instrument panel,
accompanied by the display of a message and
an audible signal.
Have it checked by a PEUGEOT dealer or a
qualified workshop.
ASR/DSC
These systems enhance safety during
normal driving, but should not encourage
the driver to take extra risks or drive at high
speed.
It is in conditions of reduced grip (rain, snow,
ice) that the risk of loss of grip increases. It
is therefore important for your safety to keep
these systems activated in all conditions, and
particularly in difficult conditions.
Correct operation of these systems depends
on compliance with the manufacturer's
recommendations relating to the wheels
(tyres and rims), braking and electronic
components, as well as the assembly and
repair procedures provided by PEUGEOT
dealers.
In order to ensure that these systems remain
effective in wintry conditions, the use of snow