ad blue Peugeot Landtrek 2021 Owner's Manual
[x] Cancel search | Manufacturer: PEUGEOT, Model Year: 2021, Model line: Landtrek, Model: Peugeot Landtrek 2021Pages: 176, PDF Size: 6.04 MB
Page 5 of 176
3
Contents
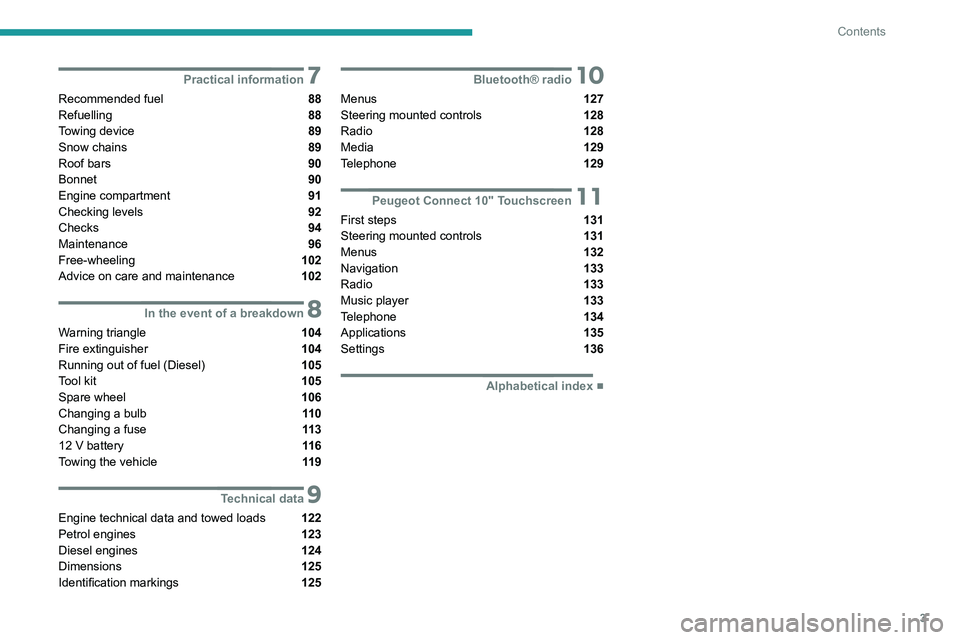
7Practical information
Recommended fuel 88
Refuelling 88
Towing device 89
Snow chains 89
Roof bars 90
Bonnet 90
Engine compartment 91
Checking levels 92
Checks
94
Maintenance 96
Free-wheeling 102
Advice on care and maintenance 102
8In the event of a breakdown
Warning triangle 104
Fire extinguisher 104
Running out of fuel (Diesel) 105
Tool kit 105
Spare wheel 106
Changing a bulb 11 0
Changing a fuse 11 3
12
V battery 11 6
Towing the vehicle 11 9
9Technical data
Engine technical data and towed loads 122
Petrol engines 123
Diesel engines 124
Dimensions 125
Identification markings 125
10Bluetooth® radio
Menus 127
Steering mounted controls 128
Radio 128
Media 129
Telephone 129
11Peugeot Connect 10" Touchscreen
First steps 131
Steering mounted controls
131
Menus 132
Navigation 133
Radio 133
Music player 133
Telephone 134
Applications 135
Settings 136
■
Alphabetical index
Page 13 of 176
11
Instruments
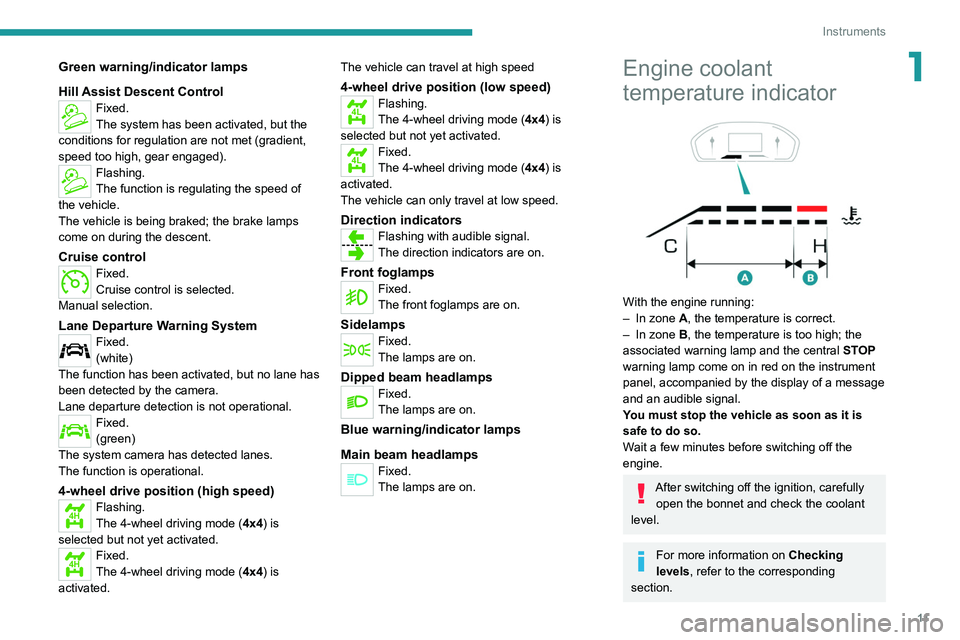
1Green warning/indicator lamps
Hill Assist Descent Control
Fixed.
The system has been activated, but the
conditions for regulation are not met (gradient,
speed too high, gear engaged).
Flashing.
The function is regulating the speed of
the vehicle.
The vehicle is being braked; the brake lamps
come on during the descent.
Cruise controlFixed.
Cruise control is selected.
Manual selection.
Lane Departure Warning SystemFixed.
(white)
The function has been activated, but no lane has
been detected by the camera.
Lane departure detection is not operational.
Fixed.
(green)
The system camera has detected lanes.
The function is operational.
4-wheel drive position (high speed)
4HFlashing.
The 4-wheel driving mode ( 4x4) is
selected but not yet activated.
4HFixed.
The 4-wheel driving mode ( 4x4) is
activated. The vehicle can travel at high speed
4-wheel drive position (low speed)
4LFlashing.
The 4-wheel driving mode (
4x4) is
selected but not yet activated.
4LFixed.
The 4-wheel driving mode ( 4x4) is
activated.
The vehicle can only travel at low speed.
Direction indicatorsFlashing with audible signal.
The direction indicators are on.
Front foglampsFixed.
The front foglamps are on.
SidelampsFixed.
The lamps are on.
Dipped beam headlampsFixed.
The lamps are on.
Blue warning/indicator lamps
Main beam headlamps
Fixed.
The lamps are on.
Engine coolant
temperature indicator
With the engine running:
– In zone A, the temperature is correct.
–
In zone
B, the temperature is too high; the
associated warning lamp and the central STOP
warning lamp come on in red on the instrument
panel, accompanied by the display of a message
and an audible signal.
You must stop the vehicle as soon as it is
safe to do so.
Wait a few minutes before switching off the
engine.
After switching off the ignition, carefully open the bonnet and check the coolant
level.
For more information on Checking
levels, refer to the corresponding
section.
Page 15 of 176
13
Instruments
1
► Press the control on the steering wheel and
select “Reinitialise”.
Only trip "2” can be reset; trip "1” is
automatically reset after the vehicle has
been switched off for a few minutes.
Definitions
Range
(miles or km)Distance that can still be travelled with the
fuel remaining in the tank (based on the
average fuel consumption over the last few miles
(kilometres) travelled).
This value may vary following a change in driving
style or relief, resulting in a significant change in
the current fuel consumption.
When the range falls below 19 miles (30
km),
dashes are displayed.
After filling with at least 5 litres of fuel, the range
is recalculated and is displayed if it exceeds 62
miles (100
km).
If dashes instead of figures continue to be
displayed while driving, contact a PEUGEOT
dealer or a qualified workshop.
Average fuel consumption
(mpg or l/100 km or km/l)
Calculated since the last trip computer reset.
Average speed
(mph or km/h)Calculated since the last trip computer
reset.
Distance travelled
(miles or km)Calculated since the last trip computer
reset.
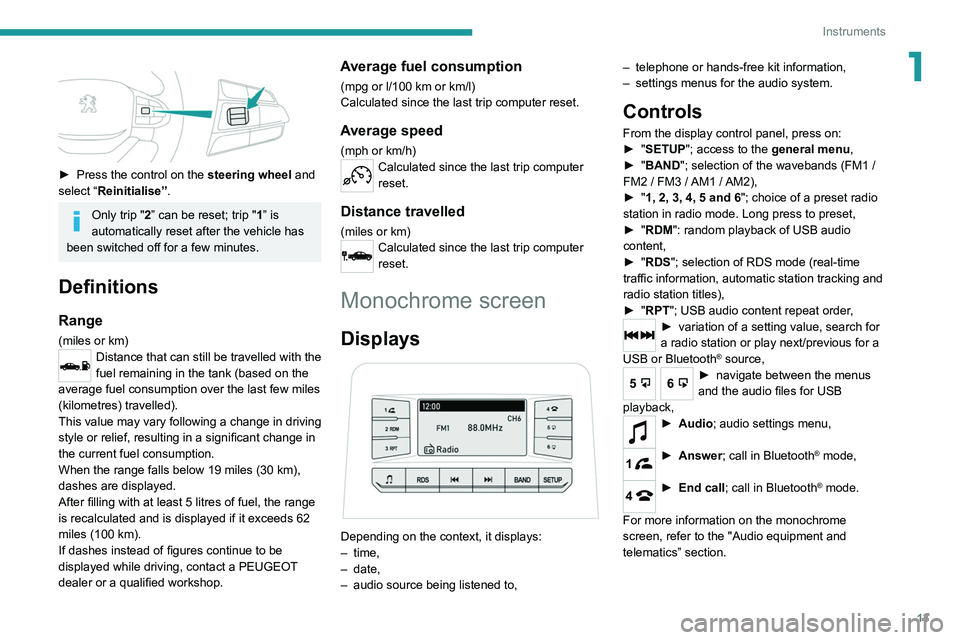
Monochrome screen
Displays
Depending on the context, it displays:
– time,
–
date,
–
audio source being listened to, –
telephone or hands-free kit information,
–
settings menus for the audio system.
Controls
From the display control panel, press on:
►
" SETUP"; access to the general menu,
►
"
BAND "; selection of the wavebands (FM1
/
FM2
/ FM3 / AM1 / AM2),
►
"
1, 2, 3, 4, 5 and 6"; choice of a preset radio
station in radio mode. Long press to preset,
►
"
RDM": random playback of USB audio
content,
►
"
RDS"; selection of RDS mode (real-time
traffic information, automatic station tracking and
radio station titles),
►
"
RPT"; USB audio content repeat order,
► variation of a setting value, search for
a radio station or play next/previous for a
USB or Bluetooth
® source,
56► navigate between the menus
and the audio files for USB
playback,
► Audio; audio settings men u,
1► Answer; call in Bluetooth® mode,
4► End call; call in Bluetooth® mode.
For more information on the monochrome
screen, refer to the "Audio equipment and
telematics” section.
Page 17 of 176
15
Instruments
1Access to system and vehicle usage information.Volume adjustment/Mute (short press).
Audio system on/off (long press).
See "Audio equipment and telematics" section.
Information banners
Certain information is displayed permanently in
the touch screen banners.
Upper banner
– Time.
– Reminder of the information in the
Radio
Media and Telephone menus.
–
Notifications.
–
Display and reminder of air conditioning
system settings.
–
Quick access to the
Settings for touch screen
brightness, call volume (telephone), Bluetooth
®
connection and media volume.
Lower banner
– Quick access to certain touch screen menus
(personalisation, Bluetooth, video, help, etc.).
–
Access to user profiles.
–
Access to voice recognition.
Page 34 of 176
32
Ease of use and comfort
Air conditioning does not operate when the air flow is disabled.
To obtain cool air more quickly, enable interior
air recirculation for a brief period. Then return
to the intake of exterior air.
Switching off the air conditioning may result in
some discomfort (humidity or misting).
Maximum air conditioning
The system automatically adjusts the
temperature setting to the lowest possible, the
air distribution towards the central and side air
vents, the air flow to maximum and activates
recirculation of interior air.
► Press button 9 to activate/deactivate the
function (confirmed by the indicator lamp coming
on/switching off).
Once the function is deactivated, the system
returns to the previous settings.
Dual-zone automatic air
conditioning
1. Temperature.
2. Air flow.
3. Air distribution.
4. Recirculation of interior air.
of interior air recirculation. Risk of misting and
deterioration of the air quality!
If the interior temperature is very high
after the vehicle has stood for a long
time in the sunshine, air the passenger
compartment for a few moments.
Put the air flow control at a setting high
enough to quickly change the air in the
passenger compartment.
Condensation created by the air
conditioning results in a discharge of
water underneath the vehicle. This is perfectly
normal.
Servicing the ventilation and air
conditioning system
►
Ensure that the passenger compartment
filter is in good condition and have the filter
elements replaced regularly
.
We recommend using a composite passenger
compartment filter. Thanks to its special active
additive, this type of filter helps to purify the
air breathed by the occupants and keep the
passenger compartment clean (by reducing
allergic symptoms, unpleasant odours and
greasy deposits).
►
T
o ensure correct operation of the
air conditioning system, have it checked
according to the recommendations in the
Maintenance and Warranty Guide.
Heating
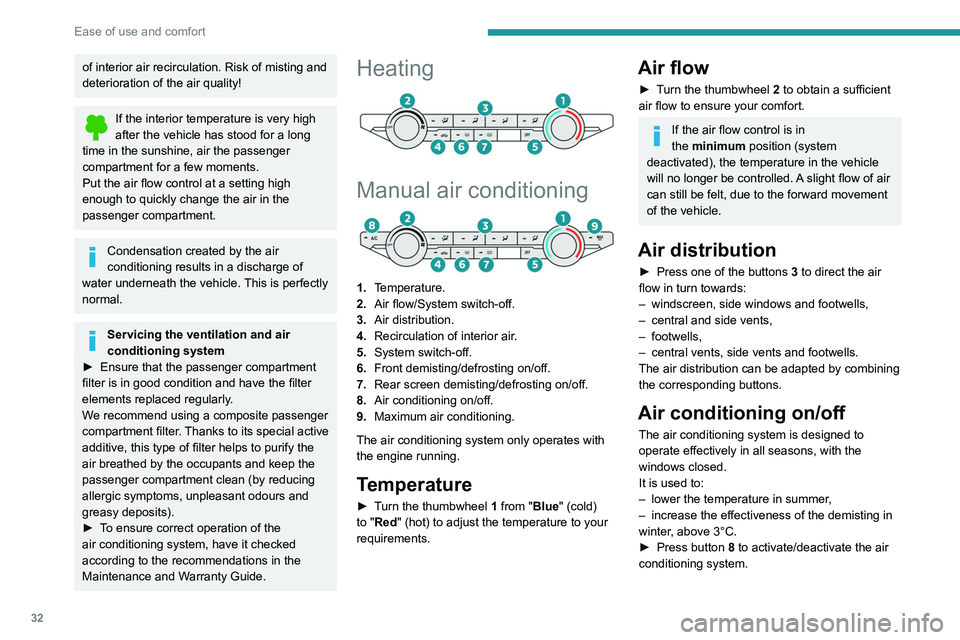
Manual air conditioning
1. Temperature.
2. Air flow/System switch-off.
3. Air distribution.
4. Recirculation of interior air.
5. System switch-off.
6. Front demisting/defrosting on/off.
7. Rear screen demisting/defrosting on/off.
8. Air conditioning on/off.
9. Maximum air conditioning.
The air conditioning system only operates with
the engine running.
Temperature
► Turn the thumbwheel 1 from "Blue" (cold)
to "Red" (hot) to adjust the temperature to your
requirements.
Air flow
► Turn the thumbwheel 2 to obtain a sufficient
air flow to ensure your comfort.
If the air flow control is in
the minimum position (system
deactivated), the temperature in the vehicle
will no longer be controlled. A slight flow of air
can still be felt, due to the forward movement
of the vehicle.
Air distribution
► Press one of the buttons 3 to direct the air
flow in turn towards:
–
windscreen, side windows and footwells,
–
central and side vents,
–
footwells,
–
central vents, side vents and footwells.
The air distribution can be adapted by combining
the corresponding buttons.
Air conditioning on/off
The air conditioning system is designed to
operate effectively in all seasons, with the
windows closed.
It is used to:
–
lower the temperature in summer
,
–
increase the effectiveness of the demisting in
winter
, above 3°C.
►
Press button
8 to activate/deactivate the air
conditioning system.
Page 35 of 176
33
Ease of use and comfort
3Air conditioning does not operate when the air flow is disabled.
To obtain cool air more quickly, enable interior
air recirculation for a brief period. Then return
to the intake of exterior air.
Switching off the air conditioning may result in
some discomfort (humidity or misting).
Maximum air conditioning
The system automatically adjusts the
temperature setting to the lowest possible, the
air distribution towards the central and side air
vents, the air flow to maximum and activates
recirculation of interior air.
►
Press button
9 to activate/deactivate the
function (confirmed by
the indicator lamp coming
on/switching off).
Once the function is deactivated, the system
returns to the previous settings.
Dual-zone automatic air
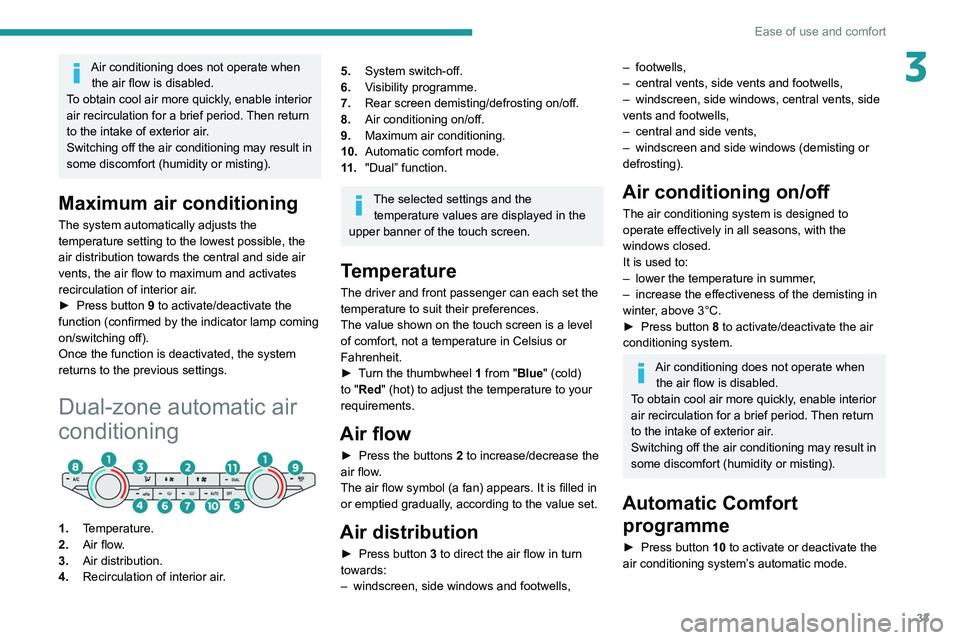
conditioning
1. Temperature.
2. Air flow.
3. Air distribution.
4. Recirculation of interior air.
5.System switch-off.
6. Visibility programme.
7. Rear screen demisting/defrosting on/off.
8. Air conditioning on/off.
9. Maximum air conditioning.
10. Automatic comfort mode.
11 . "Dual” function.
The selected settings and the
temperature values are displayed in the
upper banner of the touch screen.
Temperature
The driver and front passenger can each set the
temperature to suit their preferences.
The value shown on the touch screen is a level
of comfort, not a temperature in Celsius or
Fahrenheit.
►
T
urn the thumbwheel 1 from "Blue" (cold)
to "Red" (hot) to adjust the temperature to your
requirements.
Air flow
► Press the buttons 2 to increase/decrease the
air flow.
The air flow symbol (a fan) appears. It is filled in
or emptied gradually, according to the value set.
Air distribution
► Press button 3 to direct the air flow in turn
towards:
–
windscreen, side windows and footwells,
– footwells,
– central vents, side vents and footwells,
–
windscreen, side windows, central vents, side
vents and footwells,
–
central and side vents,
–
windscreen and side windows (demisting or
defrosting).
Air conditioning on/ off
The air conditioning system is designed to
operate effectively in all seasons, with the
windows closed.
It is used to:
–
lower the temperature in summer
,
–
increase the effectiveness of the demisting in
winter
, above 3°C.
►
Press button
8 to activate/deactivate the air
conditioning system.
Air conditioning does not operate when the air flow is disabled.
To obtain cool air more quickly, enable interior
air recirculation for a brief period. Then return
to the intake of exterior air.
Switching off the air conditioning may result in
some discomfort (humidity or misting).
Automatic Comfort programme
► Press button 10 to activate or deactivate the
air conditioning system’s automatic mode.
Page 129 of 176
127
Bluetooth® radio
10Bluetooth® radio
The different functions and settings described vary according to the version
and configuration of your vehicle.
As a safety measure and because it requires sustained attention by the driver,
the pairing of a Bluetooth
® mobile telephone
with the Bluetooth® hands-free system of your
audio system must be done with the vehicle
stationary and the ignition on.
Your audio system is coded in such a way that it will only operate in your
vehicle.
All work on the system must be carried out
exclusively by a dealer or qualified workshop,
to avoid any risk of electrocution, fire or
mechanical faults.
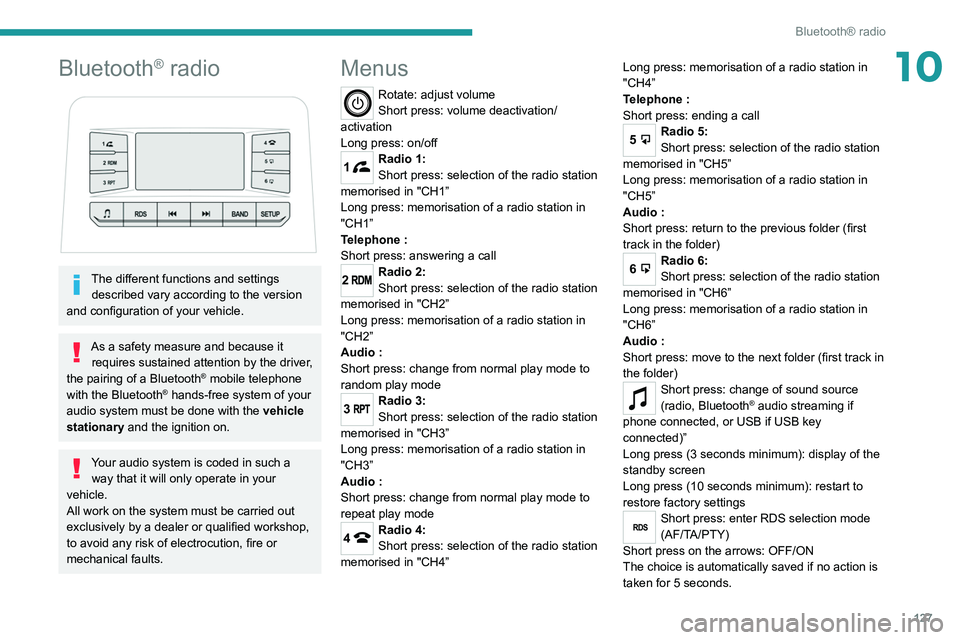
Menus
Rotate: adjust volume
Short press: volume deactivation/
activation
Long press: on/off
1Radio 1:
Short press: selection of the radio station
memorised in "CH1”
Long press: memorisation of a radio station in
"CH1”
Telephone
:
Short press: answering a call
2Radio 2:
Short press: selection of the radio station
memorised in "CH2”
Long press: memorisation of a radio station in
"CH2”
Audio
:
Short press: change from normal play mode to
random play mode
3Radio 3:
Short press: selection of the radio station
memorised in "CH3”
Long press: memorisation of a radio station in
"CH3”
Audio
:
Short press: change from normal play mode to
repeat play mode
4Radio 4:
Short press: selection of the radio station
memorised in "CH4” Long press: memorisation of a radio station in
"CH4”
Telephone
:
Short press: ending a call
5Radio 5:
Short press: selection of the radio station
memorised in "CH5”
Long press: memorisation of a radio station in
"CH5”
Audio
:
Short press: return to the previous folder (first
track in the folder)
6Radio 6:
Short press: selection of the radio station
memorised in "CH6”
Long press: memorisation of a radio station in
"CH6”
Audio
:
Short press: move to the next folder (first track in
the folder)
Short press: change of sound source
(radio, Bluetooth® audio streaming if
phone connected, or USB if USB key
connected)”
Long press (3 seconds minimum): display of the
standby screen
Long press (10 seconds minimum): restart to
restore factory settings
RDSShort press: enter RDS selection mode
(AF/TA/PTY)
Short press on the arrows: OFF/ON
The choice is automatically saved if no action is
taken for 5 seconds.
Page 130 of 176
128
Bluetooth® radio
Media
USB socket
Insert a USB memory stick in the USB
socket.
The system changes automatically to "USB"
source and the "USB" symbol appears at the top
left of the screen.
To protect the system, do not use a USB hub.
Any additional devices connected to the system must comply with the standard
applicable to the product and/or the standard
IEC 60950-1.
When the USB socket is used, the
portable device charges automatically.
Play mode
The play modes available are:
– Normal: the tracks are played in order,
according to the classification of the selected
files.
– Random: the tracks in an album or folder are
played in a random order.
– Random on all media : all of the tracks saved
in the media are played in random order.
– Repeat: the tracks played are only those from
the current album or folder.
Radio:
Short press: Manual step-by-step search
up/down for radio stations
Long press: automatic search of a radio station
Audio
:
Short press: go to the previous/next track
Long press: fast navigation in a track
Short press: selection of the wave ranges
(FM1/FM2/FM3/AM1/AM2)
Radio/Audio:
Short press: enter configuration mode
(time, sound environment, language settings,
etc.)
Short press on the arrows: combination of
settings.
The settings are automatically saved if no action
is taken for 5 seconds.
Steering mounted controls
Change of sound source (radio,
Bluetooth® audio streaming if phone
connected, or USB if USB key connected)”.
Volume adjustment.
Telephone: ending a call.
Radio: selection of the previous radio
station (among the memorised radio stations).
Audio: go to the previous track.
Telephone: answering a call.
Radio: selection of the next radio station (among
the memorised radio stations).
Audio: go to the next track.
Radio
Selecting a station
Press this button to select the radio.
Press consecutively to select the
waveband (FM1/FM2/FM3/AM1/AM2).
Short press: manual search up/down for
radio stations
Long press: automatic search for radio stations
Memorising a station
123456
Once the radio station has been selected, press
and hold one of these buttons to save it.
RDS
The external environment (hills, buildings, tunnels, car parks,
underground, etc.) may block reception,
including in RDS
tracking mode. This is a
normal effect of the way in which radio waves
are transmitted and does not indicate any
failure of the audio system.
RDS, if activated, allows you to continue
listening to the same station by
automatically retuning to alternative
frequencies. However, in certain conditions,
RDS station tracking may not be possible
nationwide, as radio stations do not always
cover the entire country. This can explain the
loss of reception of a station during a journey.
Procedure
Press this button several times to access
the RDS mode (AF - TA - PTY).
Press these buttons to activate/deactivate
the RDS mode (AF - TA - PTY).
AF: When the alternative frequency function
is activated, the system selects the best RDS
frequency (region code) of the station being
listened to. However, in certain conditions,
following this station is not guaranteed over the
whole country, because radio stations do not
cover 100% of the area. When the reception
is weak, the frequency switches to a regional
station.
PTY: the PTY function selects a type of
programme that radio stations broadcast. All this
information is transmitted via the RDS signal on
some radios.
Page 131 of 176
129
Bluetooth® radio
10Media
USB socket
Insert a USB memory stick in the USB
socket.
The system changes automatically to "USB"
source and the "USB" symbol appears at the top
left of the screen.
To protect the system, do not use a USB hub.
Any additional devices connected to the system must comply with the standard
applicable to the product and/or the standard
IEC 60950-1.
When the USB socket is used, the
portable device charges automatically.
Play mode
The play modes available are:
– Normal : the tracks are played in order,
according to the classification of the selected
files.
–
Random
: the tracks in an album or folder are
played in a random order.
–
Random on all media : all of the tracks saved
in the media are played in random order
.
–
Repeat
: the tracks played are only those from
the current album or folder. Normal play mode is activated by default.
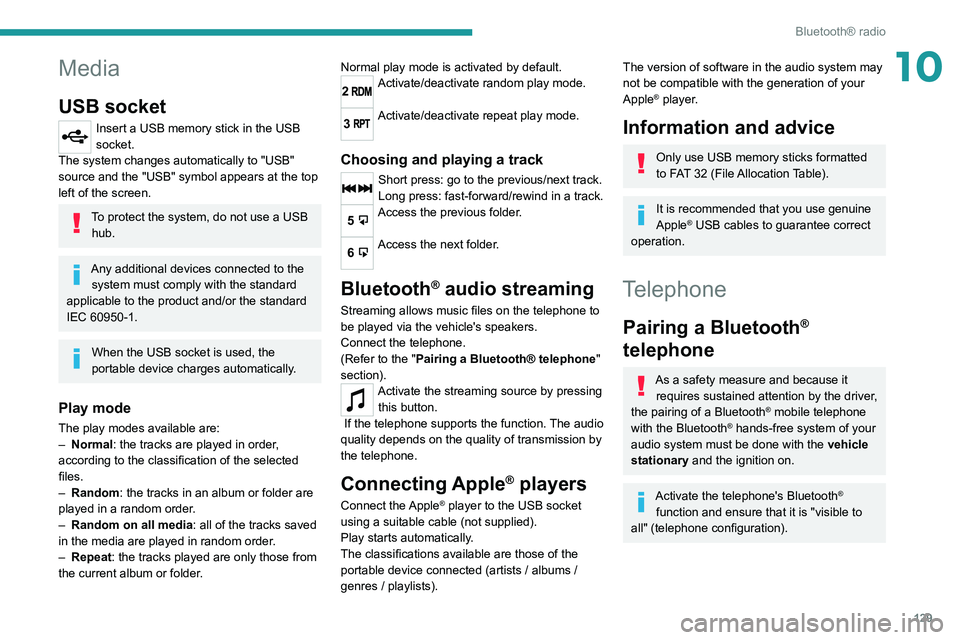
2Activate/deactivate random play mode.
3Activate/deactivate repeat play mode.
Choosing and playing a track
Short press: go to the previous/next track.
Long press: fast-forward/rewind in a track.
5Access the previous folder.
6Access the next folder.
Bluetooth® audio streaming
Streaming allows music files on the telephone to
be played via the vehicle's speakers.
Connect the telephone.
(Refer to the "Pairing a Bluetooth® telephone
"
section).
Activate the streaming source by pressing this button.
If the telephone supports the function. The audio
quality depends on the quality of transmission by
the telephone.
Connecting Apple® players
Connect the Apple® player to the USB socket
using a suitable cable (not supplied).
Play starts automatically.
The classifications available are those of the
portable device connected (artists / albums /
genres / playlists).
The version of software in the audio system may
not be compatible with the generation of your
Apple
® player.
Information and advice
Only use USB memory sticks formatted
to FAT 32 (File Allocation Table).
It is recommended that you use genuine
Apple® USB cables to guarantee correct
operation.
Telephone
Pairing a Bluetooth®
telephone
As a safety measure and because it
requires sustained attention by the driver,
the pairing of a Bluetooth
® mobile telephone
with the Bluetooth® hands-free system of your
audio system must be done with the vehicle
stationary and the ignition on.
Activate the telephone's Bluetooth®
function and ensure that it is "visible to
all" (telephone configuration).
Page 132 of 176
130
Bluetooth® radio
The services available depend on the network, the SIM card and the
compatibility of the Bluetooth
® devices used.
Refer to your telephone’s user guide and your
service provider to check which services you
are able to access.
Procedure from the telephone
Activate the telephone’s Bluetooth®
function.
Select the name of the system in the list of
detected devices.
A message appears on the Bluetooth
® radio
screen to confirm the connection between the
two devices.
Completing the pairing
To complete the pairing, whichever procedure is used (from the telephone or
from the system), confirm that the code is the
same in the system and in the telephone and
validate.
If pairing fails, the number of attempts is not
restricted.
A message appears on the screen confirming the
pairing as well as the Bluetooth
® symbol at the
top left of the screen.
Information and advice
Go to the Brand's website for more
information (compatibility, more help,
etc.).
Managing connections
The telephone connection automatically includes hands free operation and audio
streaming.
Receiving a call
An incoming call is announced by a ring and a
superimposed display on the screen.
The volume of the telephone is independent of
the volume of the radio and the media.
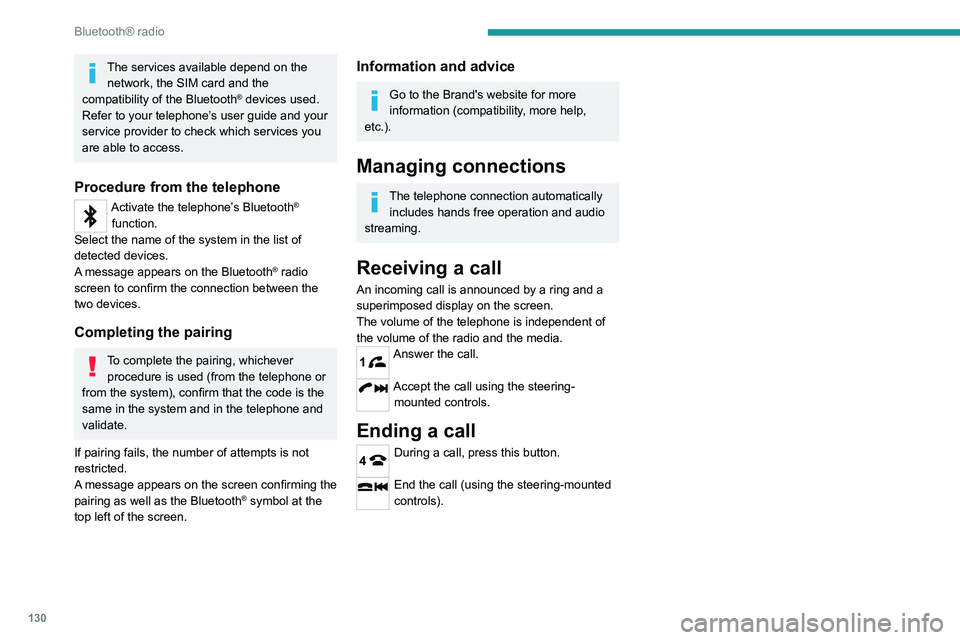
1Answer the call.
Accept the call using the steering- mounted controls.
Ending a call
4During a call, press this button.
End the call (using the steering-mounted
controls).