traction control Peugeot Landtrek 2021 Owner's Manual
[x] Cancel search | Manufacturer: PEUGEOT, Model Year: 2021, Model line: Landtrek, Model: Peugeot Landtrek 2021Pages: 176, PDF Size: 6.04 MB
Page 51 of 176

49
Safety
5Automatic operation of hazard warning lamps
When braking in an emergency, depending on
the rate of deceleration, the hazard warning
lamps come on automatically. They switch off
automatically when you next accelerate.
They can be turned off by pressing the button
again.
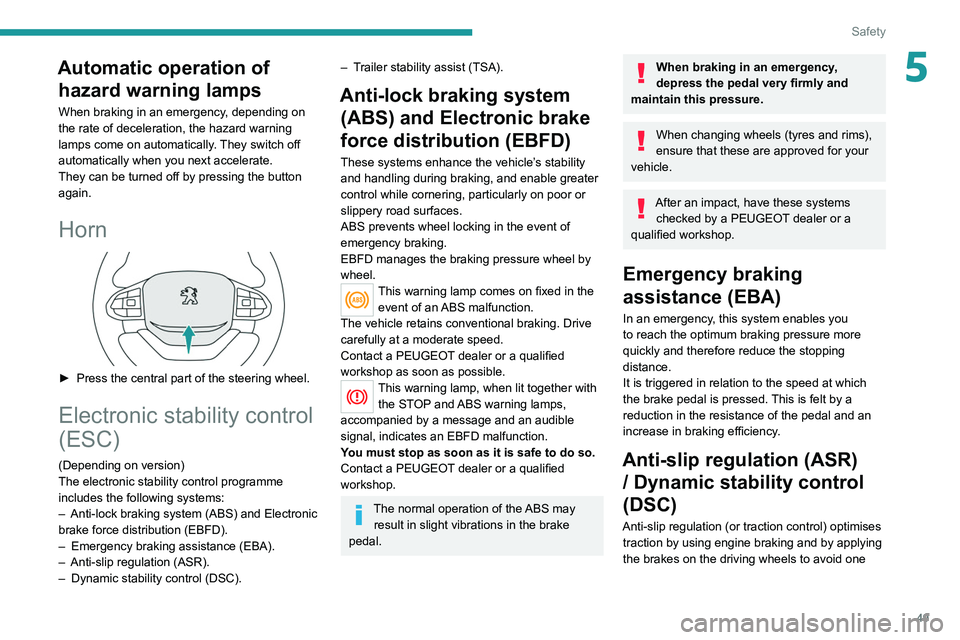
Horn
► Press the central part of the steering wheel.
Electronic stability control
(ESC)
(Depending on version)
The electronic stability control programme
includes the following systems:
–
Anti-lock braking system (ABS) and Electronic
brake force distribution (EBFD).
–
Emergency braking assistance (EBA).
–
Anti-slip regulation (ASR).
–
Dynamic stability control (DSC).
– Trailer stability assist (TSA).
Anti-lock braking system (ABS) and Electronic brake
force distribution (EBFD)
These systems enhance the vehicle’s stability
and handling during braking, and enable greater
control while cornering, particularly on poor or
slippery road surfaces.
ABS prevents wheel locking in the event of
emergency braking.
EBFD manages the braking pressure wheel by
wheel.
This warning lamp comes on fixed in the
event of an ABS malfunction.
The vehicle retains conventional braking. Drive
carefully at a moderate speed.
Contact a PEUGEOT dealer or a qualified
workshop as soon as possible.
This warning lamp, when lit together with the STOP and ABS warning lamps,
accompanied by a message and an audible
signal, indicates an EBFD malfunction.
You must stop as soon as it is safe to do so.
Contact a PEUGEOT dealer or a qualified
workshop.
The normal operation of the ABS may result in slight vibrations in the brake
pedal.
When braking in an emergency,
depress the pedal very firmly and
maintain this pressure.
When changing wheels (tyres and rims),
ensure that these are approved for your
vehicle.
After an impact, have these systems checked by a PEUGEOT dealer or a
qualified workshop.
Emergency braking
assistance (EBA)
In an emergency, this system enables you
to reach the optimum braking pressure more
quickly and therefore reduce the stopping
distance.
It is triggered in relation to the speed at which
the brake pedal is pressed. This is felt by a
reduction in the resistance of the pedal and an
increase in braking efficiency.
Anti-slip regulation (ASR) / Dynamic stability control
(DSC)
Anti-slip regulation (or traction control) optimises
traction by using engine braking and by applying
the brakes on the driving wheels to avoid one
Page 68 of 176

66
Driving
When parking on a slope, turn the
wheels against the kerb, apply the
parking brake, engage a gear and switch off
the ignition.
Locking the rear
differential
When the rear differential is locked, torque is
transmitted to both rear wheels equally, thereby
improving the vehicle's traction.
Locking the rear differential is especially useful
when the rear wheels are skidding (in a ditch or
on a slippery road, for example).
Operating conditions
The differential lock is activated manually (speed
below approximately 5 mph (8 km/h)).
The vehicle's wheels must not be skidding (wait
until they have stopped).
Switching on/off
► To activate the system, at a speed below
approximately 5 mph (8 km/h), press this button.
Switching on the ignition
without starting the engine
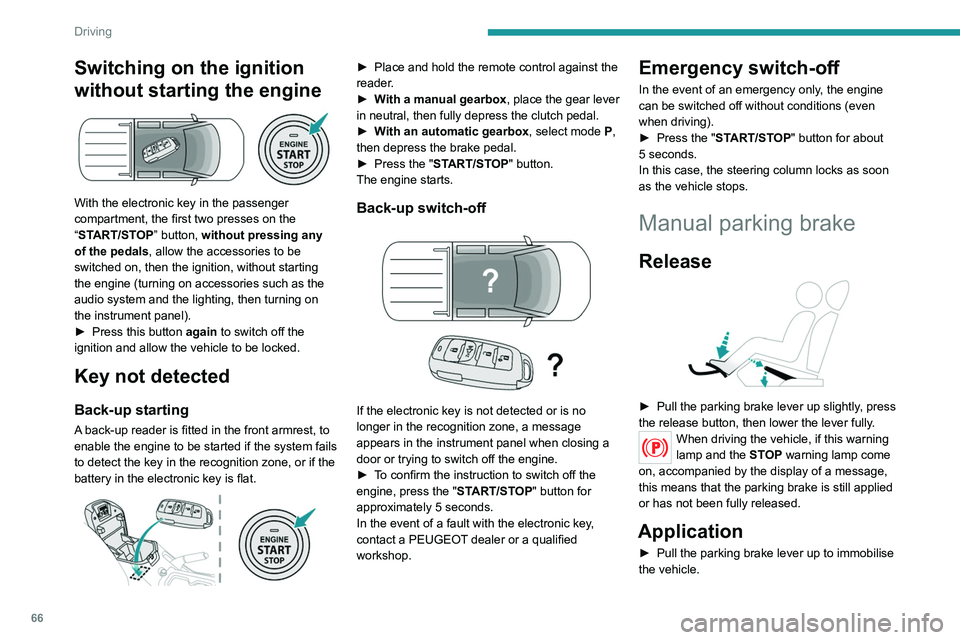
With the electronic key in the passenger
compartment, the first two presses on the
“START/STOP” button, without pressing any
of the pedals , allow the accessories to be
switched on, then the ignition, without starting
the engine (turning on accessories such as the
audio system and the lighting, then turning on
the instrument panel).
►
Press this button
again to switch off the
ignition and allow the vehicle to be locked.
Key not detected
Back-up starting
A back-up reader is fitted in the front armrest, to
enable the engine to be started if the system fails
to detect the key in the recognition zone, or if the
battery in the electronic key is flat.
► Place and hold the remote control against the
reader .
►
W
ith a manual gearbox, place the gear lever
in neutral, then fully depress the clutch pedal.
►
W
ith an automatic gearbox, select mode P,
then depress the brake pedal.
►
Press the "
START/STOP" button.
The engine starts.
Back-up switch-off
If the electronic key is not detected or is no
longer in the recognition zone, a message
appears in the instrument panel when closing a
door or trying to switch off the engine.
►
T
o confirm the instruction to switch off the
engine, press the " START/STOP" button for
approximately 5
seconds.
In the event of a fault with the electronic key,
contact a PEUGEOT dealer or a qualified
workshop.
Emergency switch-off
In the event of an emergency only, the engine
can be switched off without conditions (even
when driving).
►
Press the "
START/STOP" button for about
5
seconds.
In this case, the steering column locks as soon
as the vehicle stops.
Manual parking brake
Release
► Pull the parking brake lever up slightly , press
the release button, then lower the lever fully.
When driving the vehicle, if this warning
lamp and the STOP warning lamp come
on, accompanied by the display of a message,
this means that the parking brake is still applied
or has not been fully released.
Application
► Pull the parking brake lever up to immobilise
the vehicle.
Page 70 of 176

68
Driving
The mode cannot be changed if the vehicle is in motion.
With a manual gearbox, depress and hold
the clutch pedal to change the mode.
There is a risk of damaging the
transfer box!
While the indicator lamp for the selected
mode is flashing on the instrument panel:
– Do not accelerate.
– Do not release the clutch pedal with a
manual gearbox.
– Do not engage a gear with an automatic
gearbox.
Recommendations
On dry, tarmac or high-speed roads,
mainly use the 2H mode.
In 4L mode, avoid driving at a speed above
25 mph (40 km/h) and stay in a straight line.
Driving in 4H or 4L mode:
– on dry or tarmac road can cause oil
leakage, and seizure or malfunctions of the
transmission - risk of accident or serious
damage!
– on hard roads increases tyre wear and fuel
consumption.
Do not turn the selector suddenly from the 2L
position to 4H or 4L - risk of loss of control of
the vehicle!
Never change from 2H to 4H mode when the
wheels are spinning or skidding.
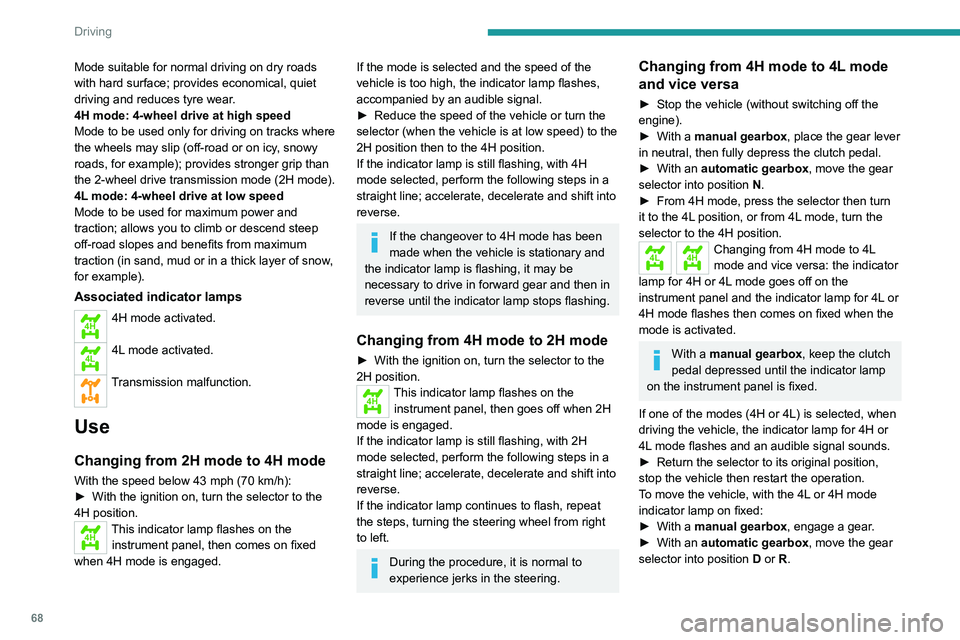
Mode suitable for normal driving on dry roads
with hard surface; provides economical, quiet
driving and reduces tyre wear.
4H mode: 4-wheel drive at high speed
Mode to be used only for driving on tracks where
the wheels may slip (off-road or on icy, snowy
roads, for example); provides stronger grip than
the 2-wheel drive transmission
mode (2H mode).
4L mode: 4-wheel drive at low speed
Mode to be used for maximum power and
traction; allows you to climb or descend steep
off-road slopes and benefits from maximum
traction (in sand, mud or in a thick layer of snow,
for example).
Associated indicator lamps
4H4H mode activated.
4L4L mode activated.
Transmission malfunction.
Use
Changing from 2H mode to 4H mode
With the speed below 43 mph (70 km/h):
► With the ignition on, turn the selector to the
4H position.
4HThis indicator lamp flashes on the instrument panel, then comes on fixed
when 4H mode is engaged.
If the mode is selected and the speed of the
vehicle is too high, the indicator lamp flashes,
accompanied by an audible signal.
►
Reduce the speed of the vehicle or turn the
selector (when the vehicle is at low speed) to the
2H position then to the 4H position.
If the indicator
lamp is still flashing, with 4H
mode selected, perform the following steps in a
straight line; accelerate, decelerate and shift into
reverse.
If the changeover to 4H mode has been
made when the vehicle is stationary and
the indicator
lamp is flashing, it may be
necessary to drive in forward gear and then in
reverse until the indicator
lamp stops flashing.
Changing from 4H mode to 2H mode
► With the ignition on, turn the selector to the
2H position.
4HThis indicator lamp flashes on the
instrument panel, then goes off when 2H
mode is engaged.
If the indicator
lamp is still flashing, with 2H
mode selected, perform the following steps in a
straight line; accelerate, decelerate and shift into
reverse.
If the indicator
lamp continues to flash, repeat
the steps, turning the steering wheel from right
to left.
During the procedure, it is normal to
experience jerks in the steering.
Changing from 4H mode to 4L mode
and vice versa
► Stop the vehicle (without switching off the
engine).
►
With a
manual gearbox, place the gear lever
in neutral, then fully depress the clutch pedal.
►
With an
automatic gearbox, move the gear
selector into position N.
►
From 4H mode, press the selector then turn
it to the 4L
position, or from 4L mode, turn the
selector to the 4H position.
4L4HChanging from 4H mode to 4L
mode and vice versa: the indicator
lamp for 4H or 4L mode goes off on the
instrument panel and the indicator lamp for 4L or
4H mode flashes then comes on fixed when the
mode is activated.
With a manual gearbox, keep the clutch
pedal depressed until the indicator lamp
on the instrument panel is fixed.
If one of the modes (4H or 4L) is selected, when
driving the vehicle, the indicator lamp for 4H or
4L mode flashes and an audible signal sounds.
►
Return the selector to its original position,
stop the vehicle then restart the operation.
T
o move the vehicle, with the 4L or 4H mode
indicator lamp on fixed:
►
With a
manual gearbox, engage a gear.
►
With an
automatic gearbox, move the gear
selector into position D or R.
Page 144 of 176

142
Alphabetical index
Serial number, vehicle 125
Servicing
94, 96
Settings, equipment
13–15
Sidelamps
43–44, 110, 112
Snow chains
89
Socket, 12 V accessory
36
Speed limiter
75–76
Speedometer
7, 75
Sport mode
71
Stability control (ESC)
49–50
Starting a Diesel engine
88
Starting the engine
63
Starting the vehicle
63–65
Starting using another battery
66, 117
Station, radio
128, 133
Stay, bonnet
91
Steering mounted controls, audio
128, 131
Steering wheel
95
Steering wheel, adjustment
27
Stickers, customising ~ Stickers,
expressive
103
Stopping the vehicle
63–65
Storage
36–40
Storage boxes
39
Storage compartments
36
Stowing rings
39
Sunshine sensor
31
Sun visor
36
Suspension
96
Switching off the engine
63
Synchronising the remote control
21T
Tables of engines 123–124
Tables of fuses
113, 115
Tailgate
22
Tank, fuel
88
Technical data
123–124
Telephone
129–130, 134–135
Temperature, coolant
11
Ticket holder
36
Time (setting)
13, 136
Tipper truck fittings
39
Tipper truck lighting
40
Tools
105–106, 106–107
Top Tether (fixing)
59
Total distance recorder
12
Touch screen
14
Towbar
50, 89
Towed loads
122
Towing another vehicle
119, 121
Traction control (ASR)
49–50
Trailer
50, 89
Trailer stability assist (TSA)
50
Trajectory control systems
49
Triangle, warning
104
Trip computer
12–13
Trip distance recorder
12
Tyres
95, 126
Tyre under-inflation detection
73
U
Under-inflation (detection) 73
Unlocking
16–18
Unlocking from the inside
19
Unlocking the doors
19
Updating the time
136
USB
129, 133–135
V
Ventilation 31–33
Visibility
35
W
Warning and indicator lamps 8
Warning lamp, driver''s seat belt
not fastened
53
Warning lamps
8
Warning lamp, seat belts
53
Warnings and indicators
8
Washing
75
Washing (advice)
102–103
Weights
122
Wheel, spare
95, 105–107
Windscreen wipers
45, 47
Wiper blades (changing)
46
Wipers
45, 47
Wipers, automatic rain sensitive
47