fuel Peugeot Partner 2011 Owner's Manual - RHD (UK, Australia)
[x] Cancel search | Manufacturer: PEUGEOT, Model Year: 2011, Model line: Partner, Model: Peugeot Partner 2011Pages: 200, PDF Size: 7.41 MB
Page 4 of 200
2
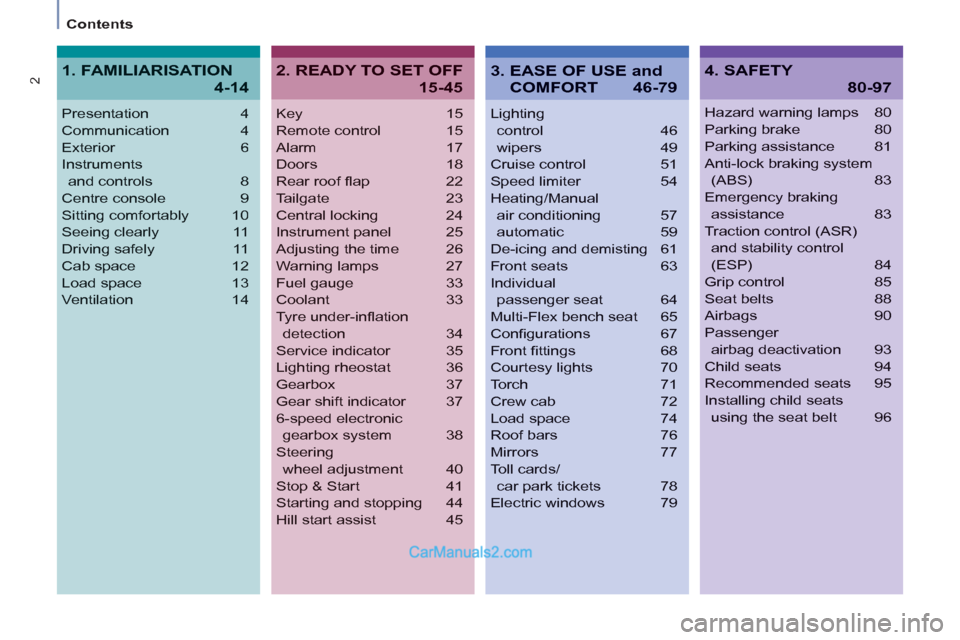
Contents
Key 15
Remote control 15
Alarm 17
Doors 18
Rear roof fl ap 22
Tailgate 23
Central locking 24
Instrument panel 25
Adjusting the time 26
Warning lamps 27
Fuel gauge 33
Coolant 33
Tyre under-infl ation
detection 34
Service indicator 35
Lighting rheostat 36
Gearbox 37
Gear shift indicator 37
6-speed electronic
gearbox system 38
Steering
wheel adjustment 40
Stop & Start 41
Starting and stopping 44
Hill start assist 45
Lighting
control 46
wipers 49
Cruise control 51
Speed limiter 54
Heating/Manual
air conditioning 57
automatic 59
De-icing and demisting 61
Front seats 63
Individual
passenger seat 64
Multi-Flex bench seat 65
Confi gurations 67
Front fi ttings 68
Courtesy lights 70
Torch 71
Crew cab 72
Load space 74
Roof bars 76
Mirrors 77
Toll cards/
car park tickets 78
Electric windows 79
Presentation4
Communication4
Exterior 6
Instruments
and controls8
Centre console9
Sitting comfortably 10
Seeing clearly 11
Driving safely 11
Cab space 12
Load space 13
Ventilation 14
Hazard warning lamps 80
Parking brake 80
Parking assistance 81
Anti-lock braking system
(ABS) 83
Emergency braking
assistance 83
Traction control (ASR)
and stability control
(ESP) 84
Grip control 85
Seat belts 88
Airbags 90
Passenger
airbag deactivation 93
Child seats 94
Recommended seats 95
Installing child seats
using the seat belt 96
2. READY TO SET OFF
15-45
4. SAFETY
80-97
1. FAMILIARISATION
4-14
3. EASE OF USE and
COMFORT 46-79
Page 5 of 200
3
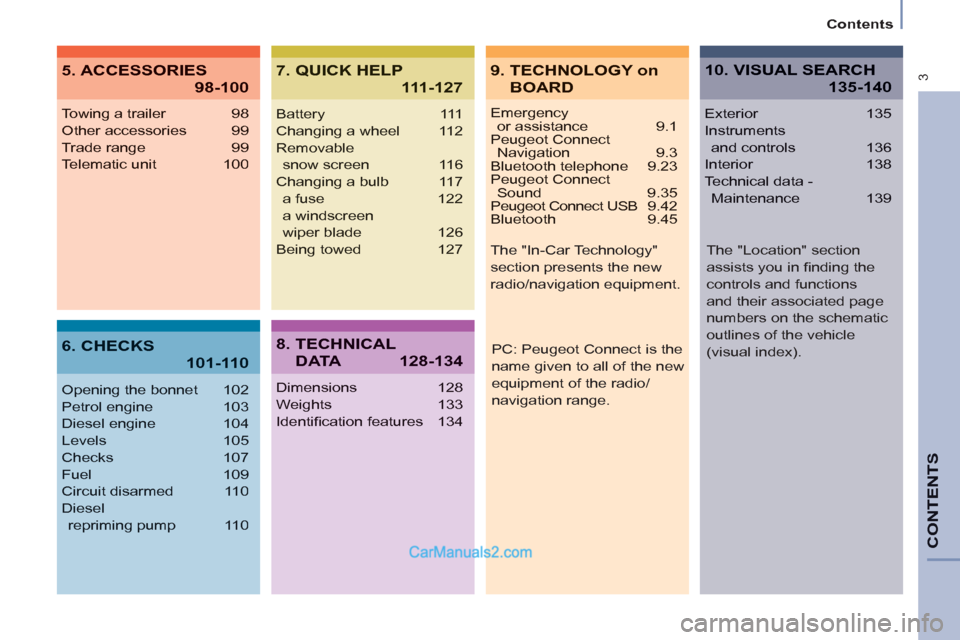
Contents
CONTENT
S
Emergencyor assistance 9.1
Peugeot Connect Navigation 9.3
Bluetooth telephone 9.23
Peugeot Connect Sound 9.35
Peugeot Connect USB 9.42
Bluetooth 9.45
Towing a trailer 98
Other accessories 99
Trade range 99
Telematic unit 100
Opening the bonnet 102
Petrol engine 103
Diesel engine 104
Levels 105
Checks 107
Fuel 109
Circuit disarmed 110
Diesel
repriming pump 110
Battery 111
Changing a wheel 112
Removable
snow screen 116
Changing a bulb 117
a fuse 122
a windscreen
wiper blade 126
Being towed 127
Dimensions 128
Weights 133
Identifi cation features 134
Exterior 135
Instruments
and controls 136
Interior 138
Technical data -
Maintenance 139
9. TECHNOLOGY on
BOARD
5. ACCESSORIES
98-100
7. QUICK HELP
111-127
10. VISUAL SEARCH
135-140
6. CHECKS
101-110
8. TECHNICAL
D ATA128-134
PC: Peugeot Connect is the
name given to all of the new
equipment of the radio/
navigation range. The "In-Car Technology"
section presents the new
radio/navigation equipment.
The "Location" section
assists you in fi nding the
controls and functions
and their associated page
numbers on the schematic
outlines of the vehicle
(visual index).
Page 27 of 200
READY TO SET OFF
22
Instruments and controls
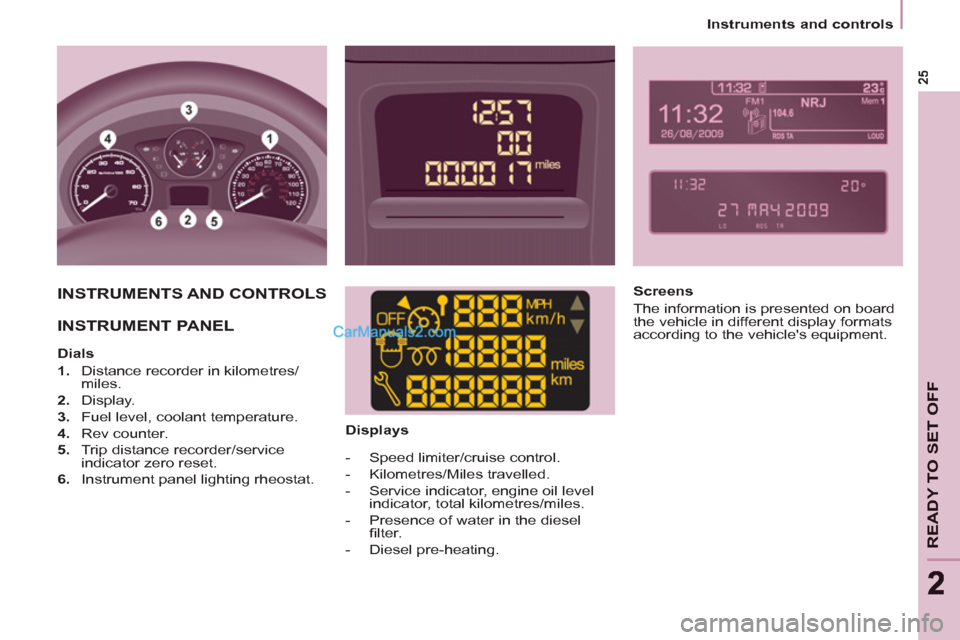
INSTRUMENTS AND CONTROLS
INSTRUMENT PANEL
Dials
1.
Distance recorder in kilometres/
miles.
2.
Display.
3.
Fuel level, coolant temperature.
4.
Rev counter.
5.
Trip distance recorder/service
indicator zero reset.
6.
Instrument panel lighting rheostat.
Displays
- Speed limiter/cruise control.
- Kilometres/Miles travelled.
- Service indicator, engine oil level
indicator, total kilometres/miles.
- Presence of water in the diesel
fi lter.
- Diesel pre-heating.
Screens
The information is presented on board
the vehicle in different display formats
according to the vehicle's equipment.
Page 31 of 200
29
READY TO SET OFF
22
Instruments and controls
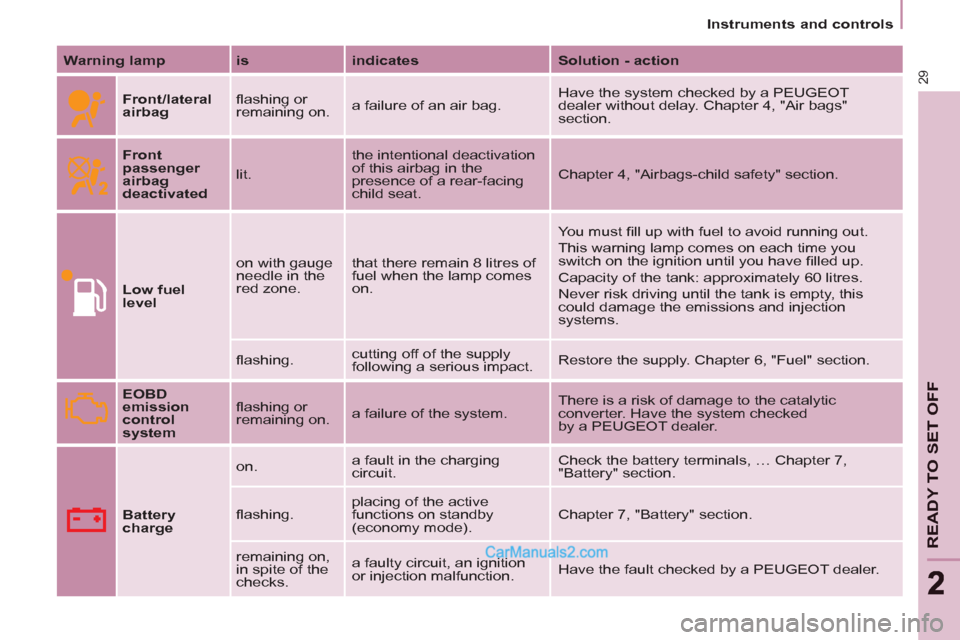
Warning lamp
is
indicates
Solution - action
Front/lateral
airbag
fl ashing or
remaining on. a failure of an air bag. Have the system checked by a PEUGEOT
dealer without delay. Chapter 4, "Air bags"
section.
Front
passenger
airbag
deactivated
lit. the intentional deactivation
of this airbag in the
presence of a rear-facing
child seat. Chapter 4, "Airbags-child safety" section.
Low fuel
level
on with gauge
needle in the
red zone. that there remain 8 litres of
fuel when the lamp comes
on. You must fi ll up with fuel to avoid running out.
This warning lamp comes on each time you
switch on the ignition until you have fi lled up.
Capacity of the tank: approximately 60 litres.
Never risk driving until the tank is empty, this
could damage the emissions and injection
systems.
fl ashing. cutting off of the supply
following a serious impact. Restore the supply. Chapter 6, "Fuel" section.
EOBD
emission
control
system
fl ashing or
remaining on. a failure of the system. There is a risk of damage to the catalytic
converter. Have the system checked
by a PEUGEOT dealer.
Battery
charge
on. a fault in the charging
circuit. Check the battery terminals, … Chapter 7,
"Battery" section.
fl ashing. placing of the active
functions on standby
(economy mode). Chapter 7, "Battery" section.
remaining on,
in spite of the
checks. a faulty circuit, an ignition
or injection malfunction. Have the fault checked by a PEUGEOT dealer.
Page 35 of 200
33
READY TO SET OFF
22
Instruments and controls
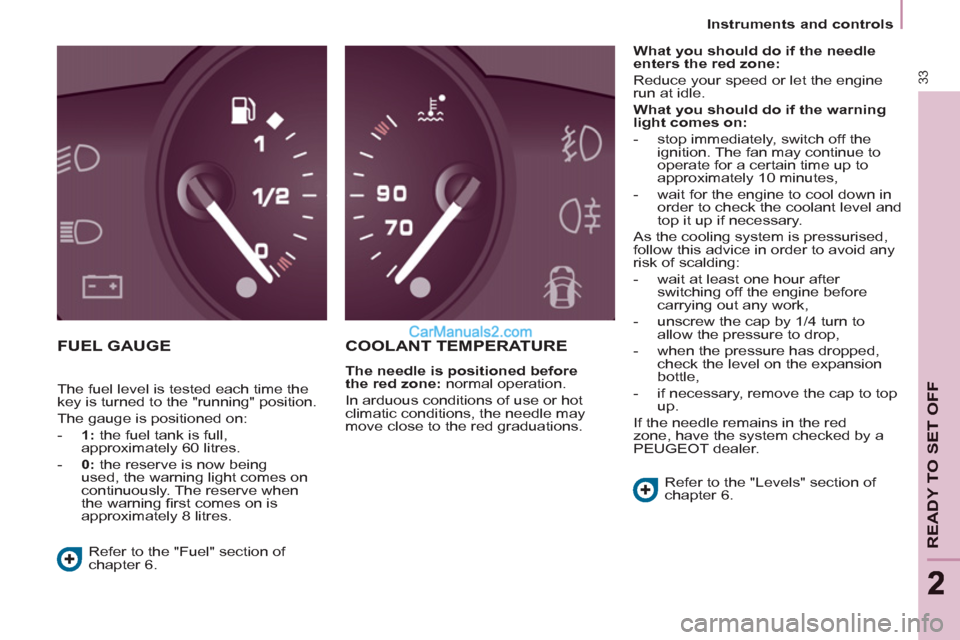
FUEL GAUGE COOLANT TEMPERATURE
The needle is positioned before
the red zone:
normal operation.
In arduous conditions of use or hot
climatic conditions, the needle may
move close to the red graduations.
What you should do if the needle
enters the red zone:
Reduce your speed or let the engine
run at idle.
What you should do if the warning
light comes on:
- stop immediately, switch off the
ignition. The fan may continue to
operate for a certain time up to
approximately 10 minutes,
- wait for the engine to cool down in
order to check the coolant level and
top it up if necessary.
As the cooling system is pressurised,
follow this advice in order to avoid any
risk of scalding:
- wait at least one hour after
switching off the engine before
carrying out any work,
- unscrew the cap by 1/4 turn to
allow the pressure to drop,
- when the pressure has dropped,
check the level on the expansion
bottle,
- if necessary, remove the cap to top
up.
If the needle remains in the red
zone, have the system checked by a
PEUGEOT dealer.
Refer to the "Levels" section of
chapter 6.
Refer to the "Fuel" section of
chapter 6. The fuel level is tested each time the
key is turned to the "running" position.
The gauge is positioned on:
- 1:
the fuel tank is full,
approximately 60 litres.
- 0:
the reserve is now being
used, the warning light comes on
continuously. The reserve when
the warning fi rst comes on is
approximately 8 litres.
Page 39 of 200
37
READY TO SET OFF
22
Gearbox and steering wheel
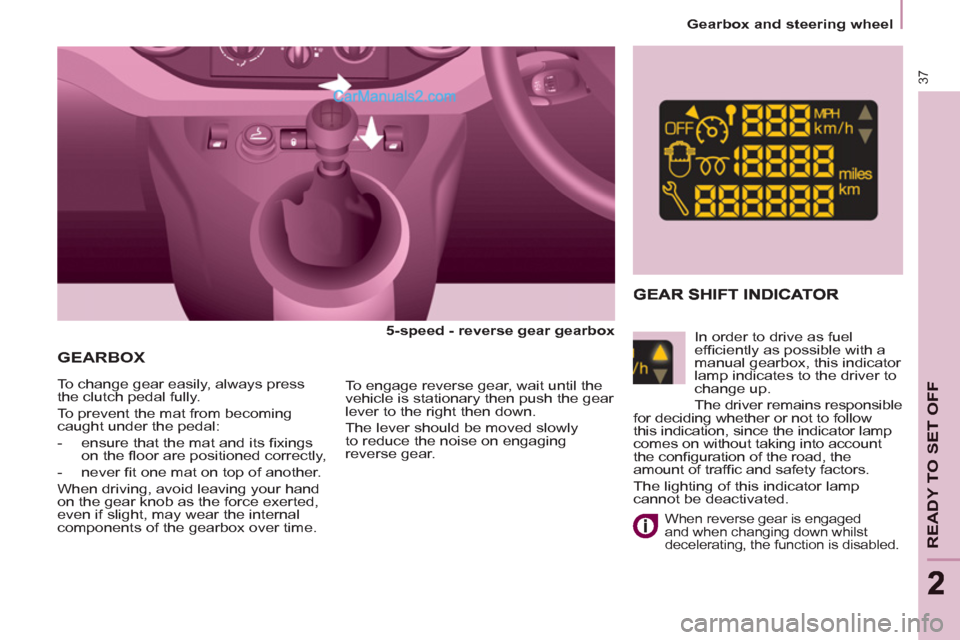
GEARBOX
5-speed - reverse gear gearbox
To change gear easily, always press
the clutch pedal fully.
To prevent the mat from becoming
caught under the pedal:
- ensure that the mat and its fi xings
on the fl oor are positioned correctly,
- never fi t one mat on top of another.
When driving, avoid leaving your hand
on the gear knob as the force exerted,
even if slight, may wear the internal
components of the gearbox over time.
To engage reverse gear, wait until the
vehicle is stationary then push the gear
lever to the right then down.
The lever should be moved slowly
to reduce the noise on engaging
reverse gear.
In order to drive as fuel
effi ciently as possible with a
manual gearbox, this indicator
lamp indicates to the driver to
change up.
The driver remains responsible
for deciding whether or not to follow
this indication, since the indicator lamp
comes on without taking into account
the confi guration of the road, the
amount of traffi c and safety factors.
The lighting of this indicator lamp
cannot be deactivated.
When reverse gear is engaged
and when changing down whilst
decelerating, the function is disabled.
Page 41 of 200
39
READY TO SET OFF
22
Gearbox and steering wheel
Changing gear
In situations of high engine speeds
(heavy acceleration), a change
up will not occur unless the driver
operates electronic gearbox system
lever.
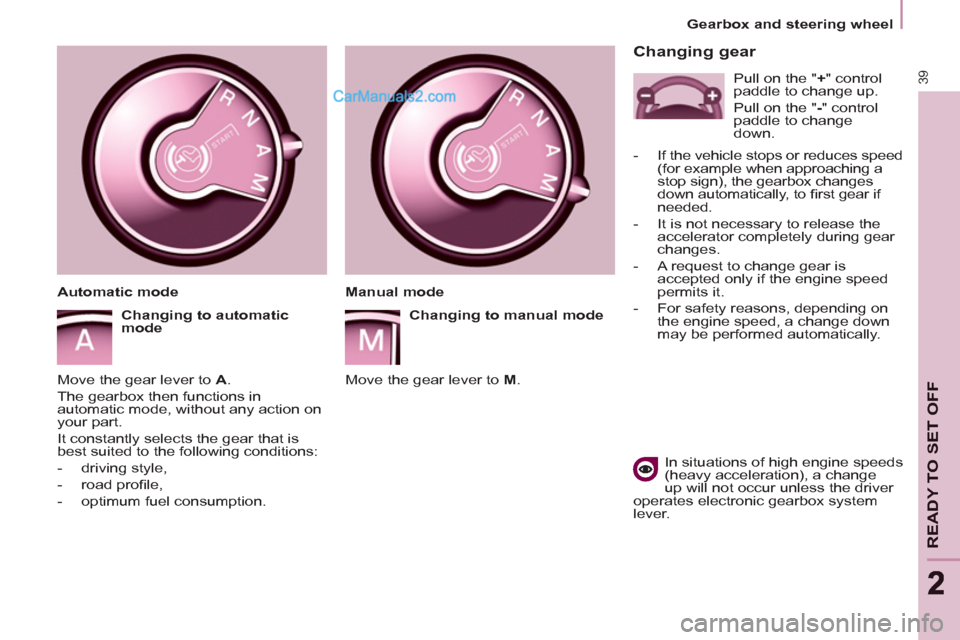
Manual mode
Changing to manual mode
Move the gear lever to M
.
Automatic mode
Changing to automatic
mode
Move the gear lever to A
.
The gearbox then functions in
automatic mode, without any action on
your part.
It constantly selects the gear that is
best suited to the following conditions:
- driving style,
- road profi le,
- optimum fuel consumption.
Pull on the " +
" control
paddle to change up.
Pull on the " -
" control
paddle to change
down.
- If the vehicle stops or reduces speed
(for example when approaching a
stop sign), the gearbox changes
down automatically, to fi rst gear if
needed.
- It is not necessary to release the
accelerator completely during gear
changes.
- A request to change gear is
accepted only if the engine speed
permits it.
- For safety reasons, depending on
the engine speed, a change down
may be performed automatically.
Page 43 of 200
41
Stop & Start
READY TO SET OFF
2
STOP & START
The Stop & Start system puts the
engine temporarily on standby - STOP
mode - during stops in the traffi c (red
lights, traffi c jams, or other...). The
engine restarts automatically - START
mode - as soon as you want to move
off. The restart takes place instantly,
quickly and silently.
Perfect for urban use, the Stop & Start
system reduces fuel consumption and
exhaust emissions as well as the noise
level when stationary.
Operation
Going into engine STOP mode
The "ECO"
warning lamp
comes on in the instrument
panel and the engine goes
into standby:
- with a manual gearbox
, at speeds
below 12 mph (20 km/h), when you
put the gear lever into neutral and
release the clutch pedal,
- with the 6-speed electronic
gearbox system
, at a speed below
5 mph (8 km/h), when you press
the brake pedal or put the gear
lever into position N
. If your vehicle is fi tted with the system,
a time counter calculates the sum of
the periods in STOP mode during a
journey. It rests itself to zero every time
the ignition is switched on with the key.
With the automatic gearbox
system, for your comfort during
parking maoeuvres, STOP mode
is not available for a few seconds after
coming out of reverse gear.
STOP mode does not affect the
functionality of the vehicle, such as
braking, power steering, for example.
Never refuel with the engine in
STOP mode; you must switch off
the ignition with the key.
Special cases: STOP mode
unavailable
STOP mode is not invoked when:
- the driver's door is open,
- the driver's seat belt is not
fastened,
- the vehicle has not exceeded 6 mph
(10 km/h) since the last engine start
using the key,
- the parking brake is applied or
being applied,
- the engine is needed to maintain
a comfortable temperature in the
passenger compartment,
- demisting is active,
- some special conditions (battery
charge, engine temperature, braking
assistance, ambient temperature...)
where the engine is needed to
assure control of a system.
In this case, the "ECO"
warning lamp fl ashes for a
few seconds, then goes off.
This operation is perfectly normal.
Page 87 of 200
85
SAFETY
4
Driving safely
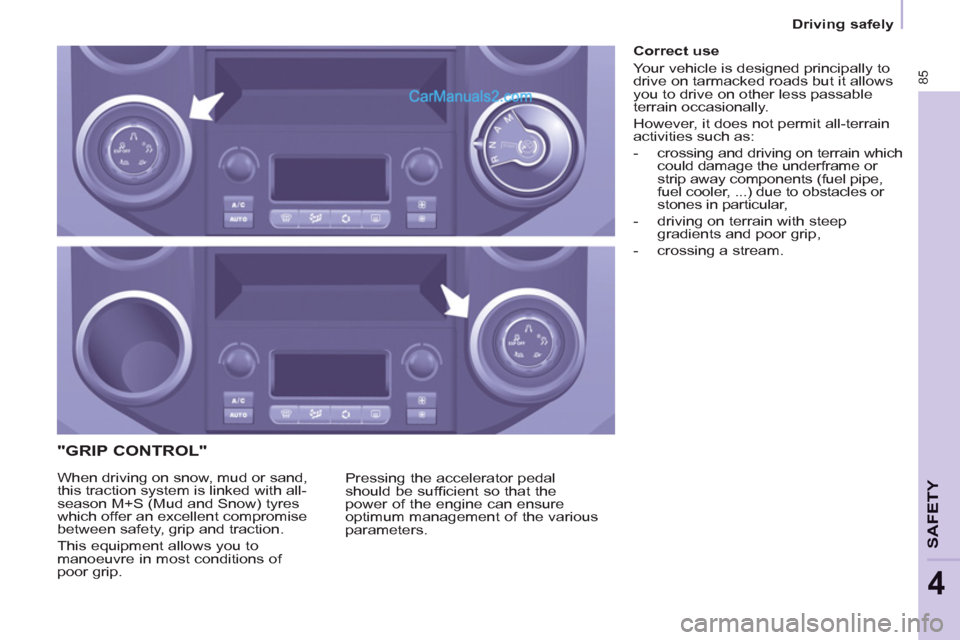
"GRIP CONTROL"
Pressing the accelerator pedal
should be suffi cient so that the
power of the engine can ensure
optimum management of the various
parameters. When driving on snow, mud or sand,
this traction system is linked with all-
season M+S (Mud and Snow) tyres
which offer an excellent compromise
between safety, grip and traction.
This equipment allows you to
manoeuvre in most conditions of
poor grip.
Correct use
Your vehicle is designed principally to
drive on tarmacked roads but it allows
you to drive on other less passable
terrain occasionally.
However, it does not permit all-terrain
activities such as:
- crossing and driving on terrain which
could damage the underframe or
strip away components (fuel pipe,
fuel cooler, ...) due to obstacles or
stones in particular,
- driving on terrain with steep
gradients and poor grip,
- crossing a stream.
Page 111 of 200
109
6
Fuel
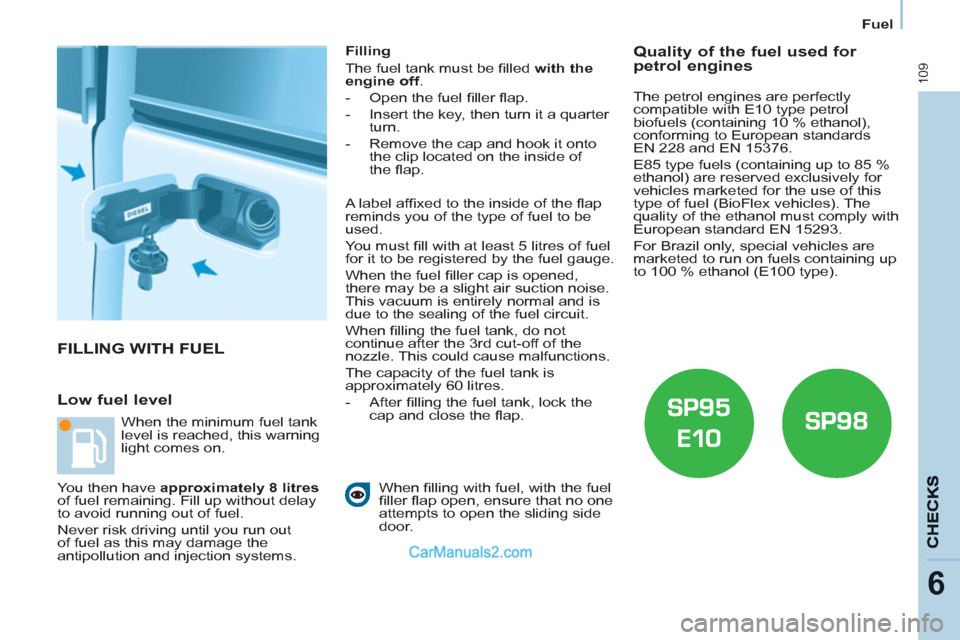
FILLING WITH FUEL
Low fuel level
Filling
The fuel tank must be fi lled with the
engine off
.
- Open the fuel fi ller fl ap.
- Insert the key, then turn it a quarter
turn.
- Remove the cap and hook it onto
the clip located on the inside of
the fl ap.
When fi lling with fuel, with the fuel
fi ller fl ap open, ensure that no one
attempts to open the sliding side
door. When the minimum fuel tank
level is reached, this warning
light comes on.
You then have approximately 8 litres
of fuel remaining. Fill up without delay
to avoid running out of fuel.
Never risk driving until you run out
of fuel as this may damage the
antipollution and injection systems.
Quality of the fuel used for
petrol engines
A label affi xed to the inside of the fl ap
reminds you of the type of fuel to be
used.
You must fi ll with at least 5 litres of fuel
for it to be registered by the fuel gauge.
When the fuel fi ller cap is opened,
there may be a slight air suction noise.
This vacuum is entirely normal and is
due to the sealing of the fuel circuit.
When fi lling the fuel tank, do not
continue after the 3 rd cut-off of the
nozzle. This could cause malfunctions.
The capacity of the fuel tank is
approximately 60 litres.
- After fi lling the fuel tank, lock the
cap and close the fl ap.
The petrol engines are perfectly
compatible with E10 type petrol
biofuels (containing 10 % ethanol),
conforming to European standards
EN 228 and EN 15376.
E85 type fuels (containing up to 85 %
ethanol) are reserved exclusively for
vehicles marketed for the use of this
type of fuel (BioFlex vehicles). The
quality of the ethanol must comply with
European standard EN 15293.
For Brazil only, special vehicles are
marketed to run on fuels containing up
to 100 % ethanol (E100 type).