key Peugeot Partner 2020 User Guide
[x] Cancel search | Manufacturer: PEUGEOT, Model Year: 2020, Model line: Partner, Model: Peugeot Partner 2020Pages: 260, PDF Size: 7.76 MB
Page 34 of 260
32
Access
Changing the battery
If the battery is discharged, this warning
lamp comes on, accompanied by an
audible signal and an onscreen message.
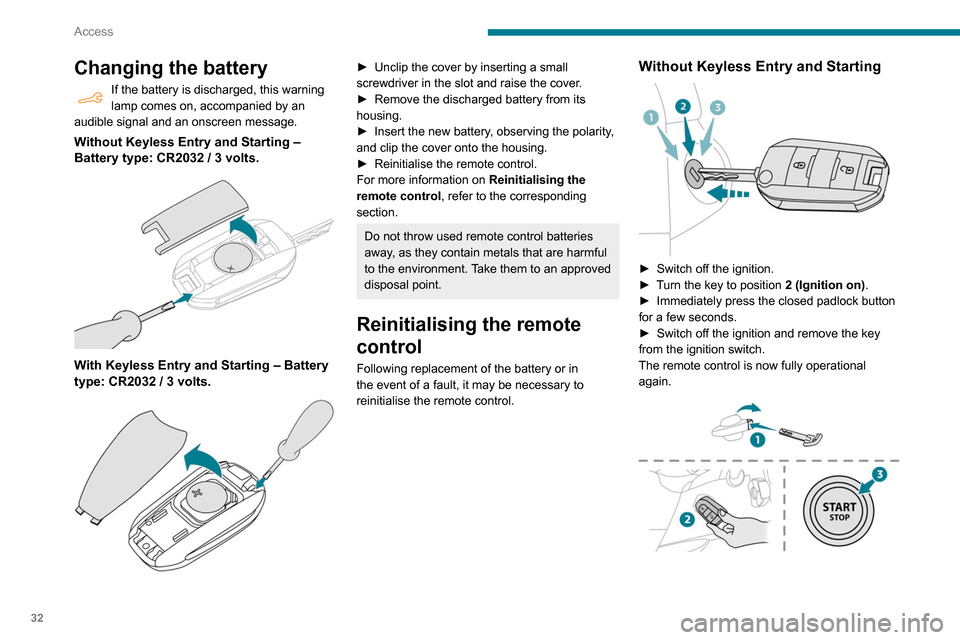
Without Keyless Entry and Starting ‒
Battery type: CR2032 / 3 volts.
With Keyless Entry and Starting ‒ Battery
type: CR2032 / 3 volts.
► Unclip the cover by inserting a small
screwdriver in the slot and raise the cover .
►
Remove the discharged battery from its
housing.
►
Insert the new battery
, observing the polarity,
and clip the cover onto the housing.
►
Reinitialise the remote control.
For more information on Reinitialising the
remote control
, refer to the corresponding
section.
Do not throw used remote control batteries
away, as they contain metals that are harmful
to the environment. Take them to an approved
disposal point.
Reinitialising the remote
control
Following replacement of the battery or in
the event of a fault, it may be necessary to
reinitialise the remote control.
Without Keyless Entry and Starting
► Switch off the ignition.
► T urn the key to position 2 (Ignition on) .
►
Immediately press the closed padlock button
for a few seconds.
►
Switch off the ignition and remove the key
from the ignition switch.
The remote control is now fully operational
again.
Page 35 of 260
33
Access
2► Insert the mechanical key (incorporated into
the remote control) into the lock to open the
vehicle.
►
Place the electronic key against the back-up
reader on the steering column and hold it there
until the ignition is switched on.
►
Switch on the ignition by pressing the
"
START/STOP" button.
►
W
ith a manual gearbox, place the gear lever
in neutral then fully depress the clutch pedal.
►
W
ith an automatic gearbox, while in mode
P, depress the brake pedal.
If the fault persists after reinitialisation, contact
a PEUGEOT dealer or a qualified workshop
without delay.
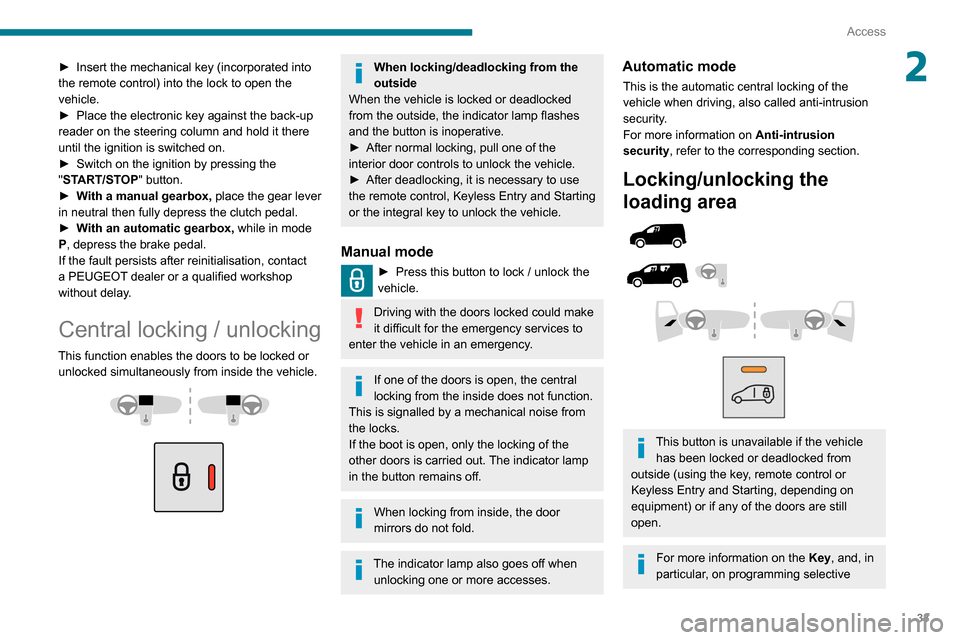
Central locking / unlocking
This function enables the doors to be locked or unlocked simultaneously from inside the vehicle.
When locking/deadlocking from the
outside
When the vehicle is locked or deadlocked
from the outside, the indicator lamp flashes
and the button is inoperative.
►
After normal locking, pull one of the
interior door controls to unlock the vehicle.
►
After deadlocking, it is necessary to use
the remote control, Keyless Entry and Starting
or the integral key to unlock the vehicle.
Manual mode
► Press this button to lock / unlock the
vehicle.
Driving with the doors locked could make
it difficult for the emergency services to
enter the vehicle in an emergency.
If one of the doors is open, the central
locking from the inside does not function.
This is signalled by a mechanical noise from
the locks.
If the boot is open, only the locking of the
other doors is carried out. The indicator lamp
in the button remains off.
When locking from inside, the door
mirrors do not fold.
The indicator lamp also goes off when unlocking one or more accesses.
Automatic mode
This is the automatic central locking of the
vehicle when driving, also called anti-intrusion
security.
For more information on Anti-intrusion
security, refer to the corresponding section.
Locking/unlocking the
loading area
This button is unavailable if the vehicle has been locked or deadlocked from
outside (using the key, remote control or
Keyless Entry and Starting, depending on
equipment) or if any of the doors are still
open.
For more information on the Key, and, in
particular, on programming selective
Page 39 of 260
37
Access
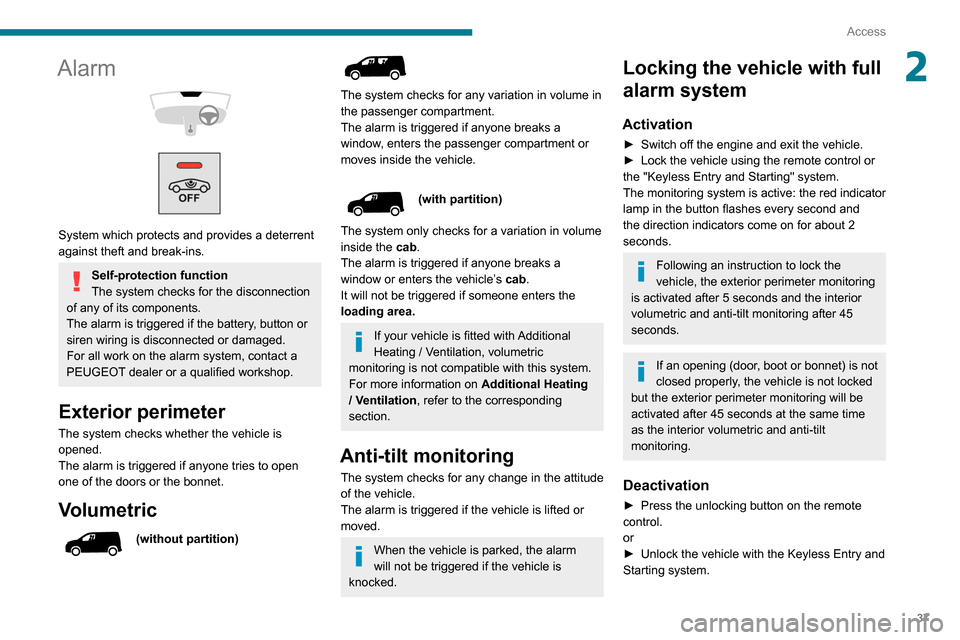
2Alarm
System which protects and provides a deterrent
against theft and break-ins.
Self-protection function
The system checks for the disconnection
of any of its components.
The alarm is triggered if the battery, button or
siren wiring is disconnected or damaged.
For all work on the alarm system, contact a
PEUGEOT dealer or a qualified workshop.
Exterior perimeter
The system checks whether the vehicle is
opened.
The alarm is triggered if anyone tries to open
one of the doors or the bonnet.
Volumetric
(without partition)
The system checks for any variation in volume in
the passenger compartment.
The alarm is triggered if anyone breaks a
window, enters the passenger compartment or
moves inside the vehicle.
(with partition)
The system only checks for a variation in volume
inside the cab.
The alarm is triggered if anyone breaks a
window or enters the vehicle’s cab.
It will not be triggered if someone enters the
loading area.
If your vehicle is fitted with Additional
Heating / Ventilation, volumetric
monitoring is not compatible with this system.
For more information on Additional Heating
/ Ventilation , refer to the corresponding
section.
Anti-tilt monitoring
The system checks for any change in the attitude
of the vehicle.
The alarm is triggered if the vehicle is lifted or
moved.
When the vehicle is parked, the alarm
will not be triggered if the vehicle is
knocked.
Locking the vehicle with full
alarm system
Activation
► Switch off the engine and exit the vehicle.
► Lock the vehicle using the remote control or
the "Keyless Entry and Starting" system.
The monitoring system is active: the red indicator
lamp in the button flashes every second and
the direction indicators come on for about 2
seconds.
Following an instruction to lock the
vehicle, the exterior perimeter monitoring
is activated after 5 seconds and the interior
volumetric and anti-tilt monitoring after 45
seconds.
If an opening (door, boot or bonnet) is not
closed properly, the vehicle is not locked
but the exterior perimeter monitoring will be
activated after 45 seconds at the same time
as the interior volumetric and anti-tilt
monitoring.
Deactivation
► Press the unlocking button on the remote
control.
or
►
Unlock the vehicle with the Keyless Entry and
Starting system.
Page 40 of 260
38
Access
The monitoring system is deactivated: the
indicator lamp in the button goes off and the
direction indicators flash for about 2 seconds.
When the vehicle automatically locks
itself again (as happens if a door or the
boot is not opened within 30 seconds of
unlocking), the monitoring system is also
reactivated automatically.
Locking the vehicle
with exterior perimeter
monitoring only
Disable volumetric and anti-tilt monitoring to
avoid unwanted alarm triggering in certain cases,
such as:
–
Slightly open window or sunroof.
–
W
ashing the vehicle.
–
Changing a wheel.
–
T
owing your vehicle.
–
T
ransport on a ship or ferry.
Deactivating the interior volumetric
and anti-tilt monitoring
► Switch off the ignition and within 10 seconds
press the alarm button until its red indicator lamp
is on fixed.
►
Get out of the vehicle.
►
Immediately lock the vehicle using the remote
control or the "Keyless Entry and Starting"
system.
Only the exterior perimeter monitoring is
activated; the red indicator lamp in the button
flashes every second.
To be taken into account, the deactivation must be carried out every time the
ignition is switched off.
Reactivating the interior volumetric
and anti-tilt monitoring
► Deactivate the perimeter monitoring by
unlocking the vehicle with the remote control or
the Keyless Entry and Starting system.
The indicator lamp in the button goes off.
►
Reactivate all monitoring by locking the
vehicle with the remote control or the Keyless
Entry and Starting system.
The red indicator lamp in the button once again
flashes every second.
Triggering of the alarm
This is indicated by sounding of the siren
and flashing of the direction indicators for 30
seconds.
Depending on the country of sale, certain
monitoring functions remain active until the alarm
has been triggered eleven times consecutively.
When the vehicle is unlocked using the remote
control or the "Keyless Entry and Starting"
system, rapid flashing of the red indicator lamp
in the button informs you that the alarm was triggered during your absence. When the ignition
is switched on, the flashing stops immediately.
Failure of the remote control
To deactivate the monitoring functions:
►
unlock the vehicle using the key (integral to
the remote control) in the driver's door lock,
►
open the door; the alarm is triggered,
►
switch on the ignition; the alarm stops; the
indicator lamp in the button goes off.
Locking the vehicle without
activating the alarm
► Lock or deadlock the vehicle using the key
(integral to the remote control) in the driver's
door lock.
Malfunction
When the ignition is switched on, fixed
illumination of the red indicator lamp in the
button indicates a malfunction of the system.
Have it checked by a PEUGEOT dealer or a
qualified workshop.
Automatic activation
(Depending on the country of sale)
The system is activated automatically 2 minutes
after the last door or the boot is closed.
►
T
o avoid triggering the alarm on entering the
vehicle, first press the unlocking button on the
remote control or unlock the vehicle using the
“Keyless Entry and Starting” system.
Page 41 of 260
39
Access
2Electric windows
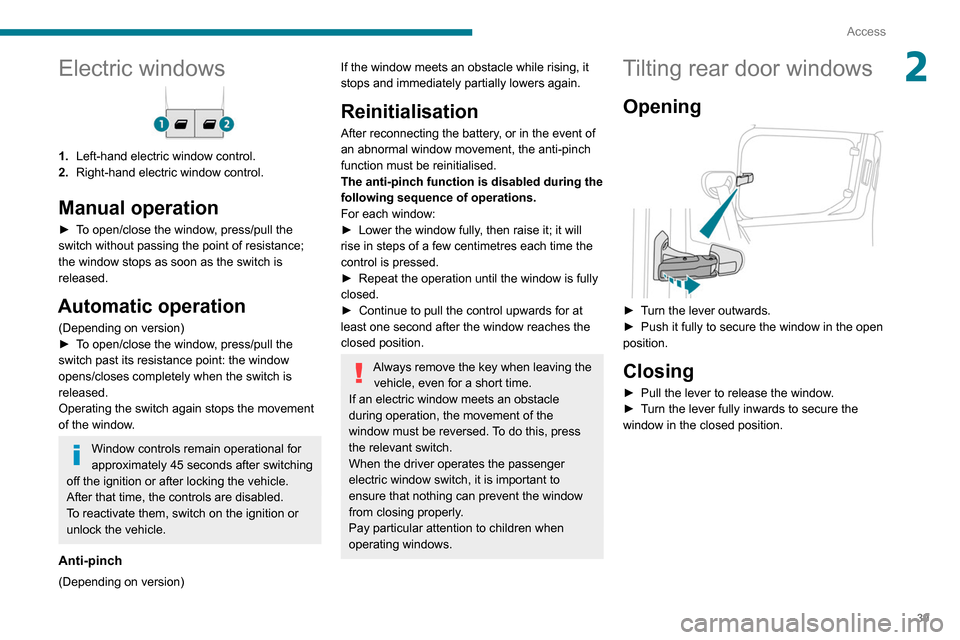
1.Left-hand electric window control.
2. Right-hand electric window control.
Manual operation
► To open/close the window, press/pull the
switch without passing the point of resistance;
the window stops as soon as the switch is
released.
Automatic operation
(Depending on version)
►
T o open/close the window, press/pull the
switch past its resistance point: the window
opens/closes completely when the switch is
released.
Operating the switch again stops the movement
of the window.
Window controls remain operational for
approximately 45 seconds after switching
off the ignition or after locking the vehicle.
After that time, the controls are disabled.
To reactivate them, switch on the ignition or
unlock the vehicle.
Anti-pinch
(Depending on version)
If the window meets an obstacle while rising, it
stops and immediately partially lowers again.
Reinitialisation
After reconnecting the battery, or in the event of
an abnormal window movement, the anti-pinch
function must be reinitialised.
The anti-pinch function is disabled during the
following sequence of operations.
For each window:
►
Lower the window fully
, then raise it; it will
rise in steps of a few centimetres each time the
control is pressed.
►
Repeat the operation until the window is fully
closed.
►
Continue to pull the control upwards for at
least one second after the window reaches the
closed position.
Always remove the key when leaving the vehicle, even for a short time.
If an electric window meets an obstacle
during operation, the movement of the
window must be reversed. To do this, press
the relevant switch.
When the driver operates the passenger
electric window switch, it is important to
ensure that nothing can prevent the window
from closing properly.
Pay particular attention to children when
operating windows.
Tilting rear door windows
Opening
► Turn the lever outwards.
► Push it fully to secure the window in the open
position.
Closing
► Pull the lever to release the window .
► T urn the lever fully inwards to secure the
window in the closed position.
Page 45 of 260
43
Ease of use and comfort
3► Adjust the height and reach.
► Lower the control lever to lock the steering
wheel.
As a safety precaution, these operations must only be carried out while the vehicle
is stationary.
Mirrors
Door mirrors
Adjustment
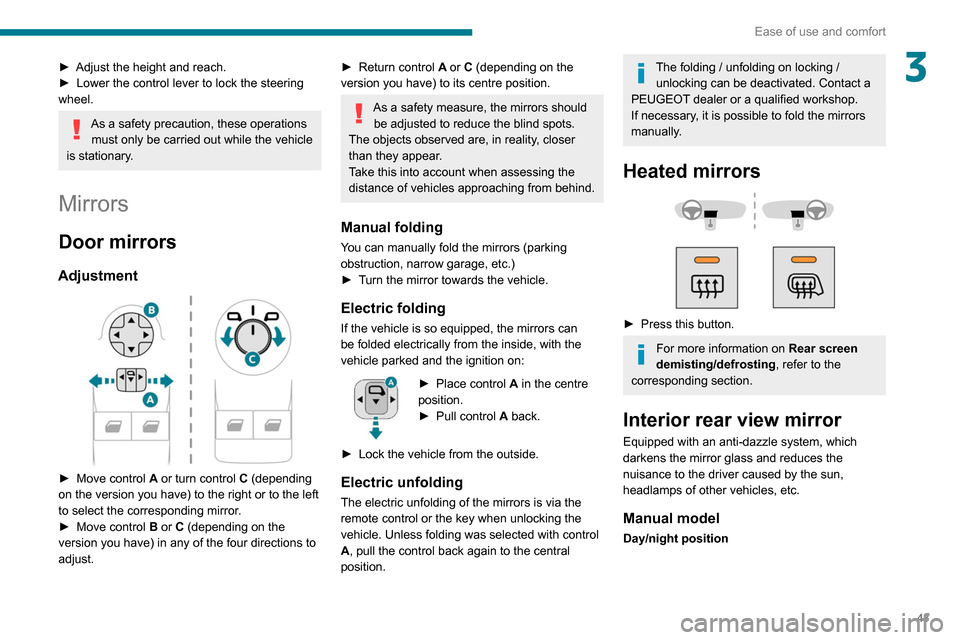
► Move control A or turn control C (depending
on the version you have) to the right or to the left
to select the corresponding mirror.
►
Move control
B or C (depending on the
version you have) in any of the four directions to
adjust.
► Return control A or C (depending on the
version you have) to its centre position.
As a safety measure, the mirrors should be adjusted to reduce the blind spots.
The objects observed are, in reality, closer
than they appear.
Take this into account when assessing the
distance of vehicles approaching from behind.
Manual folding
You can manually fold the mirrors (parking
obstruction, narrow garage, etc.)
►
T
urn the mirror towards the vehicle.
Electric folding
If the vehicle is so equipped, the mirrors can
be folded electrically from the inside, with the
vehicle parked and the ignition on:
► Place control A in the centre
position.
►
Pull control A
back.
►
Lock the vehicle from the outside.
Electric unfolding
The electric unfolding of the mirrors is via the
remote control or the key when unlocking the
vehicle. Unless folding was selected with control
A, pull the control back again to the central
position.
The folding / unfolding on locking / unlocking can be deactivated. Contact a
PEUGEOT dealer or a qualified workshop.
If necessary, it is possible to fold the mirrors
manually.
Heated mirrors
► Press this button.
For more information on Rear screen
demisting/defrosting , refer to the
corresponding section.
Interior rear view mirror
Equipped with an anti-dazzle system, which
darkens the mirror glass and reduces the
nuisance to the driver caused by the sun,
headlamps of other vehicles, etc.
Manual model
Day/night position
Page 50 of 260
48
Ease of use and comfort
USB port
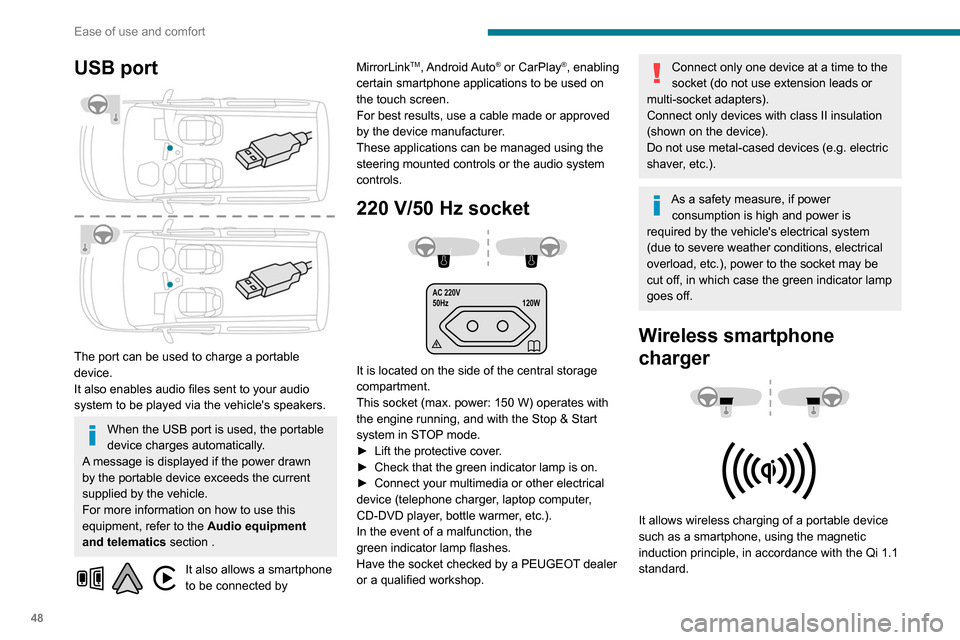
The port can be used to charge a portable
device.
It also enables audio files sent to your audio
system to be played via the vehicle's speakers.
When the USB port is used, the portable
device charges automatically.
A message is displayed if the power drawn
by the portable device exceeds the current
supplied by the vehicle.
For more information on how to use this
equipment, refer to the Audio equipment
and telematics section .
It also allows a smartphone
to be connected by MirrorLink
TM, Android Auto® or CarPlay®, enabling
certain smartphone applications to be used on
the touch screen.
For best results, use a cable made or approved
by the device manufacturer.
These applications can be managed using the
steering mounted controls or the audio system
controls.
220 V/50 Hz socket
AC 220V
50Hz 120W
It is located on the side of the central storage
compartment.
This socket (max. power: 150
W) operates with
the engine running, and with the Stop & Start
system in STOP mode.
►
Lift the protective cover
.
►
Check that the green indicator lamp is on.
►
Connect your multimedia or other electrical
device (telephone charger
, laptop computer,
CD-DVD player, bottle warmer, etc.).
In the event of a malfunction, the
green
indicator lamp flashes.
Have the socket checked by a PEUGEOT dealer
or a qualified workshop.
Connect only one device at a time to the
socket (do not use extension leads or
multi-socket adapters).
Connect only devices with class II insulation
(shown on the device).
Do not use metal-cased devices (e.g. electric
shaver, etc.).
As a safety measure, if power consumption is high and power is
required by the vehicle's electrical system
(due to severe weather conditions, electrical
overload, etc.), power to the socket may be
cut off, in which case the green indicator lamp
goes off.
Wireless smartphone
charger
It allows wireless charging of a portable device
such as a smartphone, using the magnetic
induction principle, in accordance with the Qi 1.1
standard.
The portable device to be charged must be
compatible with the Qi standard, either by design
or by using a compatible holder or shell.
The charging area is identified by the Qi symbol.
The charger works with the engine running and
with the Stop & Start system in STOP mode.
Charging is managed by the smartphone.
With Keyless Entry and Starting, the charger’s
operation may be briefly disrupted when a door
is opened or the ignition is switched off.
Charging
► With the charging area clear, place a device
in its centre.
When the portable device is detected, the
charger’s indicator lamp lights up green. It
remains lit for the whole time that the battery is
being charged.
The system is not designed to charge multiple devices simultaneously.
Do not leave any metal objects (coins,
keys, vehicle remote control, etc.) in the
charging area while a device is being
charged, due to the risk of overheating or
interrupting the charging process.
Page 51 of 260
49
Ease of use and comfort
3The portable device to be charged must be
compatible with the Qi standard, either by design
or by using a compatible holder or shell.
The charging area is identified by the Qi symbol.
The charger works with the engine running and
with the Stop & Start system in STOP mode.
Charging is managed by the smartphone.
With Keyless Entry and Starting, the charger’s
operation may be briefly disrupted when a door
is opened or the ignition is switched off.
Charging
► With the charging area clear, place a device
in its centre.
When the portable device is detected, the
charger’s indicator lamp lights up green. It
remains lit for the whole time that the battery is
being charged.
The system is not designed to charge multiple devices simultaneously.
Do not leave any metal objects (coins,
keys, vehicle remote control, etc.) in the
charging area while a device is being
charged, due to the risk of overheating or
interrupting the charging process.
Operating check
The state of the indicator lamp allows the
operation of the charger to be monitored.
State of the
indicator lamp Meaning
Off Engine switched off.
No compatible devices
detected.
Charging finished.
Fixed green Compatible device detected.
Charging.
Flashing orange Foreign object detected in the charging zone.
Device not well centred in
the charging zone.
Fixed orange Fault with the device's battery meter.
Device battery
temperature too high.
Charger malfunction.
If the indicator lamp is lit orange:
– remove the device, then place it back in the
centre of the charging zone.
or
–
remove the device and try again in a quarter
of an hour
.
If the problem persists, have the system checked
by a PEUGEOT dealer or a qualified workshop.
Load retaining partition
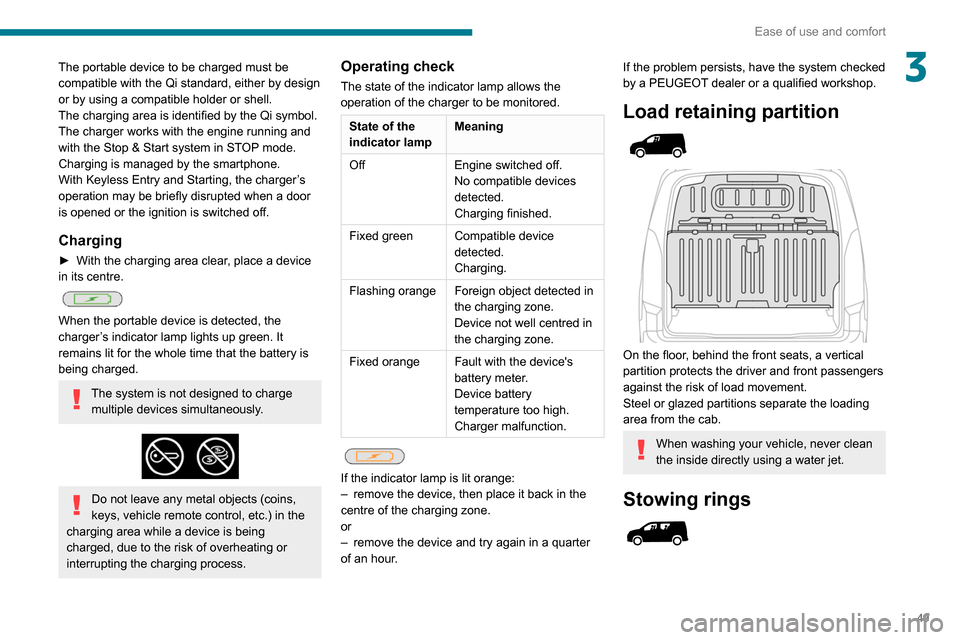
On the floor, behind the front seats, a vertical
partition protects the driver and front passengers
against the risk of load movement.
Steel or glazed partitions separate the loading
area from the cab.
When washing your vehicle, never clean
the inside directly using a water jet.
Stowing rings
Page 64 of 260
62
Ease of use and comfort
closed environment such as a garage or
workshop which is not equipped with an
exhaust gas extraction system.
Do not park the vehicle on a flammable
surface (dry grass, dead leaves, paper, etc.)
- Risk of fire!
Glazed surfaces such as the rear screen
or windscreen can become very hot in
places.
Never put objects on these surfaces; never
touch these surfaces - Risk of burns!
Do not throw remote control batteries
away, as they contain metals that are
harmful to the environment. Take them to an
approved disposal point.
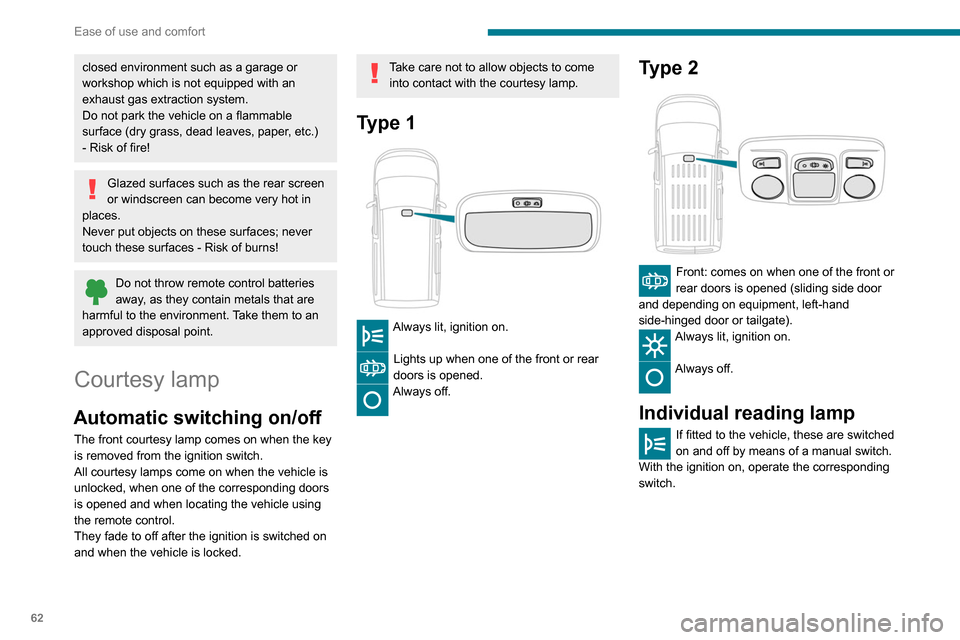
Courtesy lamp
Automatic switching on/off
The front courtesy lamp comes on when the key
is removed from the ignition switch.
All courtesy lamps come on when the vehicle is
unlocked, when one of the corresponding doors
is opened and when locating the vehicle using
the remote control.
They fade to off after the ignition is switched on
and when the vehicle is locked.
Take care not to allow objects to come into contact with the courtesy lamp.
Type 1
Always lit, ignition on.
Lights up when one of the front or rear
doors is opened.
Always off.
Type 2
Front: comes on when one of the front or
rear doors is opened (sliding side door
and depending on equipment, left-hand
side-hinged door or tailgate).
Always lit, ignition on.
Always off.
Individual reading lamp
If fitted to the vehicle, these are switched
on and off by means of a manual switch.
With the ignition on, operate the corresponding
switch.
Page 86 of 260
84
Safety
Take care not to open the rear windows by
more than one third.
To protect young children from the rays of the
sun, fit side blinds on the rear windows.
As a safety precaution, do not leave:
– a child alone and unattended in a vehicle,
– a child or an animal in a vehicle which is
exposed to the sun, with the windows closed,
– the keys within reach of children inside the
vehicle.
Child seat at the rear
Row 2
Forward-facing or rearward-facing
► Move the vehicle's front seat forward and
straighten the backrest so that the legs of the
child in the forward-facing or rearward-facing
The vehicle's front door panels include side
impact sensors.
A damaged door or any unauthorised or
incorrectly executed work (modification or
repair) on the front doors or their interior trim
could compromise the operation of these
sensors - risk of malfunction of the lateral
airbags!
Such work must only be done by a PEUGEOT
dealer or a qualified workshop.
Curtain airbags
Do not fix or attach anything to the roof,
as this could cause head injuries when the
curtain airbag is deployed.
Do not remove the grab handles installed on
the roof, as they play a part in securing the
curtain airbags.
Child seats
The regulations on carrying children are specific to each country. Refer to the
legislation in force in your country.
For maximum safety, please observe the
following recommendations:
–
In accordance with European regulations, all
children under the age of 12 or less than 4
ft 1
1” (150 cm) tall must travel in approved
child seats suited to their weight , on seats
fitted with a seat belt or ISOFIX mountings.
– Statistically , the safest seats in your
vehicle for carrying children are the rear
seats.
–
Children weighing less than 9 kg must
travel in the "rear facing" position, whether in
the front or rear of the vehicle.
It is recommended that children travel
on the rear seats of the vehicle:
–
‘rear facing’ up to the age of 3,
–
‘forward facing’ over the age of 3.
Make sure that the seat belt is correctly
positioned and tightened.
For child seats with a support leg, ensure that
the support leg is in firm and steady contact
with the floor.
Remove and stow the head restraint
before installing a child seat with
backrest on a passenger seat. Refit the head
restraint once the child seat has been
removed.
Advice
An incorrectly installed child seat compromises the child's safety in the
event of an accident.
Ensure that there is no seat belt or seat belt
buckle under the child seat, as this could
destabilise it.
Remember to fasten the seat belts or the
harness of child seats, keeping the slack
relative to the child's body to a minimum,
even for short journeys.
When installing a child seat using the seat
belt, ensure that the seat belt is tightened
correctly on the child seat and that it secures
the child seat firmly on the seat of the vehicle.
If the passenger seat is adjustable, move it
forwards if necessary.
Remove the head restraint before
installing a child seat with a backrest on a
passenger seat.
Ensure that the head restraint is stored or
attached securely to prevent it from being
thrown around the vehicle in the event of
sharp braking. Refit the head restraint once
the child seat has been removed.
Installing a booster seat
The chest part of the seat belt must be
positioned on the child's shoulder without
touching the neck.
Ensure that the lap part of the seat belt
passes correctly over the child's thighs.
Use a booster seat with backrest, equipped
with a belt guide at shoulder level.
Additional protections
To prevent accidental opening of the
doors and rear windows, use the "Child lock".