turn signal Peugeot Partner 2020 User Guide
[x] Cancel search | Manufacturer: PEUGEOT, Model Year: 2020, Model line: Partner, Model: Peugeot Partner 2020Pages: 260, PDF Size: 7.76 MB
Page 88 of 260
86
Safety
Locations for child seats secured using the seat belt
In accordance with European regulations, the table indicates the options\
for installing child seats secured using a seat belt and universally ap\
proved (c)
according to the weight of the child and the seating position in the veh\
icle.
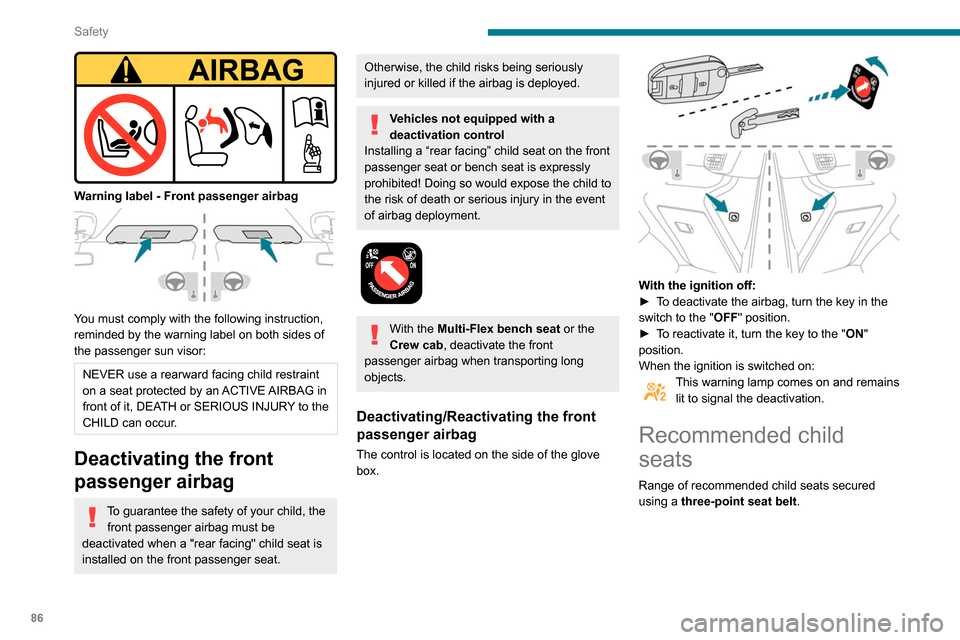
Warning label - Front passenger airbag
You must comply with the following instruction,
reminded by the warning label on both sides of
the passenger sun visor:
NEVER use a rearward facing child restraint
on a seat protected by an ACTIVE AIRBAG in
front of it, DEATH or SERIOUS INJURY to the
CHILD can occur.
Deactivating the front
passenger airbag
To guarantee the safety of your child, the front passenger airbag must be
deactivated when a "rear facing" child seat is
installed on the front passenger seat.
Otherwise, the child risks being seriously
injured or killed if the airbag is deployed.
Vehicles not equipped with a
deactivation control
Installing a “rear facing” child seat on the front
passenger seat or bench seat is expressly
prohibited! Doing so would expose the child to
the risk of death or serious injury in the event
of airbag deployment.
With the Multi-Flex bench seat or the
Crew cab, deactivate the front
passenger airbag when transporting long
objects.
Deactivating/Reactivating the front
passenger airbag
The control is located on the side of the glove
box.
With the ignition off:
► T o deactivate the airbag, turn the key in the
switch to the "OFF " position.
►
T
o reactivate it, turn the key to the "ON"
position.
When the ignition is switched on:
This warning lamp comes on and remains lit to signal the deactivation.
Recommended child
seats
Range of recommended child seats secured
using a three-point seat belt.
Page 96 of 260
94
Driving
Key left in the ignition
When opening the driver's door, an alert
message is displayed, accompanied by
an audible signal, to remind you that the key
is still in the ignition switch at position 1
(Stop).
If the key has been left in the ignition switch
at position 2 (Ignition on) , the ignition will be
switched off automatically after one hour.
To switch the ignition back on, turn the key
to position 1 (Stop), then back to position 2
(Ignition on) .
With Keyless Entry and Starting
► With the remote control in the recognition
zone, press the " START/STOP" button.
With a manual gearbox, the engine switches off
and the steering column locks.
With the EAT8 automatic gearbox, the engine
switches off.
If the vehicle is not immobilised, the
engine will not stop.
Switching on the ignition
with Keyless Entry and
Starting
With the Keyless Entry and Starting
system’s electronic key inside the vehicle,
pressing the " START/STOP" button, with no action on the pedals
, allows the ignition to be
switched on.
►
Pressing this button
again switches off the
ignition and allows the vehicle to be locked.
Back-up starting with
Keyless Entry and Starting
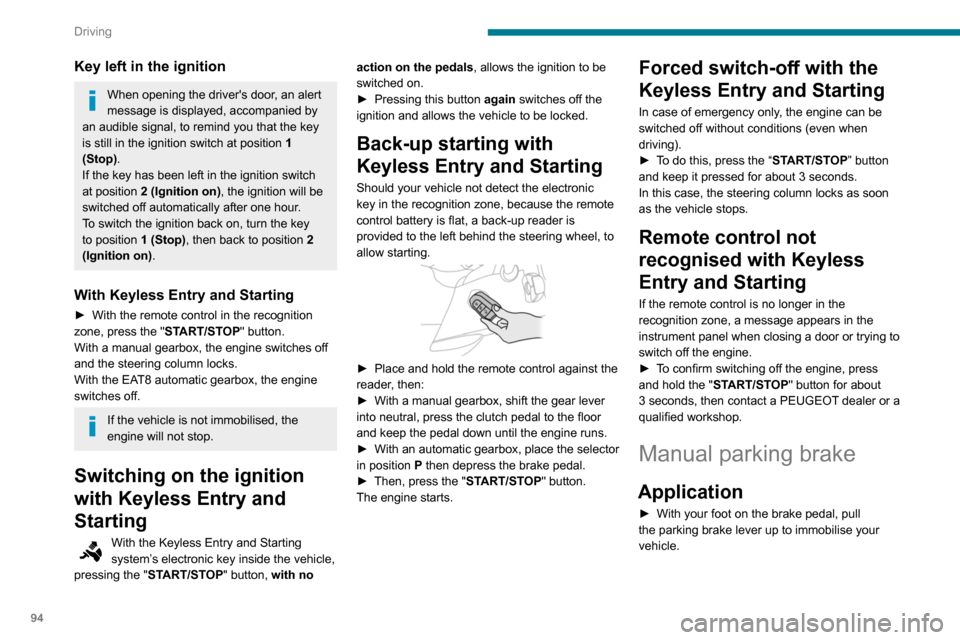
Should your vehicle not detect the electronic
key in the recognition zone, because the remote
control battery is flat, a back-up reader is
provided to the left behind the steering wheel, to
allow starting.
► Place and hold the remote control against the
reader , then:
►
With a manual gearbox, shift the gear lever
into neutral, press the clutch pedal to the floor
and keep the pedal down until the engine runs.
►
With
an automatic gearbox, place the selector
in position P then depress the brake pedal.
►
Then, press the "
START/STOP" button.
The engine starts.
Forced switch-off with the
Keyless Entry and Starting
In case of emergency only, the engine can be
switched off without conditions (even when
driving).
►
T
o do this, press the “START/STOP” button
and keep it pressed for about 3 seconds.
In this case, the steering column locks as soon
as the vehicle stops.
Remote control not
recognised with Keyless
Entry and Starting
If the remote control is no longer in the
recognition zone, a message appears in the
instrument panel when closing a door or trying to
switch off the engine.
►
T
o confirm switching off the engine, press
and hold the " START/STOP" button for about
3
seconds, then contact a PEUGEOT dealer or a
qualified workshop.
Manual parking brake
Application
► With your foot on the brake pedal, pull
the parking brake lever up to immobilise your
vehicle.
Release on level ground
► With your foot on the brake pedal, pull the
parking brake lever up gently, press the release
button, then lower the lever fully.
When the vehicle is being driven, this
warning lamp coming on, accompanied by
an audible signal and a message, indicates that
the parking brake is still applied or has not been
fully released.
When parking on a slope or on a steep
slope with a loaded vehicle, turn the
wheels against the kerb then apply the
parking brake.
Pressing the brake pedal facilitates the
application and release of the manual
parking brake.
With a manual gearbox, engage a gear
and then switch off the ignition.
With an automatic gearbox, place the
gear selector in position P, then switch
off the ignition.
Electric parking brake
In automatic mode, this system applies the
parking brake when the engine is switched off
and releases it when the vehicle moves off.
Page 97 of 260
95
Driving
6Release on level ground
► With your foot on the brake pedal, pull the
parking brake lever up gently , press the release
button, then lower the lever fully.
When the vehicle is being driven, this
warning lamp coming on, accompanied by
an audible signal and a message, indicates that
the parking brake is still applied or has not been
fully released.
When parking on a slope or on a steep
slope with a loaded vehicle, turn the
wheels against the kerb then apply the
parking brake.
Pressing the brake pedal facilitates the
application and release of the manual
parking brake.
With a manual gearbox, engage a gear
and then switch off the ignition.
With an automatic gearbox, place the
gear selector in position P, then switch
off the ignition.
Electric parking brake
In automatic mode, this system applies the
parking brake when the engine is switched off
and releases it when the vehicle moves off.
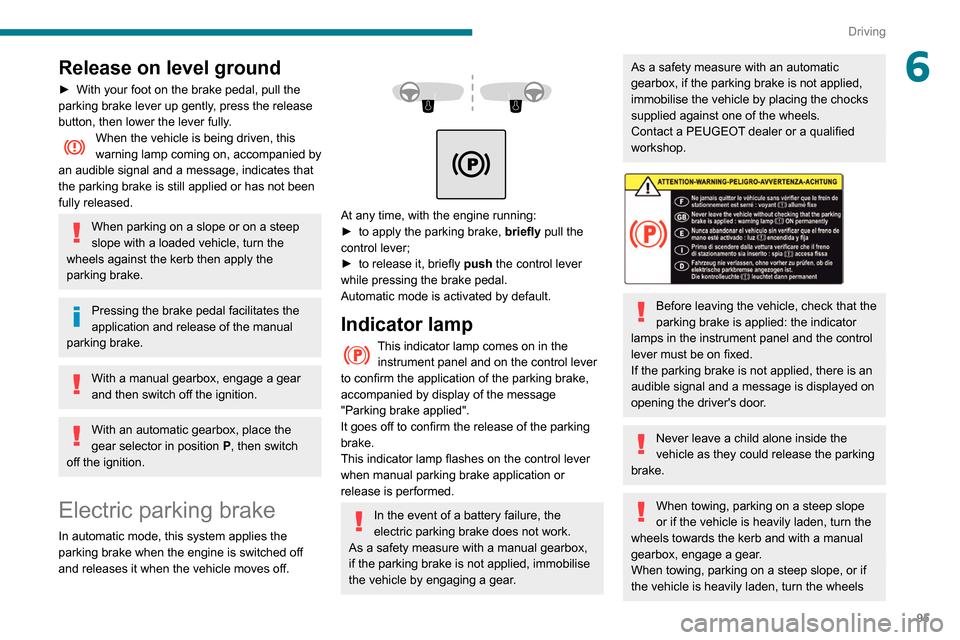
At any time, with the engine running:
► to apply the parking brake, briefly
pull the
control lever;
►
to release it, briefly
push the control lever
while pressing the brake pedal.
Automatic mode is activated by default.
Indicator lamp
This indicator lamp comes on in the instrument panel and on the control lever
to confirm the application of the parking brake,
accompanied by display of the message
"Parking brake applied".
It goes off to confirm the release of the parking
brake.
This indicator lamp flashes on the control lever
when manual parking brake application or
release is performed.
In the event of a battery failure, the
electric parking brake does not work.
As a safety measure with a manual gearbox,
if the parking brake is not applied, immobilise
the vehicle by engaging a gear.
As a safety measure with an automatic
gearbox, if the parking brake is not applied,
immobilise the vehicle by placing the chocks
supplied against one of the wheels.
Contact a PEUGEOT dealer or a qualified
workshop.
Before leaving the vehicle, check that the
parking brake is applied: the indicator
lamps in the instrument panel and the control
lever must be on fixed.
If the parking brake is not applied, there is an
audible signal and a message is displayed on
opening the driver's door.
Never leave a child alone inside the
vehicle as they could release the parking
brake.
When towing, parking on a steep slope
or if the vehicle is heavily laden, turn the
wheels towards the kerb and with a manual
gearbox, engage a gear.
When towing, parking on a steep slope, or if
the vehicle is heavily laden, turn the wheels
Page 102 of 260
100
Driving
► If the message "Foot on the brake" is
displayed on the instrument panel, press
the brake pedal firmly.
Moving off
► With your foot on the brake, select
position P
.
►
Start the engine.
If the conditions are not met, there is an audible
signal, accompanied by a message on the
instrument panel screen.
►
Release the parking brake.
►
Select position R
, N or D.
When moving off on a steep slope with a
loaded vehicle, press the brake pedal,
select position D, release the parking brake,
then release the brake pedal.
►
Gradually release the brake pedal.
The vehicle moves off immediately
.
If P is displayed on the instrument panel
but the selector is in another position,
place the selector in position P to allow the
engine to be started.
If position N is selected inadvertently while
driving, allow the engine to return to idle, then
select position D to accelerate.
When the engine is running at idle with
the brakes released, if position R, D or M
is selected, the vehicle moves even without
the accelerator being pressed.
Never leave children unsupervised inside the
vehicle.
As a safety measure, never leave the vehicle
without taking your key or remote control with
you, even for a short time.
When carrying out maintenance with the
engine running, apply the parking brake and
select position P.
With an automatic gearbox, never try to
start the engine by pushing the vehicle.
Automatic operation
► Select position D for automatic
changing of the gears.
The gearbox then operates in auto-adaptive
mode, without any intervention on the part of the
driver. It continuously selects the most suitable
gear according to the driving style, the road
profile and the load in the vehicle.
For maximum acceleration without
touching the selector, press the
accelerator fully down (kick-down). The gearbox
changes down automatically or holds the gear
selected until the maximum engine speed is
reached.
When braking, the gearbox changes down
automatically to provide effective engine braking.
If the accelerator pedal is sharply released, the
gearbox will not shift to a higher gear for safety
reasons.
Never select position N while the vehicle
is moving.
Never select positions P or R unless the
vehicle is completely stationary.
Temporary manual control
of gear changes
You can temporarily assume control of gear
changing using the " +" et "-” steering-mounted
controls. The gear change request will be
executed if the engine speed permits.
This function allows you to anticipate certain
situations, such as overtaking another vehicle or
approaching a bend in the road.
After a few seconds with no inputs via the control
paddles, the gearbox reverts to automatic
operation.
Creeping (moving without
using the accelerator)
This function facilitates manoeuvring of the
vehicle at low speed (when parking, in traffic
jams, etc.).
When the engine is at idle, with the parking
brake released and gear position D, M or R
selected, the vehicle begins to creep forward
as soon as you take your foot off the brake pedal
(even without pressing the accelerator).
As a safety precaution, never leave the vehicle with the engine running and the
doors closed.
Manual operation
► With the selector in position D, press
button M to enable 6-speed sequential
gear changing.
The indicator lamp for the button comes on.
► Operate the "+" or "-" steering mounted
controls.
M appears and the engaged gears are
shown in succession on the instrument
panel.
► You can revert to automatic operation at any
time by pressing button M again.
The indicator lamp for the button goes off.
In manual mode, there is no need to
release the accelerator pedal while
changing gear.
It is only possible to change from one
gear to another if the vehicle speed and
engine speed permit.
If the engine speed is too low or too high,
the selected gear flashes for a few
Page 103 of 260
101
Driving
6As a safety precaution, never leave the vehicle with the engine running and the
doors closed.
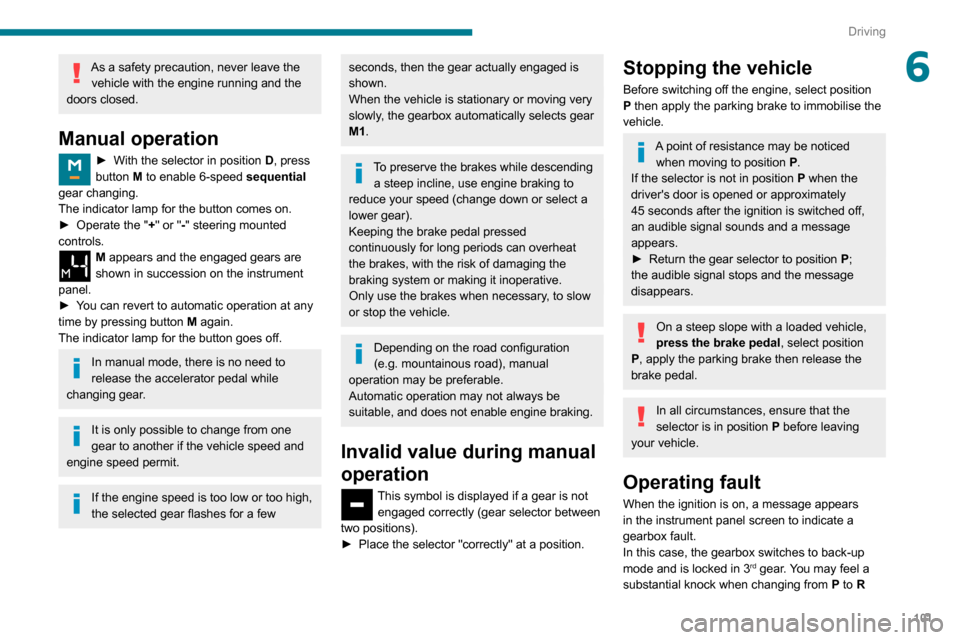
Manual operation
► With the selector in position D , press
button M to enable 6-speed sequential
gear changing.
The indicator lamp for the button comes on.
►
Operate the "
+" or "-" steering mounted
controls.
M appears and the engaged gears are
shown in succession on the instrument
panel.
►
Y
ou can revert to automatic operation at any
time by pressing button M again.
The indicator lamp for the button goes off.
In manual mode, there is no need to
release the accelerator pedal while
changing gear.
It is only possible to change from one
gear to another if the vehicle speed and
engine speed permit.
If the engine speed is too low or too high,
the selected gear flashes for a few
seconds, then the gear actually engaged is
shown.
When the vehicle is stationary or moving very
slowly, the gearbox automatically selects gear
M1.
To preserve the brakes while descending a steep incline, use engine braking to
reduce your speed (change down or select a
lower gear).
Keeping the brake pedal pressed
continuously for long periods can overheat
the brakes, with the risk of damaging the
braking system or making it inoperative.
Only use the brakes when necessary, to slow
or stop the vehicle.
Depending on the road configuration
(e.g. mountainous road), manual
operation may be preferable.
Automatic operation may not always be
suitable, and does not enable engine braking.
Invalid value during manual
operation
This symbol is displayed if a gear is not engaged correctly (gear selector between
two positions).
►
Place the selector "correctly" at a position.
Stopping the vehicle
Before switching off the engine, select position
P then apply the parking brake to immobilise the
vehicle.
A point of resistance may be noticed when moving to position P.
If the selector is not in position P when the
driver's door is opened or approximately
45
seconds after the ignition is switched off,
an audible signal sounds and a message
appears.
►
Return the gear selector to position P
;
the audible signal stops and the message
disappears.
On a steep slope with a loaded vehicle,
press the brake pedal, select position
P, apply the parking brake then release the
brake pedal.
In all circumstances, ensure that the
selector is in position P before leaving
your vehicle.
Operating fault
When the ignition is on, a message appears
in the instrument panel screen to indicate a
gearbox fault.
In this case, the gearbox switches to back-up
mode and is locked in 3
rd gear. You may feel a
substantial knock when changing from P to R
Page 113 of 260
111
Driving
69.Speed suggested by the Speed Limit
Recognition and Recommendation
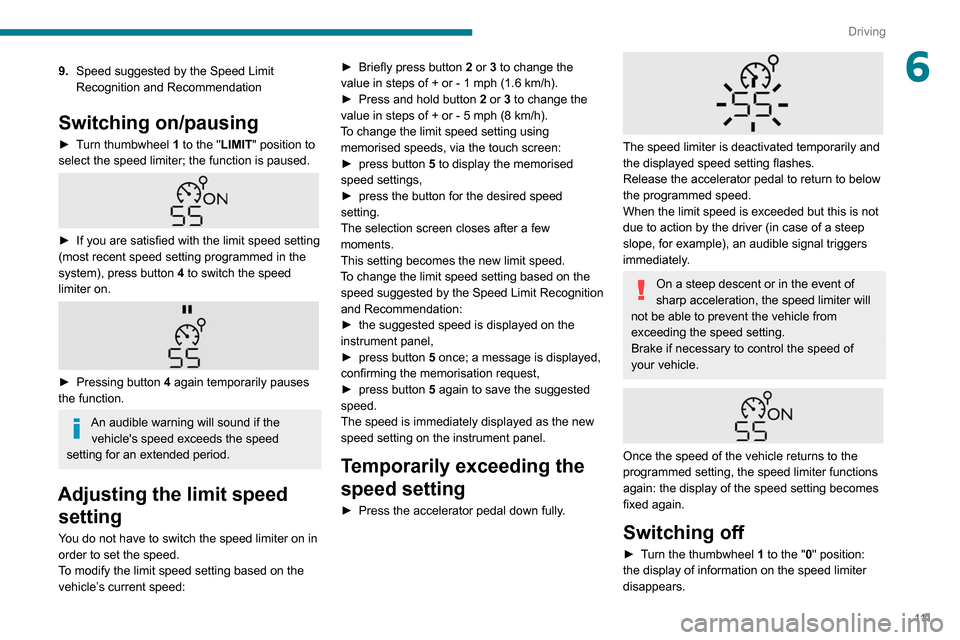
Switching on/pausing
► Turn thumbwheel 1 to the "LIMIT" position to
select the speed limiter; the function is paused.
► If you are satisfied with the limit speed setting
(most recent speed setting programmed in the
system), press button
4 to switch the speed
limiter on.
► Pressing button 4 again temporarily pauses
the function.
An audible warning will sound if the vehicle's speed exceeds the speed
setting for an extended period.
Adjusting the limit speed setting
You do not have to switch the speed limiter on in
order to set the speed.
To modify the limit speed setting based on the
vehicle’s current speed: ►
Briefly press button
2 or 3 to change the
value in steps of + or - 1 mph (1.6 km/h).
►
Press and hold button
2
or 3 to change the
value in steps of + or - 5 mph (8 km/h).
To change the limit speed setting using memorised speeds, via the touch screen:
►
press button
5 to display the memorised
speed settings,
►
press the button for the desired speed
setting.
The selection screen closes after a few
moments.
This setting becomes the new limit speed.
T
o change the limit speed setting based on the
speed suggested by the Speed Limit Recognition
and Recommendation:
►
the suggested speed is displayed on the
instrument panel,
►
press button
5 once; a message is displayed,
confirming the memorisation request,
►
press button
5 again to save the suggested
speed.
The speed is immediately displayed as the new
speed setting on the instrument panel.
Temporarily exceeding the
speed setting
► Press the accelerator pedal down fully .
The speed limiter is deactivated temporarily and
the displayed speed setting flashes.
Release the accelerator pedal to return to below
the programmed speed.
When the limit speed is exceeded but this is not
due to action by the driver (in case of a steep
slope, for example), an audible signal triggers
immediately.
On a steep descent or in the event of
sharp acceleration, the speed limiter will
not be able to prevent the vehicle from
exceeding the speed setting.
Brake if necessary to control the speed of
your vehicle.
Once the speed of the vehicle returns to the
programmed setting, the speed limiter functions
again: the display of the speed setting becomes
fixed again.
Switching off
► Turn the thumbwheel 1 to the "0" position:
the display of information on the speed limiter
disappears.
Page 122 of 260
120
Driving
Active Safety Brake
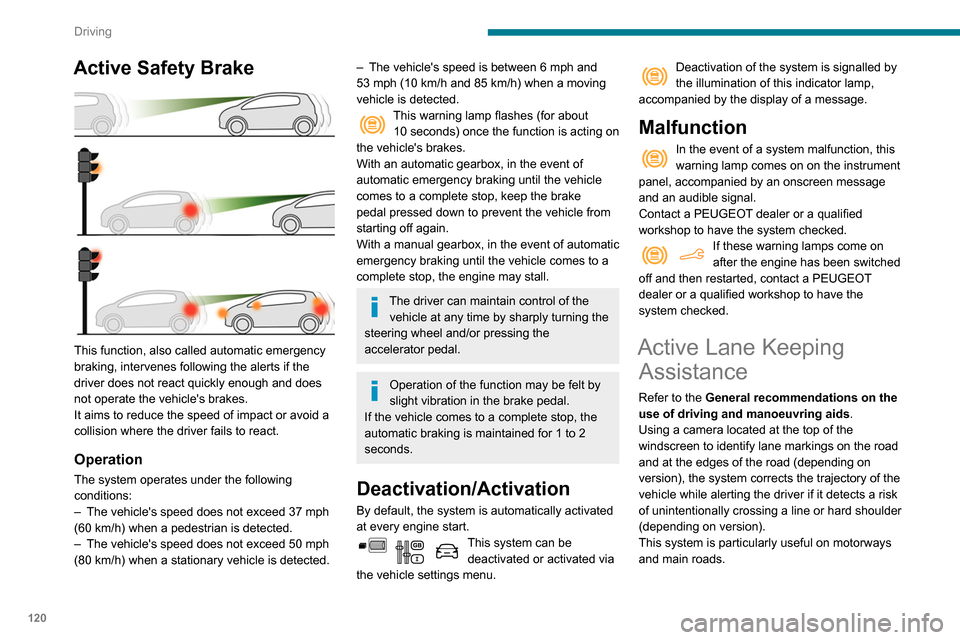
This function, also called automatic emergency
braking, intervenes following the alerts if the
driver does not react quickly enough and does
not operate the vehicle's brakes.
It aims to reduce the speed of impact or avoid a
collision where the driver fails to react.
Operation
The system operates under the following
conditions:
–
The vehicle's speed does not exceed 37 mph
(60 km/h) when a pedestrian is detected.
–
The vehicle's speed does not exceed 50 mph
(80 km/h) when a stationary vehicle is detected.
– The vehicle's speed is between 6 mph and
53 mph (10 km/h and 85 km/h) when a moving
vehicle is detected.
This warning lamp flashes (for about 10 seconds) once the function is acting on
the vehicle's brakes.
With an automatic gearbox, in the event of
automatic emergency braking until the vehicle
comes to a complete stop, keep the brake
pedal pressed down to prevent the vehicle from
starting off again.
With a manual gearbox, in the event of automatic
emergency braking until the vehicle comes to a
complete stop, the engine may stall.
The driver can maintain control of the vehicle at any time by sharply turning the
steering wheel and/or pressing the
accelerator pedal.
Operation of the function may be felt by
slight vibration in the brake pedal.
If the vehicle comes to a complete stop, the
automatic braking is maintained for 1 to 2
seconds.
Deactivation/Activation
By default, the system is automatically activated
at every engine start.
This system can be deactivated or activated via
the vehicle settings menu.
Deactivation of the system is signalled by
the illumination of this indicator lamp,
accompanied by the display of a message.
Malfunction
In the event of a system malfunction, this
warning lamp comes on on the instrument
panel, accompanied by an onscreen message
and an audible signal.
Contact a PEUGEOT dealer or a qualified
workshop to have the system checked.
If these warning lamps come on
after the engine has been switched
off and then restarted, contact a PEUGEOT
dealer or a qualified workshop to have the
system checked.
Active Lane Keeping Assistance
Refer to the General recommendations on the
use of driving and manoeuvring aids .
Using a camera located at the top of the
windscreen to identify lane markings on the road
and at the edges of the road (depending on
version), the system corrects the trajectory of the
vehicle while alerting the driver if it detects a risk
of unintentionally crossing a line or hard shoulder
(depending on version).
This system is particularly useful on motorways
and main roads.
Conditions for operation
– The speed of the vehicle must be between 40
and 112 mph (65 and 180 km/h).
– The traffic lane must be delimited by a dividing
line.
– The driver must hold the wheel with both
hands.
– The change of trajectory must not be
accompanied by operation of the direction
indicators.
– The ESC system must be activated and not
faulty.
The system helps the driver only when there is a risk of the vehicle involuntarily
wandering from the lane it is being driven in. It
Driving situations and related alerts
The table below describes the alerts and messages displayed in different driving situations.
These alerts are not displayed sequentially.
Page 131 of 260

129
Driving
6installed in accordance with the
manufacturer's recommendations.
In this case, the outline of a trailer is displayed
at the rear of the image of the vehicle.
Operating limits
If the boot is heavily loaded, the vehicle may tilt,
affecting distance measurements.
Malfunction
In the event of a malfunction when
changing into reverse, this warning lamp
comes on on the instrument panel, accompanied
by an onscreen message and an audible signal
(short beep).
Contact a PEUGEOT dealer or a qualified
workshop to have the system checked.
Reversing camera
Refer to the General recommendations on the
use of driving and manoeuvring aids .
With the ignition on, this system uses a camera
located near the third brake lamp to display
a view of the rear of your vehicle on the
reproduction screen (if it is a panel van or has a
solid partition).
The reversing camera is activated automatically
when reverse gear is engaged. The image
is displayed on the reproduction screen. The
reproduction screen switches off when the
gearbox is in neutral or in a forward gear.
The blue lines 1 represent the general direction
of the vehicle (the gap corresponds to the width
of your vehicle with the mirrors).
The red line 2 represents a distance of about
30
cm beyond the edge of your vehicle's rear
bumper.
The green lines 3 represent distances of about 1
and 2 metres beyond the edge of your vehicle's
rear bumper.
The turquoise blue curves 4 represent the
maximum turning circle.
Some objects may not be seen by the
camera.
Certain vehicles may be difficult to see
(dark colours, lamps off) when the
brightness of the screen is reduced using the
vehicle’s lighting dimmer.
The image quality may be affected by the surroundings, the exterior conditions
(rain, dirt, dust), the driving mode and the
lighting conditions (night, low sun).
In the presence of areas in shade, or in
conditions of bright sunlight or inadequate
lighting, the image may be darkened and with
lower contrast.
Obstacles may appear further away than
they actually are.
During parking manoeuvres and lane
changes, it is important to check the sides of
the vehicle using the mirrors.
The rear parking sensors also supplement the
information on the vehicle's surroundings.
Operating limits
The system may be disrupted (or even
damaged) and not work in the following
situations:
–
Installation of a bicycle carrier on the tailgate
or side-hinged door (depending on version).
–
Attachment of a trailer to the towball.
–
Driving with a door open.
Please note, the camera must not be
obscured (by a sticker, a bicycle carrier,
etc.).