Dipped beam Peugeot Partner 2020 Owner's Manual
[x] Cancel search | Manufacturer: PEUGEOT, Model Year: 2020, Model line: Partner, Model: Peugeot Partner 2020Pages: 260, PDF Size: 7.76 MB
Page 18 of 260
16
Instruments
Fixed, accompanied by the message
‘Parking brake fault’.
Automatic release of the electric parking brake is
unavailable.
Carry out (2).
Service warning lamp fixed and
service spanner flashing then
fixed.
The servicing interval has been exceeded.
The vehicle must be serviced as soon as
possible.
Only with BlueHDi Diesel engines.
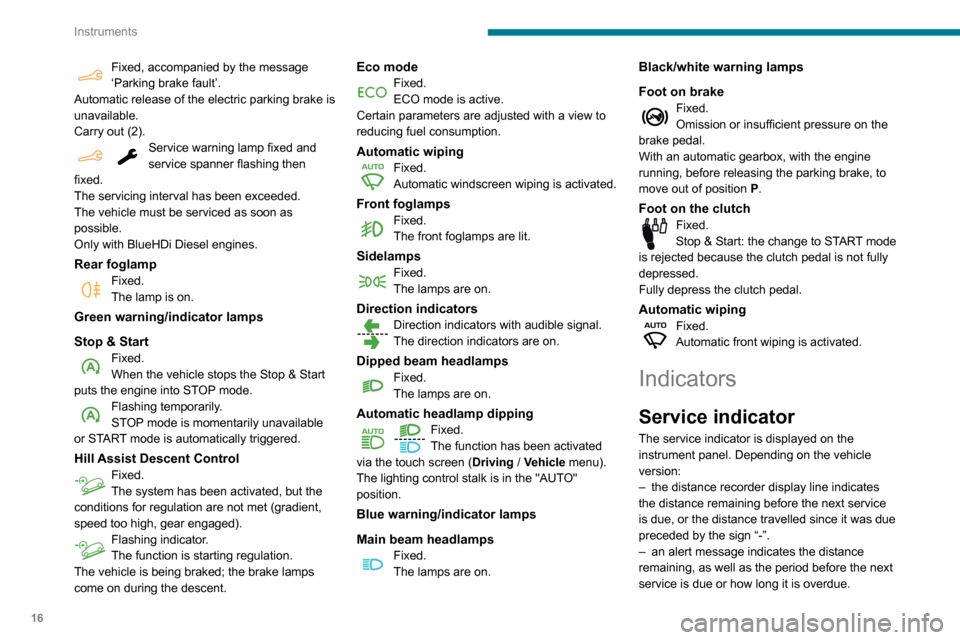
Rear foglampFixed.
The lamp is on.
Green warning/indicator lamps
Stop & Start
Fixed.
When the vehicle stops the Stop & Start
puts the engine into STOP mode.
Flashing temporarily.
STOP mode is momentarily unavailable
or START mode is automatically triggered.
Hill Assist Descent ControlFixed.
The system has been activated, but the
conditions for regulation are not met (gradient,
speed too high, gear engaged).
Flashing indicator.
The function is starting regulation.
The vehicle is being braked; the brake lamps
come on during the descent.
Eco modeFixed.
ECO mode is active.
Certain parameters are adjusted with a view to
reducing fuel consumption.
Automatic wipingFixed.
Automatic windscreen wiping is activated.
Front foglampsFixed.
The front foglamps are lit.
SidelampsFixed.
The lamps are on.
Direction indicatorsDirection indicators with audible signal.
The direction indicators are on.
Dipped beam headlampsFixed.
The lamps are on.
Automatic headlamp dipping
Fixed.
The function has been activated
via the touch screen (Driving
/ Vehicle menu).
The lighting control stalk is in the "AUTO"
position.
Blue warning/indicator lamps
Main beam headlamps
Fixed.
The lamps are on.
Black/white warning lamps
Foot on brake
Fixed.
Omission or insufficient pressure on the
brake pedal.
With an automatic gearbox, with the engine
running, before releasing the parking brake, to
move out of position P.
Foot on the clutchFixed.
Stop & Start: the change to START mode
is rejected because the clutch pedal is not fully
depressed.
Fully depress the clutch pedal.
Automatic wipingFixed.
Automatic front wiping is activated.
Indicators
Service indicator
The service indicator is displayed on the
instrument panel. Depending on the vehicle
version:
–
the distance recorder display line indicates
the distance remaining before the next service
is due, or the distance travelled since it was due
preceded by the sign “-”.
–
an alert message indicates the distance
remaining, as well as the period before the next
service is due or how long it is overdue.
Page 27 of 260
25
Access
2If the vehicle is unlocked but the doors or
tailgate are not subsequently opened, the
vehicle will automatically lock itself again after
approximately 30
seconds. If the vehicle is
fitted with an alarm, it will also be reactivated
automatically.
Automatic door mirror folding and unfolding can be deactivated by a
PEUGEOT dealer or a qualified workshop.
As a safety measure, never leave the vehicle, even for a short time, without
taking the Keyless Entry and Starting
system’s electronic key with you.
Be aware of the risk of theft of the vehicle if
the key is present in one of the defined areas
while the vehicle is unlocked.
To preserve the battery charge in the electronic key and the vehicle's battery,
the "hands-free" functions are set to
hibernation mode after 21 days without use.
To restore these functions, press one of the
remote control buttons or start the engine with
the electronic key in the reader.
For more information on starting with the
Keyless Entry and Starting system, refer to
the corresponding section.
Electrical interference
The electronic key may not operate if
close to certain electronic devices: telephone
(switched on or on standby), laptop computer,
strong magnetic fields, etc.
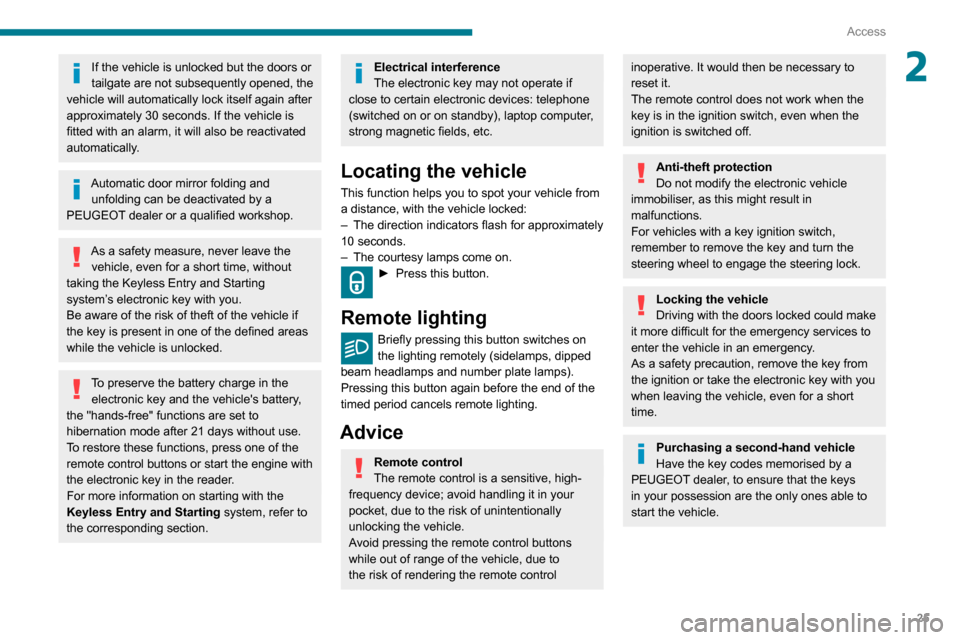
Locating the vehicle
This function helps you to spot your vehicle from
a distance, with the vehicle locked:
–
The direction indicators flash for approximately
10 seconds.
–
The courtesy lamps come on.
► Press this button.
Remote lighting
Briefly pressing this button switches on
the lighting remotely (sidelamps, dipped
beam headlamps and number plate lamps).
Pressing this button again before the end of the
timed period cancels remote lighting.
Advice
Remote control
The remote control is a sensitive, high-
frequency device; avoid handling it in your
pocket, due to the risk of unintentionally
unlocking the vehicle.
Avoid pressing the remote control buttons
while out of range of the vehicle, due to
the risk of rendering the remote control
inoperative. It would then be necessary to
reset it.
The remote control does not work
when the
key is in the ignition switch, even when the
ignition is switched off.
Anti-theft protection
Do not modify the electronic vehicle
immobiliser, as this might result in
malfunctions.
For vehicles with a key ignition switch,
remember to remove the key and turn the
steering wheel to engage the steering lock.
Locking the vehicle
Driving with the doors locked could make
it more difficult for the emergency services to
enter the vehicle in an emergency.
As a safety precaution, remove the key from
the ignition or take the electronic key with you
when leaving the vehicle, even for a short
time.
Purchasing a second-hand vehicle
Have the key codes memorised by a
PEUGEOT dealer, to ensure that the keys
in your possession are the only ones able to
start the vehicle.
Page 65 of 260
63
Lighting and visibility
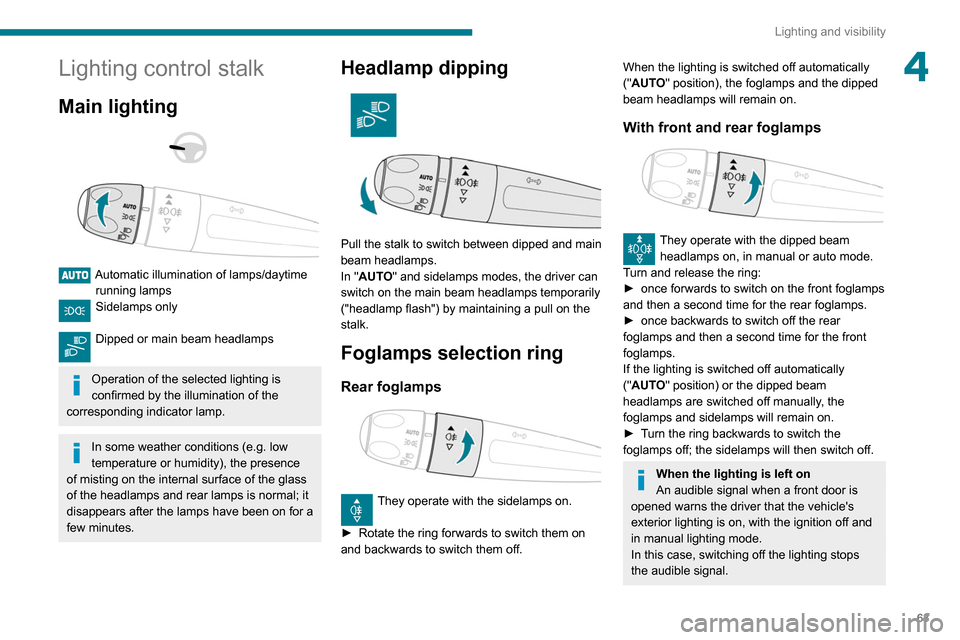
4Lighting control stalk
Main lighting
Automatic illumination of lamps/daytime running lamps
Sidelamps only
Dipped or main beam headlamps
Operation of the selected lighting is
confirmed by the illumination of the
corresponding indicator lamp.
In some weather conditions (e.g. low
temperature or humidity), the presence
of misting on the internal surface of the glass
of the headlamps and rear lamps is normal; it
disappears after the lamps have been on for a
few minutes.
Headlamp dipping
Pull the stalk to switch between dipped and main
beam headlamps.
In "AUTO" and sidelamps modes, the driver can
switch on the main beam headlamps temporarily
("headlamp flash") by maintaining a pull on the
stalk.
Foglamps selection ring
Rear foglamps
They operate with the sidelamps on.
►
Rotate the ring forwards to switch them on
and backwards to switch them off.
When the lighting is switched off automatically
("AUTO" position), the foglamps and the dipped
beam headlamps will remain on.
With front and rear foglamps
They operate with the dipped beam headlamps on, in manual or auto mode.
Turn and release the ring:
►
once forwards to switch on the front foglamps
and then a second time for the rear foglamps.
►
once backwards to switch off the rear
foglamps and then a second time for the front
foglamps.
If the lighting is switched off automatically
("
AUTO" position) or the dipped beam
headlamps are switched off manually, the
foglamps and sidelamps will remain on.
►
T
urn the ring backwards to switch the
foglamps off; the sidelamps will then switch off.
When the lighting is left on
An audible signal when a front door is
opened warns the driver that the vehicle's
exterior lighting is on, with the ignition off and
in manual lighting mode.
In this case, switching off the lighting stops
the audible signal.
Page 66 of 260
64
Lighting and visibility
Daytime running lamps /
Sidelamps
The front lamps light up automatically when the
engine starts.
They provide the following functions:
– Daytime running lamps (lighting control stalk in
the "AUTO" position with adequate light level).
– Sidelamps (lighting control stalk in the " AUTO"
position with low light levels or "Sidelamps only”
or "Dipped/main beam headlamps").
The LEDs are brighter when operating as daytime running lamps.
Parking lamps
Side markers for the vehicle by illumination of
the sidelamps on the traffic side only.
► Depending on version, within one minute of
switching off the ignition, operate the lighting
control stalk up or down depending on the traffic
side (for example: when parking on the left;
The lighting goes off when you switch off the
ignition, but you can always switch it on again
using the lighting control stalk.
Travelling abroad
If using your vehicle in a country that
drives on the other side of the road, the
headlamps must be adjusted to avoid
dazzling on-coming drivers.
Contact a PEUGEOT dealer or a qualified
workshop.
In good or rainy weather, by both day
and night, use of the front foglamps and
the rear foglamps are prohibited. In these
situations, the power of their beams may
dazzle other drivers. They should only be
used in fog or falling snow.
In these weather conditions, it is your
responsibility to switch on the foglamps and
dipped headlamps manually as the sunshine
sensor may detect sufficient light.
Switch off the front and rear foglamps when
they are no longer necessary.
Never look too closely at the luminous
beam of LED headlamps: risk of serious
eye injury.
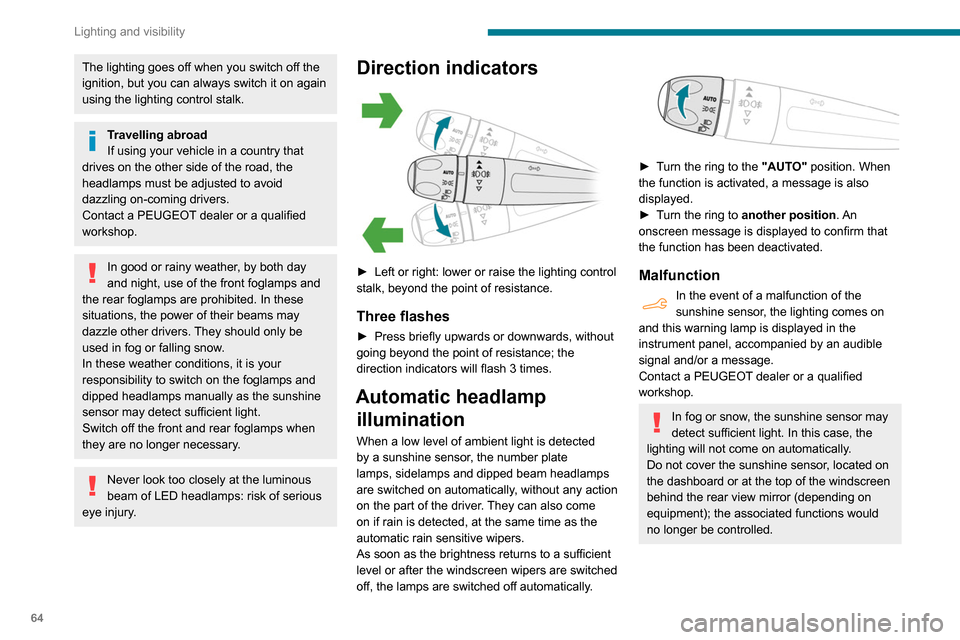
Direction indicators
► Left or right: lower or raise the lighting control
stalk, beyond the point of resistance.
Three flashes
► Press briefly upwards or downwards, without
going beyond the point of resistance; the
direction indicators will flash 3 times.
Automatic headlamp illumination
When a low level of ambient light is detected
by a sunshine sensor, the number plate
lamps,
sidelamps and dipped beam headlamps
are switched on automatically, without any action
on the part of the driver. They can also come
on if rain is detected, at the same time as the
automatic rain sensitive wipers.
As soon as the brightness returns to a sufficient
level or after the windscreen wipers are switched
off, the lamps are switched off automatically.
► Turn the ring to the "AUTO" position. When
the function is activated, a message is also
displayed.
►
T
urn the ring to another position . An
onscreen message is displayed to confirm that
the function has been deactivated.
Malfunction
In the event of a malfunction of the
sunshine sensor, the lighting comes on
and this warning lamp is displayed in the
instrument panel, accompanied by an audible
signal and/or a message.
Contact a PEUGEOT dealer or a qualified
workshop.
In fog or snow, the sunshine sensor may
detect sufficient light. In this case, the
lighting will not come on automatically.
Do not cover the sunshine sensor, located on
the dashboard or at the top of the windscreen
behind the rear view mirror (depending on
equipment); the associated functions would
no longer be controlled.
Page 67 of 260
65
Lighting and visibility
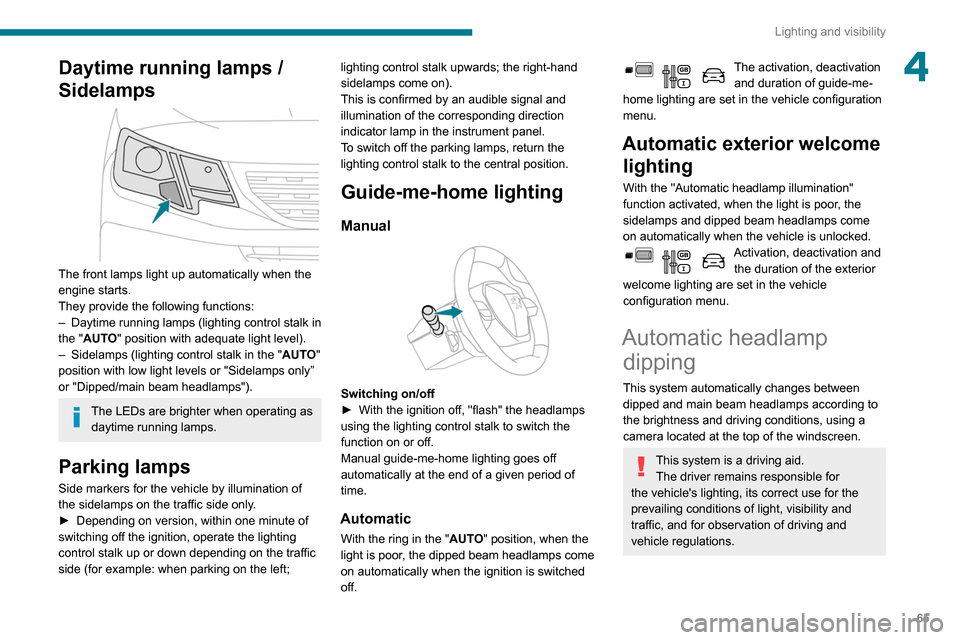
4Daytime running lamps /
Sidelamps
The front lamps light up automatically when the
engine starts.
They provide the following functions:
–
Daytime running lamps (lighting control stalk in
the "
AUTO" position with adequate light level).
–
Sidelamps (lighting control stalk in the " AUT
O"
position with low light levels or "Sidelamps only”
or "Dipped/main beam headlamps").
The LEDs are brighter when operating as daytime running lamps.
Parking lamps
Side markers for the vehicle by illumination of
the sidelamps on the traffic side only.
►
Depending on version, within one minute of
switching off the ignition, operate the lighting
control stalk up or down depending on the traffic
side (for example: when parking on the left; lighting control stalk upwards; the right-hand
sidelamps come on).
This is confirmed by an audible signal and
illumination of the corresponding direction
indicator lamp in the instrument panel.
T
o switch off the parking lamps, return the
lighting control stalk to the central position.
Guide-me-home lighting
Manual
Switching on/off
► With the ignition off, "flash" the headlamps
using the lighting control stalk to switch the
function on or off.
Manual guide-me-home lighting goes off
automatically at the end of a given period of
time.
Automatic
With the ring in the "AUTO" position, when the
light is poor, the dipped beam headlamps come
on automatically when the ignition is switched
off.
The activation, deactivation and duration of guide-me-
home lighting are set in the vehicle configuration
menu.
Automatic exterior welcome lighting
With the "Automatic headlamp illumination"
function activated, when the light is poor, the
sidelamps and dipped beam headlamps come
on automatically when the vehicle is unlocked.
Activation, deactivation and
the duration of the exterior
welcome lighting are set in the vehicle
configuration menu.
Automatic headlamp dipping
This system automatically changes between
dipped and main beam headlamps according to
the brightness and driving conditions, using a
camera located at the top of the windscreen.
This system is a driving aid.
The driver remains responsible for
the vehicle's lighting, its correct use for the
prevailing conditions of light, visibility and
traffic, and for observation of driving and
vehicle regulations.
Page 68 of 260
66
Lighting and visibility
Headlamp beam height
adjustment
To avoid inconvenience to other road users,
the height of the halogen headlamps should be
adjusted according to the load in the vehicle.
0Unladen.
1 Partial load.
2 Medium load.
3 Maximum authorised load.
4 5 6 Not used.
The initial setting is position 0.
Wiper control stalk
Programming
Your vehicle may also include some functions
that can be activated/deactivated:
– automatic windscreen wipers,
– rear wiping on engaging reverse gear.
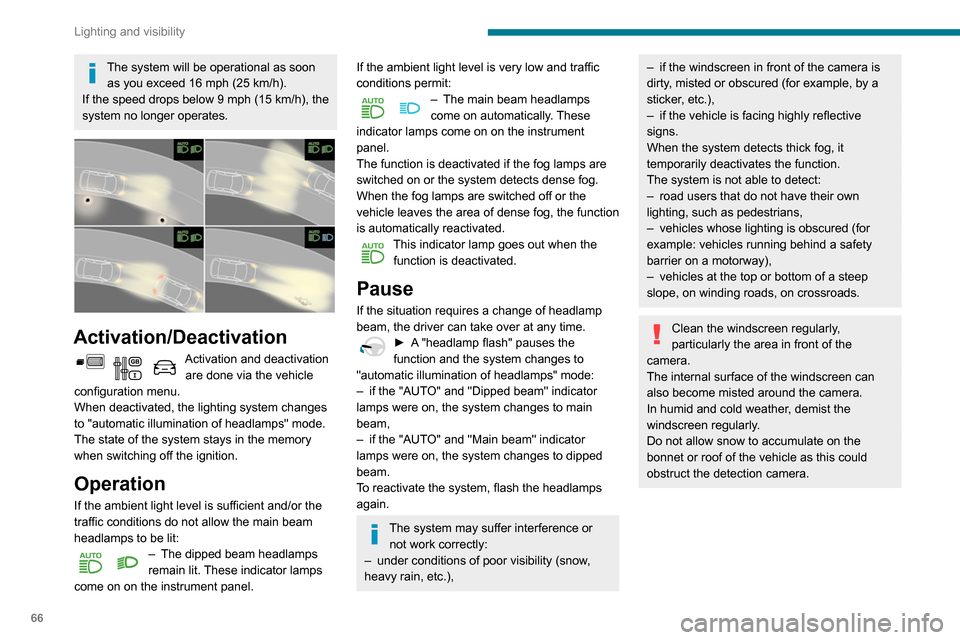
The system will be operational as soon
as you exceed 16 mph (25 km/h).
If the speed drops below 9 mph (15
km/h), the
system no longer operates.
Activation/Deactivation
Activation and deactivation are done via the vehicle
configuration menu.
When deactivated, the lighting system changes
to "automatic illumination of headlamps" mode.
The state of the system stays in the memory
when switching off the ignition.
Operation
If the ambient light level is sufficient and/or the
traffic conditions do not allow the main beam
headlamps to be lit:
– The dipped beam headlamps
remain lit. These indicator lamps
come on on the instrument panel.
If the ambient light level is very low and traffic
conditions permit:
– The main beam headlamps
come on automatically . These
indicator lamps come on on the instrument
panel.
The function is deactivated if the fog lamps are
switched on or the system detects dense fog.
When the fog lamps are switched off or the
vehicle leaves the area of dense fog, the function
is automatically reactivated.
This indicator lamp goes out when the function is deactivated.
Pause
If the situation requires a change of headlamp
beam, the driver can take over at any time.
► A "headlamp flash" pauses the
function and the system changes to
"automatic illumination of headlamps" mode:
–
if the "AUT
O" and "Dipped beam" indicator
lamps were on, the system changes to main
beam,
–
if the "AUT
O" and "Main beam" indicator
lamps were on, the system changes to dipped
beam.
To reactivate the system, flash the headlamps
again.
The system may suffer interference or not work correctly:
–
under conditions of poor visibility (snow
,
heavy rain, etc.),
– if the windscreen in front of the camera is
dirty , misted or obscured (for example, by a
sticker, etc.),
–
if the vehicle is facing highly reflective
signs.
When the system detects thick fog, it
temporarily deactivates the function.
The system is not able to detect:
–
road users that do not have their own
lighting, such as pedestrians,
–
vehicles whose lighting is obscured (for
example: vehicles running behind a safety
barrier on a motorway),
–
vehicles at the top or bottom of a steep
slope, on winding roads, on crossroads.
Clean the windscreen regularly,
particularly the area in front of the
camera.
The internal surface of the windscreen can
also become misted around the camera.
In humid and cold weather, demist the
windscreen regularly.
Do not allow snow to accumulate on the
bonnet or roof of the vehicle as this could
obstruct the detection camera.
Page 141 of 260
139
Practical information
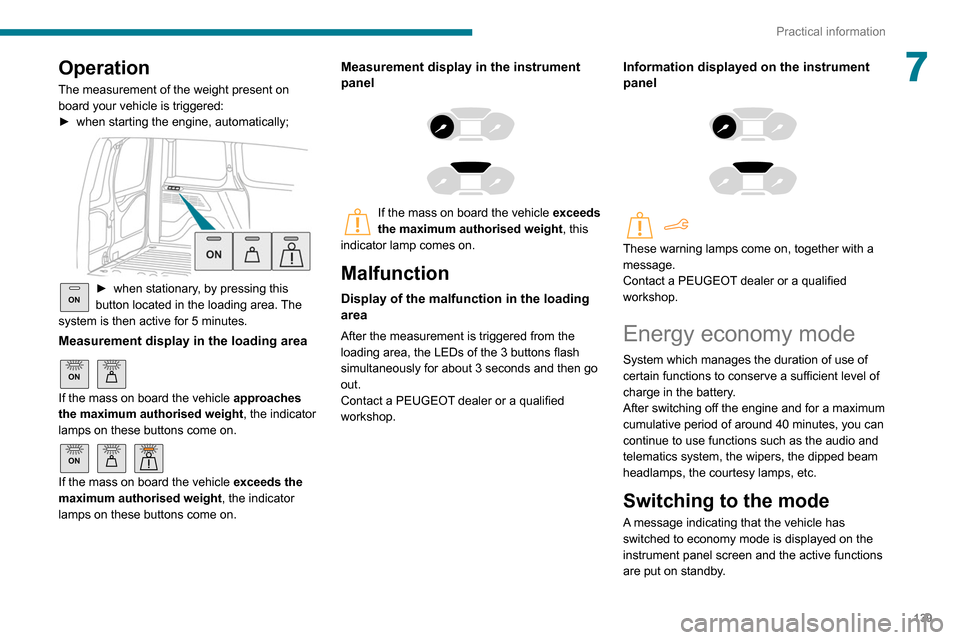
7Operation
The measurement of the weight present on
board your vehicle is triggered:
►
when starting the engine, automatically;
ON► when stationary , by pressing this
button located in the loading area. The
system is then active for 5 minutes.
Measurement display in the loading area
ON
If the mass on board the vehicle approaches
the maximum authorised weight , the indicator
lamps on these buttons come on.
ON
If the mass on board the vehicle exceeds the
maximum authorised weight , the indicator
lamps on these buttons come on.
Measurement display in the instrument
panel
If the mass on board the vehicle exceeds
the maximum authorised weight , this
indicator lamp comes on.
Malfunction
Display of the malfunction in the loading
area
After the measurement is triggered from the
loading area, the LEDs of the 3 buttons flash
simultaneously for about 3 seconds and then go
out.
Contact a PEUGEOT dealer or a qualified
workshop.
Information displayed on the instrument
panel
These warning lamps come on, together with a
message.
Contact a PEUGEOT dealer or a qualified
workshop.
Energy economy mode
System which manages the duration of use of
certain functions to conserve a sufficient level of
charge in the battery.
After switching off the engine and for a maximum
cumulative period of around 40 minutes, you can
continue to use functions such as the audio and
telematics system, the wipers, the dipped beam
headlamps, the courtesy lamps, etc.
Switching to the mode
A message indicating that the vehicle has
switched to economy mode is displayed on the
instrument panel screen and the active functions
are put on standby.
Page 160 of 260
158
In the event of a breakdown
2.Main beam headlamps.
Type
C, H1
3. Dipped beam headlamps.
Type
C, H7
4. Direction indicator.
Type
B, PY21W
5. Foglamp.
Type
D, H11
Direction indicator side repeater
Type A, WY5W-5W (amber)
– Push the repeater towards the rear and
release it.
–
When refitting, engage the repeater towards
the front and then bring it back towards the rear
.
Amber-coloured bulbs (direction indicators and
side repeaters) must be replaced with bulbs of
identical specification and colour.
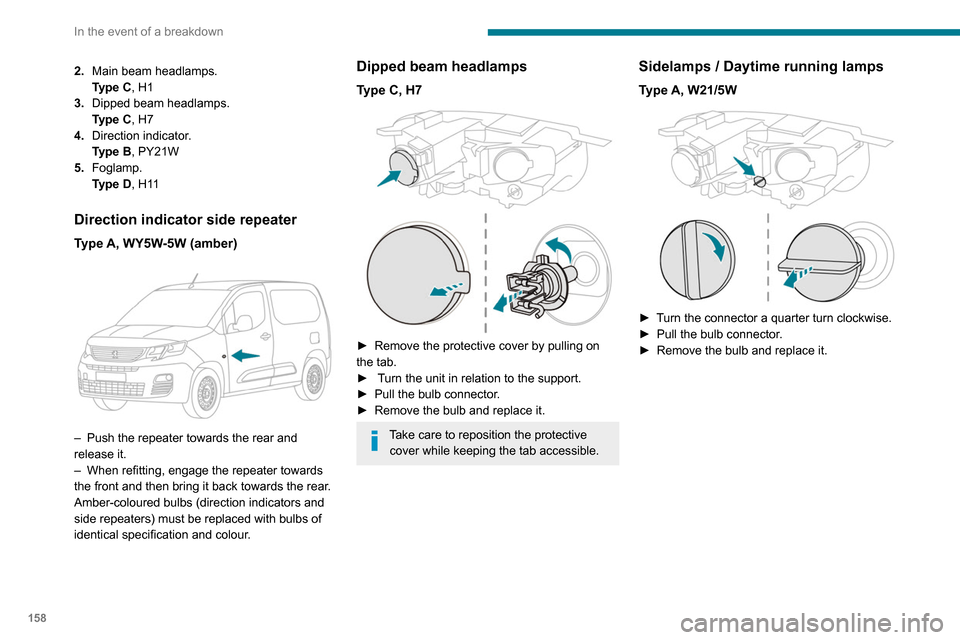
Dipped beam headlamps
Type C, H7
► Remove the protective cover by pulling on
the tab.
►
Turn the unit in relation to the support.
►
Pull the bulb connector
.
►
Remove the bulb and replace it.
Take care to reposition the protective cover while keeping the tab accessible.
Sidelamps / Daytime running lamps
Type A, W21/5W
► Turn the connector a quarter turn clockwise.
► Pull the bulb connector .
►
Remove the bulb and replace it.
Main beam headlamps
Type C, H1
► Remove the protective cover by pulling on
the tab.
► Unclip the unit in relation to the support.
► Pull the bulb connector.
► Remove the bulb and replace it.
Take care to reposition the protective
cover while keeping the tab accessible.
Direction indicators
Type B, PY21W
Rapid flashing of a direction indicator
lamp (left or right) indicates that one of
Page 232 of 260
230
Alphabetical index
Fitting a wheel 154, 156
Fitting roof bars
140
Fittings, interior
47
Flap, fuel filler
134–135
Flap, removable
51
Flashing indicators
64–65, 160
Fluid, brake
143
Fluid, engine coolant
143
Foglamp, rear
160
Foglamps
159
Foglamps, front
63, 157
Foglamps, rear
63
Folding the rear seats
46
Frequency (radio)
218
Fuel
7, 134
Fuel consumption
7
Fuel tank
134–136
Fusebox, dashboard
161
Fusebox, engine compartment
161, 163
Fuses
161–163
G
Gauge, fuel 134–135
Gearbox, automatic
94, 98–103, 145
Gearbox, manual
98–99, 103, 145
Gear lever, automatic gearbox
99–101
Gear lever, manual gearbox
98–99
Gear shift indicator ~ Gear efficiency
indicator
102
Glove box
47
G.P.S. 2 11
H
Hazard warning lamps 74
headlamp adjustment
67
Headlamp adjustment
67
Headlamps, automatic dipping
65–66, 124
Headlamps, automatic illumination
64–65
Headlamps, dipped beam
63, 157–158
Headlamps, halogen
157
Headlamps, main beam
63, 157, 159
Head restraints, front
46
Head restraints, rear
46
Heating
55–56, 58, 60–61
Heating, additional
37, 60–61
Heating, programmable
37, 60–61
Hill Assist Descent Control (HADC)
78–79
Hill Descent Control
78–79
Hill start assist
97–98
Horn
75
I
Ignition 94, 222
Ignition on
94
Immobiliser, electronic
91
Indicator, coolant temperature
16
Indicator lamps, operation
63
Indicators, direction
64
Inflating tyres 145, 176
Inflating tyres and accessories
(using the kit)
151, 153
Infrared camera
106
Instrument panel
9, 107
Internet browser
212, 216
J
Jack 153, 219
Jump starting
164
K
Key 24–27, 29–30
Key, electronic
24, 94
Keyless Entry and Starting
24, 26–29, 92, 94
Key with remote control
29
Kit, hands-free
184–185, 197, 220–221
Kit, puncture repair
150
Kit, temporary puncture repair
150–151, 153
L
Labels 4
Labels, identification
176
Lamps, front
159
Lamps, parking
65
Lamps, rear
160