key Peugeot Partner Tepee 2013 Owner's Manual
[x] Cancel search | Manufacturer: PEUGEOT, Model Year: 2013, Model line: Partner Tepee, Model: Peugeot Partner Tepee 2013Pages: 268, PDF Size: 9.88 MB
Page 4 of 268
2
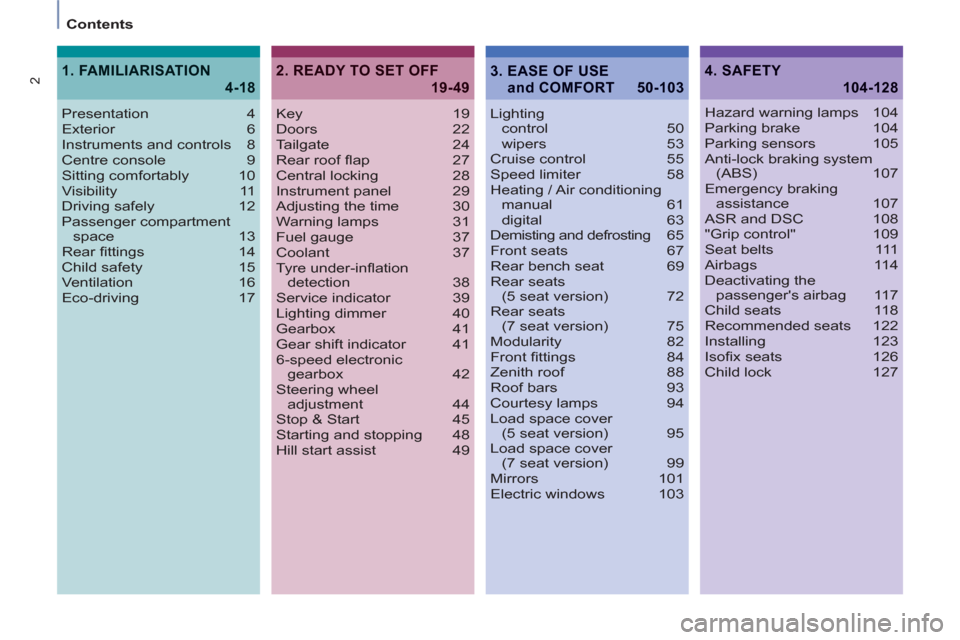
Contents
Key 19
Doors 22
Tailgate 24
Rear roof fl ap 27
Central locking 28
Instrument panel 29
Adjusting the time 30
Warning lamps 31
Fuel gauge 37
Coolant 37
Tyre under-infl ation
detection 38
Service indicator 39
Lighting dimmer 40
Gearbox 41
Gear shift indicator 41
6-speed electronic
gearbox 42
Steering wheel
adjustment 44
Stop & Start 45
Starting and stopping 48
Hill start assist 49Lighting
control 50
wipers 53
Cruise control 55
Speed limiter 58
Heating / Air conditioning
manual 61
digital 63
Demisting and defrosting 65
Front seats 67
Rear bench seat 69
Rear seats
(5 seat version) 72
Rear seats
(7 seat version) 75
Modularity 82
Front fi ttings 84
Zenith roof 88
Roof bars 93
Courtesy lamps 94
Load space cover
(5 seat version) 95
Load space cover
(7 seat version) 99
Mirrors 101
Electric windows 103
2. READY TO SET OFF
19-49
4. SAFETY
104-128
Presentation 4
Exterior 6
Instruments and controls 8
Centre console 9
Sitting comfortably 10
Visibility 11
Driving safely 12
Passenger compartment
space 13
Rear fi ttings 14
Child safety 15
Ventilation 16
Eco-driving 17
1. FAMILIARISATION
4-18
Hazard warning lamps 104
Parking brake 104
Parking sensors 105
Anti-lock braking system
(ABS) 107
Emergency braking
assistance 107
ASR and DSC 108
"Grip control" 109
Seat belts 111
Airbags 114
Deactivating the
passenger's airbag 117
Child seats 118
Recommended seats 122
Installing 123
Isofi x seats 126
Child lock 127
3. EASE OF USE
and COMFORT 50-103
Page 9 of 268
2c
2e
2b7a4
6a
7b
2a6b
4
2d
7
1
FAMILIARISATIO
N
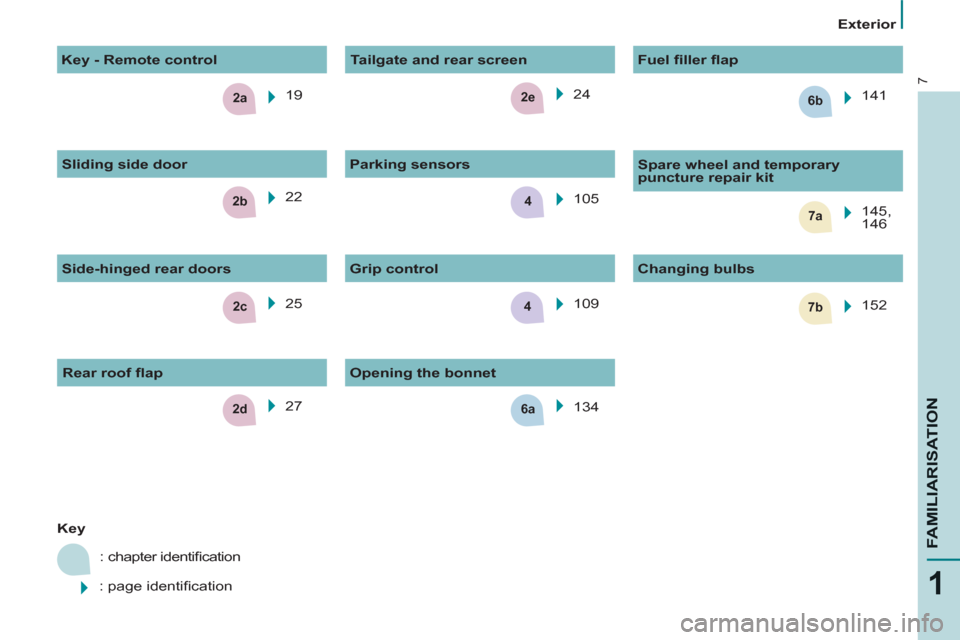
Exterior
Key
: chapter identifi cation
: page identifi cation 19
25 24
105
109
Grip control
Changing bulbs
152
141
Fuel fi ller fl ap
Parking sensors
Opening the bonnet
134 22
Key - Remote control
Side-hinged rear doors
Sliding side door
Tailgate and rear screen
Spare wheel and temporary
puncture repair kit
145,
146
27
Rear roof fl ap
Page 21 of 268
19
Access
READY TO SET OFF
2
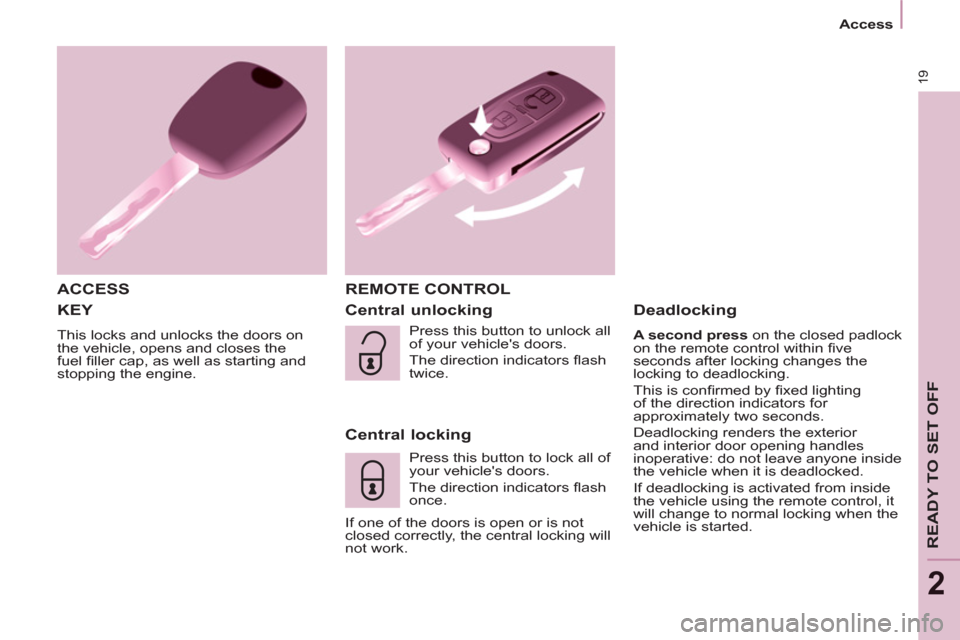
KEY
This locks and unlocks the doors on
the vehicle, opens and closes the
fuel fi ller cap, as well as starting and
stopping the engine.
ACCESS REMOTE CONTROL
Central unlocking
Central locking
Press this button to lock all of
your vehicle's doors.
The direction indicators fl ash
once.
If one of the doors is open or is not
closed correctly, the central locking will
not work.
Deadlocking
A second press
on the closed padlock
on the remote control within fi ve
seconds after locking changes the
locking to deadlocking.
This is confi rmed by fi xed lighting
of the direction indicators for
approximately two seconds.
Deadlocking renders the exterior
and interior door opening handles
inoperative: do not leave anyone inside
the vehicle when it is deadlocked.
If deadlocking is activated from inside
the vehicle using the remote control, it
will change to normal locking when the
vehicle is started. Press this button to unlock all
of your vehicle's doors.
The direction indicators fl ash
twice.
Page 22 of 268
20
Access
Good practice
Take care not to allow the remote
control to come into contact with
grease, dust, rain or a damp
environment.
A heavy object attached to the key
(keyring, ...) weighing on the shaft of
the key in the switch, may cause a
malfunction.
REMOTE CONTROL
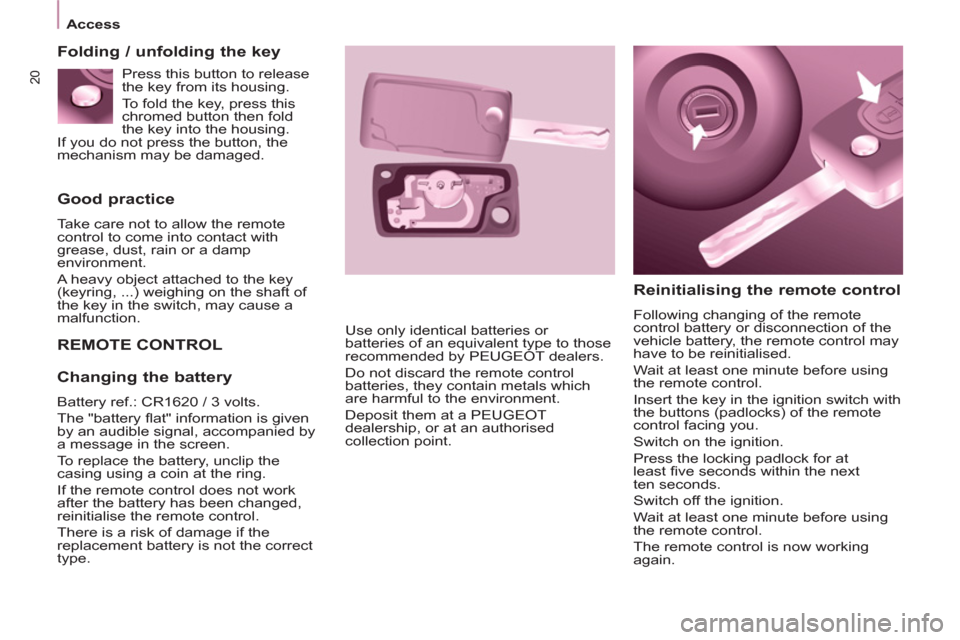
Reinitialising the remote control
Following changing of the remote
control battery or disconnection of the
vehicle battery, the remote control may
have to be reinitialised.
Wait at least one minute before using
the remote control.
Insert the key in the ignition switch with
the buttons (padlocks) of the remote
control facing you.
Switch on the ignition.
Press the locking padlock for at
least fi ve seconds within the next
ten seconds.
Switch off the ignition.
Wait at least one minute before using
the remote control.
The remote control is now working
again. Use only identical batteries or
batteries of an equivalent type to those
recommended by PEUGEOT dealers.
Do not discard the remote control
batteries, they contain metals which
are harmful to the environment.
Deposit them at a PEUGEOT
dealership, or at an authorised
collection point.
Folding / unfolding the key
Changing the battery
Battery ref.: CR1620 / 3 volts.
The "battery fl at" information is given
by an audible signal, accompanied by
a message in the screen.
To replace the battery, unclip the
casing using a coin at the ring.
If the remote control does not work
after the battery has been changed,
reinitialise the remote control.
There is a risk of damage if the
replacement battery is not the correct
type. Press this button to release
the key from its housing.
To fold the key, press this
chromed button then fold
the key into the housing.
If you do not press the button, the
mechanism may be damaged.
Page 23 of 268
21
Access
READY TO SET OFF
2
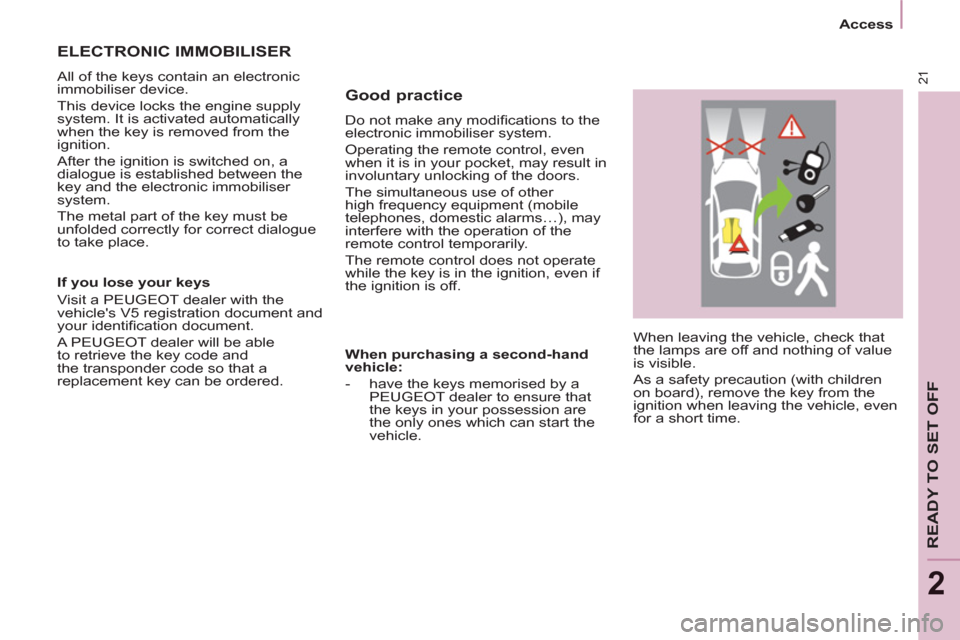
When leaving the vehicle, check that
the lamps are off and nothing of value
is visible.
As a safety precaution (with children
on board), remove the key from the
ignition when leaving the vehicle, even
for a short time.
Good practice
Do not make any modifi cations to the
electronic immobiliser system.
Operating the remote control, even
when it is in your pocket, may result in
involuntary unlocking of the doors.
The simultaneous use of other
high frequency equipment (mobile
telephones, domestic alarms…), may
interfere with the operation of the
remote control temporarily.
The remote control does not operate
while the key is in the ignition, even if
the ignition is off.
ELECTRONIC IMMOBILISER
All of the keys contain an electronic
immobiliser device.
This device locks the engine supply
system. It is activated automatically
when the key is removed from the
ignition.
After the ignition is switched on, a
dialogue is established between the
key and the electronic immobiliser
system.
The metal part of the key must be
unfolded correctly for correct dialogue
to take place.
If you lose your keys
Visit a PEUGEOT dealer with the
vehicle's V5 registration document and
your identifi cation document.
A PEUGEOT dealer will be able
to retrieve the key code and
the transponder code so that a
replacement key can be ordered.
When purchasing a second-hand
vehicle:
- have the keys memorised by a
PEUGEOT dealer to ensure that
the keys in your possession are
the only ones which can start the
vehicle.
Page 24 of 268
22
Access
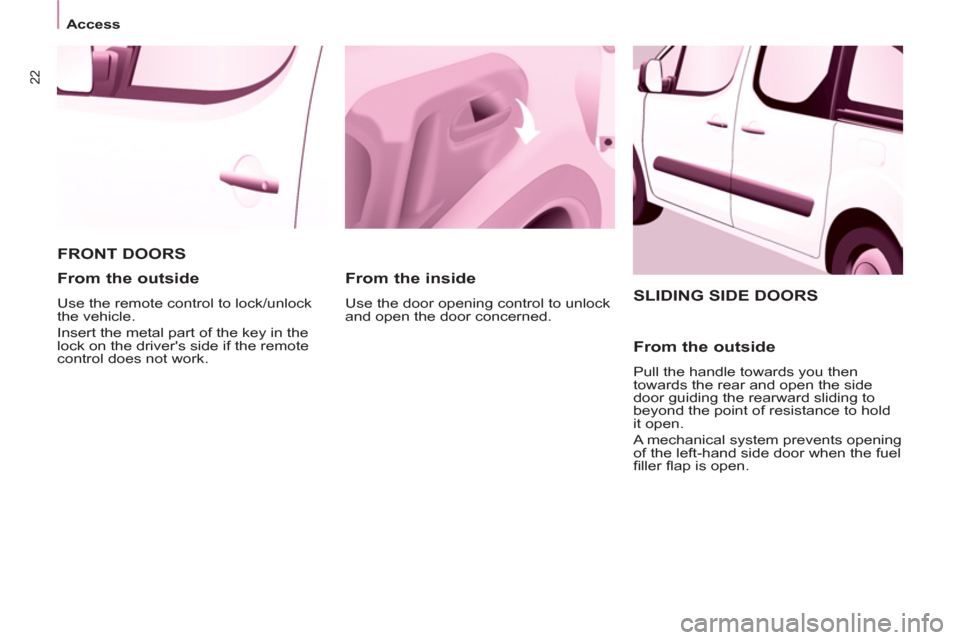
SLIDING SIDE DOORS
From the outside
Pull the handle towards you then
towards the rear and open the side
door guiding the rearward sliding to
beyond the point of resistance to hold
it open.
A mechanical system prevents opening
of the left-hand side door when the fuel
fi ller fl ap is open.
FRONT DOORS
From the inside
Use the door opening control to unlock
and open the door concerned.
From the outside
Use the remote control to lock/unlock
the vehicle.
Insert the metal part of the key in the
lock on the driver's side if the remote
control does not work.
Page 25 of 268
23
Access
READY TO SET OFF
2
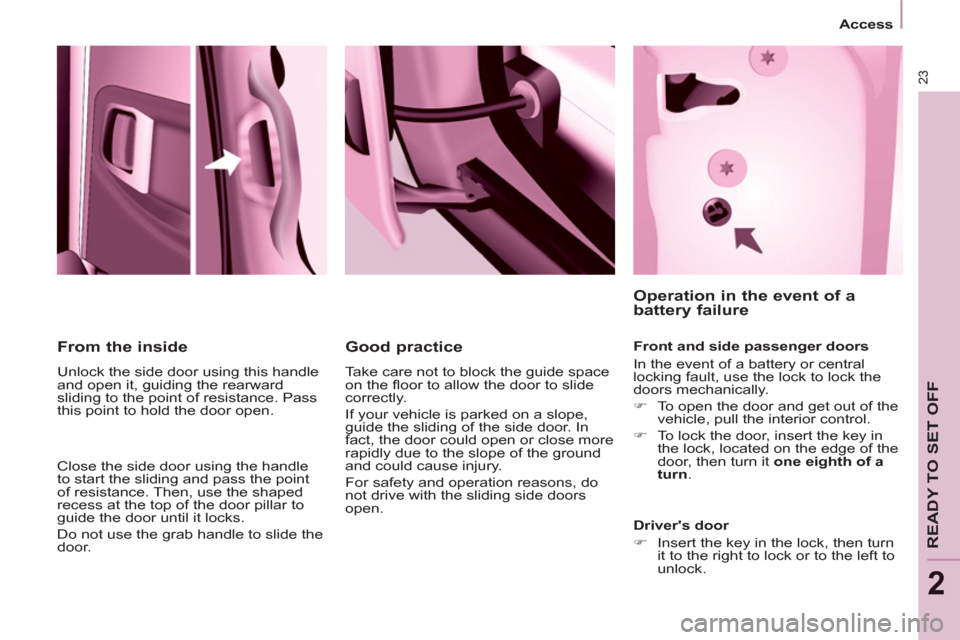
From the inside
Unlock the side door using this handle
and open it, guiding the rearward
sliding to the point of resistance. Pass
this point to hold the door open.
Close the side door using the handle
to start the sliding and pass the point
of resistance. Then, use the shaped
recess at the top of the door pillar to
guide the door until it locks.
Do not use the grab handle to slide the
door.
Good practice
Take care not to block the guide space
on the fl oor to allow the door to slide
correctly.
If your vehicle is parked on a slope,
guide the sliding of the side door. In
fact, the door could open or close more
rapidly due to the slope of the ground
and could cause injury.
For safety and operation reasons, do
not drive with the sliding side doors
open.
Operation in the event of a
battery failure
Front and side passenger doors
In the event of a battery or central
locking fault, use the lock to lock the
doors mechanically.
�)
To open the door and get out of the
vehicle, pull the interior control.
�)
To lock the door, insert the key in
the lock, located on the edge of the
door, then turn it one eighth of a
turn
.
Driver's door
�)
Insert the key in the lock, then turn
it to the right to lock or to the left to
unlock.
Page 26 of 268
24
Access
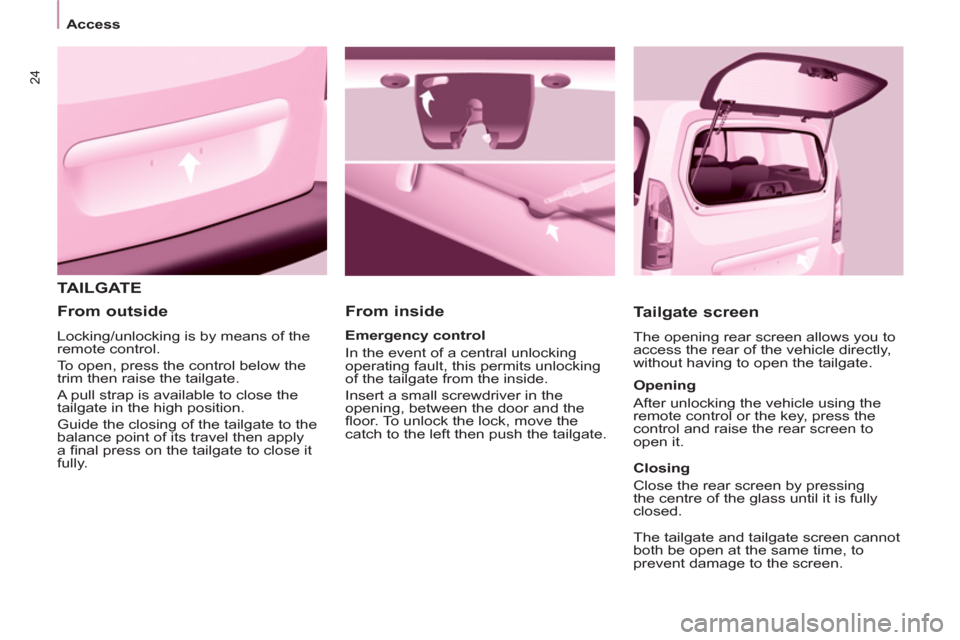
TAILGATE
From inside
Tailgate screen
The opening rear screen allows you to
access the rear of the vehicle directly,
without having to open the tailgate.
Emergency control
In the event of a central unlocking
operating fault, this permits unlocking
of the tailgate from the inside.
Insert a small screwdriver in the
opening, between the door and the
fl oor. To unlock the lock, move the
catch to the left then push the tailgate.
From outside
Locking/unlocking is by means of the
remote control.
To open, press the control below the
trim then raise the tailgate.
A pull strap is available to close the
tailgate in the high position.
Guide the closing of the tailgate to the
balance point of its travel then apply
a fi nal press on the tailgate to close it
fully.
Opening
After unlocking the vehicle using the
remote control or the key, press the
control and raise the rear screen to
open it.
Closing
Close the rear screen by pressing
the centre of the glass until it is fully
closed.
The tailgate and tailgate screen cannot
both be open at the same time, to
prevent damage to the screen.
Page 30 of 268
28
Access
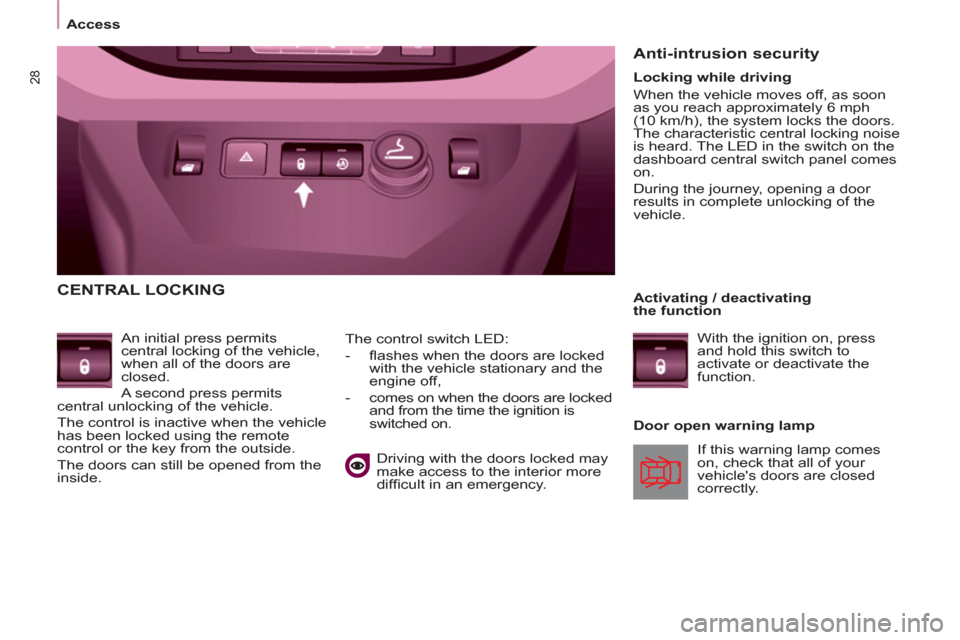
CENTRAL LOCKING
An initial press permits
central locking of the vehicle,
when all of the doors are
closed.
A second press permits
central unlocking of the vehicle.
The control is inactive when the vehicle
has been locked using the remote
control or the key from the outside.
The doors can still be opened from the
inside.
Door open warning lamp
Driving with the doors locked may
make access to the interior more
diffi cult in an emergency.
Anti-intrusion security
If this warning lamp comes
on, check that all of your
vehicle's doors are closed
correctly.
Locking while driving
When the vehicle moves off, as soon
as you reach approximately 6 mph
(10 km/h), the system locks the doors.
The characteristic central locking noise
is heard. The LED in the switch on the
dashboard central switch panel comes
on.
During the journey, opening a door
results in complete unlocking of the
vehicle.
Activating / deactivating
the function
With the ignition on, press
and hold this switch to
activate or deactivate the
function. The control switch LED:
- fl ashes when the doors are locked
with the vehicle stationary and the
engine off,
- comes on when the doors are locked
and from the time the ignition is
switched on.
Page 39 of 268
37
READY TO SET OFF
22
Instruments and controls
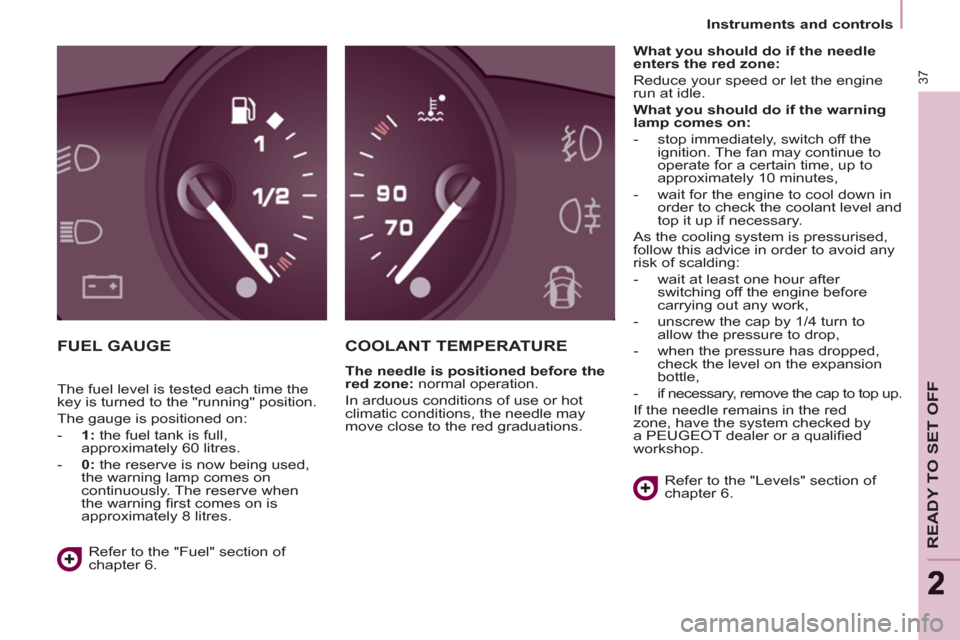
FUEL GAUGE COOLANT TEMPERATURE
The needle is positioned before the
red zone:
normal operation.
In arduous conditions of use or hot
climatic conditions, the needle may
move close to the red graduations.
What you should do if the needle
enters the red zone:
Reduce your speed or let the engine
run at idle.
What you should do if the warning
lamp comes on:
- stop immediately, switch off the
ignition. The fan may continue to
operate for a certain time, up to
approximately 10 minutes,
- wait for the engine to cool down in
order to check the coolant level and
top it up if necessary.
As the cooling system is pressurised,
follow this advice in order to avoid any
risk of scalding:
- wait at least one hour after
switching off the engine before
carrying out any work,
- unscrew the cap by 1/4 turn to
allow the pressure to drop,
- when the pressure has dropped,
check the level on the expansion
bottle,
- if necessary, remove the cap to top up.
If the needle remains in the red
zone, have the system checked by
a PEUGEOT dealer or a qualifi ed
workshop.
Refer to the "Levels" section of
chapter 6.
Refer to the "Fuel" section of
chapter 6. The fuel level is tested each time the
key is turned to the "running" position.
The gauge is positioned on:
- 1:
the fuel tank is full,
approximately 60 litres.
- 0:
the reserve is now being used,
the warning lamp comes on
continuously. The reserve when
the warning fi rst comes on is
approximately 8 litres.