PONTIAC BONNEVILLE 1994 Repair Manual
Manufacturer: PONTIAC, Model Year: 1994, Model line: BONNEVILLE, Model: PONTIAC BONNEVILLE 1994Pages: 290, PDF Size: 14.75 MB
Page 61 of 290
Features & Controls
Forward Gears (CONT)
D (Third Gear): This is like @ , but you
never
go into Overdrive.
Here are some times you might choose
“D’ instead of @ :
- When driving on hilly, winding roads
- When towing a trailer, so there is less
shifting between gears
- When going down a steep hill
2 (Second Gear): This position gives you
more power but lower
fuel economy. You
can use “2” on hills.
It can help control
your speed as you
go down steep
mountain roads, but
then you would also
want
to use your brakes off and on.
NOTICE:
Don’t drive in “2” (Second Gear) for
more than
5 miles (8 km), or at
speeds over
55 mph (88 km/h), or
you can damage your transaxle. Use
@ or “D’ as much as possible.
Don’t shift into “2” unless
you are
going slower than
65 mph
( 105 km/h), or you can damage
your engine.
1 (First Gear): This position gives you
even more power (but lower fuel economy) than
“2.” You can use it on
very steep hills, or in deep snow or mud.
If the selector lever is put
in “1,” the
transaxle won’t shift into first gear until
the vehicle is going slowly enough.
NOTICE:
If your front wheels can’t rotate,
don’t try to drive. This might
happen
if you were stuck in very
deep sand or mud or were up
against a solid object. You could
damage your transaxle.
Also,
if you stop when going uphill,
don’t hold your vehicle there with
only the accelerator pedal. This could overheat and damage the
transaxle. Use your brakes or shift
into
“P’ (Park) to hold your vehicle
in position on a hill.
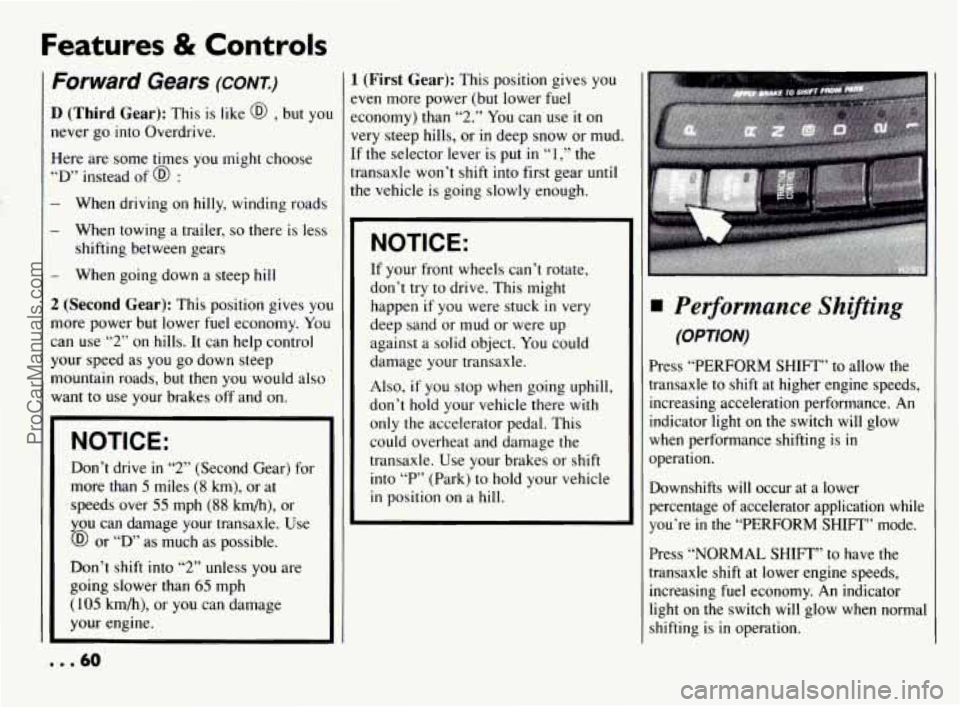
Performance Shiftins
(OPTION)
Press “PERFORM SHIFT” to allow the
transaxle to shift at higher engine speeds,
increasing acceleration performance.
An
indicator light on the switch will glow
when performance shifting is in
operation.
Downshifts
will occur at a lower
percentage of accelerator application while
you’re
in the “PERFORM SHIFT” mode.
Press “NORMAL
SHIFT” to have the
transaxle shift at lower engine speeds,
increasing fuel economy.
An indicator
light on the switch will glow when normal
shifting
is in operation.
... 60
ProCarManuals.com
Page 62 of 290
Computer Command
Ride
(OPTION SSEBSEi)
Vehicles equipped with Computer
Command Ride provide improved
passenger ride comfort under
a variety of
road and driving conditions.
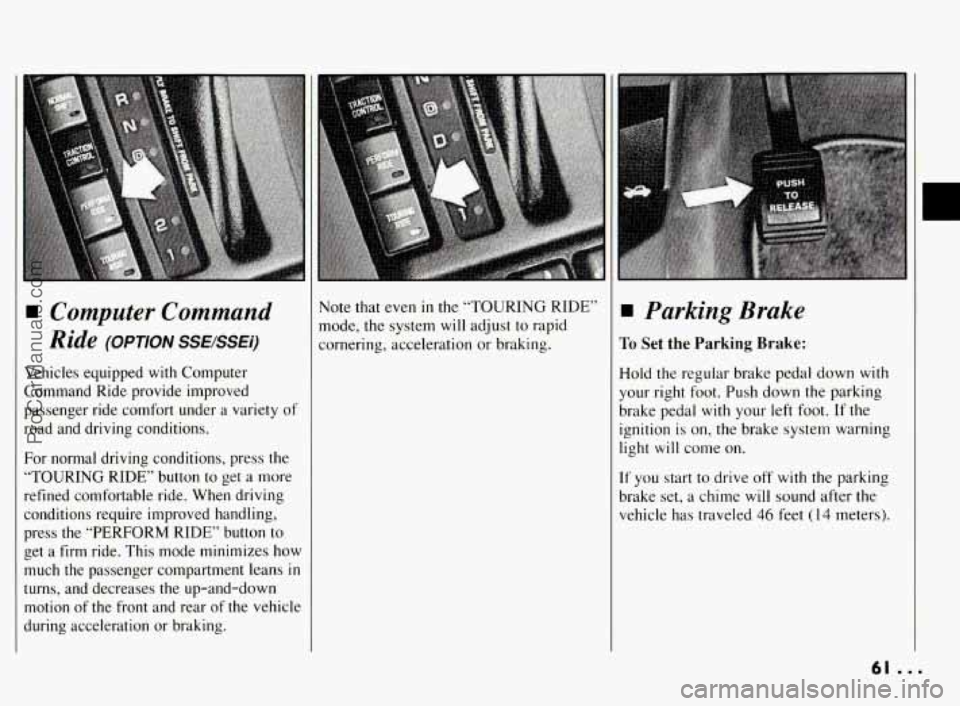
For normal driving conditions, press the
“TOURING RIDE” button
to get a more
refined comfortable ride. When driving
conditions require improved handling,
press the “PERFORM RIDE” button to
get a
firm ride. This mode minimizes how
much the passenger compartment leans
in
turns, and decreases the up-and-down
motion of the front and rear of the vehicle
during acceleration or braking. Note that even
in the
“TOURING RIDE”
mode, the system
will adjust to rapid
cornering, acceleration or braking. Parking Brake
To Set the Parking Brake:
Hold the regular brake pedal down with
your right foot. Push down the parking
brake pedal with
your left foot. If the
ignition is on, the brake system warning
light
will come on.
If you start to drive off with the parking
brake set, a chime will sound after the
vehicle has traveled
46 feet (14 meters).
r
61 ...
ProCarManuals.com
Page 63 of 290
Features & Controls
Parking Brake (CONT.)
To Release the Parking Brake:
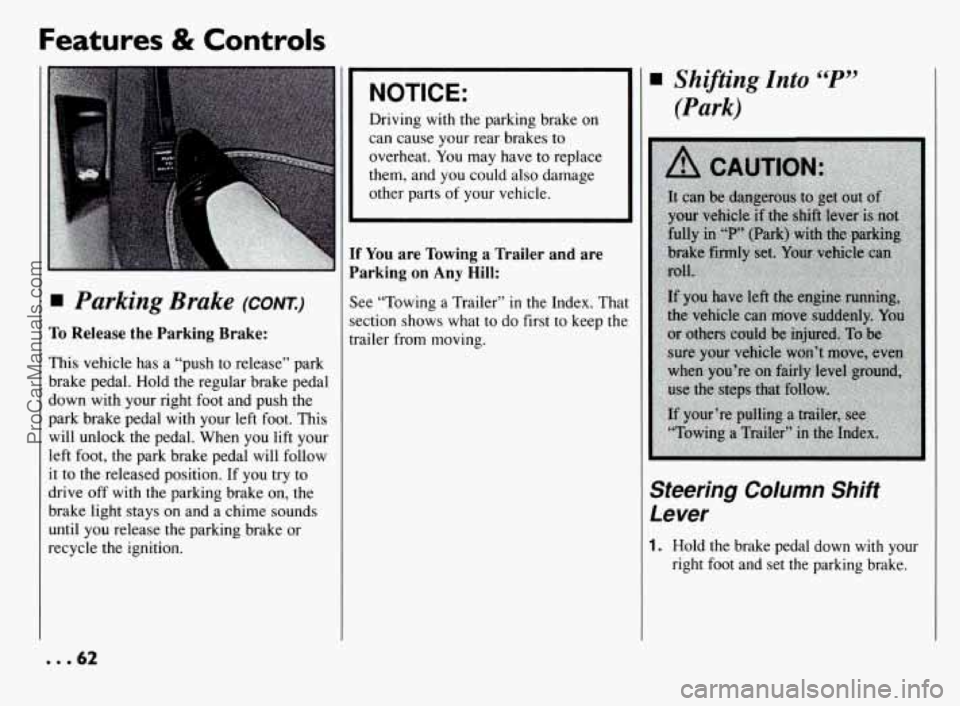
This vehicle has a “push to release” park
brake pedal. Hold the regular brake pedal
down with your right foot and push the
park brake pedal with your left foot. This
will unlock the pedal. When you lift your
left foot, the park brake pedal will follow
it to the released position. If you try to
drive
off with the parking brake on, the
brake light stays on and a chime sounds
until you release the parking brake or
recycle the ignition.
NOTICE:
Driving with the parking brake on
can cause your rear brakes to
overheat. You may have
to replace
them, and you could also damage
other parts
of your vehicle.
F You are Towing a Trailer and are
larking
on Any Hill:
ee “Towing a Trailer” in the Index. Tha
xtion shows what
to do first to keep the
+ailer from moving.
Shijiting Into “P”
(Park)
Steering Column Shift
Lever
1. Hold the brake pedal down with your
right foot and set the parking brake.
... 62
ProCarManuals.com
Page 64 of 290
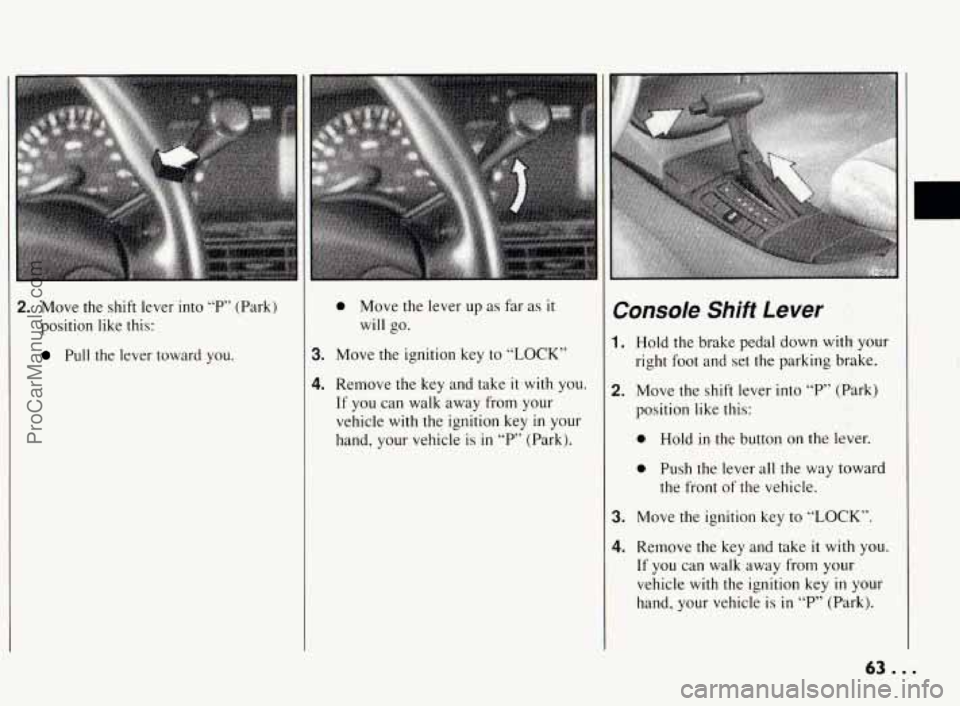
2. Move the shift lever into “P,’ (Park)
position like this:
Pull the lever toward you.
0 Move the lever up as far as it
will go.
3. Move the ignition key to “LOCK”
4. Remove the key and take it with you.
If you can walk away from your
vehicle with the ignition key
in your
hand, your vehicle is
in “P” (Park).
Console Shift Lever
1. Hold the brake pedal down with your
right foot and set the parking brake.
2. Move the shift lever into “P” (Park)
position like this:
0 Hold in the button on the lever.
0 Push the lever all the way toward
the front of the vehicle.
3. Move the ignition key to “LOCK”.
4. Remove the key and take it with you.
If you can walk away from your
vehicle with the ignition key
in your
hand, your vehicle is
in “P” (Park).
c
63 ...
ProCarManuals.com
Page 65 of 290
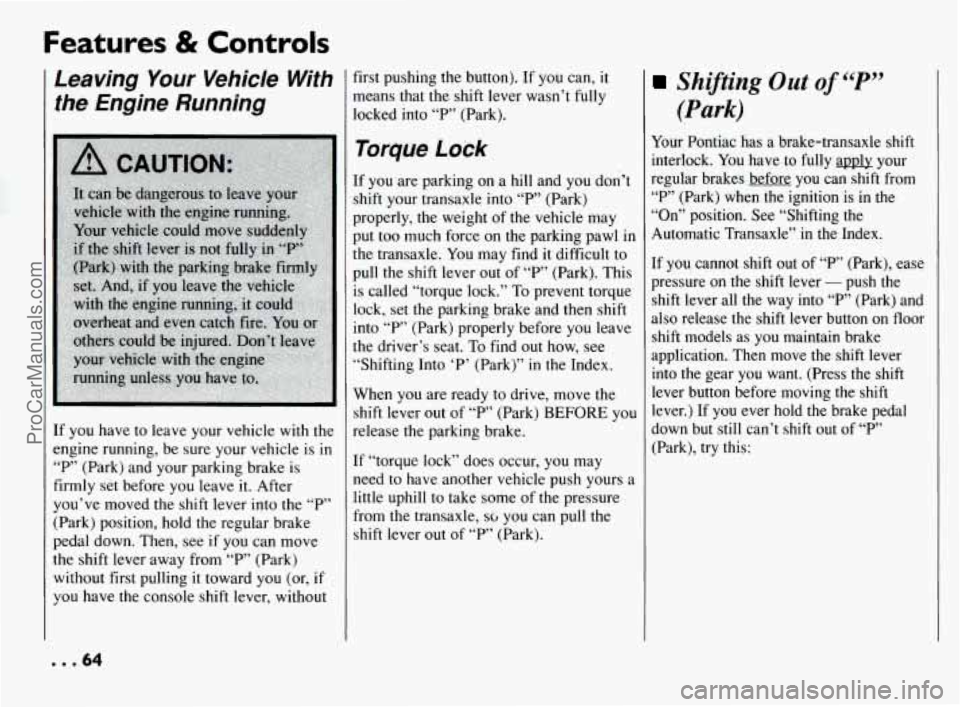
Features & Controls
Leaving Your Vehicle With
the Engine Running
If you have to leave your vehicle with the
engine running, be sure your vehicle is
in
“P” (Park) and your parking brake is
firmly set before you leave it. After
you’ve moved the shift lever into the
“P”
(Park) position, hold the regular brake
pedal down. Then, see
if you can move
the shift lever away from
“P” (Park)
without first pulling it toward you (or,
if
you have the console shift lever, without
... 64
first pushing the button). If you can, it
means that the shift lever wasn’t fully
locked into
“P” (Park).
T~rque Lock
If you are parking on a hill and you don’t
shift your transaxle into
“P” (Park)
properly, the weight of the vehicle may
put too much force on
the parking pawl in
the transaxle. You may find it difficult to
pull
the shift lever out of “F’ (Park). This
is called “torque lock.” To prevent torque
lock, set the parking brake and then shift
into
“P” (Park) properly before you leave
the driver’s seat.
To find out how, see
“Shifting Into ‘P’ (Park)”
in the Index.
When you are ready to drive, move the
shift lever out of
“P’ (Park) BEFORE you
release the parking brake.
If “torque lock” does occur, you may
need to have another vehicle push yours a
little uphill to take some of the pressure
from the transaxle,
so you can pull the
shift lever out of
“P’ (Park).
Shifting Out of “P”
(Park)
Your Pontiac has a brake-transaxle shift
interlock. You have to fully a& your
regular brakes before you can shift from
“P” (Park) when the ignition is in the
“On” position. See “Shifting the
Automatic Transaxle” in the Index.
If you cannot shift out of “P” (Park), ease
pressure
on the shift lever - push the
shift lever ail the way into “P’ (Park) and
also release the shift lever button
on floor
shift models as you maintain brake
application. Then move the shift lever
into the gear you want. (Press the shift
lever button before moving the shift
lever.) If you ever hold the brake pedal
down but still can’t shift out of
“P’
(Park), try this:
ProCarManuals.com
Page 66 of 290
1. Turn the key to “Off”. Open and close
the driver’s door to turn off the
Retained Accessory Power Feature.
2. Apply and hold the brake until the end
of Step 4.
3. Shift to “N” (Neutral).
4. Start the vehicle and then shift to the
drive gear you want.
5. Have the vehicle fixed as soon as you
can.
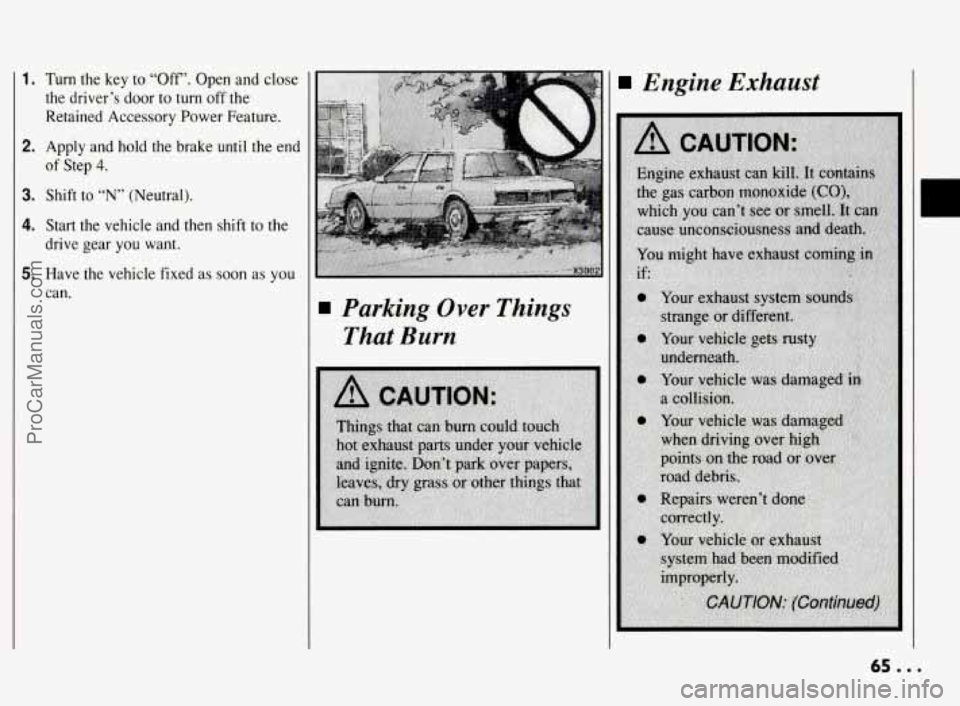
Parking Over Things
That Burn
Engine Exhaust
65 ...
ProCarManuals.com
Page 67 of 290
Features & Controls
Engine Exhaust (CONT.) Running Your Engine
While You’re Parked
It’s better not to park with the engine
running. But
if you ever have to, here are
some things to know.
Follow the proper steps to be sure your
vehicle won’t move. See “Shifting Into
‘P’ (Park)” in the Index.
-..66
ProCarManuals.com
Page 68 of 290
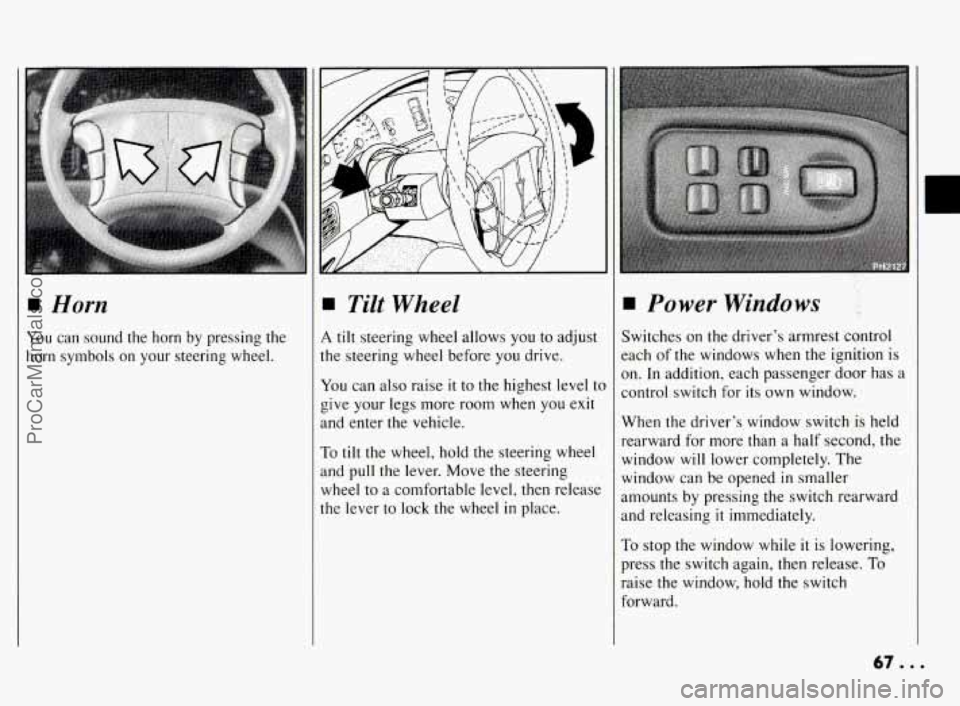
1 Horn
You can sound the horn by pressing the
horn symbols on your steering wheel.
Tilt Wheel
4 tilt steering wheel allows you to adjust
he steering wheel before
you drive.
Ir'ou can also raise it to the highest level tc
give your legs more room when you exit
tnd enter the vehicle.
To tilt the wheel, hold the steering wheel
tnd
pull the lever. Move the steering
Nheel to a comfortable level, then release
he lever to lock the wheel
in place.
Power Windows ,I
Switches on the driver's armrest control
each of the windows when the ignition is
on. In addition, each passenger door has
a
control switch for its own window:
When the driver's window switch
is held
rearward for more
than a half second, the
window
will lower completely. The
window can be opened
in smaller
amounts by pressing the switch rearward
and releasing
it immediately.
To stop the window while
it is lowering,
press the switch again, then release.
To
raise the window, hold the switch
forward.
67 ...
ProCarManuals.com
Page 69 of 290
Features & Controls
Turn Signall
Multifunction Lever
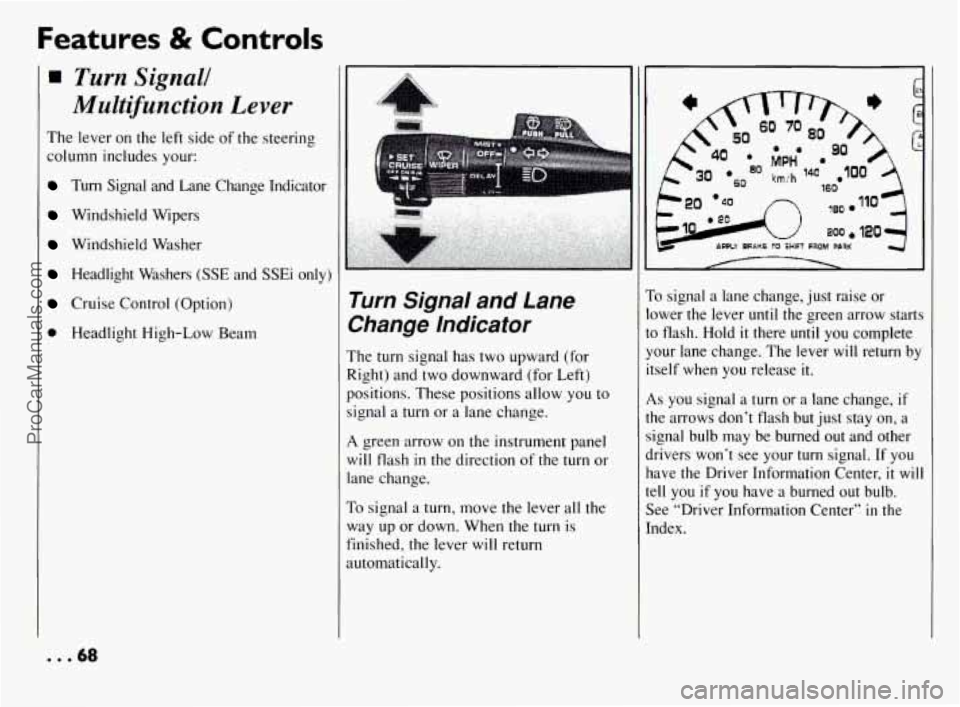
The lever on the left side of the steering
column includes your:
Turn Signal and Lane Change Indicator
Windshield Wipers
Windshield Washer
Headlight Washers (SSE and SSEi only)
Cruise Control (Option)
0 Headlight High-Low Beam
Turn Signal and Lane
Change Indicator
The turn signal has two upward (for
Right) and two downward (for Left)
positions. These positions allow
you to
signal a turn or a lane change.
A green arrow on the instrument panel
will flash
in the direction of the turn or
lane change.
To signal a turn, move the lever all the
way up or down. When the turn is
finished, the lever will return
automatically.
so MPH
30 km/h
/ 1 I
To signal a lane change, just raise or ,
lower the lever until the green arrow starts
to flash. Hold it there until you complete
your lane change. The lever will return by
itself when you release
it.
As you signal a turn or a lane change, if
the arrows don’t flash but just stay on, a
signal bulb may be burned
out and other
drivers won’t see your
turn signal. If you
have the Driver Information Center, it will
tell you if you have a burned out bulb.
See “Driver Information Center”
in the
Index.
... 68
ProCarManuals.com
Page 70 of 290
If a, bulb is burned out, replace it to help
avoid an accident. If the green arrows
don’t go on at all when
you signal a turn,
check the fuse (see “Fuses
& Circuit
Breakers”
in the Index) and for
burned-out bulbs.
Windshield Wipers
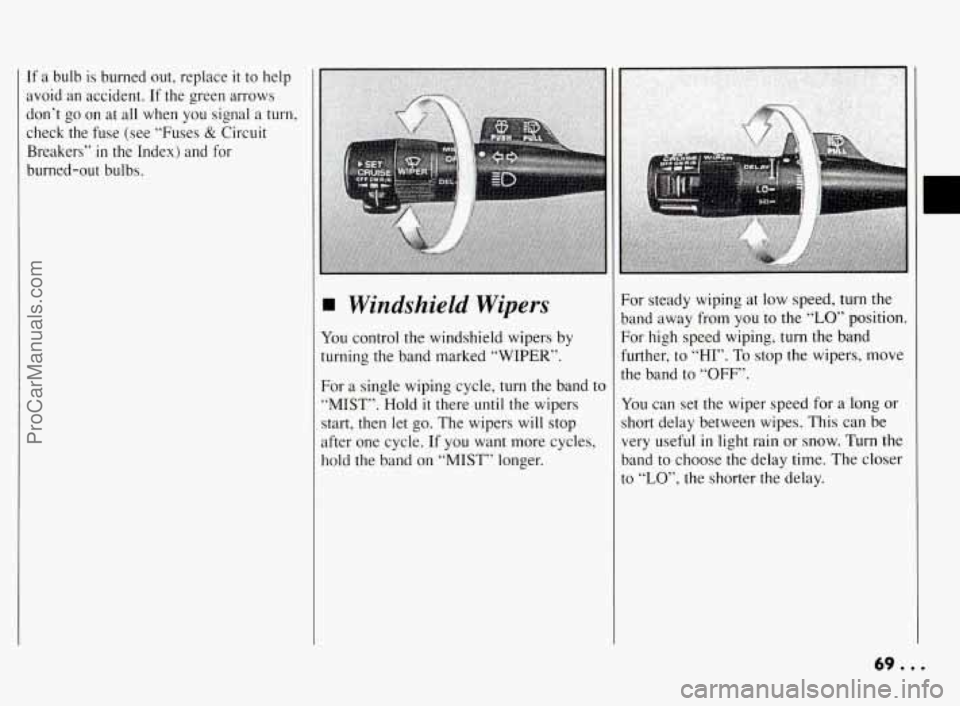
You control the windshield wipers by
turning the band marked “WIPER’.
For a single wiping cycle, turn the band to
“MIST”. Hold it there until the wipers
start, then let
go. The wipers will stop
after one cycle.
If you want more cycles,
hold the band on “MIST” longer. For
steady wiping at low speed, twxn the
band away from you
to the “LO” position.
For high speed wiping, turn the ba*d
further, to “HI”. To stop the wipers, move
the band to
“OFF”.
You can set the wiper speed for a,bng or
short delay between wipes. This can be
very useful
in light rain or snow. Turn the
band to choose the delay time.
The closer
to
“LO”, the s’horter the delay.
69 ...
ProCarManuals.com