brakes PONTIAC BONNEVILLE 1996 Owner's Manual
[x] Cancel search | Manufacturer: PONTIAC, Model Year: 1996, Model line: BONNEVILLE, Model: PONTIAC BONNEVILLE 1996Pages: 387, PDF Size: 18.71 MB
Page 205 of 387
Parking on Hills
You really should not park your vehicle, with a trailer
attached,
on a hill. If something goes wrong, your rig
could start to move. People can be injured, and both
your vehicle and the trailer can be damaged.
But
if you ever have to park your rig on a hill, here’s
how to do it:
1. Apply your regular brakes, but don’t shift into
2. Have someone place chocks under the trailer wheels.
3. When the wheel chocks are in place, release the
regular brakes
mil the chocks absorb the load.
4. Reapply the regular brakes. Then apply your pa;rking
brake, and then shift to PdRK (P).
PARK (P) yet.
’ 5. Release the regular brakes.
~ When You Are Ready to Leave After
Parking on a Hill
1. Apply your regular brakes and hold the pedal
.down while
you:
Start your engine;
e Shift into a gear; and
Release the parking brake.
2. Let up on the brake pedal.
3. Drive slowly until the trailer is clear of the chocks.
4. Stop and have someone pick up and store the chocks.
Maintenance When Trailer Towing
Your vehicle will & service more often when you’re
pmg a trde~ See the Mainte~nance Schedule for more
on this. Things that are especially important in trailer
operation are .automatic
trande fluid (don’t overfill),
engine
oil, belts, cooling system and brake adjustment.
Each
of these is-covered in this manual, and the Index will
help you kd them quickly. If you’re tradering, it’s a good
idea to review these sections before you start your trip.
Check periodically to see that all hitch nuts and bolts
are tight.
4-38
ProCarManuals.com
Page 273 of 387
NOTICE:
When using concentrated washer fluid,
follow the manufacturer’s instructions for
adding water.
0 Don’t mix water with ready-to-use washer
fluid. Water can cause the solution to freeze
and damage yoqr washer fluid
tank and
other parts
of the washer system. Also,
water doesn’t clean as well as washer fluid.
0 Fill your washer fluid tank only 3/4 full
when it’s very cold. This allows for
expansion, which could damage the tank if
it is completely full.
windshield washer. It can damage your
washer system and paint.
0 Don’t use radiator antifreeze in your
Brakes
Brake Fluid
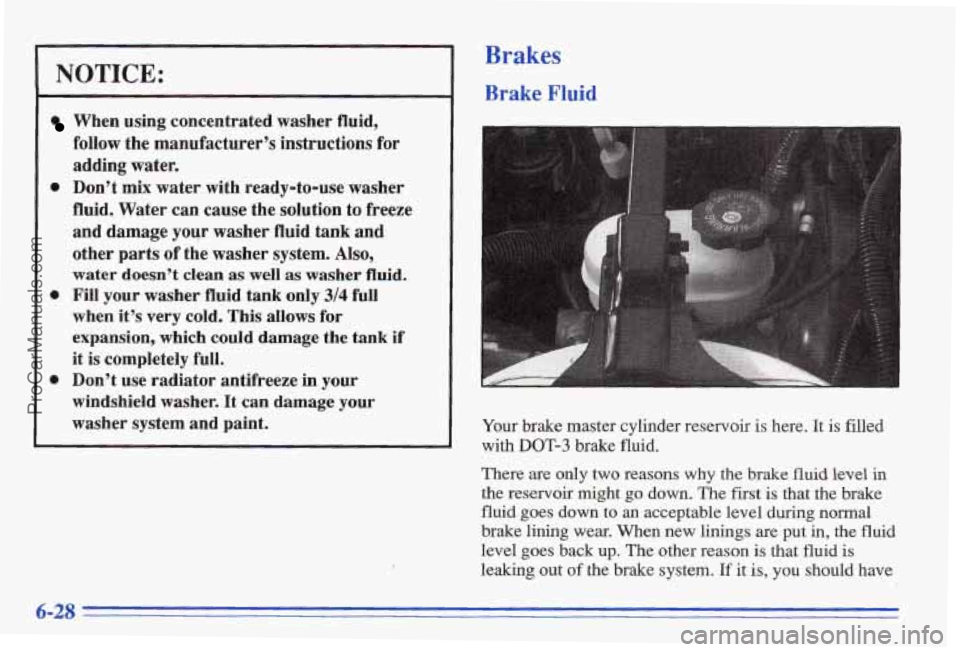
Your brake master cylinder reservoir is here. It is filled
with DOT-3 brake fluid.
There me only two reasons why the brake fluid level in
the reservoir might go down. The first is that the brake
fluid
goes down to an acceptable level during normal
brake lining wear. When new linings are put in, the fluid
level goes back up. The other reason is that fluid is
leaking out of the brake system. If it is, you should have
6-28
ProCarManuals.com
Page 274 of 387
your brake system fixed, since a leak means that sooner
or later your brakes won’t work well, or won’t work
at
all.
So, it isn’t a good idea to “top off’ your brake fluid.
Adding brake fluid won’t gorrect a leak.
If you add fluid
when your linings are worn, then you’ll have too much
fluid when you get new brake linings. You should add
(or remove) brake fluid, as necessary, only when work
is
done on the brake hydraulic system.
If you have too much brake fluid, it can spill on
the engine. The fluid will burn if the engine is hot
enough.
You or others could be burned, and
your vehicle could be damaged. Add brake
fluid only when work is done on. the brake
hydraulic system.
When
your brake fluid falls to a low level, your brake
warning light will come on. A chime will sound if you
try to drive with this warning light on. See “Brake
System Warning Light” in the Index. What
to
Add
When you do need brake fluid, use only DOT-3 brake
fluid
-- such as Delco Supreme 11 @ (GM Part
No. 1052535). Use new brake fluid from a sealed
container only, and always clean the brake fluid.
reservoir cap before removing it.
XLUTION:
-
With the wrong kind of fluid in your brake
system, your brakes
may not work well, or they
may not even work
at all. This could cause a
crash. Always use the proper brake fluid.
ProCarManuals.com
Page 275 of 387
NOTICE:
Using the wrong fluid can badly damage
brake system parts. For example, just
a few
drops of mineral-based oil, such as engine
oi1,’in
your brake system can damage brake
system parts
so badly that they’ll have to be
rep,laced. Don’t let someone put in the
wrong kind
of fluid.
If you spill brake fluid on your vehicle’s
painted surfaces, the paint finish can be
damaged. Be careful not to spill
brake fluid
on your vehicle. If you do, wash it off
immediately. See “Appearance Care” in
the Index.
Brake Wear
Your Pontiac has front disc brakes and rear drum brakes.
Disc brake pads have built-in wear indicators that make a
high-pitched
warning sound when the brake pads are worn
and
new pads are needed. The sound may come and go or
be heard all the time you vehicle is moving (except when
you are pushing on the brake pedal firmly).
I A CAUTION:
The brake wear warning sound means that
sooner
or later your brakes won’t work well.
That
could lead to an accident. When you hear
the brake wear warning sound, have your
vehicle
serviced.
I NOTICE:
Continuing to drive with worn-out brake pads
could result in costly brake repair.
6-30
ProCarManuals.com
Page 276 of 387
Some driving conditions or climates may cause a brake squeal when the brakes are first applied or lightly
applied. This does not mean something is wrong with
your brakes.
Free movement of brake calipers and properly torqued
wheel nuts are necessary to help prevent brake
pulsation. When tires are rotated, inspect brake calipers
for movement, brake pads for wear, and evenly torque
wheel nuts in the proper sequence to
GM specifications.
Your rear drum brakes don’t have wear indicators, but
if
you ever hear a rear brake, rubbing noise, have the rear
brake
linings inspected. Also, the rear brake drums
should be removed and inspected each time the tires are
removed for rotation or changing.
When you have the
front brakes replaced, have the rear brakes inspected,
too.
Brake linings should always be replaced as complete
axle sets.
Brake Pedal Travel
See your dealer if the brake pedal does not return to
normal height,
or if there is a rapid increase in pedal
travel.
This could be a sign of brake trouble.
Brake Adjustment
Every time you apply the brakes, with or without the
vehicle moving, your brakes adjust for wear.
Replacing Brake System Parts
The braking system on a modern vehicle is complex. Its
many parts have to be of top quality and work well
together
if the vehicle is to have really good braking.
Vehicles we design and test have top-quality GM brake
parts in them, as your Pontiac does when it is.new.
When you replace parts of your braking system
-- for
example, when your brake linings wear down and you
have to have new ones put in
-- be sure you get new
genuine GM replacement parts.
If you don’t, your
brakes may no longer work properly. For example, if someone puts in brake linings that are wrong for your
vehicle, the balance between your front and rear brakes can change
-- for the worse. The braking performance
you’ve come to expect can change
in many other ways if
someone puts in the wrong replacement brake parts.
Battery
Every new Pontiac has a Delco Freedom@ battery. You
never have to add water to one
of these. When it’s time
for
a new battery, we recommend a Delco Freedom
battery. Get one that has the replacement number shown on the
original battery’s label. : 1
Vehicle Storage . ..
If you’re not going to drive your vehicle for 25 days
or more, take
off the black, negative (-) cable from
..I
6-31
ProCarManuals.com
Page 354 of 387
Steering Column Lock Check
While parked, and with the parking brake set, try to turn
the key to.LOCK in each shift lever position.
The key should turn to LOCK only when the shift
The key should come out only in LOCK.
lever is in PARK (P).
Parking Brake and Automatic 'kansaxle PARK (P)
Mechanism Check
When you are doing this check, your vehicle
could begin to move. You or others could be
injured and property could be damaged. Make
sure there is room in front
of your vehicle in case
it begins to.rol1. Be ready to apply the regular
brake at once should the vehicle begin to move.
Park on a fairly steep hill, with the vehicle facing
downhill. Keeping your
foot on the regular brake, set the
parking brake.
To check the parking brake: With the engine running
and transaxle
in NEUTRAL (N), slowly remove foot
pressure from the regular brake pedal.
Do this until
the vehicle is held by the parking brake only.
To check the PARK (P) mechanism's holding ability:
with the engine
running, shift to PARK (P). Then
release all brakes.
Underbody Flushing Service
At least every spring, use plain water to flush any
corrosive materials from the underbody. Take care to
clean thoroughly any areas where mud and other debris
can collect.
7-39
.. I ProCarManuals.com
Page 355 of 387
Part C: Periodic Maintenance
Inspections
Listed below are iqspections and services which should
be performed at least twice
a year (for instance, each
spring and fall). You should let your GM dealer’s
service depkent or other qualified service center do
these jobs. Make sure any necessary repairs
are
completed at once.
Proper procedures to perform these services may be
found in a Pontiac service manual. See “Service and
Owner Publications” in the Index.
Steering, Suspension and Front- Wheel-Drive
Axle Boot and Seal Inspection
Inspect the front and rear suspension and steering system
for damaged, loose or missing parts,
signs of we&, or lack
of lubrication. Inspect the power steering hs d hoses
for proper hook-up, binding, leaks, cracks, chafing,
etc.
Clean and then inspect the drive axle boot seals for
damage, tears or leakage. Replace seals if necessary.
..-
,-’; .. :-: : :I . -. :;Exhaust System Inspe,ction
3 ,.
.’Inspect the complete exhaust system. Inspect the body near
the exhaust system. Look for broken, damaged, missing or
out-of-position parts as well as open seams, holes, loose
_.
connections, or other conditions which could cause a heat
build-up
in the floor pan or could let exhaust fumes into
the vehicle.
See “Engine Exhaust’’ in the Index.
Radiator and Heater Hose Inspection
Inspect the hoses and have them replaced if they are
cracked, swollen or deteriorated. Inspect all pipes,
fittings and clamps; replace as needed.
Throttle Linkage Inspection
Inspect the throttle Wage for interference or binding, and
for damage or missing parts. Replace parts as needed.
Replace any cables that have high effort or excessive wear.
Do not lubricate accelerator and cruise control cables.
Brake System Inspection
Inspect the complete system. Inspect brake lines and
hoses’ for proper hookup, binding, leaks, cracks, chafing,
etc. Inspect disc brake pads for wear
and rotors for
surface condition.
Also inspect drum brake linings for
wear and cracks. Inspect other brake
pans, including
drums, wheel cylinders, calipers, parking brake, etc.
Check pvking brake adjustment. You may need to have
your brakes inspected more often if your cjriving habits
or conditions result in frequent braking.
ProCarManuals.com
Page 374 of 387
v Section 9 Index
Acceisory mator ........................ 2.54. 5.25
Accessory Power Outlet .... ..................... 2-52
Adjustable Support Seat ........................... 1-3
AirBag .:..................................... l-16
.How Does it Restrain ............................ 1-20
How it Works ................................ 1-18
Location ...................................... 1-18
Readiness Light ......................... 1-17, 2-63
Servicing ................................... 1 -2 1
What Makes it Inflate .......................... 1-19
What Will
You See After it Inflates ............... 1-20
When Should it Inflate ......................... 1-19
Aircleaner .................................... 6-17
Air Conditioning ................................ 3-5
Air Conditioning Refrigerants ..................... 6-66
Air Inflator ............................... 2-54, 5.25
Alarm, Universal Theft-Deterrent .................. 2- 14
Alignment and Balance, Tire ...................... 6-47
Aluminum Wheels, Cleaning ...................... 6-54
Antenna, Fixed ................................. 3-28
Antenna. Power ................................ 3-28
Antifreeze ..................................... 6-23
Anti-Lock I
Brake System Waming Light ................ 2-66, 4-6
Brakes ...................................... 4-6
~~ I
Anti-Lockout Feature ............................. 2-6
Appearance Care ............................... 6-49
Appearance Care Materials ....................... 6-56
Arbitration Program .............................. 8-9
Armrest. Storage ............................... 2-49
Audio Controls. Steering Wheel Touch Control
....... 3-25
Audio Equipment. Adding ........................ 3-26
Audio Systems .................................. 3-9
Automatic Overdrive
.................................... 2-23
Starting Your Engine .......................... 2-18
Transaxle ................................... 2-21
Transaxle Check .............................. 7-37
Transaxle Fluid ............................... 6-20
Transaxle Operation ............................ 2-21
Transaxle Park Mechanism Check ................ 7-39
Automatic Door Locks ............................ 2-4
Ashtrays ...................................... 2-53 .
Shifting ...................................... 2-21
Back-up amp Monitor ......... .... 2-80
Back-up Lamp Bulb Replacement ................. 6-37
ProCarManuals.com
Page 375 of 387
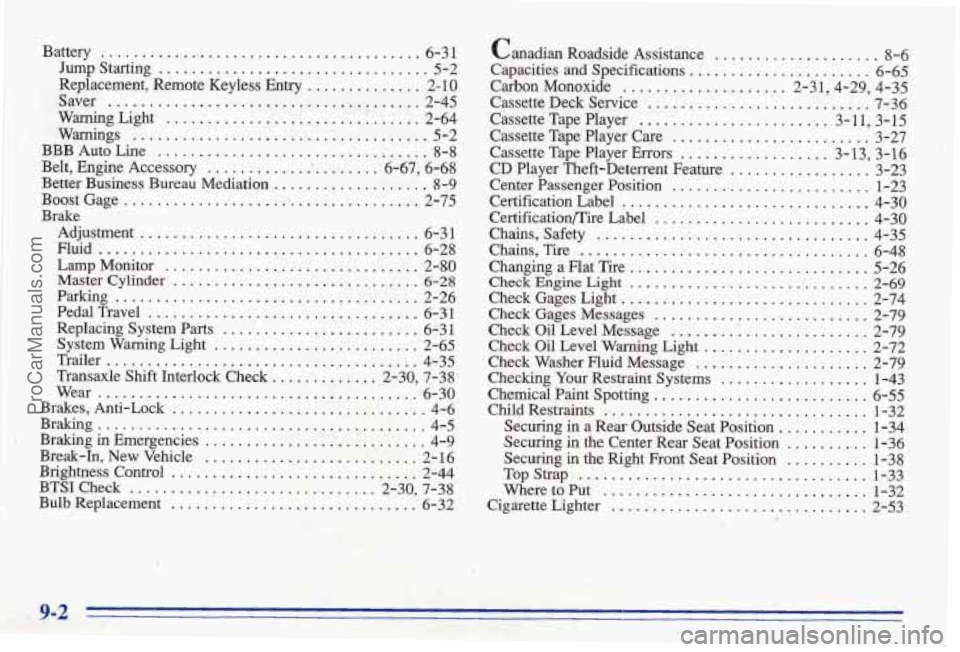
Battery ........................................ 6-3 1
Jump Starting ....... ! ......................... 5-2
Replacement. Remote Keyless Entry
.............. 2- 10
Warning Light
............................... 2-64
BBB Auto Line
................................. 8-8
Better Business Bureau Mediation ................... 8-9
BoostGage
.................................... 2-75
Adjustment
.................................. 6-3 1
Fluid
....................................... 6-28
Lamp Monitor
............................... 2-80
Master Cylinder .............................. 6-28
Parking ..................................... 2-26
Replacing System Parts
........................ 6-3 1
System Warning Light
......................... 2-65
Transaxle Shift Interlock Check
............. 2-30. 7-38
Brakes. Anti-Lock ............................... 4-6
Braking ........................................ 4-5
Braking in Emergencies ........................... 4-9
Break-In. New Vehicle .......................... 2- 16
Brightness Control
.............................. 2-44
BTSI Check
.............................. 2-30. 7-38
Bulb Replacement .............................. 6-32
Saver
.........'............................. 2-45
Warnings
.................................... 5-2
Belt. Engine Accessory
...................... 6-67. 6-68
Brake
PedalTravel
................................. 6-31
Trailer ...................................... 4-35
Wear
....................................... 6-30
Canadian Roadside Assistance .................... 8-6
Capacities and Specifications
...................... 6-65
Carbon Monoxide .................... 2-31.4-29. 4-35
Cassette Deck Service
........................... 7.36
Cassette Tape Player ....................... 3- 11 . 3-15
Cassette Tape Player Care ........................ 3-27
Cassette Tape Player Errors
.................. 3.13. 3.16
CD Player Theft-Deterrent Feature ................. 3-23
Center Passenger Position
........................ 1-23
Certification Label
.............................. 4-30
CertificationRire Label .......................... 4-30
Changing a Flat Tire ............................. 5-26
Check Engine Light ............................. 2-69
Check Gages Light
.............................. 2-74
Check Gages Messages
.......................... 2-79
Check Oil Level Warning Light .................... 2-72
Check Washer Fluid Message ..................... 2-79
Checking Your Restraint Systems
.................. 1-43
Chemical Paint Spotting
.......................... 6-55
Child Restraints
................................ 1-32
Securing
in a Rear Outside Seat Position ........... 1-34
Securing in the Center Rear Seat Position .......... 1-36
Securing in the Right Front Seat Position
.......... 1-38
Where to Put
................................ 1-32
Cigarette Lighter
............................... 2-53
Chains. Safety
................................. 4-35
Chains. Tire
................................... 6-48
Check Oil Level Message ........ ............... 2-79
TopStrap
................................... 1-33
9-2
ProCarManuals.com
Page 384 of 387
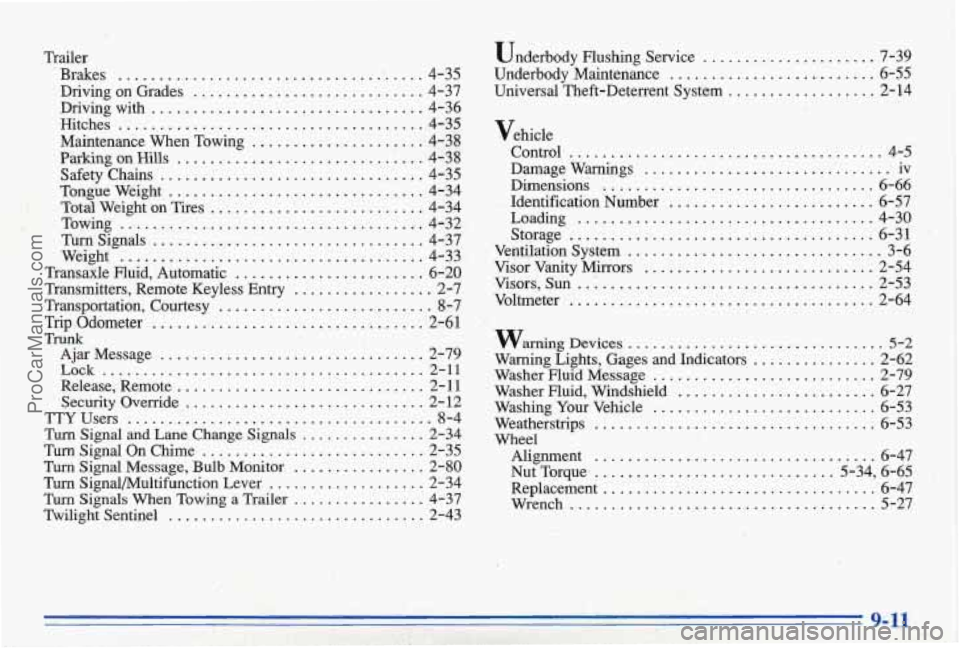
Trailer
. Brakes ...................................... 4-35
Driving on Grades ............................ 4-37
Drivingwith ................................. 4-36
-Hitches ..................................... 4-35
Maintenance When Towing ..................... 4-38
Parking on Hills ............................... 4-38
Safety Chains ................................. 4-35
Tongueweight ............................... 4-34
Total Weight on Tires .......................... 4-34
Turn Signals ................................. 4-37
Weight ..................................... 4-33
Transaxle Fluid, Automatic ....................... 6-20
Transmitters, Remote Keyless Entry ................. 2-7
Transportation, Courtesy .......................... 8-7
Trip Odometer .......................... ...... 2-61
Ajar Message ................................ 2-79
Lock ....................................... 2-11
Release, Remote .............................. 2-1 1
Security Override. ............................. 2-12
TTYUsers ..................................... 8-4
Turn Signal and Lane Change Signals ............... 2-34
Turn Signal On Chime ........................... 2-35
Turn Signal Message, Bulb Monitor ................ 2-80
Turn Signal/Multifunction Lever ................... 2-34
Turn Signals When Towing a Trailer ................ 4-37
Twilight Sentinel ............................... .. 2-43
Towing ...................................... 4-32.
Tiunk
Underbody Flushing Service ..................... 7-39
Universal Theft-Deterrent System .................. 2-14
Underbody Maintenance .......................... 6-55
Vehicle
Control
..................................... 4-5
Damage Warnings .............................. iv
Dimensions
.................................. 6-66
Identification Number ......................... 6-57
Loading ..................................... 4-30
Ventilation System ............................... 3-6
Visor Vanity Mirrors ............................ 2-54
Visors. Sun .. .................................. 2-53
Voltmeter ..................................... 2-64
Storage ..................................... 6-31 .
warning Devices ............................... 5-2
Warning Lights. Gages and Indicators ............... 2-62
Washer Fluid Message ............................ 2-79
Washer Fluid. Windshield ........................ 6-27
Washing Your Vehicle ........................... 6-53
Weatherstrips ........................ ...... 6-53
Wheel Alignment
................................ 6-47
Nut Torque ............................. 5-34. 6-65
Replacement ................................. 6-47
Wrench ..................................... 5-27
I .. .... ,.
.l?. .. .. ... ... \I., ..... 1 .. ._ .
T- L .
.... I .- I .. .... ... ,. i .. ..
.l?. .. .. ... ..... .. ._ . \I., ..... 1
T- L .
I
... i ..
ProCarManuals.com