clock PONTIAC BONNEVILLE 1998 User Guide
[x] Cancel search | Manufacturer: PONTIAC, Model Year: 1998, Model line: BONNEVILLE, Model: PONTIAC BONNEVILLE 1998Pages: 395, PDF Size: 17.6 MB
Page 245 of 395
' A CAUTION:
Never use oil or grease on studs or nuts. If you
do, the nuts might come loose. Your wheel could
fall
off, causing a serious accident.
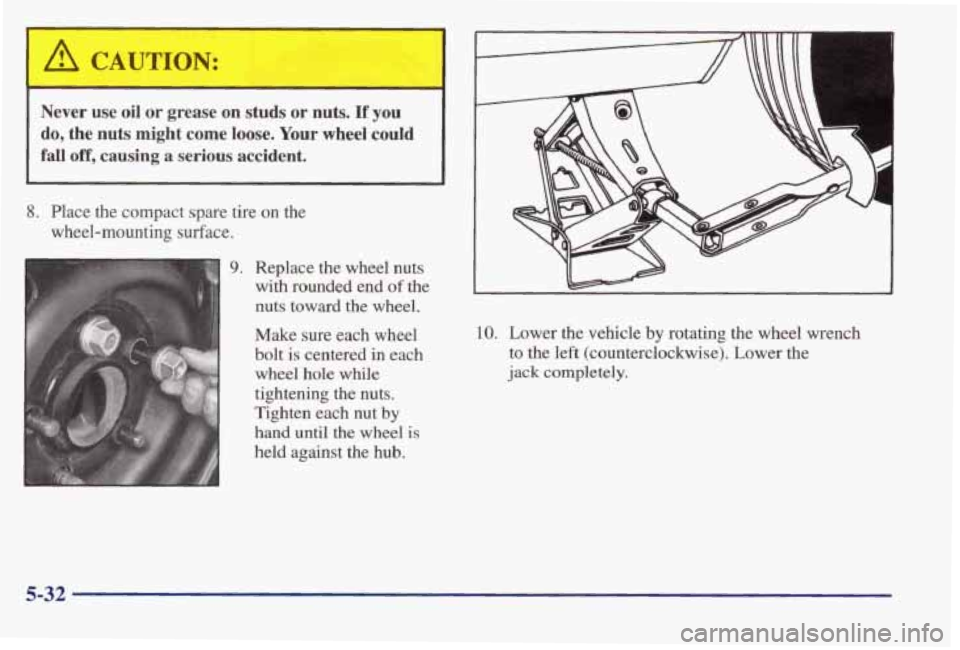
8. Place the compact spare tire on the
wheel-mounting surface.
9. Replace the wheel nuts
with rounded end
of the
nuts toward the wheel.
Make sure each wheel
bolt is centered
in each
wheel hole while
tightening the nuts.
Tighten each nut by hand until the wheel
is
held against the hub.
10. Lower the vehicle by rotating the wheel wrench
to the
left (counterclockwise). Lower the
jack completely.
5-32
Page 258 of 395
To remove the cap, turn it slowly to the left
(counterclockwise). The cap has a spring in it; if you
let
go of the cap too soon, it will spring back to the right.
If you get gasoline on yourself and then
something ignites it, you could be badly burned.
Gasoline can
spray out on you if you open the
fuel filler cap too quickly. This spray can happen
if your tank
is nearly full, and is more likely in
hot weather. Open the fuel filler cap slowly and
wait for any “hiss” noise to stop. Then unscrew
the cap all the way.
Be careful not to spill gasoline. Clean gasoline from
painted surfaces as soon as possible. See “Cleaning the
Outside
of Your Vehicle” in the Index. When you put
the cap back on, turn it to the right
(clockwise) until you hear a clicking sound. Make
sure
you fully install the cap. The diagnostic system
can determine if the fuel cap has been left
off or
improperly installed. This would allow fuel
to
evaporate into the atmosphere. See “Malfunction
Indicator Lamp”
in the Index.
NOTICE:
If you need a new cap, be sure to get the right
type. Your dealer can get one for you.
If you get
the wrong type, it may not
fit properly. This may
cause your malfunction indicator lamp to light
and your fuel tank and emissions system may be
damaged. See “Malfunction Indicator Lamp” in
the Index.
6-7
Page 284 of 395
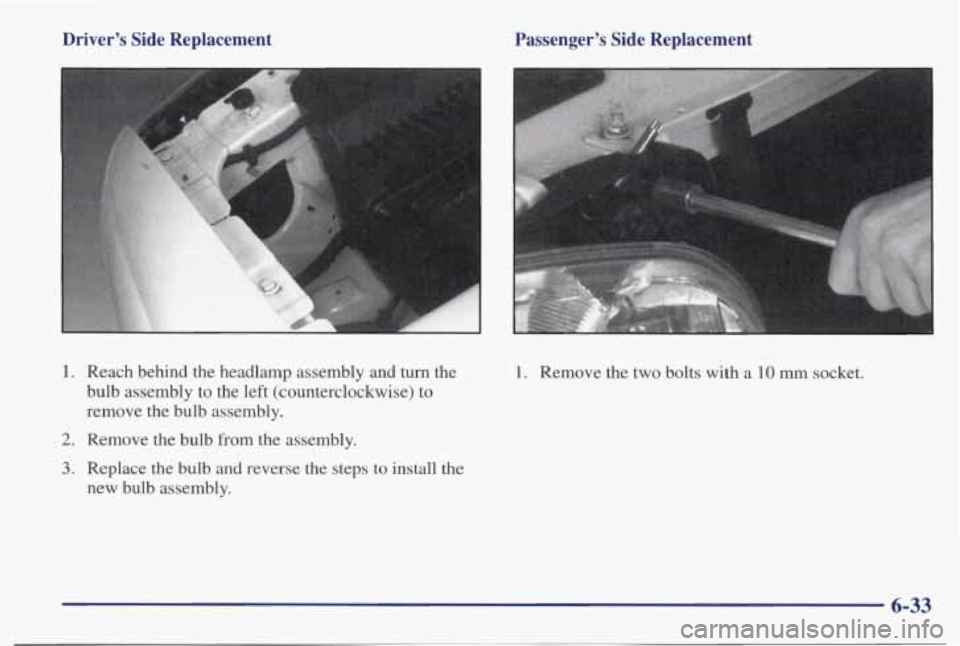
Driver’s Side Replacement
1. Reach behind the headlamp assembly and turn the bulb assembly to the left (counterclockwise) to
remove the bulb assembly.
2. Remove the bulb from the assembly.
3. Replace the bulb and reverse the steps to install the
new bulb assembly.
Passenger’s Side Replacement
-
1. Remove the two bolts with a 10 mm socket.
6-33
Page 285 of 395
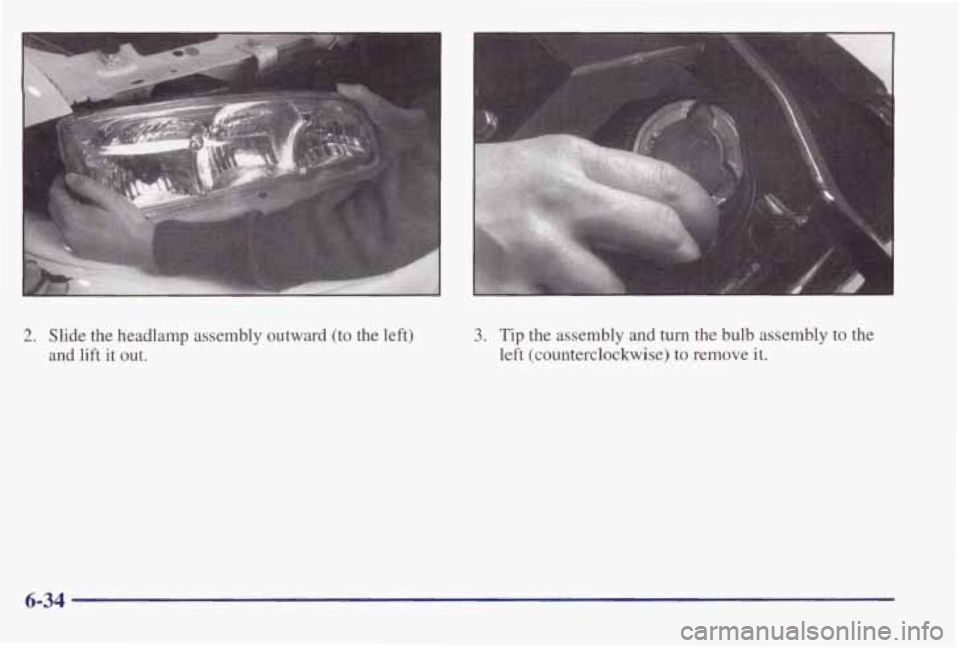
2. Slide the headlamp assembly outward (to the left)
and lift it out. 3. Tip the assembly and turn the bulb assembly to the
left (counterclockwise)
to remove it.
6-34
Page 287 of 395
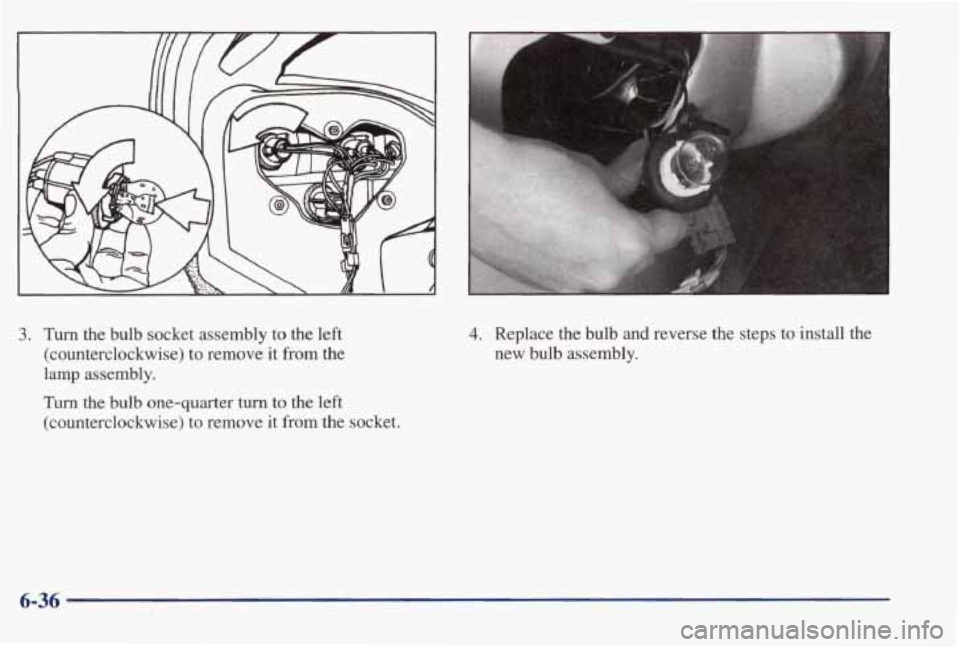
3. Turn the bulb socket assembly to the left
(counterclockwise) to remove it from the
lamp assembly.
Turn the bulb one-quarter turn to the left
(counterclockwise) to remove
it from the socket.
4. Replace the bulb and reverse the steps to install the
new bulb assembly.
6-36
Page 290 of 395
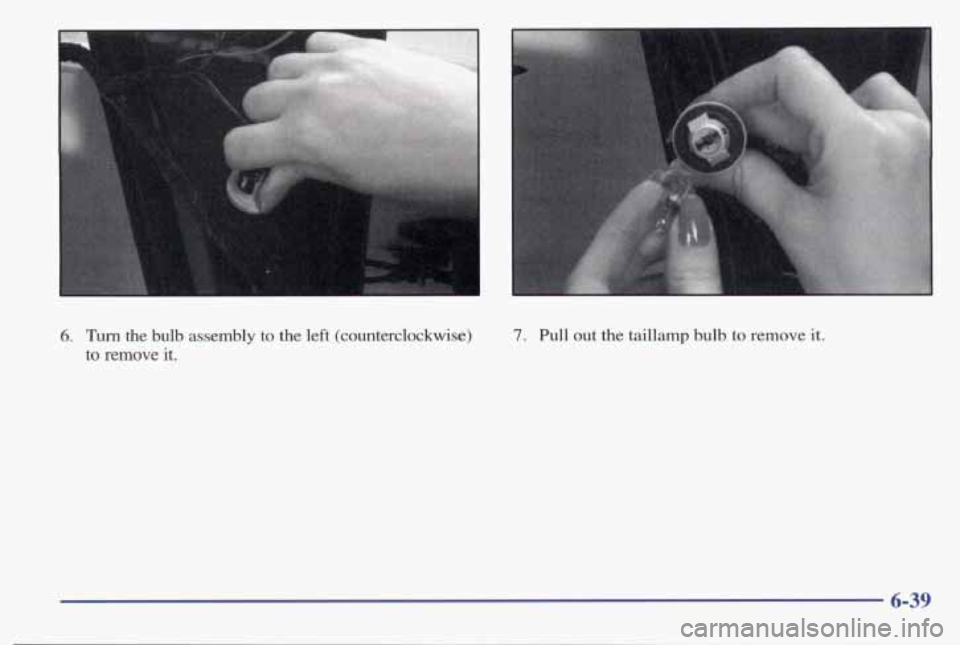
6. Turn the bulb assembly to the left (counterclockwise)
to
remove it.
1
7. Pull out the taillamp bulb to remove it.
6-39
Page 310 of 395
Maxifuse@/Relay Center
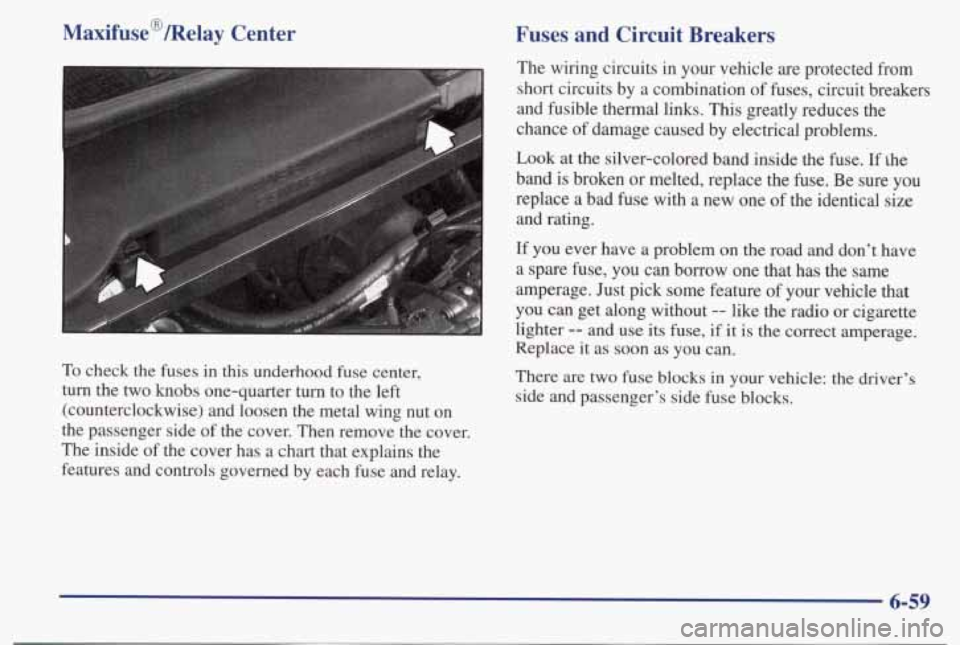
To check the fuses in this underhood fuse center,
turn the two
knobs one-quarter turn to the left
(counterclockwise) and loosen the metal wing
nut on
the passenger side of the cover. Then remove the cover.
The inside of the cover has
a chart that explains the
features and controls governed
by each fuse and relay.
Fuses and Circuit Breakers
The wiring circuits in your vehicle are protected from
short circuits by a combination of fuses, circuit breakers
and fusible thermal links. This greatly reduces the
chance
of damage caused by electrical problems.
Look at the silver-colored band inside the fuse. If
the
band is broken or melted, replace the fuse. Be sure you
replace a bad fuse with
a new one of the identical size
and rating.
If you ever have a problem on the road and don't have
a spare fuse,
you can borrow one that has the same
amperage. Just pick some feature
of your vehicle that
you
can get along without -- like the radio or cigarette
lighter
-- and use its fuse, if it is the correct amperage.
Replace
it as soon as you can.
There
are two fuse blocks in your vehicle: the driver's
side and passenger's side fuse blocks.
6-59
Page 376 of 395
Outside of Your Vehicle ................ ... 6-52
Special Problems
............................. 6-50
Stains ...................................... 6-50
Tires
....................................... 6-54
Vinyl
....................................... 6-50
Wheels
..................................... 6-54
Windshield and Wiper Blades
................... 6-52
Climate Control. Standard
......................... 3-2
Climate Control System
........................... 3-2
Clock. Setting the
................................ 3-9
Comfortcontrols
................................ 3-1
Compact Disc Care
............................. 3-29
Compact Disc Player
....................... 3-20, 3-22
Care
....................................... 3-29
Errors
................................. 3-20. 3-23
Compact Spare Tire
............................. 5-37
Compass. Electronic
............................ 2-79
Computer Command Ride
........................ 2-28
Console Storage
................................ 2-5 1
Control of a Vehicle .............................. 4-6
Convenience Net ............................... 2-52
Convex Outside Mirror
.......................... 2-50
Coolant
....................................... 6-23
Heater. Engine
............................... 2-23
RecoveryTank
............................... 5- 19
Coolant Temperature Gage
....................... 2-68
CoolingSystem
................................ 5-17
Courtesy Transportation
........................... 8-8
CruiseControl ................................. 2-40
Cupholder Center Console
............................... 2-51
Customer Assistance for Text Telephone Users
......... 8-5
Door ....................................... 2-51 Customer Assistance Information
................... 8-1
Customer Satisfaction Procedure
.................. 8-3
Damage. Finish
............................... 6-55
Damage. Sheet Metal
............................ 6-54
Daytime Running Lamps
......................... 2-43
Dead Battery
................................... 5-3
Defects. Reporting Safety
........................ 8-10
Defensive Driving ............................... 4-2
Defogger. Rear Window
.......................... 3-8
Defogging
..................................... 3-8
Defrosting
..................................... 3-8
Delayed Illumination ............................ 2-46
Delayed Locking
................................ 2-7
DIC
.......................................... 2-77
Dimensions. Vehicle
............................ 6-66
Dolby
B Noise Reduction ................... 3-13. 3-17
Door
Ajar Message ................................ 2-78
Locks ....................................... 2-4
Drive Position. Automatic Transaxle
................ 2-26
Driver Information Center
........................ 2-77
DriverPosition
................................. 1-10
Driving
City
........................................ 4-20
Defensive
.................................... 4-2
Drunken
..................................... 4-3
Freeway
.................................... 4-21
InaBlizzard
................................. 4-27
In Foreign Countries
........................... 6-5
IntheRain
.................................. 4-17
OnCurves
.................................. 4-10
Night
...................................... 4-15
9-3
Page 386 of 395
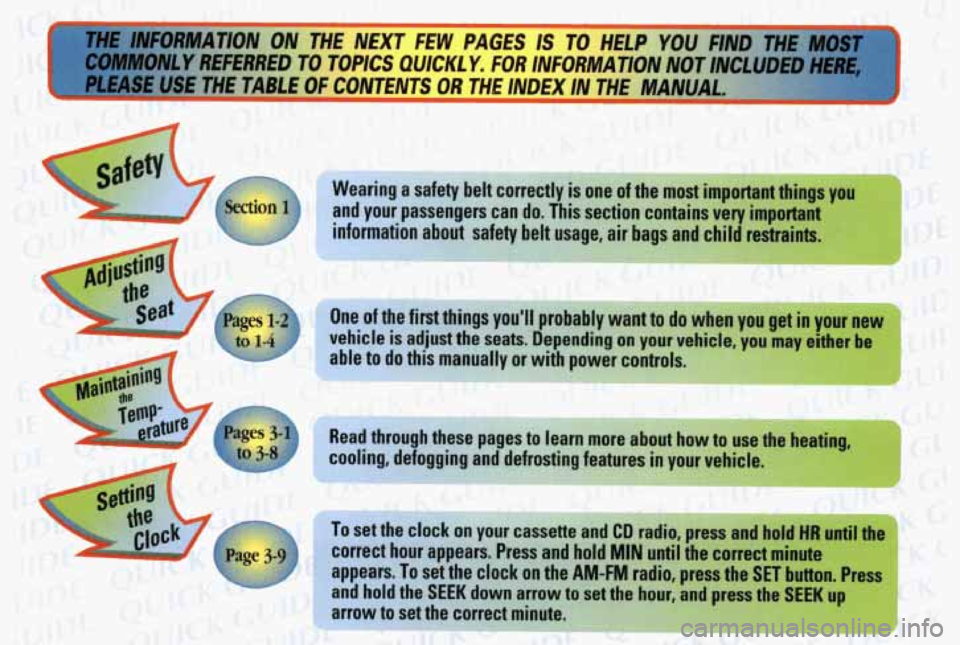
I rm rrUFORMATlON ON THE NEXT FEW PAGES IS
COMMONLY REFERRED TO TOPICS QUICK1 Y. FOR INFORMATION NOT INCLUDED HERE,
Pi USE THETA"" CONTENTS OR THE INDEX IN THE MANUA- -
-7
gaf e"'
rearing a safety belt correctly is one of the most important things you
and your passengers can do.
This section contains very important
information about safety
belt usage, air bags and child restraints. ., ..l .
-* , . .,! " .is'. ' ,,,, ": , , 3, '< 1: '
One of the first things you'll probably want to do when you get in your new
vehicle is adjust the seats. Depending on your vehicle, vou mav either be
Read through these pages
to learn more about how to use the heatina.
cooli
, defoggin4 and defrosting features in VOL leh
To set the clock on your cassene ana LU raalo, press ana hold HK untll the
correct hour appears. Press and hold
MIN until the correct minute
appears.
To set the clock on the AM-FM radio, press the SET button. Press
and hold the
SEEK down arrow to set the hour, a up I. '1'
arrow to set the correct minute. pu:' 1 ,I - ;: ,,#y 1. y7; :- ' 2 2 '.->'