check engine light PONTIAC BONNEVILLE 2003 User Guide
[x] Cancel search | Manufacturer: PONTIAC, Model Year: 2003, Model line: BONNEVILLE, Model: PONTIAC BONNEVILLE 2003Pages: 418, PDF Size: 20.24 MB
Page 165 of 418
On vehicles with a DIC, a CHECK GAGES OIL
PRESSURE message will be displayed and a warning
chime will sound. See
DIC Warnings and Messages
on Daue
3-60 for more information.
Don’t keep drivi
J if the oil pressure is low. If
you do, your engine can become
so hot that it
catches fire. You or others could be burned.
Check your oil as soon as possible and have
your vehicle serviced.
Notice: Damage to your engine from neglected oil
problems can be costly and is not covered by
your warranty.
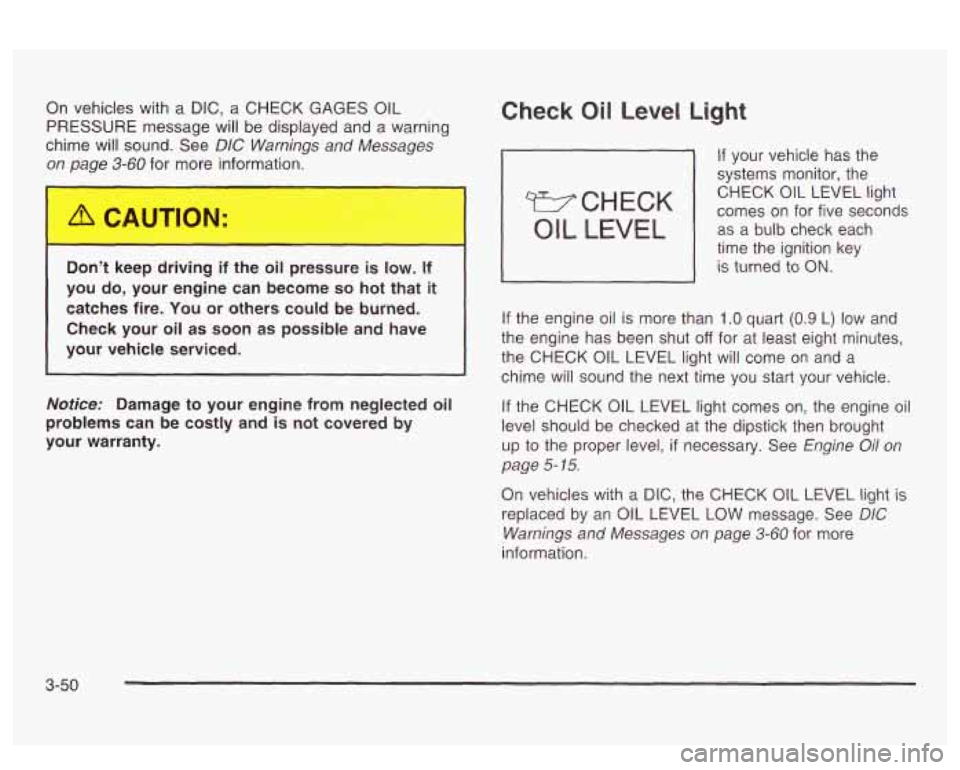
Check Oil Level Light
If your vehicle has the
systems monitor, the
comes on for five seconds CHECK
OIL LEVEL light
OIL LEVEL I as
a-bulb check each
time the ignition key
I is turned io ON.
If the engine oil is more than 1 .O quart (0.9 L) low and
the engine has been shut
off for at least eight minutes,
the CHECK OIL LEVEL light will come on and a
chime will sound the next time you
start your vehicle.
If the CHECK OIL LEVEL light comes on, the engine oil
level should be checked
at the dipstick then brought
up
to the proper level, if necessary. See Engine Oil on
page
5- 15.
On vehicles with a DIC, the CHECK OIL LEVEL light is
replaced by an OIL LEVEL
LOW message. See DIC
Warnings and Messages on page 3-60 for more
information.
3-50
Page 168 of 418
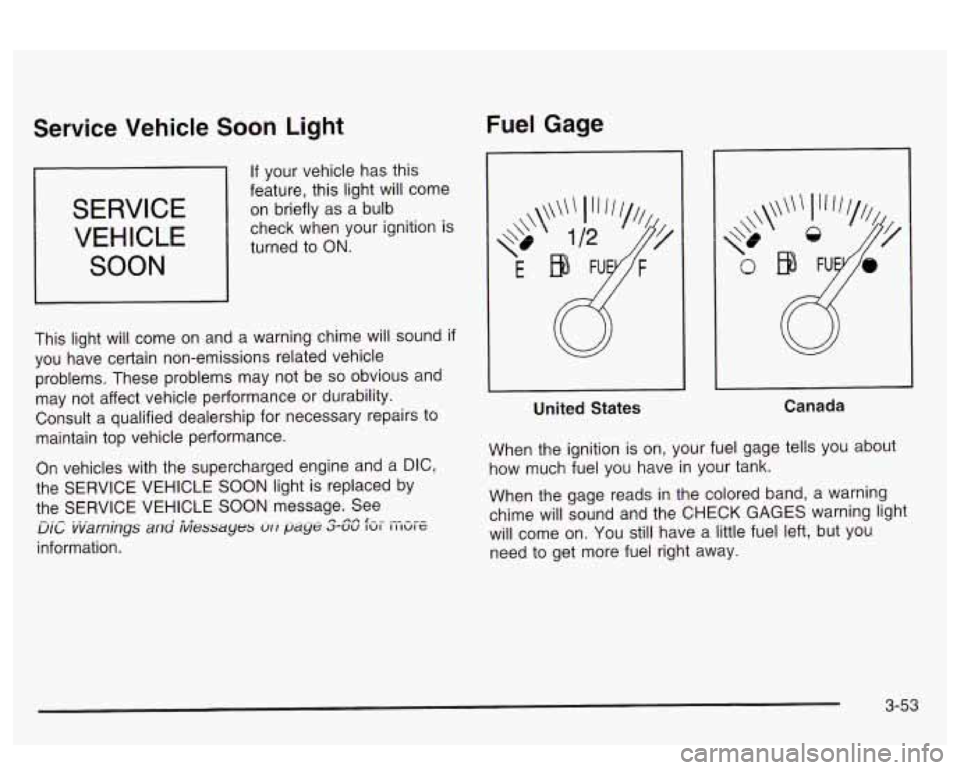
Service Vehicle Soon Light
SERVICE
VEHICLE
SOON
b If your vehicle has this
feature, this light will come
on briefly as a bulb
check when your ignition is
turned to
ON.
This light will come on and a warning chime will sound if
you have certain non-emissions related vehicle
problems. These problems may not be so obvious and
may not affect vehicle performance or durability.
Consult a qualified dealership for necessary repairs to
maintain top vehicle performance.
On vehicles with the supercharged engine and a
DIC,
the SERVICE VEHICLE SOON light is replaced by
the SERVICE VEHICLE
SOON message. See
UIL vvarnings ana iviessayes vri paye S-SC fzlr EGE
information.
-.- ...
Fuel Gage
United States Canada
When the ignition
is on, your fuel gage tells you about
how much fuel you have
in your tank.
When the gage reads
in the colored band, a warning
chime will sound and the CHECK GAGES warning light
will come on. You still have a little fuel left, but you
need to get more fuel right away.
3-53
Page 169 of 418
On vehicles with a DIC, the CHECK GAGES LOW
FUEL message will be displayed when the fuel gage
reads
in the yellow band. See DIC Warnings and
Messages on page
3-60 for more information.
Here are some things that owners ask about. None of
these show a problem with your fuel gage:
At the service station, the gas pump shuts off
before the gage reads full.
It takes a little more (or less) fuel to fill up than the
gage indicated. For example, the gage may have
indicated the tank was half full, but it actually took a
little more (or less) than half the tank’s capacity
to
fill the tank.
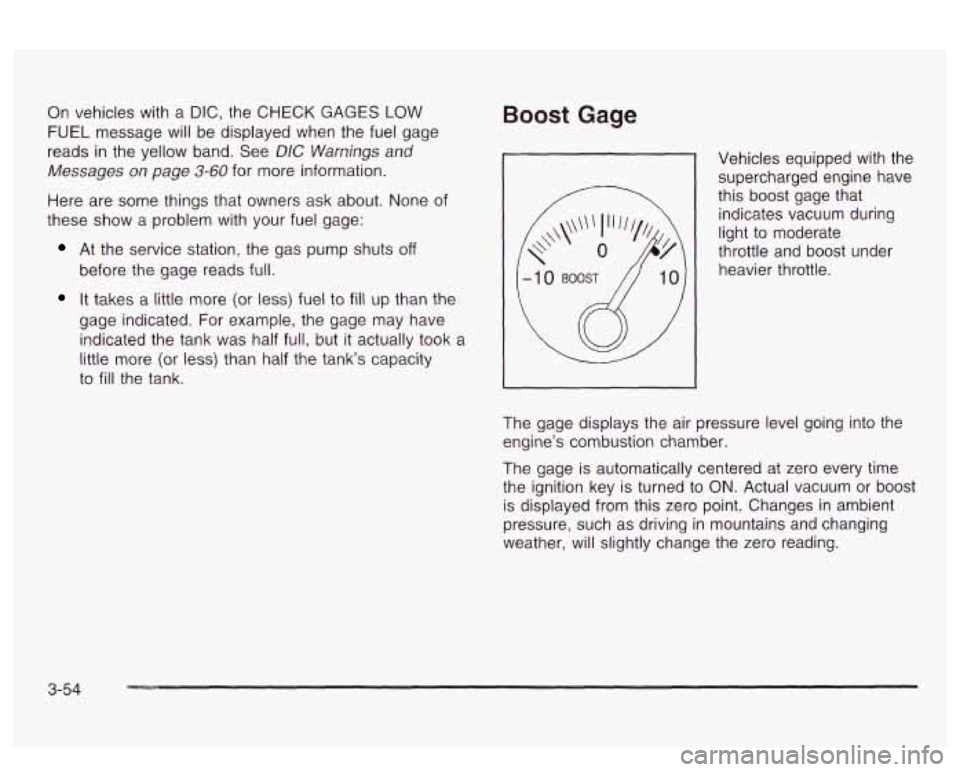
Boost Gage
Vehicles equipped with the supercharged engine have
this boost gage that
indicates vacuum during
light to moderate
throttle and boost under
heavier throttle.
The gage displays the air pressure level going into the
engine’s combustion chamber.
The gage is automatically centered at zero every time
the ignition key is turned to
ON. Actual vacuum or boost
is displayed from this zero point. Changes in ambient
pressure, such as driving in mountains and changing
weather, will slightly change the zero reading.
3-54
Page 224 of 418
And, of course, actual stopping distances vary greatly
with the surface of the road (whether it’s pavement
or gravel); the condition of the road (wet, dry, icy); tire
tread; the condition of your brakes; the weight of
the vehicle and the amount of brake force applied.
Avoid needless heavy braking. Some people drive in
spurts
- heavy acceleration followed by heavy braking
- rather than keeping pace with traffic. This is a
mistake. Your brakes may not have time to cool between
hard stops. Your brakes will wear out much faster
if
you do a lot of heavy braking. If you keep pace with the
traffic and allow realistic following distances, you will
eliminate a lot of unnecessary braking. That means
better braking and longer brake life.
If your engine ever stops while you‘re driving, brake
normally but don’t pump your brakes. If you
do,
the pedal may get harder to push down. If your engine
stops, you will still have some power brake assist.
But you will use it when you brake. Once the power
assist is used up, it may take longer to stop and
the brake pedal will be harder to push.
Anti-lock Brake System (ABS)
Your vehicle has anti-lock brakes. ABS is an advanced
electronic braking system that will help prevent a
braking skid.
When you start your engine, or when you begin to drive
away, your anti-lock brake system will check itself.
You may hear a momentary motor or clicking noise while
this test is going on, and you may even notice that
your brake pedal moves or pulses a little. This is normal.
ANTI-
LOCK
United States
Canada
If there’s a problem with the anti-lock brake system, this
warning light will stay on. See
Anti-Lock Brake System
Warning Light
on page 3-43.
4-7
Page 239 of 418
Once you are moving on the freeway, make certain you
allow a reasonable following distance.
Expect to move slightly slower at night.
When you want to leave the freeway, move to the
proper lane well in advance.
If you miss your exit, do
not, under any circumstances, stop and back up. Drive
on to the next exit.
The exit ramp can be curved, sometimes quite sharply.
The exit speed is usually posted. Reduce your speed
according to your speedometer, not to your sense
of motion. After driving for any distance at higher
speeds, you may tend to think you are going slower
than you actually are. Of
course, you’ll find experienced and able service
experts in dealerships all across North America. They’ll
be ready and willing to help
if you need it.
Here are some things you can check before a trip:
a
Before Leaving on a Long Trip
Make sure you’re ready. Try to be well rested. If you
must start when you’re not fresh
- such as after a day’s
work
- don’t plan to make too many miles that first
part of the journey. Wear comfortable clothing and shoes
you can easily drive in.
Is your vehicle ready for a long trip? If you keep
it serviced and maintained, it’s ready to go. If it
needs service, have it done before starting out.
Windshield Washer Fluid: Is the reservior full? Are
all windows clean inside and outside?
Wiper Blades: Are they in good shape?
Fuel, Engine Oil, Other Fluids: Have you checked
all levels?
Lamps: Are they all working? Are the lenses clean?
Tires: They are vitally important to a safe,
trouble-free trip.
Is the tread good enough for
long-distance driving? Are the tires all inflated
to the
recommended pressure?
Weather Forecasts: What’s the weather outlook
along your route? Should you delay your trip a
short time to avoid a major storm system?
Maps: Do you have up-to-date maps?
4-22
Page 246 of 418
Put on extra clothing or wrap a blanket around you.
If you have no blankets or extra clothing, make
body insulators from newspapers, burlap bags, rags,
floor mats
- anything you can wrap around
yourself
or tuck under your clothing to keep warm.
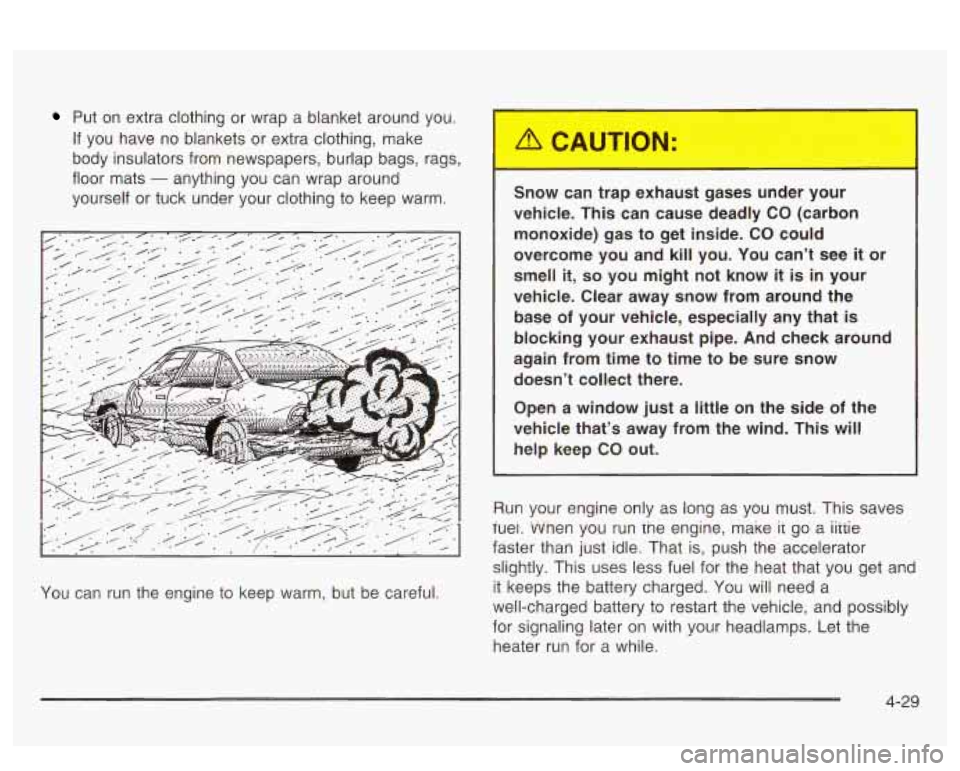
You can run the engine to keep warm, but be careful. Snow can trap exhaust gases under your
vehicle. This can cause deadly
CO (carbon
monoxide) gas to get inside.
CO could
overcome you and kill you. You can’t see
it or
smell
it, so you might not know it is in your
vehicle. Clear away snow from around the
base of your vehicle, especially any that
is
blocking your exhaust pipe. And check around
again from time to time to be sure snow doesn’t collect there.
Open a window just a little on the side
of the
vehicle that’s away from the wind. This will
help keep CO out.
Run your engine only as long as you must. This saves
iuei. vvnen you run tne engine, make
ir go a iiiiie
faster than just idle. That is, push the accelerator
slightly. This uses less fuel for the heat that you get and
it keeps the battery charged.
You will need a
well-charged battery to restart the vehicle, and possibly
for signaling later on with your headlamps. Let the
heater run for a while.
4-29
Page 256 of 418
Will you have to make any holes in the body of
your vehicle when you install a trailer hitch?
If
you do, then be sure to seal the holes later when
you remove the hitch.
If you don’t seal them, deadly
carbon monoxide (CO) from your exhaust can get
into your vehicle. See
Engine Exhaust on
page 2-36. Dirt and water can also enter the
vehicle.
Safety Chains
You should always attach chains between your vehicle
and your trailer. Cross the safety chains under the
tongue of the trailer
so that the tongue will not drop to
the road
if it becomes separated from the hitch.
Instructions about safety chains may be provided by the
hitch manufacturer or by the trailer manufacturer.
Follow the manufacturer’s recommendation for attaching
safety chains and do not attach them to the bumper.
Always leave just enough slack
so you can turn
with your rig. And, never allow safety chains to drag on
the ground.
Trailer Brakes
Does your trailer have its own brakes? Be sure to read
and follow the instructions for the trailer brakes
so
you’ll be able to install, adjust and maintain them
properly. Because you have
anti-lock brakes, do not try to tap
into your vehicles brake system.
If you do, both
brake systems won’t work well, or at all.
Trailer Wiring Harness
All of the electrical circuits required for your trailer
lighting system can be accessed at the driver’s side rear
lamp connector. This connector is located under the
carpet on the rear corner of your trunk compartment.
Driving with a Trailer
Towing a trailer requires a certain amount of experience.
Before setting out for the open road, you’ll want to get
to know your rig. Acquaint yourself with the feel of
handling and braking with the added weight of the trailer.
And always keep in mind that the vehicle you are
driving is now a good deal longer and not nearly as
responsive as your vehicle is by itself.
Before you start, check the trailer hitch and platform
(and attachments), safety chains, electrical connector,
lamps, tires and mirror aajustment.
ii tne rraiier nas
electric brakes, start your vehicle and trailer moving and
then apply the trailer brake controller by hand to be
sure the brakes are working. This lets you check your
electrical connection at the same time.
Oiiriiig your trip, check occasicfially tc be sure that the
load is secure, and that the lamps and any trailer
brakes are still working.
4-39
Page 274 of 418
A. Engine Compartment Fuse Block
B. Windshield Washer Fluid Reservoir
C. Engine Coolant Recovery Tank
D. Radiator Pressure Cap
E. Power Steering Fluid Reservoir
F. Engine Oil Dipstick
G. Engine Oil Fill Cap
H. Automatic Transaxle Fluid Dipstick
I. Brake Master Cylinder
J. Engine Air Cleaner/Filter
Engine Oil
WCHECK
OIL LEVEL
If the OIL LEVEL LOW
message appears
on the
DIC, or the CHECK
OIL LEVEL light appears
on the instrument cluster, it
means
YOU need to
check your engine oil level
right away.
For more information, see
Check Oil Level Light on
page
3-50 or DIG Warnings and Messages on
page 3-60.
You should check your engine oil level regularly; this is
an added reminder.
5-1 5
Page 285 of 418
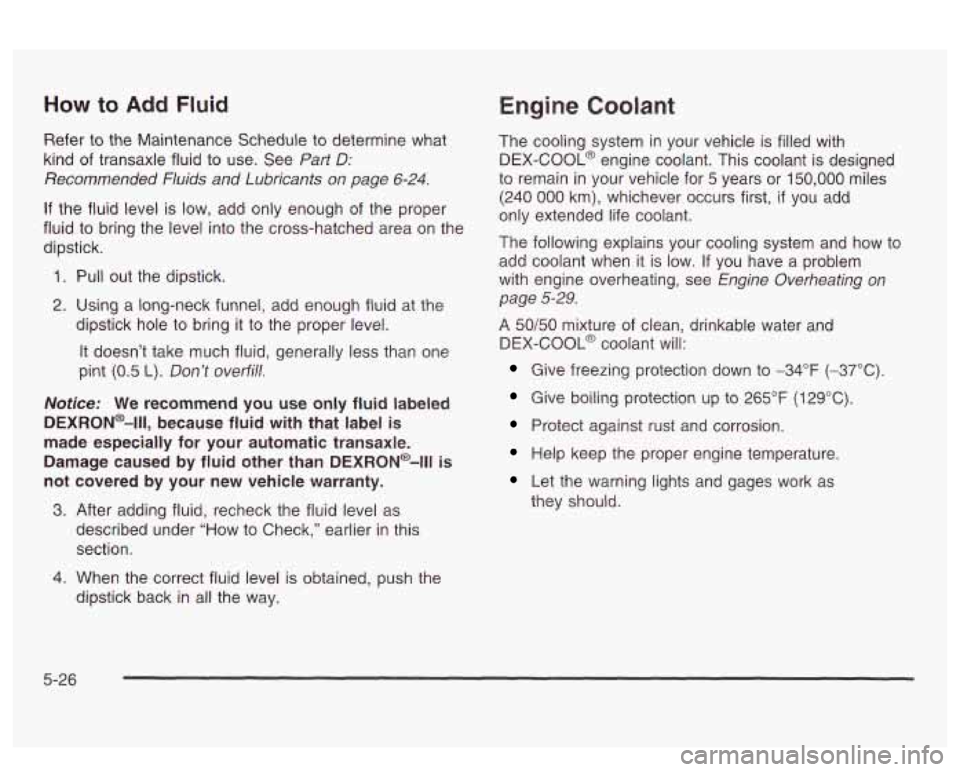
How to Add Fluid
Refer to the Maintenance Schedule to determine what
kind of transaxle fluid
to use. See Part D:
Recommended Fluids and Lubricants on page 6-24.
If the fluid level is low, add only enough of the proper
fluid
to bring the level into the cross-hatched area on the
dipstick.
1. Pull out the dipstick.
2. Using a long-neck funnel, add enough fluid at the
dipstick hole
to bring it to the proper level.
It doesn’t take much fluid, generally less than one
pint
(0.5 L). Don’t overfill.
Notice: We recommend you use only fluid labeled
DEXRON@-Ill, because fluid with that label is
made especially for your automatic transaxle.
Damage caused by fluid other than DEXRON@-Ill
is
not covered by your new vehicle warranty.
3. After adding fluid, recheck the fluid level as
described under “How to Check,” earlier in this
section.
Engine Coolant
The cooling system in your vehicle is filled with
DEX-COOL@ engine coolant. This coolant is designed
to remain
in your vehicle for 5 years or 150,000 miles
(240
000 km), whichever occurs first, if you add
only extended life coolant.
The following explains your cooling system and how to
add coolant when it is low. If you have a problem
with engine overheating, see
Engine Overheating on
page
5-29.
A 50/50 mixture of clean, drinkable water and
DEX-COOL@ coolant will:
Give freezing protection down to -34°F (-37°C).
Give boiling protection up to 265°F (129°C)
Protect against rust and corrosion.
Help keep the proper engine temperature.
Let the warning lights and gages work as
they should.
4. When the correct fluid level is obtained, push the
dipstick back
in all the way.
5-26
Page 306 of 418
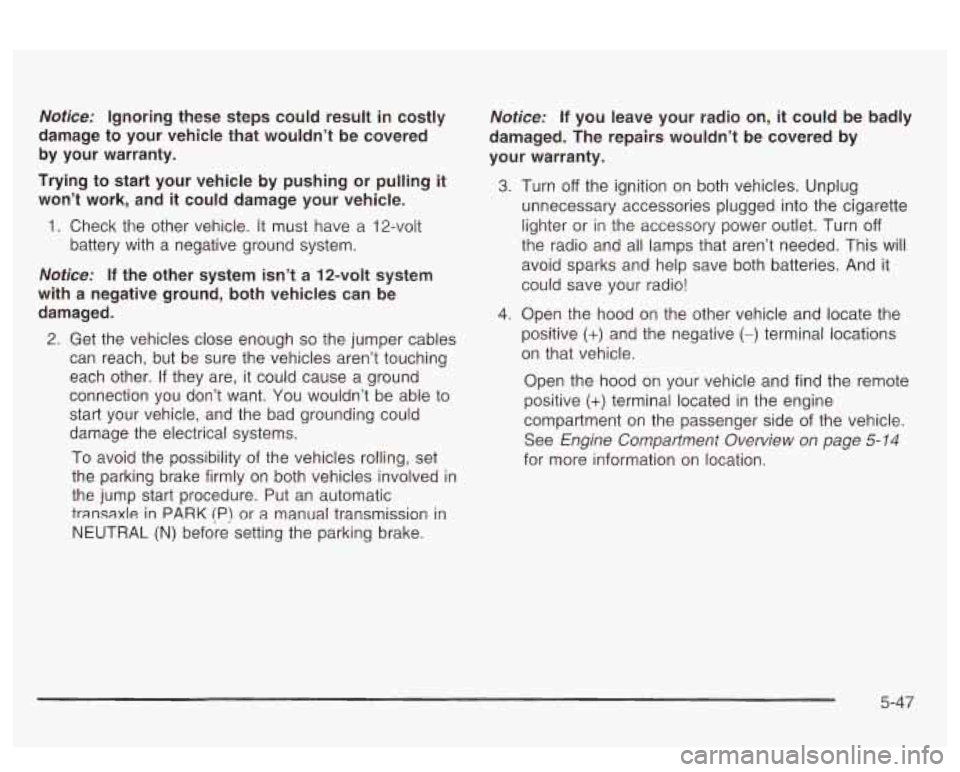
Notice: Ignoring these steps could result in costly
damage to your vehicle that wouldn’t be covered
by your warranty.
Trying to start your vehicle by pushing or pulling
it
won’t work, and it could damage your vehicle.
1. Check the other vehicle. It must have a 12-volt
battery with a negative ground system.
Notice:
If the other system isn’t a 12-volt system
with a negative ground, both vehicles can be damaged.
2. Get the vehicles close enough so the jumper cables
can reach, but be sure the vehicles aren’t touching
each other.
If they are, it could cause a ground
connection you don’t want. You wouldn’t be able to
start your vehicle, and the bad grounding could
damage the electrical systems.
To avoid the possibility of the vehicles rolling, set
the parking brake firmly on both vehicles involved in
the jump start procedure. Put an automatic
transaxle in PARK (P) or a manual transmission in
NEUTRAL (N) before setting the parking brake. Notice:
If you
leave your radio on, it could be badly
damaged. The repairs wouldn’t be covered by
your warranty.
3. Turn off the ignition on both vehicles. Unplug
unnecessary accessories plugged into the cigarette
lighter or in the accessory power outlet. Turn
off
the radio and all lamps that aren’t needed. This will
avoid sparks and help save both batteries. And it
could save your radio!
4. Open the hood on the other vehicle and locate the
positive
(+) and the negative (-) terminal locations
on that vehicle.
Open the hood on your vehicle and find the remote
positive
(+) terminal located in the engine
compartment
on the passenger side of the vehicle.
See
Engine Compartment Overview on page 5-14
for more information on location.
5-47