trunk PONTIAC BONNEVILLE 2003 Owner's Manual
[x] Cancel search | Manufacturer: PONTIAC, Model Year: 2003, Model line: BONNEVILLE, Model: PONTIAC BONNEVILLE 2003Pages: 418, PDF Size: 20.24 MB
Page 256 of 418
Will you have to make any holes in the body of
your vehicle when you install a trailer hitch?
If
you do, then be sure to seal the holes later when
you remove the hitch.
If you don’t seal them, deadly
carbon monoxide (CO) from your exhaust can get
into your vehicle. See
Engine Exhaust on
page 2-36. Dirt and water can also enter the
vehicle.
Safety Chains
You should always attach chains between your vehicle
and your trailer. Cross the safety chains under the
tongue of the trailer
so that the tongue will not drop to
the road
if it becomes separated from the hitch.
Instructions about safety chains may be provided by the
hitch manufacturer or by the trailer manufacturer.
Follow the manufacturer’s recommendation for attaching
safety chains and do not attach them to the bumper.
Always leave just enough slack
so you can turn
with your rig. And, never allow safety chains to drag on
the ground.
Trailer Brakes
Does your trailer have its own brakes? Be sure to read
and follow the instructions for the trailer brakes
so
you’ll be able to install, adjust and maintain them
properly. Because you have
anti-lock brakes, do not try to tap
into your vehicles brake system.
If you do, both
brake systems won’t work well, or at all.
Trailer Wiring Harness
All of the electrical circuits required for your trailer
lighting system can be accessed at the driver’s side rear
lamp connector. This connector is located under the
carpet on the rear corner of your trunk compartment.
Driving with a Trailer
Towing a trailer requires a certain amount of experience.
Before setting out for the open road, you’ll want to get
to know your rig. Acquaint yourself with the feel of
handling and braking with the added weight of the trailer.
And always keep in mind that the vehicle you are
driving is now a good deal longer and not nearly as
responsive as your vehicle is by itself.
Before you start, check the trailer hitch and platform
(and attachments), safety chains, electrical connector,
lamps, tires and mirror aajustment.
ii tne rraiier nas
electric brakes, start your vehicle and trailer moving and
then apply the trailer brake controller by hand to be
sure the brakes are working. This lets you check your
electrical connection at the same time.
Oiiriiig your trip, check occasicfially tc be sure that the
load is secure, and that the lamps and any trailer
brakes are still working.
4-39
Page 257 of 418
Following Distance
Stay at least twice as far behind the vehicle ahead as
you would when driving your vehicle without a trailer.
This can help you avoid situations that require
heavy braking and sudden turns.
Passing
You’ll need more passing distance up ahead when
you’re towing a trailer. And, because you’re a good deal
longer, you’ll need to go much farther beyond the
passed vehicle before you can return to your lane.
Backing Up
Hold the bottom of the steering wheel with one hand.
Then, to move the trailer to the left, just move that hand
to the left. To move the trailer to the right, move your
hand to the right. Always back up slowly and,
if possible,
have someone guide you.
Making Turns
Notice: Making very sharp turns while trailering
could cause the trailer to come in contact with the
vehicle. Your vehicle could be damaged. Avoid
making very sharp turns while trailering.
When you’re turning with a trailer, make wider turns
than normal.
Do this so your trailer won’t strike
soft shoulders, curbs, road signs, trees or other objects.
Avoid jerky or sudden maneuvers. Signal well
in
advance.
Turn Signals When Towing a Trailer
When you tow a trailer, your vehicle may need a
different turn signal flasher and/or extra wiring. Check
with your dealer. All of the electrical circuits required for
your trailer lighting system can be accessed at the
left rear lamp connector. This connector is located under
the carpet on the driver’s side in the rear corner of
your trunk compartment. The arrows on your instrument
panel will flash whenever you signal a turn or lane
change. Properly hooked up, the trailer lamps will also
flash, telling other drivers you’re about to turn,
change lanes or stop.
When towing a trailer, the arrows on your instrument
panel will flash for turns even
if the bulbs on the trailer
are burned out. Thus, you may think drivers behind
you are seeing your signal when they are not. It’s
important to check occasionally to be sure the trailer
bulbs are still working.
Your vehicle has bulb warning lights. When you plug a
trailer lighting system into your vehicle’s lighting
system, its bulb warning lights may not let you know
if
one of your lamps goes out. So, when you have a trailer
lighting system plugged in, be sure to check your
vehicle and trailer lamps from time to time to be sure
they’re all working. Once you disconnect the trailer
lamps, the bulb warning lights again can tell you
if one
of your vehicle lamps is out.
4-40
Page 269 of 418
If your vehicle has the optional Driver Information
Center (DIC), the CHECK
GAS CAP message will be
displayed
if the fuel cap is not properly reinstalled.
Notice: If you need a new fuel cap, be sure to get
the right type. Your dealer can get one for you.
If you get the wrong type,
it may not fit properly.
This may cause your malfunction indicator lamp to
light and may damage your fuel tank and emissions
system. See “Malfunction Indicator Lamp” in
the Index.
Fuel Door Lock
On models having the optional theft-deterrent system,
the fuel door is locked and unlocked together with
the driver’s power door lock.
To unlock the fuel filler
door, use the power door lock button or the remote
keyless entry transmitter (if equipped). If your
vehicle has a fuel door lock, the fuel door can be
opened manually
in case of an electrical power
failure.
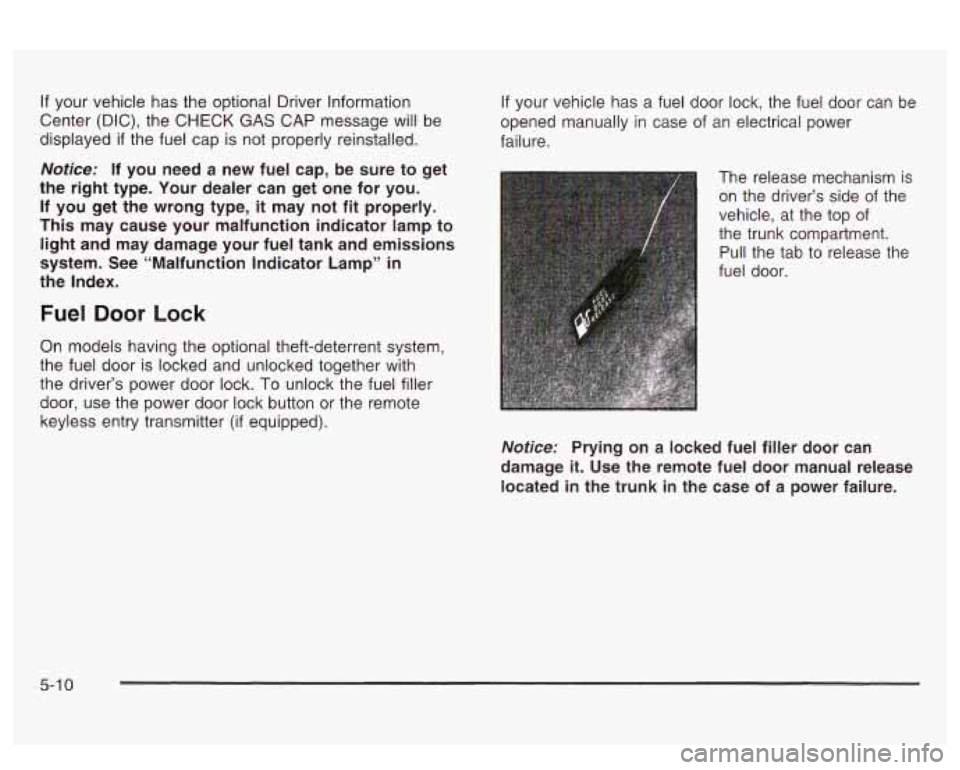
The release mechanism is on the driver’s side of the
vehicle, at the top of
the trunk compartment.
Pull the tab to release the
fuel door.
Notice: Prying on a locked fuel filler door can
damage
it. Use the remote fuel door manual release
located in the trunk in the case of a power failure.
5-1 0
Page 270 of 418

Filling a Portable Fuel Container
Never fill a portable fuel container while it is in
your vehicle. Static electricity discharge from
the container can ignite the gasoline vapor.
You can be badly burned and your vehicle
damaged if this occurs.
To help avoid injury to
you and others:
containers.
Dispense gasoline only into approved
CAUTION: (Continued)
Do not fill a coni while it is inside a
vehicle, in a vehicle’s trunk, pickup bed or
on any surface other than the ground.
Bring the fill nozzle in contact with the
inside of the fill opening before operating
the nozzle. Contact should be maintained
until the filling is complete.
Don’t smoke while pumping gasoline.
5-1 1
Page 318 of 418
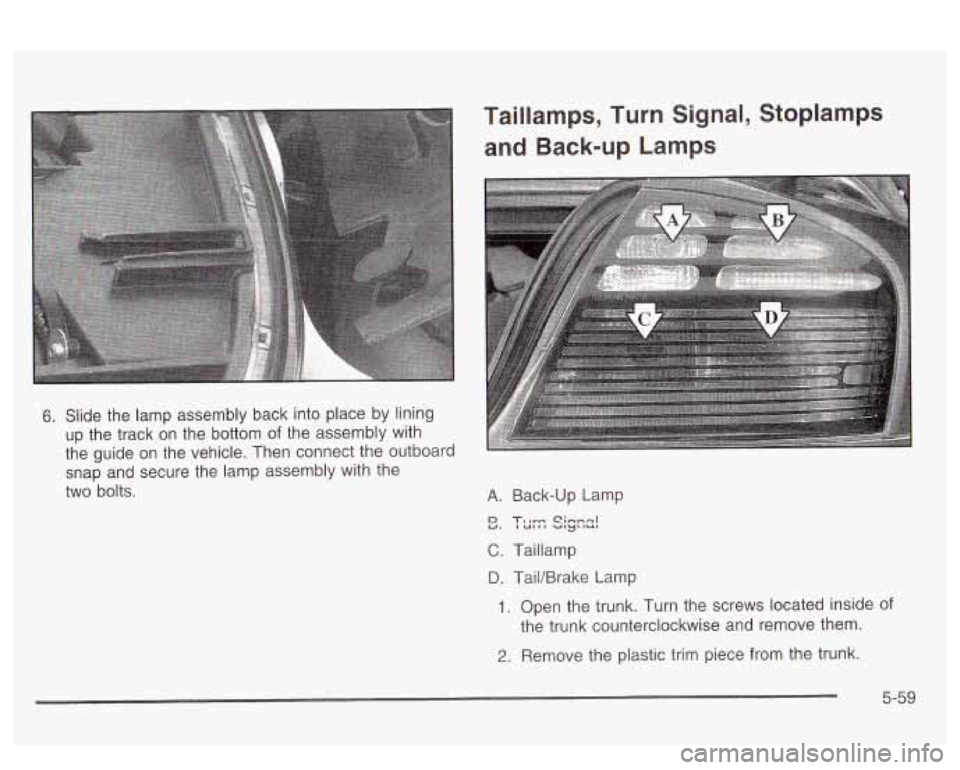
6. Slide the lamp assembly back into place by lining
up the track on the bottom
of the assembly with
the guide on the vehicle. Then connect the outboard
snap and secure the lamp assembly with the
two bolts.
C. Taillamp
D. PaiVBrake Lamp
1. Open the trunk. Turn the screws located inside of
the trunk counterclockwise and remove them.
2. Remove the plastic trim piece from the trunk.
5-59
Page 319 of 418
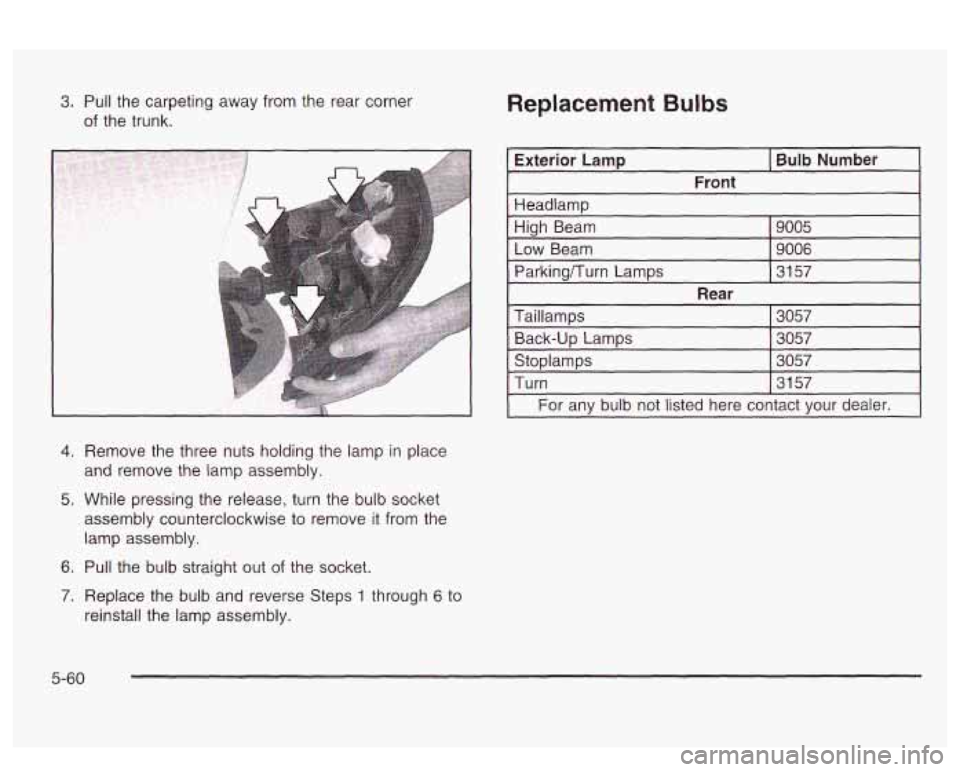
3. Pull the carpeting away from the rear corner
of the trunk.
4.
5.
6.
7.
A
Remove the three nuts holding the lamp in place
and remove the lamp assembly.
While pressing the release, turn the bulb socket
assembly counterclockwise to remove it from the
lamp assembly.
Pull the bulb straight out of the socket.
Replace the bulb and reverse Steps 1 through
6 to
reinstall the lamp assembly.
Replacement Bulbs
-
Exterior Lamp I Bulb Number
Front
I Headlamp I
-High Beam
~
9005
Low Beam 9006
Parkingnurn Lamps I 3157
Rear
Taillamps
Back-up Lamps 3057
3057
StoDlamDs 3057
Turn
I 3157
For any bulb not listed here contact Vour dealer.
5-60
Page 331 of 418
Accessory Inflator
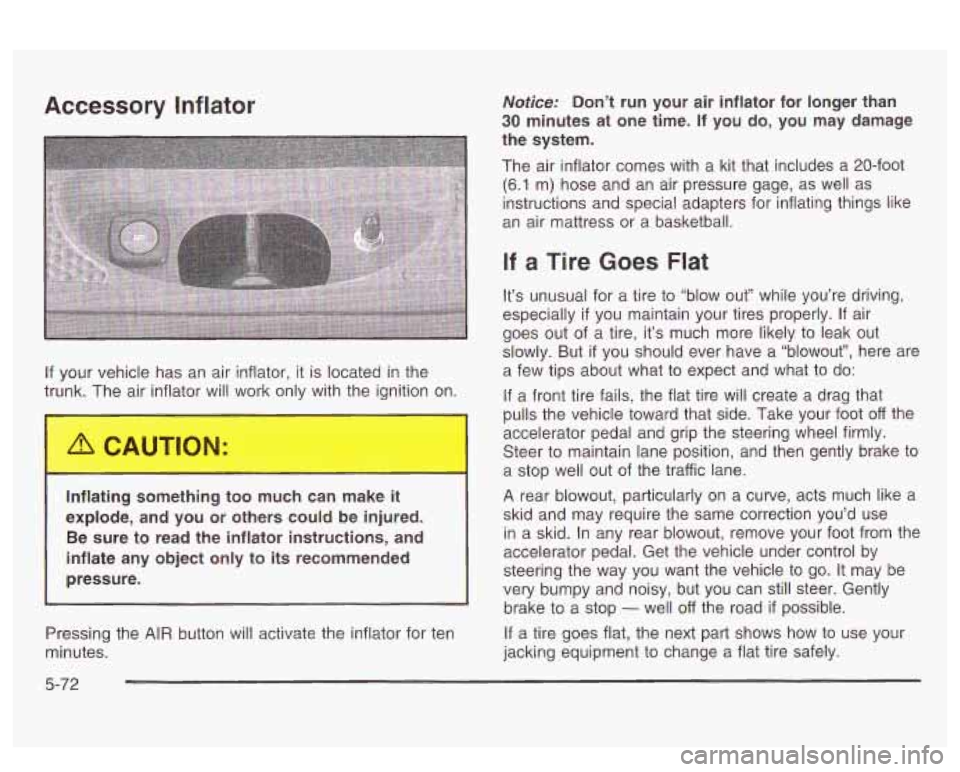
If your vehicle has an air inflator, it is located in the
trunk. The air inflator will wo only with the ignition on.
Inflating something too much can make it
explode, and you or others could be injured.
Be sure to read the inflator instructions, and
inflate any object only to its recommended
pressure.
I -1
Notice: Don’t run your air inflator for longer than
30 minutes at one time. If you do, you may damage
the system.
The air inflator comes with a kit that includes a 20-foot
(6.1 m) hose and an air pressure gage, as well as
instructions and special adapters for inflating things like
an air mattress or a basketball.
If a Tire Goes Flat
It’s unusual for a tire to “blow out” while you’re driving,
especially
if you maintain your tires properly. If air
goes out of a tire, it’s much more likely to leak out
slowly. But
if you should ever have a “blowout”, here are
a few tips about what to expect and what to do:
If a front tire fails, the flat tire will create a drag that
pulls the vehicle toward that side. Take your foot off the
accelerator pedal and grip the steering wheel firmly.
Steer to maintain lane position, and then gently brake to
a stop well out of the traffic lane.
A rear blowout, particularly on a curve, acts much like a
skid and may require the same correction you’d use
in a skid. In any rear blowout, remove your foot from the
accelerator pedal. Get the vehicle under control by
steering the way you want the vehicle to go.
It may be
very bumpy and noisy, but you can still steer. Gently
brake
to a stop - well off the road if possible.
Pressing the
AIR button will activate the inflator for ten If a tire goes flat, the next part shows how to use your
minutes. jacking equipment to change a flat tire safely.
5-72
Page 333 of 418

Removing the Spare Tire and Tools 5. Remove the wheel wrench, jack and the spare tire
from the trunk.
The equipment you’ll need is in the trunk.
1. Pull the carpeting from the floor of the trunk.
2. Remove the retainer, then lift and remove the cover.
3. Remove the compact spare tire. See Compact
Spare Tire on page 5-81 for more information
about the compact spare tire.
4. Unscrew the wing nuts to remove the container that
holds the wrench and jack. The
tools you’ll be using include the jack
(A) and wheel
wrench
(B).
Removing the Wheel Covers and
Wheel Nut Caps
If your vehicle has aluminum wheels and a center cover
hides the wheel nuts, remove the center cover by
using the flat end
of the wrench to pry it off. Do not drop
the cover or lay it face down,
as it could become
scratched or damaged.
Do not use a hammer or mallet
on this type of cover.
5-74
Page 338 of 418

11. Tighten the wheel nuts
firmly in a crisscross
sequence.
Incorrect wheel nuts or improperly tightened
wheel nuts can cause the wheel to come loose
accident. Be sure to use the correct wheel
nuts. If you have to replace them, be sure to
get new
GM original equipment wheel nuts.
Stop somewhere as
soon as you can and have
the nuts tightened with a torque wrench to
the
proper torque specification. See ”Capacities
and Specifications”
in the Index for wheel nut
torque specification.
~ and even come off. This could lead to an
Notice: Improperly tightened wheel nuts can lead
to brake pulsation and rotor damage.
To avoid
expensive brake repairs, evenly tighten the wheel
nuts
in the proper sequence and to the proper
torque specification. See “Capacities and
Specifications”
in the index for the wheel nut torque
specification.
12. Don’t try to put the wheel cover on the compact
spare tire. It won’t fit. Store the wheel cover in
the trunk until you have replaced the compact spare
tire with a regular tire.
Notice: Wheel covers won’t fit on your compact
spare. If you try to put a wheel cover on your
compact spare, you could damage the cover or the
spare.
When you reinstall the full size wheel and tire, you
install the wheel cover or nut caps at this point.
When reinstalling the nut caps on aluminum wheels,
continue tightening one-quarter turn for plastic caps,
or one-eighth turn for steel caps.
Do not overtighten.
*:-.LA-.- AI-- --_- -_..- ..,:&I- &L- ..,L--l .-,v-mah llylllell tile Lapa a11uy vvlu I 11 IG VVIIGGI VVIGII’CIII. I IIGI I
5-79
Page 339 of 418

C+oring the Flat Tire -nd Tvls
Storing ‘he S-nre T:-e and Tc-Is
I.--=-
Storing a jack, a tire or other equipment in the
passenger compartment
of the vehicle could
cause injury. In a sudden stop or collision, loose equipment could strike someone. Store
all these
in the proper place.
After you’ve put the compact spare tire on your vehicle,
you’ll need to store the flat tire in your trunk.
Store the flat tire as far forward in the trunk as possible.
Store the jack and wheel wrench in their compartment
in the trunk. For storage, the jack must be raised
until the screw end is flush with the edge of the jack. ,tor
J a.
:k, a tire or other equipment in the
passenger compartment
of the vehicle could
cause injury. In a sudden stop or collision, loose equipment could strike someone. Store
all these in the proper place.
The compact spare tire is for temporary use only.
Replace the compact spare tire with
a full-size tire as
soon as you can. See
Compact Spare Tire on
page 5-87. See the storing instructions label to return
your compact spare tire into your trunk properly.
5-80