trunk PONTIAC BONNEVILLE 2003 User Guide
[x] Cancel search | Manufacturer: PONTIAC, Model Year: 2003, Model line: BONNEVILLE, Model: PONTIAC BONNEVILLE 2003Pages: 418, PDF Size: 20.24 MB
Page 135 of 418
Inadvertent Power Battery Saver
This feature is designed to protect your vehicle’s battery
against drainage from the interior lamps, trunk lamp,
glove box lamp or cigarette lighters. When the ignition is
turned
off, the power to these features will automatically
turn
off after 10 minutes. Power will be restored for
an additional
10 minutes if any door is opened, the trunk
is opened or the courtesy lamps are turned on. To
restore power back to the cigarette lighters the ignition
must be turned back to
ON.
Battery Load Management
The battery load management feature is designed to
monitor the vehicle’s electrical load and determine when
the battery is in a heavy discharge condition. During
times of high electrical loading, the engine may idle at
higher revolutions per minute (rpm) than normal to
make sure the battery charges. High electrical loads
may occur when several
of the following are on:
headlamps, high beams, fog lamps, rear window
defogger, fan on high speed, heated seats and engine
cooling fans.
If your vehicle’s battery remains in a heavy discharge
condition for a long period of time, the fan, rear
defogger, heated seats and heated mirrors will be
disabled and the DIC will display BATTERY SAVER
ACTIVE. This can happen either under long periods of
idling or low speed driving with high electrical loading,
or in the event of a charging system fault.
Monitor the battery voltage when in the BATTERY
SAVER ACTIVE mode.
If the voltmeter remains in the shaded area (below
11 volts) when driving then have the charging
system serviced immediately.
If the voltage increases above 12 volts then the
battery needs to be recharged.
Try driving on
the highway with as few electrical accessories on
as possible.
3-20
Page 167 of 418
Door Ajar Light
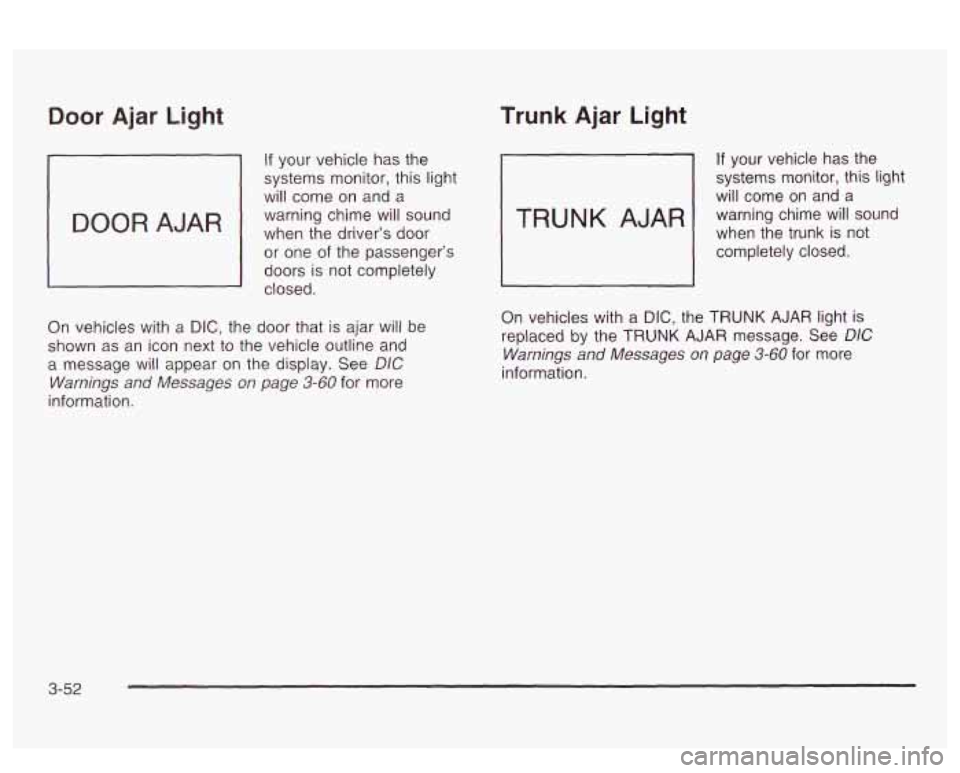
If your vehicle has the
systems monitor, this light
will come on and a
warning chime will sound
when the driver’s
door
or one of the passenger’s
doors is not completely
closed.
On vehicles with
a DIC, the door that is ajar will be
shown as an icon next to the vehicle outline and
a message will appear on the display. See
DIC
Warnings and Messages on page 3-60 for more
information.
Trunk Ajar Light
If your vehicle has the
systems monitor, this light
will come on and a
when the trunk is not
warning chime
will sound
1 completely closed.
On vehicles with a
DIC, the TRUNK AJAR light is
replaced by the
TRUNK AJAR message. See DIC
Warnings and Messages on page 3-60 for more
information.
3-52
Page 170 of 418
Systems Monitor
I TRUNKAJAR
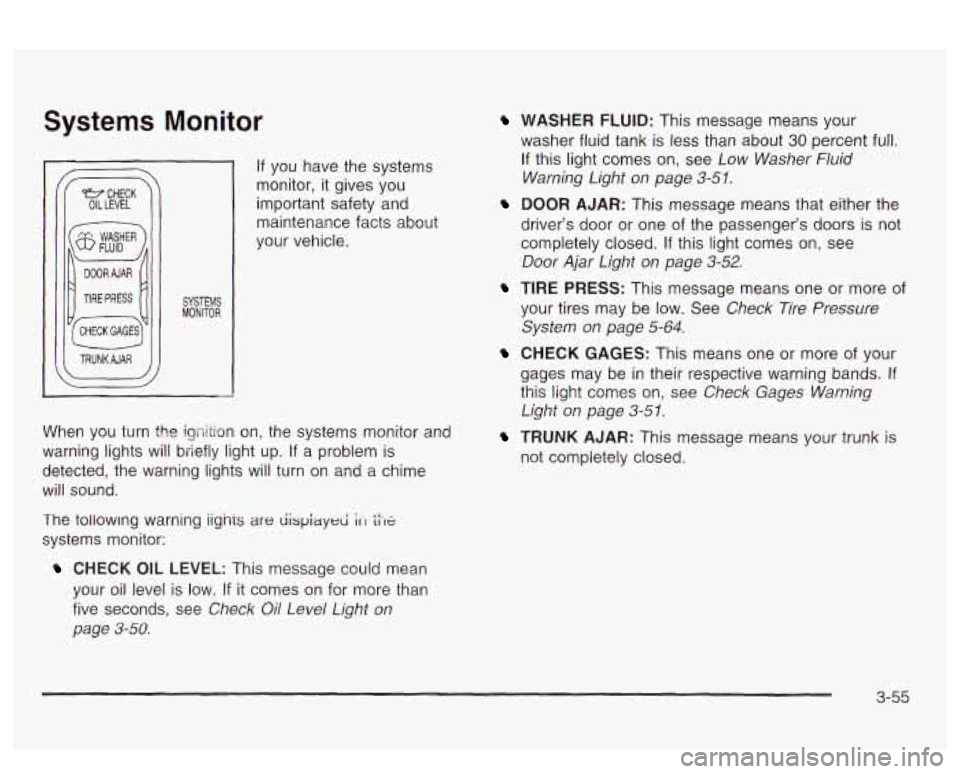
If you have the systems
monitor, it gives you
important safety and
maintenance facts about
your vehicle.
When you turn the igriition on, the systems monitor and
warning lights will briefly light up. If
a problem is
detected, the warning lights will turn
on and a chime
will sound.
The tollowmg warning iignis
are dispiayed ;It tiX
systems monitor:
CHECK OIL LEVEL: This message could mean
your oil level is low.
If it comes on for more than
five seconds, see
Check Oil Level Light on
page 3-58.
WASHER FLUID: This message means your
washer fluid tank is less than about
30 percent full.
If this light comes on, see Low Washer Fluid
Warning Light on page
3-51.
DOOR AJAR: This message means that either the
driver’s door or one of the passenger’s doors
is not
completely closed.
If this light comes on, see
Door Ajar Light on page 3-52.
TIRE PRESS: This message means one or more of
your tires may be low. See Check Tire Pressure
System on page
5-64.
CHECK GAGES: This means one or more of your
gages may be
in their respective warning bands. If
this light comes on, see Check Gages Warning
Light on page 3-5 1.
TRUNK AJAR: This message means your trunk is
not completely closed.
3-55
Page 175 of 418
DIC Warnings and Messages
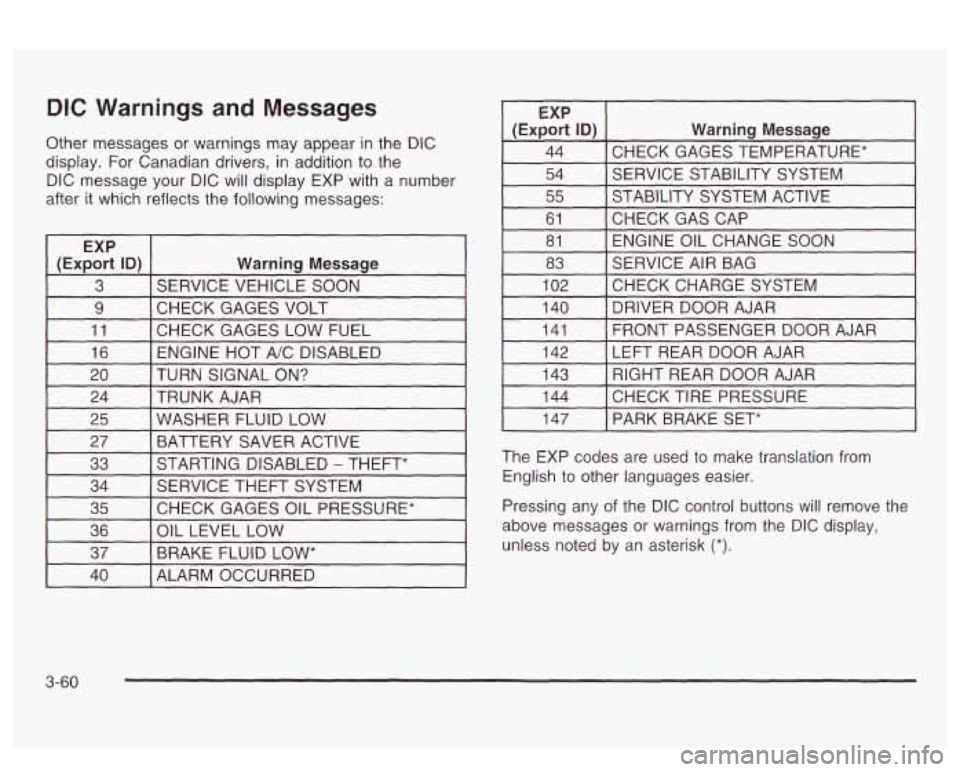
Other messages or warnings may appear in the DIC
display. For Canadian drivers, in addition to the
DIC message your DIC will display EXP with a number
after it which reflects the following messages:
~
EXP
(Export
ID) Warning Message
3 SERVICE VEHICLE SOON
9 I CHECK GAGES VOLT I I
11 [CHECK GAGES LOW FUEL 1
16 I ENGINE HOT A/C DISABLED I
EXP
(Export
ID) Warning Message
44 CHECK GAGES TEMPERATURE* ~~ ~
54 SERVICE STABILITY SYSTEM
55 STABILITY SYSTEM ACTIVE
61 ENGINE OIL CHANGE SOON
81
CHECKGASCAP
83
CHECKCHARGESYSTEM
102 SERVICE
AIR BAG
I 140 I DRIVER DOOR AJAR I
141
LEFT REAR DOOR AJAR
142 FRONT PASSENGER
DOOR AJAR
20 TRUNK AJAR
24 TURN SIGNAL
ON? 143
CHECK TIRE PRESSURE 144 RIGHT REAR DOOR AJAR
25 BATTERY SAVER ACTIVE
27
WASHER FLUID LOW
33
CHECK GAGES OIL PRESSURE*
35 SERVICE
THEFT SYSTEM
34 STARTING DISABLED
- THEFT*
36
BRAKE FLUID
LOW* 37
OIL
LEVEL LOW
I 147 I PARK BRAKE SET*
The EXP codes are used to make translation from
English to other languages easier.
Pressing any of the DIC control buttons
will remove the
above messages or warnings from the DIC display,
unless noted by an asterisk
(*).
40 I ALARM OCCURRED
3-60
Page 185 of 418
Calibrating the Compass
All electronic compasses need to know the magnetic
profile of your vehicle. This is called calibration and
is done automatically by your compass. However, if you
would like
to manually calibrate the compass, the
following instructions will show you how.
Sometimes, strong magnetic fields can affect the
compass.
If the compass display does not show a
direction, and CALIBRATE COMPASS is displayed on
the DIC, try calibrating the compass as follows:
1. Drive the vehicle to an open, flat area.
2. Press MODE to display COMPASS CALIBRATION.
3. Press SELECT to display PRESS RESET TO
RECALIBRATE and then press the RESET
button.
4. The display will change to SLOWLY DRIVE IN
SMALL CIRCLES. Drive the vehicle in small
circles. Don’t drive faster than
10 mph (1 6 km/h).
5. Continue to drive in circles until the CALIBRATION
COMPLETE message is displayed on the DIC and
a direction is shown for the compass.
Compass Accuracy
Your compass may show different headings around
bridges, power lines, large metal objects and steep hills.
This is normal and
is true of compasses in general.
If you put large metal objects like golf clubs in the trunk
they could affect accuracy.
If the affect is minimal,
the compass will adapt to these objects over time.
If you use an antenna with a magnetic base, it is best to
mount it away from the center of the trunk near the
rear window.
The rear defog system can affect accuracy, and the
compass corrects for the rear defog. However,
if the rear
defog is turned on while making sharp turns, the
accuracy may be off. When you turn the rear defog off
again, the accuracy returns
to normal.
Be aware that metal objects are sometimes buried in
the ground. They can affect accuracy and you may not
know they are there. As an example, many concrete
roads have metal reinforcements inside.
Also,
if you drive with the trunk open, this could affect
accuracy and could decalibrate the compass.
Your compass should be calibrated. You will know this
when a direction
is shown and the CALIBRATE
COMPASS message is no longer displayed.
3-70
Page 209 of 418
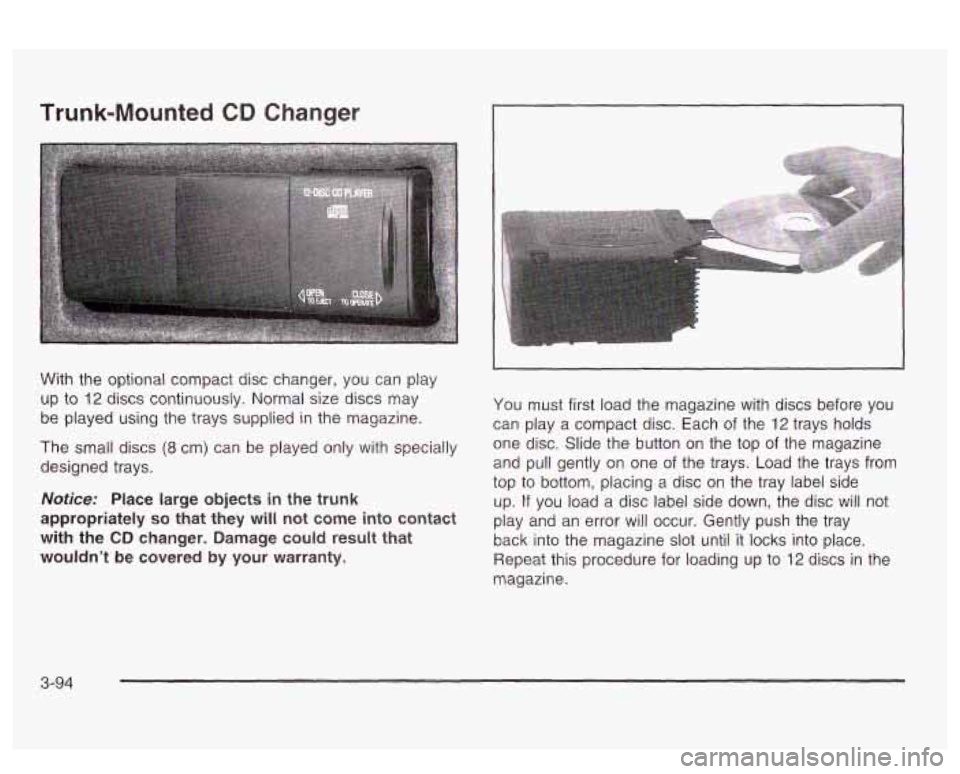
Trunk-Mounted CD Changer
With the optional compact disc changer, you can play
up to
12 discs continuously. Normal size discs may
be played using the trays supplied in the magazine.
The small discs (8 cm) can be played only with specially
designed trays.
Notice: Place large objects in the trunk
appropriately
so that they will not come into contact
with the
CD changer. Damage could result that
wouldn’t
be covered by your warranty.
You must first load the magazine with discs before you
can play a compact disc. Each of the
12 trays holds
one disc. Slide the button on the top of the magazine
and pull gently on one of the trays. Load the trays from
top
to bottom, placing a disc on the tray label side
up.
If you load a disc label side down, the disc will not
play and an error will occur. Gently push the tray
back into the magazine slot until it locks into place.
Repeat this procedure for loading up to
12 discs in the
magazine.
3-94
Page 211 of 418
Whenever a CD magazine with discs is loaded in the
changer and the door is closed, the compact disc
symbol will appear on the radio display.
If the CD
changer is checking the magazine for CDs, the compact
disc symbol will flash on the display until the changer
is ready to play.
If CD changer mode is entered
during initialization, LOADING will appear on the display.
When a
CD begins playing, a disc and track number
will be displayed. The disc numbers are listed on
the front of the magazine.
All of the CD functions are controlled by the radio
pushbuttons except
for ejecting the magazine.
Playing a Compact Disc
If an error appears on the display, see “Compact Disc
Messages” later in this section.
The following pushbuttons are used for the
trunk-mounted CD changer.
bb 1 (Forward): Press and hold this pushbutton to
quickly advance within a track.
As the CD advances,
elapsed time will be displayed to help you find the
correct passage.
VA 2 (Next): Press this pushbutton to select the next
disc
in the magazine. Each time you press this
pushbutton, the disc number on the radio display will go
to that of the next available CD.
RDM 3 (Random): Press this pushbutton to enter the
multi-disc random play mode. RANDOM ALL will appear
on the display. The tracks on all
of the discs will be
played
in random, rather than sequential, order. Press
and hold this button to enter the single-disc random play
mode. RANDOM
ONE will appear on the display and
a chime will sound. The tracks on the current disc
will play in random, rather than sequential, order. Press
this button again to turn
off the random feature and
return to normal operation.
4 (Reverse): Press and hold this pushbutton to
quickly reverse within a track. As the CD reverses,
elapsed time will be displayed with a flashing arrow to
help you find the correct passage.
5 (Previous):: Press this pushbutton to select the
previous disc in the magazine. Each time you press this
pushbutton, the disc number on the radio display will
go to that
of the previous available CD.
RCL (Recall): Press this knob to see how long the
current track has been playing.
To change what
is normally shown on the display (track or elapsed
time), press the knob until you
see the display you want
and then hold the knob until the display flashes.
3-96
Page 212 of 418
A SEEK : Press the down arrow while playing a
CD to go back to the start of the current track
if
more than eight seconds have played. Press the up
arrow and it will go to the next track on the disc.
If the
button is pressed more than once, the player will
continue moving backward or forward through the disc.
A SCAN 7 : Press and hold either arrow for more
than two seconds until TRACK SCAN appears on
the display and you hear a beep. You will hear the first
few seconds of each track on the current disc. The
scan symbol will appear on the display and T will blink
to indicate track scan mode. Press either arrow
again, to stop scanning.
To scan all loaded discs, press and
hoid either SCAN
arrow for more than four seconds until DISC SCAN
appears on the display and you hear a double beep.
You will hear the first few seconds of track one on each
disc. The scan symbol will appear on the display
and
D will blink to indicate disc scan mode. Press either
SCAN arrow again, to stop scanning.
AM FM: Press this button to listen to the radio when
playing a CD.
TAPE AUX, CD AUX or CD TAPE: Press this button to
play a CD
if you have a magazine loaded in the
changer when listening to the radio. You can also press
this button to switch between a cassette tape, a CD
in the compact disc player and a CD in the
trunk-mounted CD changer,
if these sources are loaded.
Compact Disc Messages
If an error appears on the display, an error has occurred
and the compact disc temporarily cannot play.
The CD changer will send an error message to the
receiver to indicate one of the following:
NO CDS: An empty magazine is inserted in the CD
changer. Try the magazine again with a disc loaded on
one of the trays.
CHECK CD: If this message appears, it could be one
of the following:
You’re driving on a very rough road. When the road
The disc IS dlrty, scratcnea or wet.
becomes smoother, the disc should play.
The air is very humid. If so, wait about an hour and
try again.
3-97
Page 243 of 418
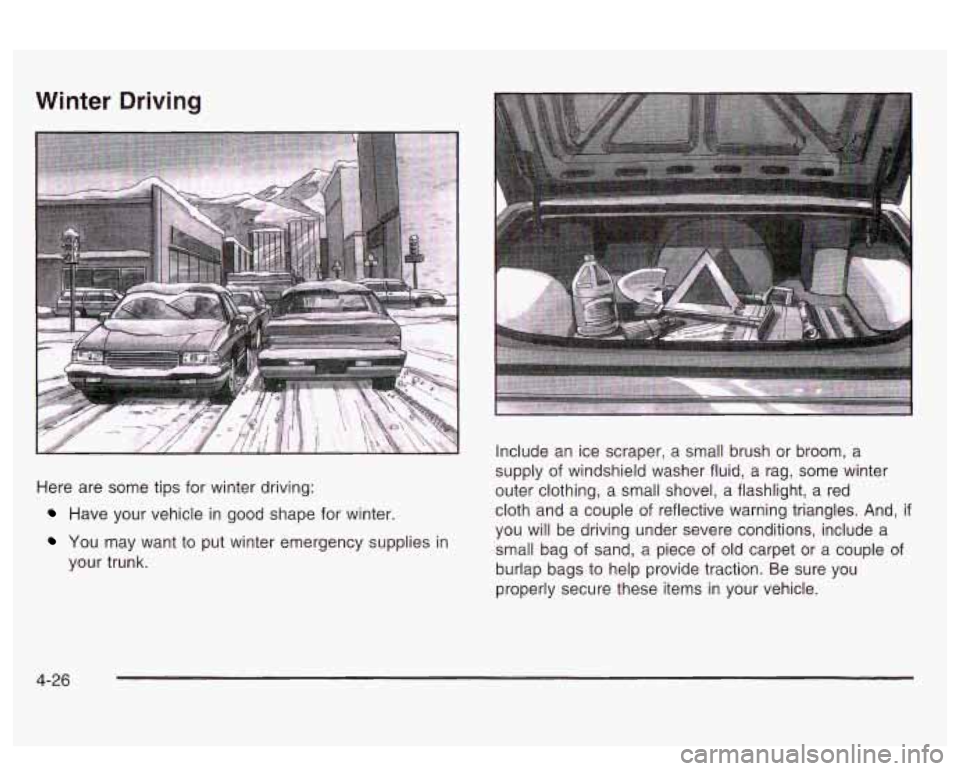
Winter Driving
Here are some tips for winter driving:
Have your vehicle in good shape for winter
YOU may want to put winter emergency supplies in
your trunk. Include
an ice scraper, a small brush or broom, a
supply of windshield washer fluid, a rag, some winter
outer clothing,
a small shovel, a flashlight, a red
cloth and a couple of reflective warning triangles. And,
if
you will be driving under severe conditions, include a
small bag
of sand, a piece of old carpet or a couple of
burlap bags to help provide traction. Be sure you
properly secure these items in your vehicle.
4-26
Page 252 of 418
And, if you do have a heavy load, you should spread it
out. Don’t carry more than 176 Ibs. (80 kg) in
your trunk.
Do not load your vehicle any heavier than the
GVWR, or either the maximum front or rear
GAWR. If you do, parts on your vehicle can
break, and
it can change the way your vehicle
handles. These could cause you to lose
control and crash.
Also, overloading can
shorten the life of your vehicle.
Nofice: Your warranty does not cover parts or
components that fail because of overloading.
If you put things inside your vehicle - like suitcases,
tools, packaqes, or anything else
- they will go as fast
as the vehicle goes.
If you have to stop or turn
quickly, or
if there is a crash, they’ll keep going. Things you
put inside your vehicle can strike
and injure people
in a sudden stop or turn, or
in a crash.
Put things in the trunk of your vehicle. In a
trunk, put them as far forward as you can.
Try to spread the weight evenly.
Never stack heavier things, like suitcases,
inside the vehicle
so that some of them
are above the tops of the seats.
0 Don’t leave an unsecured child restraint in
your vehicle.
When you carry something inside the
vehicle, secure
it whenever you can.
4-35