instrument panel PONTIAC FIREBIRD 1998 User Guide
[x] Cancel search | Manufacturer: PONTIAC, Model Year: 1998, Model line: FIREBIRD, Model: PONTIAC FIREBIRD 1998Pages: 406, PDF Size: 18.23 MB
Page 74 of 406

To program features, your vehicle must be in the
programming mode. Follow these steps:
1. Put your key
in the ignition.
2. Turn the ignition to RUN to disarm the Content
Theft-Deterrent System.
3. Turn the ignition to OFF.
4. Remove the RADIO fuse. This fuse is in the main
fuse block, located on the left side of your
instrument panel. See “Fuses and Circuit Breakers”
in the Index.
5. Turn the ignition to ACC.
You should hear a chime to verify that the system is
in the programming mode. If the chime sounds once,
you will be able to program Exit Lighting, Delayed
Illumination, Last Door Closed Locking and Lockout
Prevention only.
If the chime sounds twice and your
vehicle is equipped with the Content Theft-Deterrent
System, you will also be able to program Remote
Keyless Entry Lock Control Verification, Arming
Method, Arming Verification, Driver’s Door Delay and Shock Sensor Enable.
Exit Lighting and Delayed Illumination
With Exit Lighting, your interior lamps will come
on for up to
25 seconds when the key is removed
from the ignition.
With Delayed Illumination, your interior lamps will stay on for up to
25 seconds when entering your vehicle and
up to five seconds when leaving your vehicle.
Your vehicle comes with both features enabled (Mode 4).
To change the factory setting, do the following:
1.
2.
3.
4.
Turn the courtesy lamps on by turning the instrument
panel brightness control knob all the way up.
Count the number of chimes you hear. The number
of chimes tells you which mode your vehicle is
set for.
Turn the courtesy lamp switch to
off.
Turn the courtesy lamp switch from on to off until
you hear the number of chimes that correspond to the
mode selection you want.
Mode 1: Both Off
Mode 2: Delayed Illumination Only
Mode 3: Exit Lighting Only
Mode 4: Both On
Page 79 of 406

Ignition Positions
C
1
A i E
With the ignition key in the ignition, you can turn the
switch to five positions.
ACC (A): Position in which you can operate your
electrical power accessories. Push in the ignition switch
as you turn
it toward you.
LOCK (B): The only position from which you can
remove the key. This locks your steering wheel, ignition
and automatic transmission.
If you have an automatic transmission, the ignition
switch can’t be turned to
LOCK unless the shift lever is
in
PARK (P).
OFF (C): Unlocks the steering wheel, ignition and
automatic transmission, but does not send electrical
power to any accessories. Use this position if your
vehicle must be pushed or towed.
A warning tone will
sound
if you open the driver’s door when the ignition is
off and the key is in the ignition.
RUN (D): Position to which the switch returns after you
start your engine and release the switch. The switch
stays
in RUN when the engine is running. But even
when the engine
is not running, you can use RUN to
operate your electrical power accessories and to display some instrument panel warning and indicator lights.
START (E): Starts the engine. When the engine starts,
release the key. The ignition will return to RUN for
normal driving.
2-24
Page 102 of 406

lhrn Signal and Lane Change Indicator
The turn signal has two upward (for right) and two
downward (for left) positions. These positions allow you
to signal a turn
or a lane change.
To signal a turn, move the lever all the way up or down.
When the turn is finished, the lever will retum automatically.
An arrow on the instrument
panel will flash in the
direction of the
turn or
1 lane change.
To signal a lane change, just raise or lower the lever
until
the arrow starts to flash. Hold it there until you
complete your lane change. The lever will return by
itself when you release it.
As you signal a turn or a lane change, if the arrows don’t
flash but just stay on,
a signal bulb may be burned out
and other drivers won’t see your
turn signal. If
a bulb is burned out, replace it
to help avoid an
accident. If the arrows don’t
go on at all when you
signal a turn, check the fuse (see “Fuses and Circuit
B&kers” in the Index).
Headlamp High/Low Beam
When the high-beams are
on, this light on the
instrument panel also will
be on.
To change the headlamps from low beam to high or
from high beam to low, pull the turn signal lever all the
way toward you. Then release it.
2-47
Page 107 of 406

Ending Out of Cruise Control
There are several ways to turn off the cruise control:
Step lightly on the brake pedal or push the clutch
pedal, if you have a manual transmission; or
Move the cruise switch to OFF.
Erasing Speed Memory
When you turn off the cruise control or the ignition,
your cruise control
set speed memory is erased.
Exterior Lamps
-.
The main lamp control is a knob that works these lamps:
Headlamps
Taillamps
Parking Lamps
License Lamps
0 Sidemarker Lamps
0 Instrument Panel Lights
# , This setting turns on your headlamps and other
operating lamps.
pg This setting turns on your parking lamps and other
operating lamps without your headlamps.
Turn the
knob to OFF to turn off the lamps.
-‘a-
Headlamps On Reminder
If you turn the ignition off and leave the lamps on, you
will hear
a chime lasting up to five seconds. If the lamps
are still on when
you open the driver’s door, the chime
will sound
again.
2-52
Page 108 of 406

Headlamp Doors Daytime Running Lamps
The headlamp doors are designed to open when you turn
the headlamps
on and close when
you turn the
headlamps off. The headlamp doors can
be opened
without turning on the headlamps by turning the
headlamps on, then turning the switch back to the
parking lamps position.
The headlamp doors should
be open when driving in
icy or snowy conditions to prevent the doors from
freezing closed, and when washing the vehicle to help
clean the headlamps.
You can open the headlamp doors manually:
1. Open the hood.
2. Remove the plastic cover from the retractor
motor knob.
3. Turn the retractor motor knob counterclockwise until
the headlamp door
is fully open. The knob will get
harder to turn when the headlamp door
is all the
way up.
4. Replace the plastic cover on the retractor motor knob. Daytime Running Lamps (DRL) can make
it easier for
others to
see the front of your vehicle during the day.
DRL can be helpful in many different driving
conditions, but they can be especially helpful in the
short periods after dawn and before sunset.
For Canadian vehicles, a light sensor on top of the
instrument panel automatically turns the headlamps on,
so be sure it isn’t covered.
The DRL system will make your front turn signal lamps
come on when:
0 The ignition is on,
the headlamp switch is OFF,
0 the parking brake is released and
0 it is bright enough outside (on Canadian vehicles).
To manually close the headlamp doors, turn the lamps
off and turn the retractor motor knob clockwise. If the
headlamp doors aren’t working properly, see your dealer
for help.
2-53
Page 109 of 406

When the DlU are on, only your front turn signal
lamps will be on. The taillamps, sidemarker and other
lamps won’t be on. Your instrument panel won’t be lit
up either.
For Canadian vehicles, when it’s dark enough outside,
your front turn signal lamps will go out and your
headlamps will come on. The other lamps that come on
with your headlamps will also come on. When it’s bright
enough outside, the regular lamps will go
off, and your
front turn signal lamps will come on.
On a non-Canadian vehicle, the
DRL have to be turned
on manually when you need them. On Canadian and
domestic vehicles, when the headlamps are turned on,
the front
turn signal lamps will go out. When you use
your turn signals, the front turn signal lamp and the
taillamp on the desired side will flash.
As with any vehicle, you should turn on the regular
headlamp system when
you need it.
Fog Lamps
Use your fog lamps for better vision in foggy or misty
conditions. Your parking lamps must be on or your fog
lamps won’t work.
To turn the fog lamps on,
push the right side of the
fog lamp switch.
Push the
left side of the switch to
turn the fog lamps
off. A
light on the switch will
come on when the fog
lamps are on.
Fog lamps will
go off whenever your high-beam
headlamps come on. When the high beams go
off, the
fog lamps will come on again.
If your vehicle is equipped with the Content
Theft-Deterrent System
and your fog lamp switch is on,
the fog lamps may flash to indicate operation of the
Content Theft-Deterrent System. See “Content
Theft-Deterrent System” in the Index.
Page 110 of 406

Interior Lamps
Instrument Panel Brightness Control
This switch controls the brightness of your
instrument panel lights. Turn the switch to brighten or
dim the lights.
If you turn the switch all the way up,
your courtesy lamps will come on.
Courtesy Lamps
When either door is opened, several interior lamps go
on. These lamps are courtesy lamps. They make it easier
for you to enter and leave your vehicle.
Courtesy lamps include the dome lamp and other lamps
throughout
the interior of your vehicle.
To prevent battery rundown, your interior lamps will be
disabled about
10 minutes after the ignition is turned to
OFF. The 10-minute timer will be restarted if you do
any of the following:
1. Turn the ignition on.
2. Open either door.
3. Press any button on your remote keyless entry
transmitter.
4. Turn the interior lamp switch from off to on.
5. Open the hatch.
Delayed Illumination
With delayed illumination, the courtesy lamps will stay
on for
25 seconds after you close the doors when
entering the vehicle. They will stay on for five seconds
after you close the doors when exiting the vehicle. The
times will be shortened if the ignition is turned
to RUN
or if the power locks are activated. To turn this feature
on or off, see “Feature Customization”
in the Index.
Exit Lighting
With exit lighting, the interior lamps will come on when
you remove the key from the ignition to help you see
while exiting the vehicle. To turn this feature on or
off,
see “Feature Customization” in the Index.
2-55
Page 131 of 406

Instrument Panel
I
Page 132 of 406

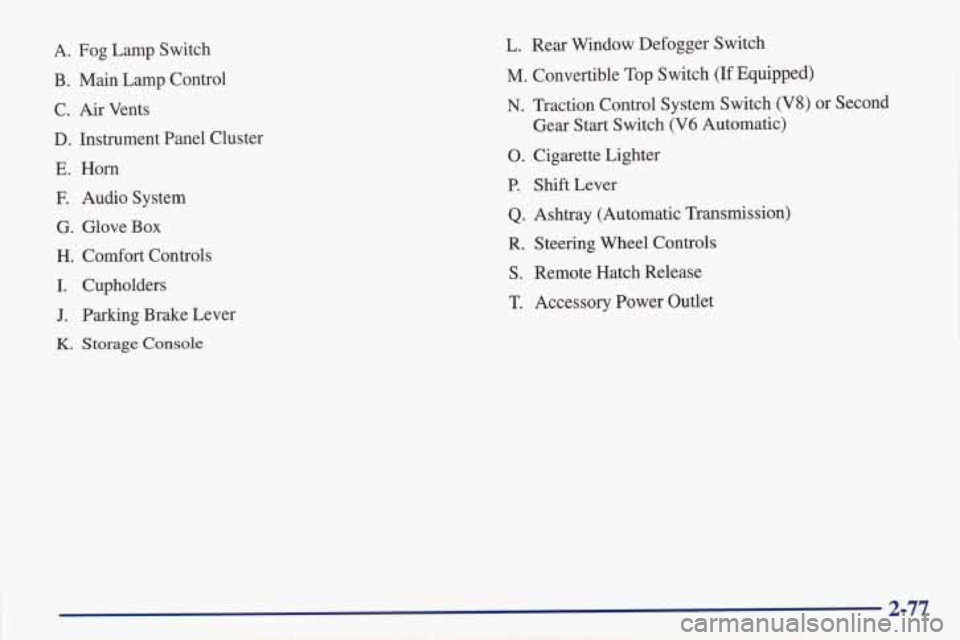
A. Fog Lamp Switch
B. Main Lamp Control C. Air Vents
D. Instrument Panel Cluster
E. Horn
E Audio System
G. Glove
Box
H. Comfort Controls
I. Cupholders
J. Parking Brake Lever
K. Storage Console
L. Rear Window Defogger Switch
M. Convertible Top Switch (If Equipped)
N. Traction Control System Switch (V8) or Second
Gear Start Switch (V6 Automatic)
0. Cigarette Lighter
P. Shift Lever
Q. Ashtray (Automatic Transmission)
R. Steering Wheel Controls
S. Remote Hatch Release
T. Accessory Power Outlet
2-77
Page 133 of 406

Instrument Panel Cluster
Your instrument cluster is designed to let you know at a glance how your vehicle is running. You’ll know how fast
you’re going, about
how much fuel you have left and many other things you’ll need to know to drive safely
and economically.
2-78