headlamp PONTIAC G3 2010 Owners Manual
[x] Cancel search | Manufacturer: PONTIAC, Model Year: 2010, Model line: G3, Model: PONTIAC G3 2010Pages: 368, PDF Size: 3.94 MB
Page 2 of 368

2010 Pontiac G3 Owner ManualM
Headlamp Aiming . . . . . . . . . . . . . . . . . . . . . . . . . . . . . . . 6-42
Bulb Replacement . . . . . . . . . . . . . . . . . . . . . . . . . . . . . . 6-43
Windshield Wiper Blade Replacement . . . . . . . . . . . 6-49
Tires . . . . . . . . . . . . . . . . . . . . . . . . . . . . . . . . . . . . . . . . . . . . 6-50
Appearance Care . . . . . . . . . . . . . . . . . . . . . . . . . . . . . . . 6-79
Vehicle Identification . . . . . . . . . . . . . . . . . . . . . . . . . . . . 6-85
Electrical System . . . . . . . . . . . . . . . . . . . . . . . . . . . . . . . . 6-86
Capacities and Specifications . . . . . . . . . . . . . . . . . . . 6-93 Maintenance Schedule
. . . . . . . . . . . . . . . . . . . . . . . . . . . 7-1
Maintenance Schedule . . . . . . . . . . . . . . . . . . . . . . . . . . . 7-2
Customer Assistance Information . . . . . . . . . . . . . . . 8-1
Customer Assistance and Information . . . . . . . . . . . . 8-2
Reporting Safety Defects . . . . . . . . . . . . . . . . . . . . . . . . 8-14
Vehicle Data Recording and Privacy . . . . . . . . . . . . . 8-16
Index . . . . . . . . . . . . . . . . . . . . . . . . . . . . . . . . . . . . i-1
Page 5 of 368

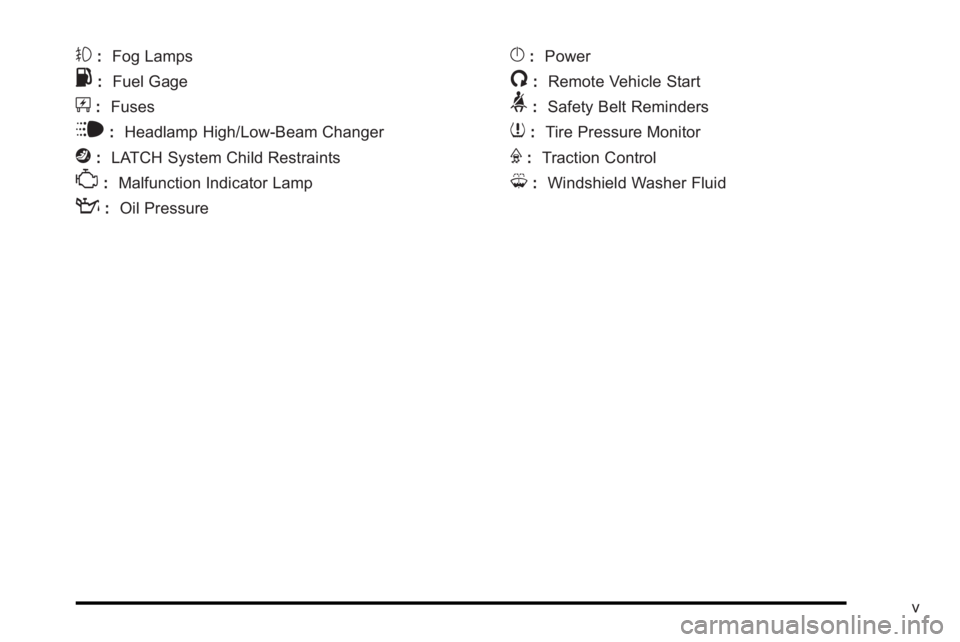
#:Fog Lamps
.: Fuel Gage
+:Fuses
i: Headlamp High/Low-Beam Changer
j:LATCH System Child Restraints
*: Malfunction Indicator Lamp
::Oil Pressure
}:Power
/:Remote Vehicle Start
>:Safety Belt Reminders
7:Tire Pressure Monitor
F:Traction Control
M:Windshield Washer Fluid
v
Page 17 of 368

Interior Mirror
Hold the mirror in the center to move it up or down and
side to side. Adjust the mirror to avoid glare from the
headlamps behind you. Push the tab forward for
daytime use and pull it for nighttime use.
SeeManual Rearview Mirror on page 3‑34.
Steering Wheel Adjustment
The tilt wheel lever is
located under the steering
column, slightly to the left.
To adjust the steering wheel: 1. Pull the lever down.
2. Move the steering wheel up or down into a comfortable position.
3. Pull the lever up to lock the wheel in place.
See Tilt Wheel on page 4‑3.
Interior Lighting
Dome Lamp
The vehicle has a dome lamp located in the overhead
console.
Move the switch to the following positions:
ON : The light comes on and stays on.
O :The light comes on when a door is opened.
The light turns off when all the doors are closed.
OFF : The light remains off even when a door is
opened.
Be sure all doors and trunk lid or hatch are completely
closed or the battery may drain.
For more information about interior lighting, see:
.Dome Lamp on page 4‑13.
1-11
Page 18 of 368

Exterior Lighting
Uplevel shown, Base similar
The lever on the left side of the steering column
operates the exterior lamps.
3 :Turns on the headlamps and other exterior lamps.
The headlamps automatically turn off when the ignition
key is turned to LOCK/OFF or ACC/ACCESSORY.
; :Turns on the parking lamps, together with the
taillamps, license plate lamp, and instrument panel
lights.
OFF : Turns all the lamps off, except the Daytime
Running Lamps (DRL). For more information, see:
.Exterior Lamps on page 4‑11.
.Daytime Running Lamps (DRL) on page 4‑11.
.Fog Lamps on page 4‑12.
Windshield Wiper/Washer
Sedan shown
1-12
Page 138 of 368

Mirrors
Manual Rearview Mirror
Hold the inside rearview mirror in the center to move it
for a clearer view behind your vehicle. Adjust the mirror
to avoid glare from the headlamps behind you. Push the
tab forward for daytime use and pull it for nighttime use.
Outside Manual Mirrors
Adjust the mirrors to see a little of the side of your
vehicle.
Controls for the outside manual mirrors are located next
to each mirror.
Manually fold the mirrors inward to prevent damage
when going through an automatic car wash. To fold,
push the mirror toward the vehicle. Push the mirror
outward, to return it to the original position.
3-34
Page 143 of 368

Section 4 Instrument Panel
Instrument Panel Overview. . . . . . . . . . . . . . . . . . . . . . . .4-3
Hazard Warning Flashers . . . . . . . . . . . . . . . . . . . . . . . 4-3
Horn . . . . . . . . . . . . . . . . . . . . . . . . . . . . . . . . . . . . . . . . . . . . 4-3
Tilt Wheel . . . . . . . . . . . . . . . . . . . . . . . . . . . . . . . . . . . . . . . 4-3
Turn Signal/Multifunction Lever . . . . . . . . . . . . . . . . . . 4-4
Turn and Lane-Change Signals . . . . . . . . . . . . . . . . . 4-4
Headlamp High/Low-Beam Changer . . . . . . . . . . . . 4-5
Flash-to-Pass . . . . . . . . . . . . . . . . . . . . . . . . . . . . . . . . . . . 4-5
Windshield Wipers . . . . . . . . . . . . . . . . . . . . . . . . . . . . . . 4-6
Windshield Washer . . . . . . . . . . . . . . . . . . . . . . . . . . . . . 4-7
Rear Window Wiper/Washer . . . . . . . . . . . . . . . . . . . . 4-7
Cruise Control . . . . . . . . . . . . . . . . . . . . . . . . . . . . . . . . . . 4-8
Exterior Lamps . . . . . . . . . . . . . . . . . . . . . . . . . . . . . . . . . 4-11
Daytime Running Lamps (DRL) . . . . . . . . . . . . . . . . 4-11
Fog Lamps . . . . . . . . . . . . . . . . . . . . . . . . . . . . . . . . . . . . 4-12
Instrument Panel Brightness . . . . . . . . . . . . . . . . . . . 4-12
Dome Lamp . . . . . . . . . . . . . . . . . . . . . . . . . . . . . . . . . . . 4-13
Inadvertent Power Battery Saver . . . . . . . . . . . . . . . 4-13
Accessory Power Outlet(s) . . . . . . . . . . . . . . . . . . . . . 4-13
Ashtray(s) and Cigarette Lighter . . . . . . . . . . . . . . . 4-14
Clock . . . . . . . . . . . . . . . . . . . . . . . . . . . . . . . . . . . . . . . . . . 4-15 Climate Controls
. . . . . . . . . . . . . . . . . . . . . . . . . . . . . . . . . . 4-15
Climate Control System . . . . . . . . . . . . . . . . . . . . . . . . 4-15
Outlet Adjustment . . . . . . . . . . . . . . . . . . . . . . . . . . . . . . 4-18
Passenger Compartment Air Filter . . . . . . . . . . . . . 4-18
Warning Lights, Gages, and Indicators . . . . . . . . . .4-20
Instrument Panel Cluster . . . . . . . . . . . . . . . . . . . . . . . 4-21
Speedometer and Odometer . . . . . . . . . . . . . . . . . . . 4-22
Trip Odometer . . . . . . . . . . . . . . . . . . . . . . . . . . . . . . . . . 4-22
Tachometer . . . . . . . . . . . . . . . . . . . . . . . . . . . . . . . . . . . . 4-22
Safety Belt Reminders . . . . . . . . . . . . . . . . . . . . . . . . . 4-23
Airbag Readiness Light . . . . . . . . . . . . . . . . . . . . . . . . 4-23
Passenger Airbag Status Indicator . . . . . . . . . . . . . 4-24
Charging System Light . . . . . . . . . . . . . . . . . . . . . . . . 4-25
Up-Shift Light . . . . . . . . . . . . . . . . . . . . . . . . . . . . . . . . . . 4-26
Brake System Warning Light . . . . . . . . . . . . . . . . . . . 4-26
Antilock Brake System (ABS) Warning Light . . . 4-27
Hold Mode Light . . . . . . . . . . . . . . . . . . . . . . . . . . . . . . . 4-27
Engine Coolant Temperature Gage . . . . . . . . . . . . 4-28
Tire Pressure Light . . . . . . . . . . . . . . . . . . . . . . . . . . . . 4-28
Malfunction Indicator Lamp . . . . . . . . . . . . . . . . . . . . 4-29
4-1
Page 146 of 368

Turn Signal/Multifunction Lever
The lever on the left side of the steering column
includes the following:
G:Turn and Lane-Change Signals
3:Headlamp High/Low-Beam Changer
P:Exterior Light Control
#: Fog Lamps, if equipped
Flash-to-Pass Feature.
Information for these features is on the pages following.
Turn and Lane-Change Signals
The turn signal has two upward (for right) and two
downward (for left) positions. These positions allow you
to signal a turn or a lane change.
To signal a turn, move the lever all the way up or down.
When the turn is finished, the lever will return
automatically.
An arrow on the
instrument panel cluster
will flash in the direction
of the turn or lane change.
To signal a lane change, just raise or lower the lever
until the arrow starts to flash. Hold it there until you
complete your lane change. The lever will return by
itself when you release it.
4-4
Page 147 of 368

As you signal a turn or a lane change, if the arrows
flash rapidly, a signal bulb may be burned out and other
drivers will not see your turn signal.
If a bulb is burned out, replace it to help avoid an
accident. If the arrows do not go on at all when you
signal a turn, check for burned-out bulbs and then
check the fuse. SeeFuses and Circuit Breakers
on
page 6‑87.
Headlamp High/Low-Beam Changer
The headlamps must be on for this feature to work.
Push the turn signal lever away from you to turn the
high beams on. This instrument panel cluster light
3comes on while
the high beams are on and the ignition is turned to
ON/RUN.
Pull the lever towards you to return to low beams.
Flash-to-Pass
This feature is used to signal to the vehicle ahead that
you want to pass.
Pull the turn signal/multifunction lever towards you until
the high-beam headlamps come on, then release the
lever to turn them off.
4-5
Page 153 of 368

Exterior Lamps
Uplevel shown, Base similar
The lever on the left side of the steering column
operates the exterior lamps.
The exterior lamp band has three positions:
3 (Headlamps) : Turns on the headlamps, together
with the following:
.Taillamps
.License Plate Lamp
.Instrument Panel Lights
.Parking Lamps
The headlamps automatically turn off when the ignition
key is turned to LOCK/OFF or ACC/ACCESSORY. ;
(Parking Lamps) : Turns on the parking lamps,
together with the taillamps, license plate lamp, and
instrument panel lights.
OFF : Turns all the lamps off, except the Daytime
Running Lamps (DRL).
Daytime Running Lamps (DRL)
Daytime Running Lamps (DRL) can make it easier for
others to see the front of your vehicle during the day.
Fully functional daytime running lamps are required on
all vehicles first sold in Canada.
The DRL system makes the headlamps come on when
the following conditions are met:
.The ignition is on.
.The exterior lamp band is in OFF or in the parking
lamp position.
.The parking brake is released.
An indicator light on instrument panel cluster comes on
when the DRL system is on.
When the DRL system is on, the taillamps, sidemarker
lamps, parking lamps and instrument panel lights do not
come on unless the exterior lamps control is turned to
the parking lamp or headlamp position.
4-11
Page 154 of 368

The DRL system turns off when one of the following
conditions are met:
.The ignition is off.
.The parking brake is on.
.The high-beam headlamps are on.
.The low-beam headlamps are on.
.The flash-to-pass feature is used.
The regular headlamp system should be used when
needed.
Fog Lamps
For vehicles with fog lamps, they are controlled by
the
#band located on the middle of the turn signal/
multifunction lever.
To use the fog lamps, the ignition must be turned to
ON/RUN and the low-beam headlamps or parking
lamps must be on.
Turn the band to
#to turn the fog lamps on. The band
automatically returns to its starting position when
released. The fog lamp indicator light comes on in the
instrument panel cluster. See Fog Lamp Light
on
page 4‑33.
To turn the fog lamps off, turn the band to
#again.
The fog lamp indicator light will go off. The fog lamps will also turn off when the high-beam
headlamps are turned on. When the high-beam
headlamps are turned off, the fog lamps will turn on
again.
Some localities have laws that require the headlamps to
be on along with the fog lamps.
Instrument Panel Brightness
This feature controls the brightness of the instrument
panel lights.
The thumbwheel for this feature is located on the
instrument panel to the left of the steering column.
Turn the thumbwheel to brighten or dim the lights.
4-12