clock PONTIAC G5 2010 Owners Manual
[x] Cancel search | Manufacturer: PONTIAC, Model Year: 2010, Model line: G5, Model: PONTIAC G5 2010Pages: 422, PDF Size: 2.22 MB
Page 11 of 422
When the vehicle starts, the parking lamps will turn on
and remain on as long as the engine is running.
The doors will be locked and the climate control system
may come on.
The engine will continue to run for 10 minutes. Repeat
the steps for a 10-minute time extension. Remote
start can be extended only once.
Canceling a Remote Start
To cancel a remote start:
•Aim the RKE transmitter at the vehicle and press
and hold
/until the parking lamps turn off.
•Turn on the hazard warning flashers.
•Turn the ignition switch to ON/RUN and then back
to LOCK/OFF.
See Remote Vehicle Start on page 3-6 .
Door Locks
To lock the driver door from outside the vehicle, turn the
key clockwise. Turn it counterclockwise to unlock.
The Remote Keyless Entry (RKE) transmitter can also
be used to lock or unlock the doors.
From the inside, use the manual lock knobs on each
door or use the power door locks.
Power Door Locks
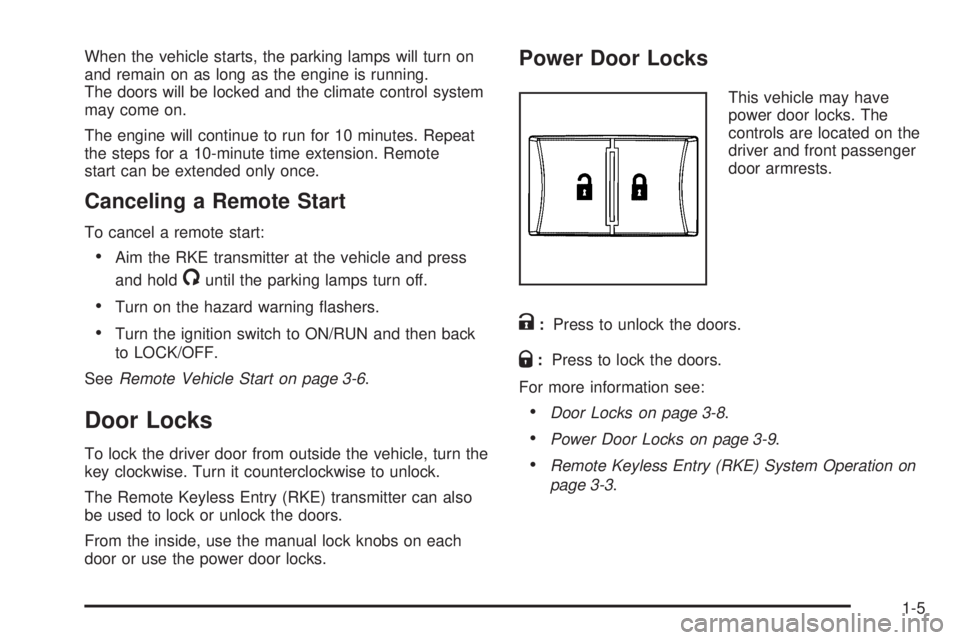
This vehicle may have
power door locks. The
controls are located on the
driver and front passenger
door armrests.
K:Press to unlock the doors.
Q:Press to lock the doors.
For more information see:
•Door Locks on page 3-8 .
•Power Door Locks on page 3-9 .
•Remote Keyless Entry (RKE) System Operation on
page 3-3.
1-5
Page 14 of 422

Manual Lumbar
The lumbar knob is located
on the front of the driver
seat lower cushion.
Turn it clockwise or
counterclockwise to
increase or decrease the
lumbar support.
See Manual Lumbar on page 2-3 .
Heated Seats
This vehicle may have
heated front seats. The
switches are located on the
instrument panel above
the climate control system.
Press the side of the switch with the double indicator
lights to turn the seat to the highest setting.
Press the side of the switch with the single indicator
light to turn the seat to the lowest setting.
Return the switch to the center to turn off the
heated seat.
See Heated Seats on page 2-4 .
Driver’s Switch shown
1-8
Page 21 of 422
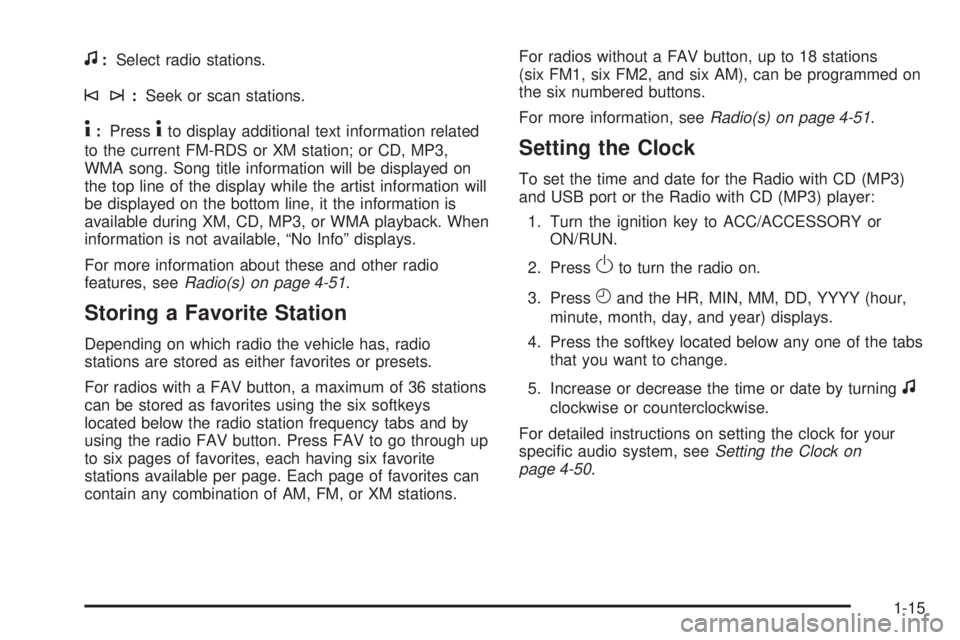
f:Select radio stations.
©¨:Seek or scan stations.
4:Press4to display additional text information related
to the current FM-RDS or XM station; or CD, MP3,
WMA song. Song title information will be displayed on
the top line of the display while the artist information will
be displayed on the bottom line, it the information is
available during XM, CD, MP3, or WMA playback. When
information is not available, “No Info” displays.
For more information about these and other radio
features, see Radio(s) on page 4-51 .
Storing a Favorite Station
Depending on which radio the vehicle has, radio
stations are stored as either favorites or presets.
For radios with a FAV button, a maximum of 36 stations
can be stored as favorites using the six softkeys
located below the radio station frequency tabs and by
using the radio FAV button. Press FAV to go through up
to six pages of favorites, each having six favorite
stations available per page. Each page of favorites can
contain any combination of AM, FM, or XM stations. For radios without a FAV button, up to 18 stations
(six FM1, six FM2, and six AM), can be programmed on
the six numbered buttons.
For more information, see
Radio(s) on page 4-51.
Setting the Clock
To set the time and date for the Radio with CD (MP3)
and USB port or the Radio with CD (MP3) player:
1. Turn the ignition key to ACC/ACCESSORY or ON/RUN.
2. Press
Oto turn the radio on.
3. Press
Hand the HR, MIN, MM, DD, YYYY (hour,
minute, month, day, and year) displays.
4. Press the softkey located below any one of the tabs that you want to change.
5. Increase or decrease the time or date by turning
f
clockwise or counterclockwise.
For detailed instructions on setting the clock for your
specific audio system, see Setting the Clock on
page 4-50.
1-15
Page 33 of 422

Seat Height Adjuster
The driver’s seat height adjuster is located on the
outboard side of the seat.
To raise the seat, move the lever upward repeatedly
until the seat is at the desired height. To lower the seat,
move the lever downward repeatedly until the seat is
at the desired height.
Manual Lumbar
On vehicles with this
feature, the knob is
located on the front of the
driver seat lower cushion
on the inboard side.
Turn the knob clockwise or counterclockwise to increase
or decrease the lumbar support.
2-3
Page 110 of 422

Doors and Locks
Door Locks
{WARNING:
Unlocked doors can be dangerous.
•Passengers, especially children, can easily
open the doors and fall out of a moving
vehicle. When a door is locked, the handle
will not open it. The chance of being thrown
out of the vehicle in a crash is increased if the
doors are not locked. So, all passengers
should wear safety belts properly and the
doors should be locked whenever the vehicle
is driven.
•Young children who get into unlocked vehicles
may be unable to get out. A child can be
overcome by extreme heat and can suffer
permanent injuries or even death from heat
stroke. Always lock the vehicle whenever
leaving it.WARNING: (Continued)
WARNING: (Continued)
•
Outsiders can easily enter through an
unlocked door when you slow down or stop
your vehicle. Locking your doors can help
prevent this from happening.
There are several ways to lock and unlock your vehicle.
To lock the driver’s door from the outside, turn the
key clockwise. To unlock the door, turn the key
counterclockwise.
You can also use the remote keyless entry transmitter,
if equipped, to lock and unlock the doors.
From the inside, use the manual lock knobs on each
door or the power door lock switch to lock and unlock all
doors.
3-8
Page 142 of 422
Electronic Stability Control (ESC)/TractionControl System (TCS) Indicator/Warning
Light ....................................................... .4-28
Engine Coolant Temperature Warning Light ......4-29
Tire Pressure Light ...................................... .4-29
Malfunction Indicator Lamp .............................4-30
Oil Pressure Light ........................................ .4-33
Security Light .............................................. .4-33
Fog Lamp Light ........................................... .4-34
Highbeam On Light ...................................... .4-34
Fuel Gage .................................................. .4-34
Driver Information Center (DIC) .......................4-35
DIC Operation and Displays ...........................4-36
DIC Warnings and Messages .........................4-38
DIC Vehicle Personalization ............................4-43Audio System(s)
............................................ .4-49
Setting the Clock ......................................... .4-50
Radio(s) ..................................................... .4-51
Using an MP3 ............................................. .4-63
XM Radio Messages .................................... .4-70
Bluetooth
®.................................................. .4-71
Theft-Deterrent Feature ................................. .4-81
Audio Steering Wheel Controls .......................4-82
Radio Reception .......................................... .4-83
Fixed Mast Antenna ..................................... .4-84
XM™ Satellite Radio Antenna System .............4-84
Section 4 Instrument Panel
4-2
Page 151 of 422

Fog Lamps
For vehicles with fog lamps, the button is located on the
instrument panel, to the left of the steering wheel.
The ignition must be on to use the fog lamps.
#:Press to turn the fog lamps on off. An indicator
light on the button comes on when the fog lamps are on.
The parking lamps automatically turn on and off when
the fog lamps are turned on and off.
The fog lamps will turn off while the high-beam
headlamps are turned on.
Some localities have laws that require the headlamps to
be on along with the fog lamps.
Instrument Panel Brightness
The control for this feature
is located on the instrument
panel to the left of the
steering wheel.
Turn the knob clockwise to brighten the lights or
counterclockwise to dim them.
Dome Lamp
The vehicle may have a dome lamp.
Move the lever to the following positions:
9(Off): Turns the lamp off, even when a door is
opened.
1(Door): Turns the lamp on whenever a door is
opened.
+(On): Turns the dome lamp on.
4-11
Page 155 of 422

To change the current mode, select one of the following:
9(Off):Turn the fan control to this position to turn
the fan off.
Temperature Control: Turn clockwise or
counterclockwise to increase or decrease the
temperature.
9(Fan Control): Turn clockwise or counterclockwise to
increase or decrease the fan speed. In any setting other
than off, the fan will run continuously with the ignition on.
The fan must be turned on to run the air conditioning
compressor.
Air Delivery Mode Control: Turn clockwise or
counterclockwise to change the direction of the
airflow inside the vehicle.
Select from the following modes:
H(Vent): Air is directed to the instrument panel
outlets.
)(Bi-Level): Air is divided between the instrument
panel outlets and the floor outlets. Cooler air is directed
to the upper outlets and warmer air to the floor outlets.
6(Floor): Air is directed to the floor outlets, with some
air directed to the windshield and side windows.
-(Defog): This mode clears the windows of fog or
moisture. Air is directed to the windshield, side window,
and floor outlets. To defog the windows faster, turn the
temperature control knob clockwise to the warmest
setting. In this mode, the system runs the air conditioning
compressor.
0(Defrost): This mode removes fog or frost from
the windshield more quickly. Air is directed to the
windshield, with some air directed to the side window
outlets and the floor outlets. To defrost the windows
faster, turn the temperature control knob clockwise to
the warmest setting. In this mode, the system runs
the air conditioning compressor.
For best results, clear all snow and ice from the
windshield before defrosting.
#(Air Conditioning): For vehicles with air
conditioning, press this button to turn the air conditioning
system on or off. An indicator light comes on to show that
the air conditioning is on.
On hot days, open the windows to let hot inside air
escape; then close them. This helps to reduce the time
it takes for the vehicle to cool down. It also helps the
system to operate more efficiently.
4-15
Page 190 of 422
Setting the Clock
Without Date Display
AM/FM Base Radio with a Single CD
Player
To set the time:1. Turn the ignition key to ACC/ACCESSORY or ON/RUN. Press
Oto turn the radio on.
2. Press
Huntil the hour begins flashing on the
display. Press
Ha second time and the minute
begins flashing on the display.
3. While either the hour or the minute numbers are flashing, turn
fto increase or decrease the time.
4. Press
Hagain until the clock display stops flashing
to set the currently displayed time; otherwise, the
flashing stops after five seconds and the current
time displayed is automatically set.
To change the time default setting from 12 hour to
24 hour, press the
Hbutton until 12H or 24H is displayed.
Once 12H or 24H is displayed, turn the
fknob to the
desired option to select the setting. Press the
Hbutton
again to apply the setting, or let the screen time out.
With Date Display
Radio with CD (MP3) and USB Port, and
Radio with Single CD (MP3) Player
To set the time and date:
1. Turn the ignition key to ACC/ACCESSORY or ON/RUN. Press
Oto turn the radio on.
2. Press
Hand the HR, MIN, MM, DD, YYYY (hour,
minute, month, day, and year) displays.
3. Press the softkey located below any one of the tabs that you want to change.
4. To increase the time or date do one of the following:
•Press the softkey located below the selected tab.
•Press¨SEEK, or\FWD.
•Turnfclockwise.
5. To decrease the time or date do one of the following:
•Press©SEEK orsREV.
•Turnfcounterclockwise.
4-50
Page 196 of 422
Setting the Tone
(Bass/Midrange/Treble)
BASS/MID/TREB (Bass, Midrange, or Treble):The
radio may display some or all tones such as BASS, MID,
and TREB.
To adjust the tone settings on the Radio with CD (Base):
Press
funtil the tone control labels display, then
turn
fto change the setting.
To adjust the tone settings on the Radio with CD (MP3)
and USB Port or the Radio with CD (MP3):
1. Press
funtil the tone control tabs display.
2. Press the softkey below the desired tab to be adjusted.
3. To increase the level of the bass, midrange, or treble:
•Press¨SEEK, or\FWD.
•Turnfclockwise. 4. To decrease the level of the bass, midrange, or
treble:
•Press©SEEK, orsREV.
•Turnfcounterclockwise.
The radio may be capable of adjusting bass, midrange,
or treble to the middle position by pressing the softkey
below the BASS, MID, or TREB tab for more than
two seconds. The radio beeps once and the level
adjusts to the middle position.
The radio may also be capable of adjusting all tone and
speaker controls to the middle position by pressing
ffor
more than two seconds until the radio beeps once.
If a station’s frequency is weak, or has static, decrease
the treble.
EQ (Equalization): Press this button to select preset
equalization settings.
To return to the manual mode, press EQ until Manual
displays or start to manually adjust the bass, midrange,
or treble by pressing
f.
4-56