display PONTIAC G6 2006 User Guide
[x] Cancel search | Manufacturer: PONTIAC, Model Year: 2006, Model line: G6, Model: PONTIAC G6 2006Pages: 416, PDF Size: 2.66 MB
Page 142 of 416
To set a speed do the following:
1. Press the on/off symbol to turn cruise control on.
The indicator light on the button will come on.
2. Get to the speed you want.
3. Press the SET−symbol and release it. The cruise
symbol will display in the instrument panel cluster
to show the system is engaged.
4. Take your foot off the accelerator pedal.
When the brakes are applied, the cruise control
shuts off.
If the vehicle is in cruise control and the Traction
Control System (TCS) or Enhanced Traction
System (ETS) begins to limit wheel spin, the cruise
control will automatically disengage. SeeTraction
Control System (TCS) on page 4-9andEnhanced
Traction System (ETS) on page 4-11. When road
conditions allow, the cruise control can be used again.Resuming a Set Speed
Suppose you set your cruise control at a desired speed
and then you apply the brakes. This, of course,
disengages the cruise control. The cruise symbol in the
instrument panel cluster will also go out indicating
cruise is no longer engaged. To return to your previously
set speed, you do not need to go through the set
process again. Once at a speed of about 25 mph
(40 km/h) or more, you can press the RES+ symbol
brie�y.
This will take you back up to your previously chosen
speed and stay there.
Increasing Speed While Using Cruise
Control
There are two ways to go to a higher speed.
If the cruise control system is already engaged,
press the RES+ symbol. Hold it there until you
get up to the speed you want, and then release
the button.
To increase your speed in very small amounts,
press the RES+ symbol brie�y and then release
it. Each time you do this, your vehicle will go about
1 mph (1.6 km/h) faster.
3-12
Page 154 of 416

Use the steps below to place the entire system in
automatic mode:
1. Place the fan knob and the mode knob to AUTO.
The display will now show the current set
temperature. When auto is selected, the air
conditioning operation and air inlet will be
automatically controlled. The air conditioning
compressor will run when the outside temperature
is over about 40°F (4°C). The air inlet will normally
be set to outside air. If it’s hot outside, the air
inlet may automatically switch to recirculate inside
air to help quickly cool down your vehicle.
2. Set the temperature.
To �nd your comfort setting, start with an initial
temperature setting and allow about 20 minutes for
the system to regulate. Press the up or down
arrow temperature buttons to adjust the temperature
setting as necessary. If you choose the temperature
setting of 60°F (15°C) the system will remain at
the maximum cooling setting. If you choosethe temperature setting of 90°F (32°C) the system
will remain at the maximum heat setting. Choosing
either maximum setting will not cause the vehicle
to heat or cool any faster.
Be careful not to cover the sensor located on the
top of the instrument panel near the windshield. This
sensor regulates air temperature based on sun
load, and also turns on your headlamps.
Also be careful not to cover the sensor grille on the
lower right side of the climate control faceplate.
This senses the inside vehicle temperature needed
for proper regulation.
To avoid blowing cold air at start-up in cold weather,
the system will delay turning on the fan until
warm air is available. The length of delay depends
on the engine coolant temperature. Turning the
fan knob will override this delay and change the fan
to a selected speed.
3-24
Page 155 of 416
If your vehicle has the remote start feature, the climate
control display will initially show “AS” in place of the
temperature to indicate the remote start has been
activated. The system will automatically regulate the
temperature according to the following:
If inside air temperature is below 72°F (22°C), the
system will automatically adjust to the following
settings: highest fan speed, defrost mode,
recirculation, and the full heat position.
If inside air temperature is above 79°F (26°C) the
system will automatically adjust to the following
settings: highest fan speed, panel mode,
recirculation, and full cold position.
If inside air temperature is between 72°F (22°C)
and 79°F (26°C), the system will adjust
automatically to the following settings: medium fan
speed, panel mode, recirculation, and the full
cold position.
The climate control will change back to manual
operation by turning on the vehicle with the key.
Manual Operation
You may manually adjust the air delivery mode or
fan speed.
9(Off):Select this position on the fan knob to turn off
the entire climate control system. Outside air will still
enter the vehicle, and will be directed to the �oor. This
direction can be changed by changing the mode
position. The temperature can also be adjusted using
either the up or down arrow temperature buttons.
9(Fan):The knob with the fan symbol allows you to
manually adjust the fan speed.
H(Vent):This mode directs air to the instrument
panel outlets.
)(Bi-Level):This mode directs half of the air to the
instrument panel outlets, and the remaining air to
the �oor outlets.
3-25
Page 161 of 416

Speedometer and Odometer
Your speedometer lets you see your speed in both
miles per hour (mph) and kilometers per hour (km/h).
Your odometer shows how far your vehicle has
been driven, in either miles (used in the United States)
or kilometers (used in Canada).
When in manual shift mode, the odometer will change
from the vehicle’s mileage to the letter M, for manual
mode, and a number indicating the requested gear
range when moving the shift lever forward or rearward.
For more information seeAutomatic Transaxle
Operation on page 2-28.
Your vehicle has a tamper resistant odometer.
Repair or replacement of your instrument panel
cluster should only be performed by a quali�ed
GM service center.
Trip Odometer
The trip odometer can display how far you have driven
since you last reset it.
For more information seeDIC Operation and Displays
on page 3-46.
Tachometer
The tachometer
shows your engine
speed in revolutions
per minute (rpm).
Notice:If you operate the engine with the
tachometer in the shaded warning area, your vehicle
could be damaged, and the damages would not
be covered by your warranty. Do not operate
the engine with the tachometer in the shaded
warning area.
3-31
Page 163 of 416

Airbag Readiness Light
There is an airbag readiness light on the instrument
panel, which shows the airbag symbol. The system
checks the airbag’s electrical system for malfunctions.
The light tells you if there is an electrical problem.
The system check includes the airbag sensors, the
airbag modules, the wiring and the diagnostic module.
For more information on the airbag system, see
Airbag System on page 1-56.
This light will come on
when you start your
vehicle, and it will �ash for
a few seconds. Then
the light should go out.
This means the system
is ready.
If the airbag readiness light stays on after you start the
vehicle or comes on when you are driving, your
airbag system may not work properly. Have your vehicle
serviced right away.{CAUTION:
If the airbag readiness light stays on after you
start your vehicle, it means the airbag system
may not be working properly. The airbags in
your vehicle may not in�ate in a crash, or they
could even in�ate without a crash. To help
avoid injury to yourself or others, have your
vehicle serviced right away if the airbag
readiness light stays on after you start
your vehicle.
The airbag readiness light should �ash for a few
seconds when you turn the vehicle on. If the light does
not come on then, have it �xed so it will be ready to
warn you if there is a problem.
If there is a problem with the airbag system in your
vehicle, the Service airbag message will appear on the
DIC display. SeeDIC Warnings and Messages on
page 3-48for more information.
3-33
Page 174 of 416
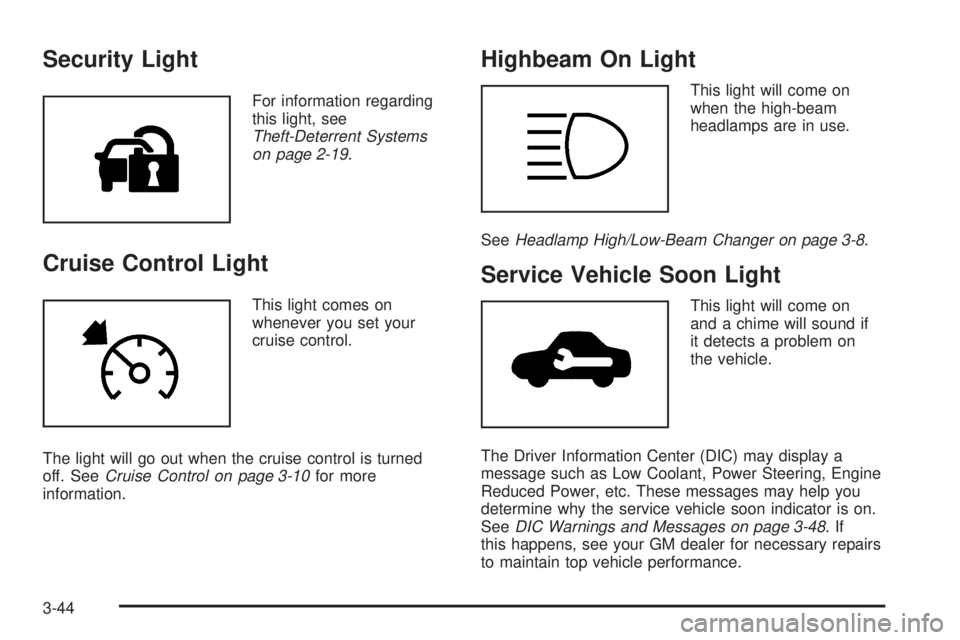
Security Light
For information regarding
this light, see
Theft-Deterrent Systems
on page 2-19.
Cruise Control Light
This light comes on
whenever you set your
cruise control.
The light will go out when the cruise control is turned
off. SeeCruise Control on page 3-10for more
information.
Highbeam On Light
This light will come on
when the high-beam
headlamps are in use.
SeeHeadlamp High/Low-Beam Changer on page 3-8.
Service Vehicle Soon Light
This light will come on
and a chime will sound if
it detects a problem on
the vehicle.
The Driver Information Center (DIC) may display a
message such as Low Coolant, Power Steering, Engine
Reduced Power, etc. These messages may help you
determine why the service vehicle soon indicator is on.
SeeDIC Warnings and Messages on page 3-48.If
this happens, see your GM dealer for necessary repairs
to maintain top vehicle performance.
3-44
Page 175 of 416
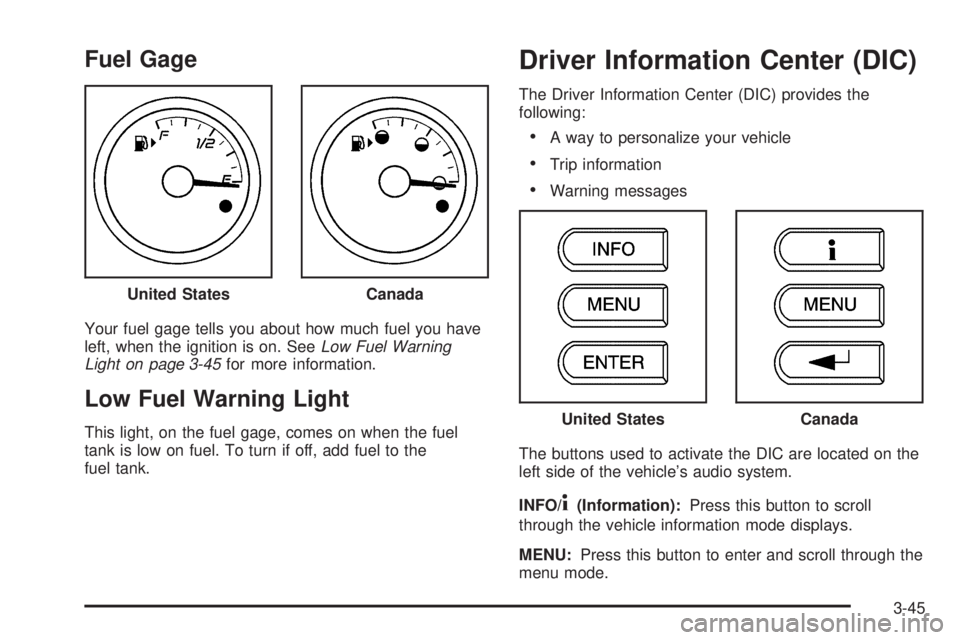
Fuel Gage
Your fuel gage tells you about how much fuel you have
left, when the ignition is on. SeeLow Fuel Warning
Light on page 3-45for more information.
Low Fuel Warning Light
This light, on the fuel gage, comes on when the fuel
tank is low on fuel. To turn if off, add fuel to the
fuel tank.
Driver Information Center (DIC)
The Driver Information Center (DIC) provides the
following:
A way to personalize your vehicle
Trip information
Warning messages
The buttons used to activate the DIC are located on the
left side of the vehicle’s audio system.
INFO/
4(Information):Press this button to scroll
through the vehicle information mode displays.
MENU:Press this button to enter and scroll through the
menu mode. United States
Canada
United StatesCanada
3-45
Page 176 of 416
ENTER/r(Enter):Press this button to select a
menu option or to acknowledge a warning message.
The DIC messages will be read through your audio
system display.
DIC Operation and Displays
The DIC comes on when the ignition is on. If your
vehicle has the uplevel audio system, the time and
outside temperature will be shown on the �rst line of the
display and the DIC information will be shown on the
second line of the display.
The DIC has different modes which can be accessed by
pressing the DIC buttons. The button functions are
detailed in the following.
Information Mode
INFO/4(Information):Press this button to scroll
through the vehicle information mode displays in the
following order:
TRIP A
TRIP B
FUEL RANGE (Fuel Range Until Empty)
ECON (Average Fuel Economy)
AV SPEED (Average Vehicle Speed)
OIL LIFE (Engine Oil Life System)TRIP A or TRIP B:Press the information button until
TRIP A or TRIP B is displayed. This shows the
current distance traveled since the last reset for each
trip odometer in either miles or kilometers. Both
odometers can be used at the same time. Each trip
odometer can be reset to zero separately by pressing
and holding the enter button for a few seconds while the
desired trip odometer is displayed.
FUEL RANGE:Press the information button until FUEL
RANGE is displayed. This shows the remaining
distance you can drive without refueling. It is based on
fuel economy and the fuel remaining in the tank.
The fuel economy data used to determine fuel range is
an average of recent driving conditions. As your
driving conditions change, this data is gradually updated.
Fuel range cannot be reset.
ECON (Economy):Press the information button until
ECON is displayed. Average fuel economy is how
many miles per gallon or liters per 100 kilometers your
vehicle is getting based on current and past
driving conditions.
Press and hold the enter button while ECON is
displayed to reset the average fuel economy. Average
fuel economy will then be calculated starting from
that point. If the average fuel economy is not reset, it
will be continually updated each time you drive.
3-46
Page 177 of 416

AV (Average) SPEED:Press the information button
until AV SPEED is displayed. This shows the vehicle’s
average speed in miles per hour or kilometers per hour.
Press and hold the enter button while AV SPEED is
displayed to reset the average vehicle speed.
OIL LIFE:Press the information button until OIL LIFE is
displayed. The engine oil life system shows an
estimate of the oil’s remaining useful life. It will show
100% when the system is reset after an oil change.
It will alert you to change your oil on a schedule
consistent with your driving conditions.
Always reset the engine oil life system after an oil
change. See “OIL LIFE RESET” underDIC Vehicle
Personalization on page 3-52andEngine Oil Life
System on page 5-20.
In addition to the engine oil life system monitoring the
oil life, additional maintenance is recommended in
the Maintenance Schedule in this manual. See
Scheduled Maintenance on page 6-4andEngine Oil on
page 5-17.Personalization
MENU:Press this button while the vehicle is in ON to
scroll through each of the personalization options in
the following order. If the vehicle is moving faster than
2 mph (3 km/h), the personalization menu options
are not available, except for the UNITS option. All of the
personalization options may not be available on your
vehicle. Only the options available will be displayed on
your DIC.
Units Selection (English/Metric)
Oil Life Reset
Remote Start Capability
Horn Chirp During Remote Keyless Entry Locking
Horn Chirp During Remote Keyless Entry Unlocking
Exterior Light Flash During Remote Keyless
Entry Locking or Unlocking
Delayed Locking
Automatic Vehicle Unlocking: Speci�c Doors
Automatic Vehicle Unlocking: When Key is Off or
When Shift To Park
Exterior Perimeter Lighting During Remote Keyless
Entry Unlock
Select Language: (English, French, Spanish or
German)
3-47
Page 178 of 416
When the desired option is reached, press the enter
button to toggle between the modes of that option. To
make a selection, press the MENU button again.
If no selection is made within 10 seconds, the display
will revert back to the previous information displayed.
The MENU mode is exited when the information button
is pressed, a 10 second time period has elapsed,
the ignition is turned to OFF, or the end of the MENU
list is reached.
SeeDIC Vehicle Personalization on page 3-52for more
information on the personalization options.
Enter
ENTER/r(Enter):Press this button to reset certain
functions and to turn off or acknowledge messages
on the DIC display. This button also toggles through the
options available in each personalization menu.
DIC Warnings and Messages
These messages will appear if there is a problem
detected in one of your vehicle’s systems.
Any message will clear when the vehicle’s condition
is no longer present. To acknowledge a message
and clear it from the display, press any of the
three DIC buttons. The warning message will come
back on the next time the vehicle is turned off and back
on if the condition is still present. With most messages,
a warning chime will sound when the message is
displayed. Your vehicle may have other warning
messages.
AUTO (Automatic) LIGHTS OFF:This message will
display if the automatic headlamp system is disabled
with the headlamp switch.
AUTO (Automatic) LIGHTS ON:This message will
display if the automatic headlamp system is enabled
with the headlamp switch.
BRAKE FLUID:This message will display to inform the
driver that the brake �uid level is low while the ignition
is in ON. Have the brake system serviced by your
GM dealer as soon as possible.
3-48