reset PONTIAC GRAND AM 1998 Owners Manual
[x] Cancel search | Manufacturer: PONTIAC, Model Year: 1998, Model line: GRAND AM, Model: PONTIAC GRAND AM 1998Pages: 370, PDF Size: 16.11 MB
Page 101 of 370
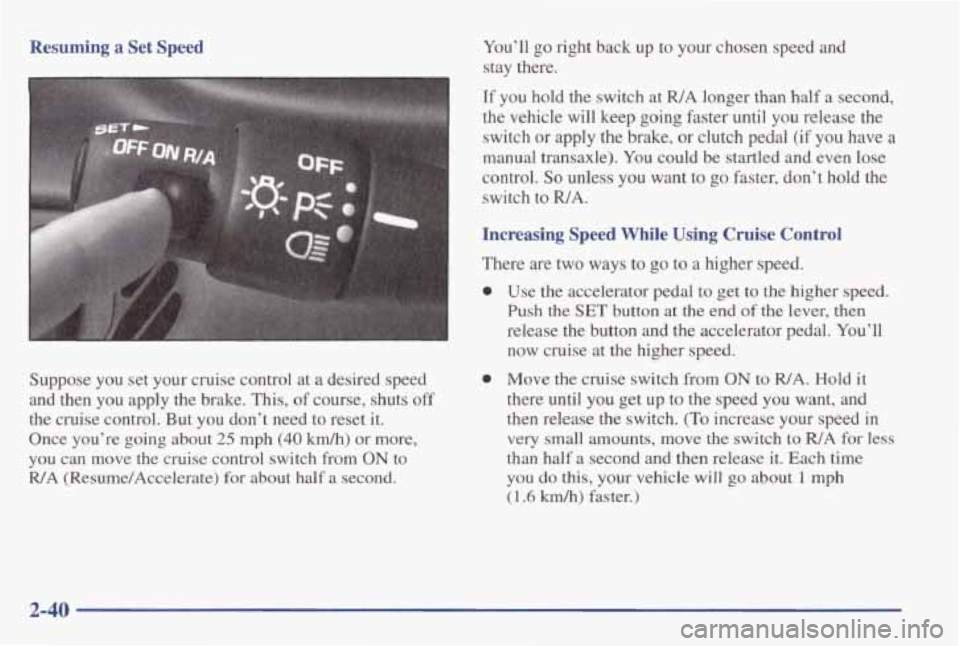
Resuming a Set Speed
Suppose you set your cruise control at a desired speed
and then you apply the brake. This, of course, shuts
off
the cruise control. But you don’t need to reset it.
Once you’re going about
25 mph (40 km/h) or more,
you can move the cruise control switch from ON to
R/A (Resume/Accelerate) for about half a second. You’ll
go right back up to your chosen speed and
stay there.
If you hold the switch at
R/A longer than half a second,
the vehicle will keep going faster until you release the
switch or apply the brake, or clutch pedal (if you have
a
manual transaxle). You could be startled and even lose
control. So unless you want to go faster, don’t hold the
switch to
WA.
Increasing Speed While Using Cruise Control
There are two ways to go to a higher speed.
0 Use the accelerator pedal to get to the higher speed.
Push
the SET button at the end of the lever, then
release the button and the accelerator pedal. You’ll
now cruise at the higher speed.
0 Move the cruise switch from ON to WA. Hold it
there until you get
up to the speed you want, and
then release the switch.
(To increase your speed in
very small amounts, move the switch to RIA for less
than half a second
and then release it. Each time
you do this, your vehicle will go about 1 mph
(1.6 km/h) faster.)
2-40
Page 116 of 370
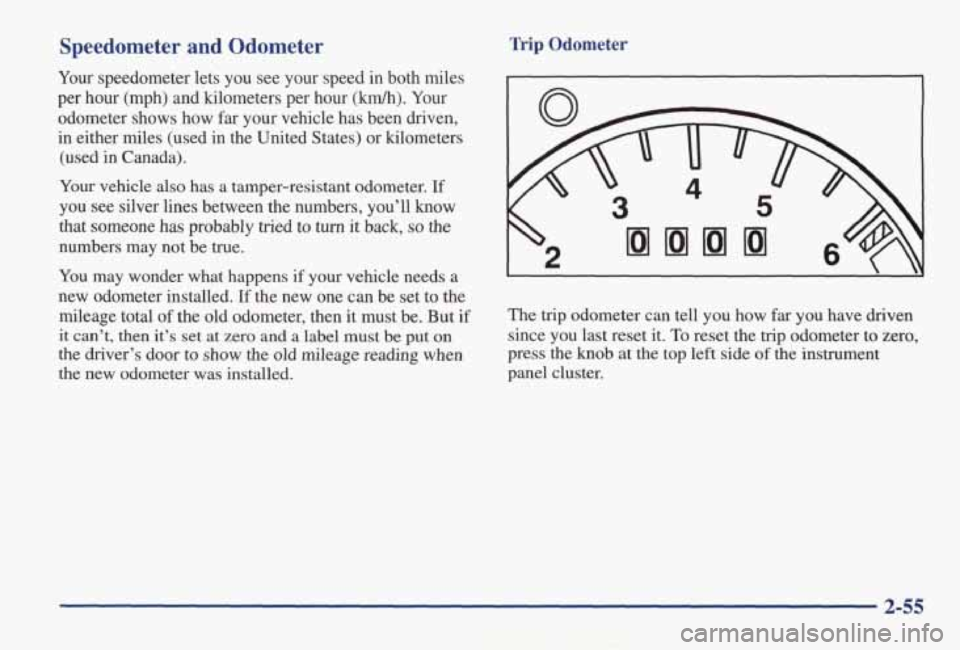
Speedometer and Odometer
Your speedometer lets you see your speed in both miles
per hour (mph) and kilometers per hour (km/h). Your
odometer shows how
far your vehicle has been driven,
in either
miles (used in the United States) or kilometers
(used in Canada).
Your vehicle also has
a tamper-resistant odometer. If
you see silver lines between the numbers, you’ll know
that someone has probably tried
to turn it back, so the
numbers may not be true.
You may wonder what happens if your vehicle needs a
new odometer installed.
If the new one can be set to the
mileage total of the old odometer, then it must be. But if
it can’t, then it’s set at zero and a label must be put on
the driver’s door to show the old mileage reading when
the new odometer was installed.
Trip Odometer
The trip odometer can tell you how far you have driven
since you last reset it.
To reset the trip odometer to zero,
press the
knob at the top left side of the instrument
panel cluster.
2-55
Page 120 of 370
If the light comes on while you are driving, pull off the
road and stop carefully. You may notice that the pedal is
harder to push. Or, the pedal may
go closer to the floor.
It may take longer to stop. If the light
is still on, have the
vehicle towed for service. (See “Towing Your Vehicle”
in the Index.)
I A CAUTION:
Your brake system may not be working properly
if the brake system warning light is on. Driving
with the brake system warning light on can lead to an accident.
If the light is still on after you’ve
pulled off the road and stopped carefully, bqve
the vehicle towed for service.
When the ignition is on, the brake system warning light
will
also come on when you set your parking brake. The
light will stay on if your parking brake doesn’t release
fully.
If it stays on after your parking brake is fully
released, it means you have a brake problem.
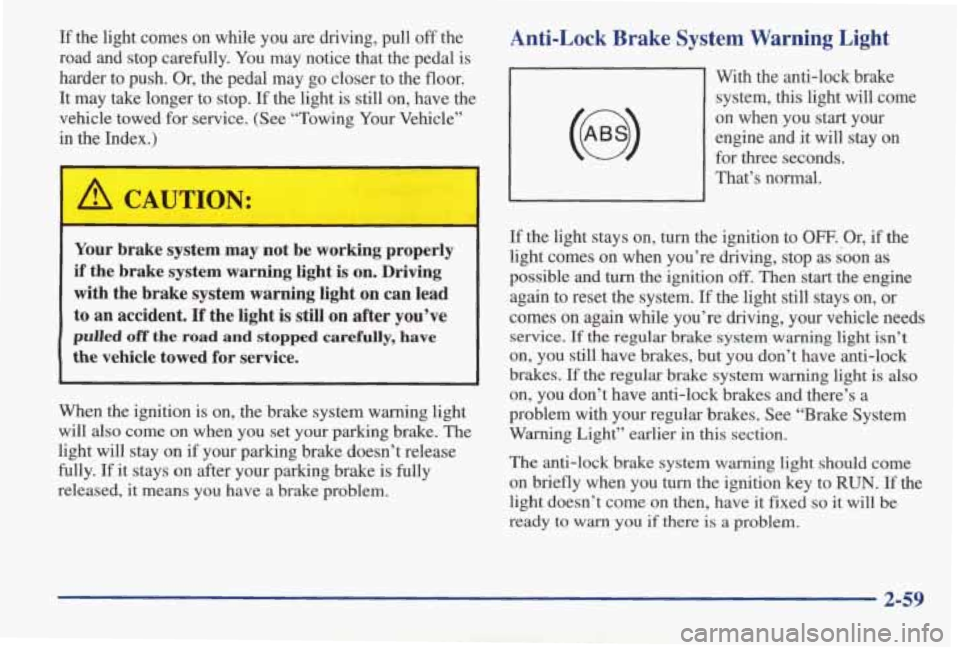
Anti-Lock Brake System Warning Light
With the anti-lock brake
system,
this light will come
on when you
start your
engine
and it will stay on
for three seconds.
That’s normal.
If the light stays on, turn the ignition to OFF. Or, if the
light comes on when you’re driving, stop
as soon as
possible and turn the ignition off. Then start the engine
again to reset the system.
If the light still stays on, or
comes on
again while you’re driving, your vehicle needs
service. If the regular brake system warning light isn’t
on, you still have brakes, but you don’t have anti-lock
brakes.
If the regular brake system warning light is also
on, you don’t have anti-lock brakes and there’s a
problem with
your regular brakes. See “Brake System
Warning Light” earlier in this section.
The anti-lock brake system warning light should come
on briefly when you turn the ignition key to
RUN. If the
light doesn’t come on then, have it fixed
so it will be
ready
to warn you if there is a problem.
2-59
Page 139 of 370
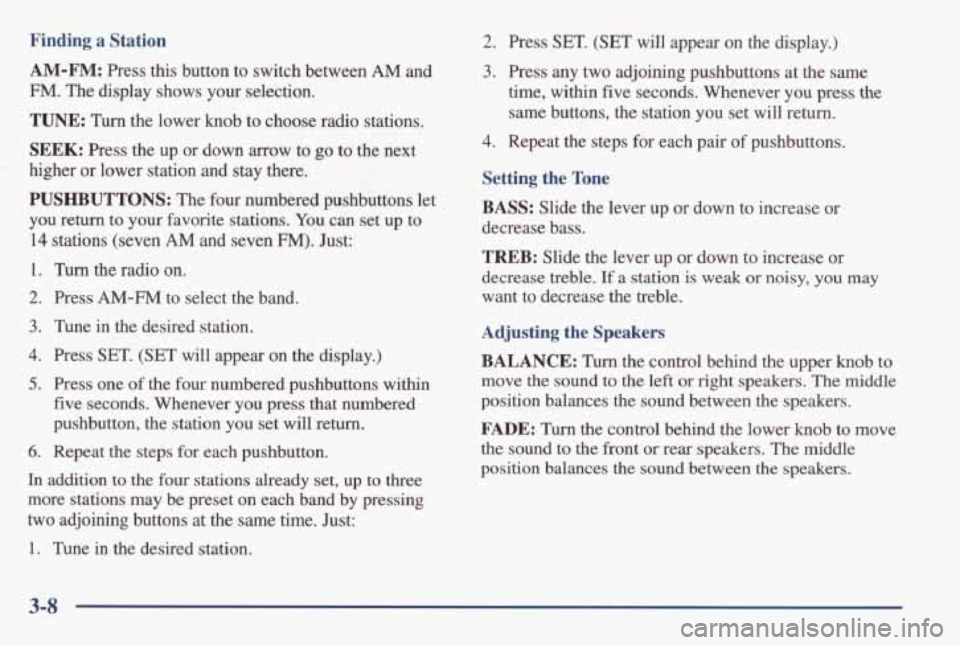
Finding a Station
AM-FM:
Press this button to switch between AM and
FM. The display shows your selection.
TUNE: Turn the lower knob to choose radio stations.
SEEK: Press the up or down arrow to go to the next
higher
or lower station and stay there.
PUSHBUTTONS: The four numbered pushbuttons let
you return to your favorite stations. You can set up to
14 stations (seven AM and seven FM). Just:
1. Turn the radio on.
2. Press AM-FM to select the band.
3. Tune in the desired station.
4. Press SET. (SET will appear on the display.)
5. Press one of the four numbered pushbuttons within
five seconds. Whenever
you press that numbered
pushbutton, the station you set will return.
6. Repeat the steps for each pushbutton.
In addition to the four stations already set, up to three
more stations may be preset on each band by pressing
two adjoining buttons at
the same time. Just:
1. Tune in the desired station.
2. Press SET. (SET will appear on the display.)
3. Press any two adjoining pushbuttons at the same
time,
within five seconds. Whenever you press the
same buttons, the station you set will return.
4. Repeat the steps for each pair of pushbuttons.
Setting the Tone
BASS: Slide the lever up or down to increase or
decrease bass.
TREB: Slide the lever up or down to increase or
decrease treble. If a station is weak or noisy, you may
want to decrease the treble.
Adjusting the Speakers
BALANCE: Turn the control behind the upper knob to
move
the sound to the left or right speakers. The middle
position balances the sound between the speakers.
FADE: Turn the control behind the lower knob to move
the sound to the front or rear speakers.
The middle
position balances the sound between the speakers.
3-8
Page 142 of 370
NEXT (2): Press this button or the SEEK up arrow to
search for the next selection on the tape. If you hold the
button, the player
will continue moving forward through
the tape. Your tape must have at least three seconds
of
silence between each selection for NEXT or SEEK to
work. The tape direction arrow blinks during NEXT or
SEEK operation. Press NEXT or the SEEK up arrow to
stop searching. The sound will mute during
NEXT or
SEEK operation.
PROG (3): Press this button to play the other side
of the tape.
00 (4): Press this button to reduce background
noise. Note that the double-D symbol will appear on
the display.
Dolby Noise Reduction is manufactured under a license
from Dolby Laboratories Licensing Corporation. Dolby
and the double-D symbol are trademarks of Dolby
Laboratories Licensing Corporation.
REV (5): Press this button to reverse the tape rapidly.
Press
it again to return to playing speed. The radio will
play the last-selected station while the tape reverses.
You may select stations during REV operation by using
SEEK or TUNE.
FWD (6): Press this button to advance quickly to
another part of the tape. Press the button again to return
to playing speed. The radio will play the last-selected station while the tape advances. You may select stations
during
FWD operation by using SEEK or TUNE.
AM-FM: Press this button to play the radio when a tape
is in the player.
TAPWLAY: Press this button to change to the tape
function when the radio is on. The tape symbol with
an
arrow will appear on the display when the tape is active.
To return to playing the radio, press the AM-FM button.
EJECT: Press this button to remove the tape. The radio
will play.
EJECT may be activated with either the
ignition or radio
off. Cassettes may be loaded with the
radio and ignition
off if this button is pressed first.
CLN: If this message appears on the display, the
cassette tape player needs to be cleaned. It will still play
tapes, but you should clean it as soon as possible to
prevent damage to the tapes and player. See “Care
of
Your Cassette Tape Player” in the Index. After you clean
the player, press and hold EJECT for five seconds to
reset the CLN indicator. The radio will display
--- to
show the indicator was reset.
3-11
Page 146 of 370
FWD (6): Press this button to advance quickly to
another part of the tape. Press the button again to return
to playing speed. The
radio will play the last-selected
station while the tape advances.
You may select stations
during
FWD operation by using SEEK or TUNE.
AM-FM: Press this button to play the radio when a tape
is in the player.
TAPEPLAY: Press this button to change to the tape
function when the radio is on. The tape symbol
with an
arrow will appear on the display when the tape is active.
To return to playing the radio, press the AM-F” button.
EJECT: Press this button to remove the tape. The radio
will play. EJECT may be activated with either the
ignition or radio
off. Cassettes may be loaded with the
radio
off if this button is pressed first.
CLN: If this message appears on the display, the
cassette
tape player needs to be cleaned. It will still play
tapes, but
you should clean it as soon as possible to
prevent damage
to the tapes and player. See “Care of
Your Cassette Tape Player” in the Index. After you clean
the player, press and hold EJECT for
five seconds to
reset the
CLN indicator. The radio will display --- to
show the indicator was reset.
CD Adapter Kits
It is possible to use a CD adapter kit with your cassette
tape player after activating the bypass
feature on your
tape player.
To activate the bypass feature, use the following steps:
1. Turn the ignition to RUN or ACCESSORY.
2. Turn the radio off.
3. Press and hold the TMELPLAY button for
three seconds. The tape symbol on the display will flash for
two seconds, indicating the feature
is active.
4. Insert the adapter while the tape symbol is flashing.
It will power up the radio and begin playing.
This override routine will remain active until EJECT
is pressed.
3-15
Page 150 of 370
PREV (1): Press PREV or the SEEK down arrow to
search for the previous selection.
A minimum
three-second blank gap is needed for the player to stop
at the beginning of the selection. The tape direction
arrow
will blink during the SEEK operation and the
mud will mute in this mode.
NEXT (2): Press NEXT or the SEEK up arrow to
search for the next selection. The tape direction arrow
will blink during the SEEK operation and the sound will
mute in
this mode.
(4): Press this button to reduce background tape noise
(noise reduction is only available
in the cassette mode).
The double-D symbol will appear on the display.
REV (5): Press this button to rapidly reverse the tape.
The tape will rapidly reverse to the beginning
of the
cassette reel or until you press REV again. Use the
SEEK button or the TUNE knob to play the radio during
REV. The radio plays the last selected station.
FWD (6): Press this button to rapidly advance the tape.
The tape
will rapidly advance to the end of the cassette
reel or until you press
FWD again. Use the SEEK button
or the
TUNE knob to play the radio during FWD. The
radio plays the last selected station.
PROG: Press this button on the remote cassette player
to go from one side
of the tape to the other.
CD/PLAY: After a cassette tape and a CD have been
inserted, press the
CDPLAY button to switch between
the
CD player and the cassette tape player. Both features
cannot be played at the same time.
EJECT: Press this button on the remote cassette player
to remove the tape.
EJECT can be used with either the
ignition or radio
off. Also, you must press EJECT before
loading a cassette
with the radio off to allow loading.
CLN: If this message appears on the display, the
cassette tape player needs to be cleaned. It
will still play
tapes, but
you should clean it as soon as possible to
prevent damage to the tapes and player. See “Care
of
Your Cassette Tape Player” in the Index. After you clean
the player, press and hold RECALL on the radio and the
EJECT button on the remote cassette at the same time
for five seconds to reset the
CLN indicator. The radio
will display
--- to show the indicator was reset.
3-19
Page 153 of 370
To unlock a secured radio, see “Unlocking the
Theft-Deterrent Feature After
a Power Loss” earlier in
this section.
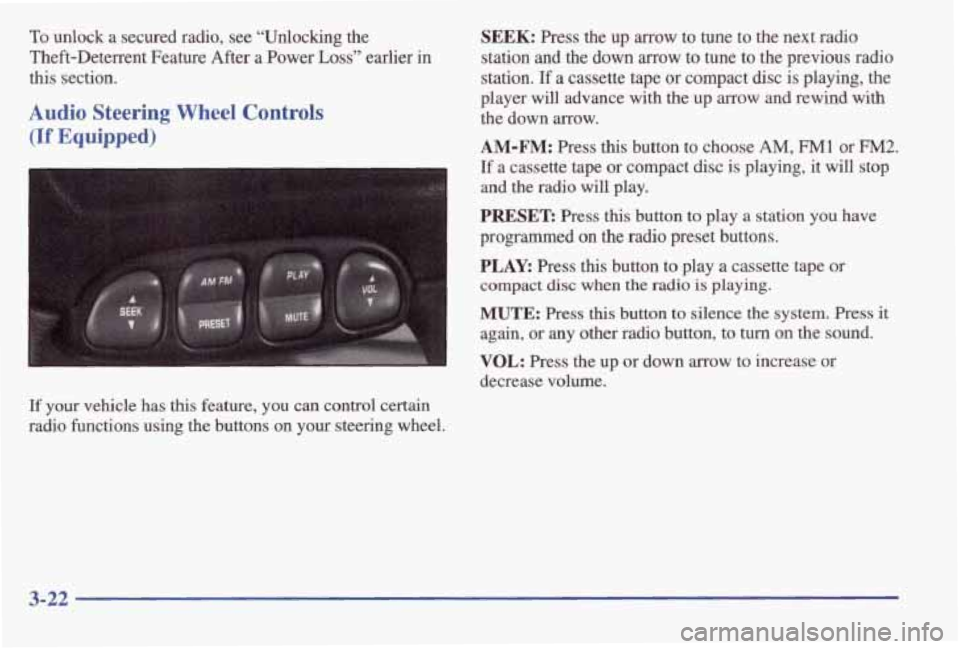
Audio Steering Wheel Controls
(If Equipped)
SEEK: Press the up arrow to tune to the next radio
station and
the down arrow to tune to the previous radio
station.
If a cassette tape or compact disc is playing, the
player
will advance with the up arrow and rewind with
the down arrow.
AM-FM: Press this button to choose AM, FM1 or FM2.
If a cassette tape or compact disc is playing, it will stop
and the radio will play.
PRESET: Press this button to play a station you have
programmed
on the radio preset buttons.
PLAY: Press this button to play a cassette tape or
compact
disc when the radio is playing.
MUTE: Press this button to silence the system. Press it
again, or any other radio button, to turn on the sound.
I VOL: Press the up or down arrow to increase or
decrease volume.
If your vehicle has
this feature, you can control certain
radio functions using the buttons
on your steering wheel.
3-22
Page 155 of 370
Care of Your Cassette Tape Player
A tape player that is not cleaned regularly can cause
reduced sound quality, ruined cassettes or a damaged
mechanism. Cassette tapes should be stored
in their
cases away from contaminants, direct sunlight and
extreme heat.
If they aren’t, they may not operate
properly or may cause failure of
the tape player.
Your tape player should be cleaned regularly after every
50 hours of use. Your radio may display CLN to indicate
that you have used your tape player for
50 hours without
resetting the tape clean timer.
If this message appears on
the display, your cassette tape player needs to
be
cleaned. It will still play tapes, but you should clean it as\
soon as possible to prevent damage to your
tapes and
player. If you notice a reduction
in sound quality, try a
known good cassette to see
if it is the tape or the tape
player at fault. If this other cassette has no improvement
in sound quality, clean the tape player. Cleaning
may be done with a scrubbing action,
non-abrasive cleaning cassette with pads which scrub
the tape head as the hubs of the cleaner cassette
turn.
Follow these steps to prevent the cassette from being
ejected due to the CUT
TAPE DETECTION feature:
1. l7.m the radio off and the ignition on.
2. Press and hold the TUEPLAY button for three
seconds (tape indicator will flash for two seconds).
3. Insert the cleaner cassette (a CD adapter kit may also
be inserted).
The radio will default
back to CUT TAPE DETECTION
when the cleaner cassette (or CD adapter kit) is ejected.
You may
also choose a non-scrubbing action, wet-type
cleaner which uses a cassette with a fabric belt to clean
the
tape head. It may not clean as thoroughly as the
scrubbing type cleaner.
After
you clean the player, press and hold EJECT for
five seconds to reset the
CLN indicator. The radio will
display
--- to show the indicator was reset.
Cassettes are subject to wear and
the sound quality
may degrade over time. Always make sure the cassette
tape
is in good condition before you have your tape
player serviced.
3-24
Page 262 of 370
Surge Tank Pressure Cap
I NOTICE:
~~
Your pressure cap is an 15 psi (105 kPa)
pressure-type cap and must be tightly installed
to
prevent coolant loss and possible engine damage
from overheating.
When you replace your surge tank pressure cap, a GM
cap is recommended.
Thermostat
Power Steering Fluid
Engine coolant temperature is controlled by a thermostat
in the engine coolant system. The thermostat stops the
flow of coolant through the radiator until the coolant
reaches a preset temperature.
When you replace your thermostat,
an ACDelco@
thermostat
is recommended.
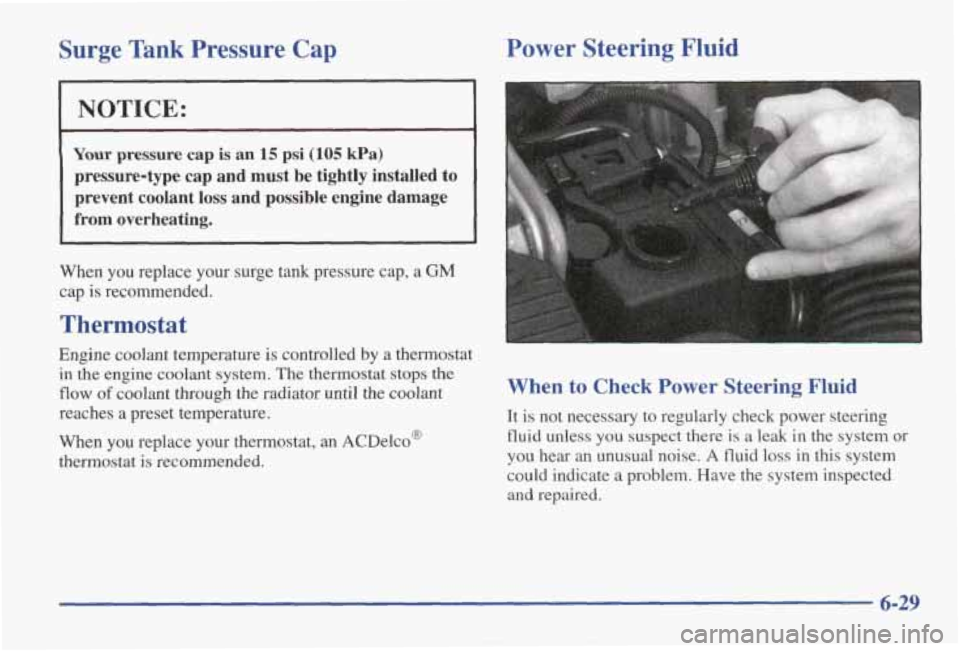
When to Check Power Steering Fluid
It is not necessary to regularly check power steering
fluid unless you suspect there
is a leak in the system or
you hear an unusual noise.
A fluid loss in this system
could indicate
a problem. Have the system inspected
and repaired.
6-29