ABS PONTIAC GRAND AM 2003 Owners Manual
[x] Cancel search | Manufacturer: PONTIAC, Model Year: 2003, Model line: GRAND AM, Model: PONTIAC GRAND AM 2003Pages: 354, PDF Size: 16.3 MB
Page 186 of 354
And, of course, actual stopping distances vary greatly
with the surface of the road (whether it’s pavement
or gravel); the condition of the road (wet, dry, icy); tire
tread; the condition of your brakes; the weight of
the vehicle and the amount of brake force applied.
Avoid needless heavy braking. Some people drive
in spurts
- heavy acceleration followed by heavy
braking
- rather than keeping pace with traffic. This is
a mistake. Your brakes may not have time to cool
between hard stops. Your brakes will wear out much
faster
if you do a lot of heavy braking. If you keep pace
with the traffic and allow realistic following distances,
you will eliminate a
lot of unnecessary braking.
That means better braking and longer brake life.
If your engine ever stops while you’re driving, brake
normally but don’t pump your brakes. If you do,
the pedal may get harder
to push down. If your engine
stops, you will still have some power brake assist.
But you will use it when you brake. Once the power
assist is used up, it may take longer
to stop and
the brake pedal will be harder
to push.
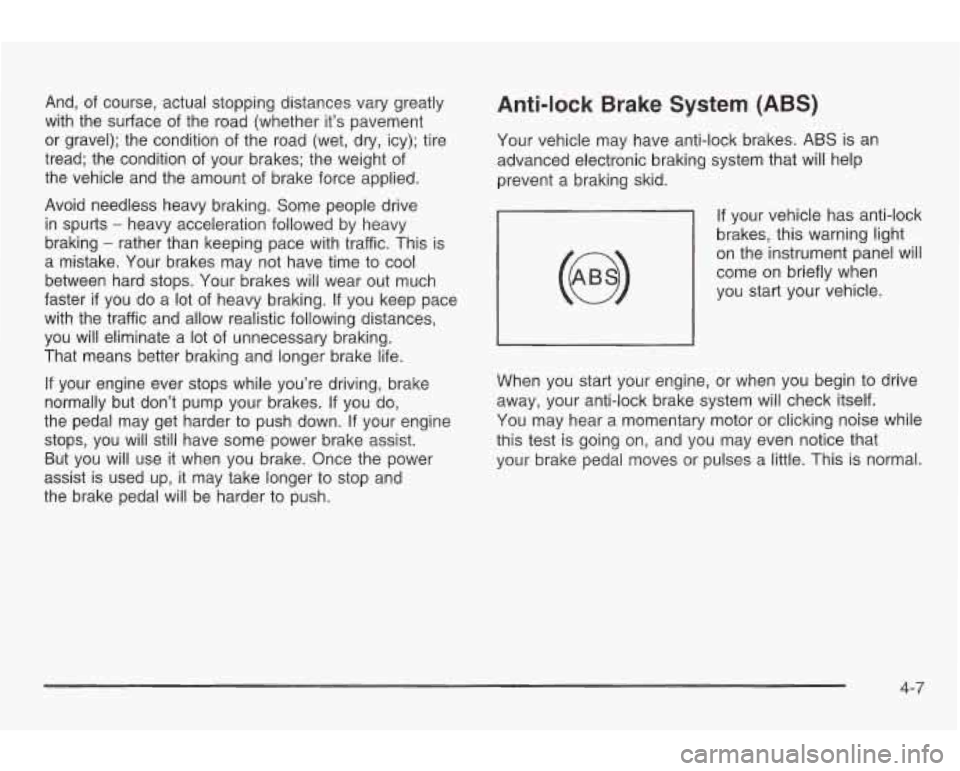
Anti-lock Brake System (ABS)
Your vehicle may have anti-lock brakes. ABS is an
advanced electronic braking system that will help
prevent a braking skid.
If your vehicle has anti-lock
brakes, this warning light
on the instrument panel will
come on briefly when
you start your vehicle.
When you start your engine, or when you begin
to drive
away, your anti-lock brake system will check itself.
You may hear a momentary motor or clicking noise while
this test is going on, and you may even notice that
your brake pedal moves or pulses a little. This is normal.
4-7
Page 187 of 354
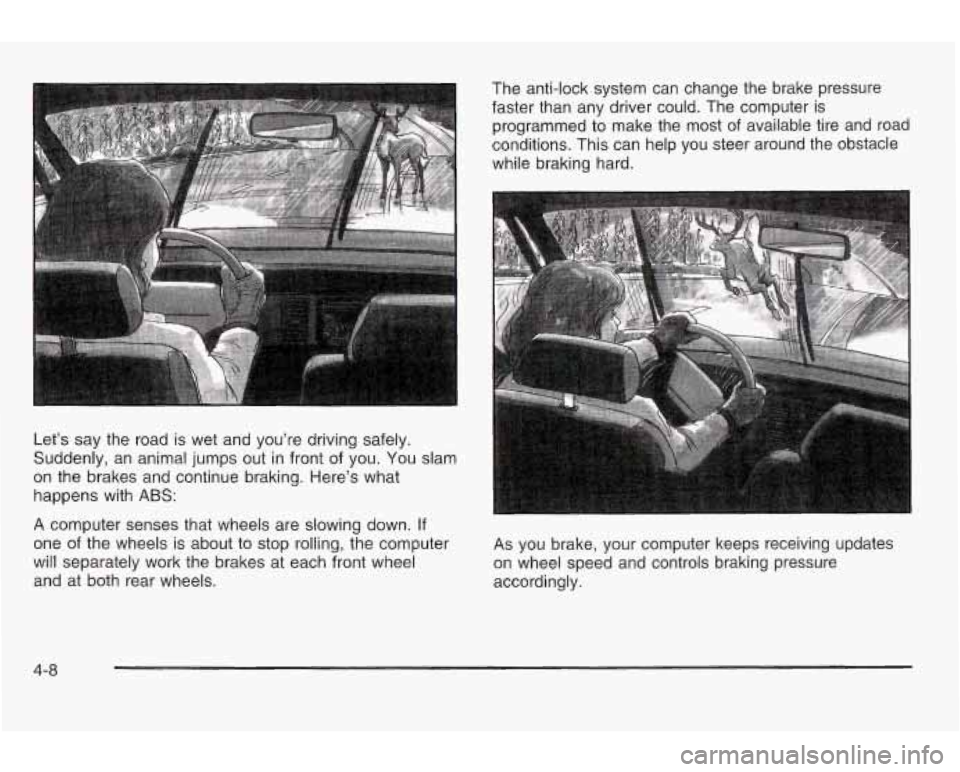
Let’s say the road is wet and you’re driving safely.
Suddenly, an animal jumps out in front of you. You slam
on the brakes and continue braking. Here’s what
happens with
ABS:
A computer senses that wheels are slowing down. If
one of the wheels is about to stop rolling, the computer
will separately work the brakes at each front wheel
and at both rear wheels. The anti-lock system can change the brake
pressure
faster than any driver could. The computer is
programmed to make the most of available tire and road
conditions. This can help you steer around the obstacle
while braking hard.
As you brake, your computer keeps receiving updates
on wheel speed and controls braking pressure
accordingly.
4-8
Page 221 of 354
Driving On Grades
Reduce speed and shift to a lower gear before you start
down a long or steep downgrade.
If you don’t shift
down, you might have to use your brakes
so much that
they would get hot and no longer work well.
On a long uphill grade, shift down and reduce your
speed
to around 45 mph (70 km/h) to reduce the
possibility
of engine and transaxle overheating.
Parking on Hills
You really should not park your vehicle, with a
trailer attached, on a hill.
If something goes
wrong, your rig could start to move. People
can be injured, and both your vehicle and the
trailer can be damaged. But
if you ever have
to park your rig on a hill, here’s
how to do it:
1. Apply your regular brakes, but don’t shift into
PARK (P) for an automatic transaxle or into gear for
a manual transaxle, yet. When parking uphill, turn
your wheels away from the curb. When parking
downhill, turn your wheels into the curb.
wheels. brakes until the chocks absorb the load.
2. Have someone place chocks
under the trailer
3. When the chocks are in place, release the regular
4. Reapply the regular brakes. Then apply your
parking brake and shift into PARK
(P) for an
automatic transaxle or REVERSE (R) for a manual
transaxle.
5. Release the regular brakes.
4-42
Page 274 of 354
Taillamps, Turn Signal, and
Stoplamps
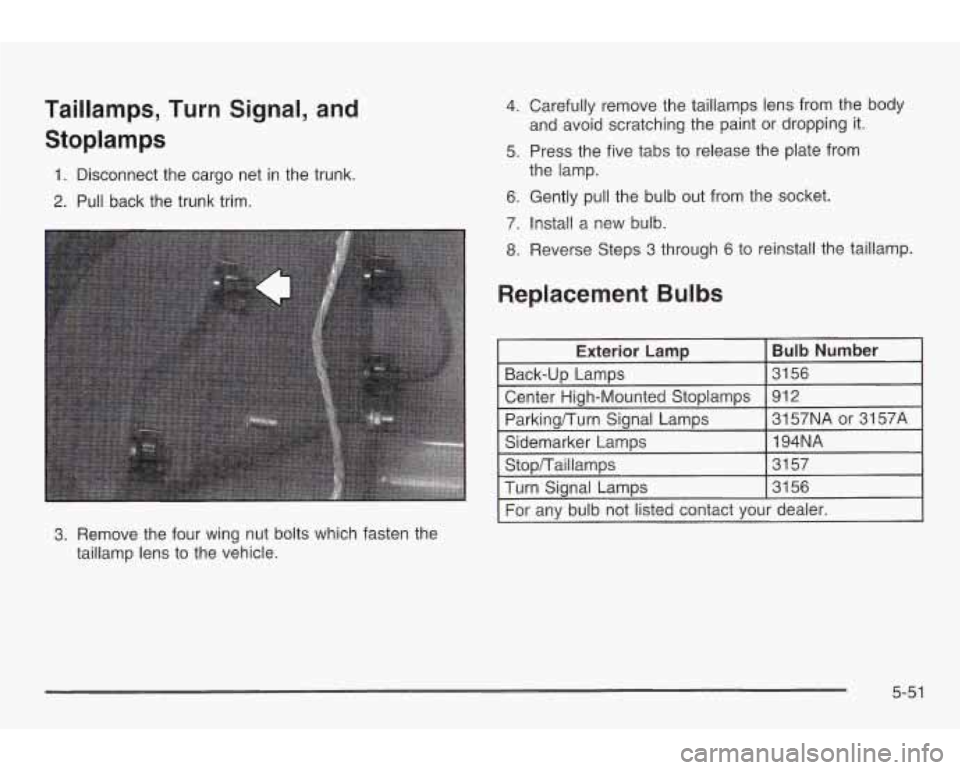
1. Disconnect the cargo net in the trunk.
2. Pull back the trunk trim.
3. Remove the four wing nut bolts which fasten the
taillamp lens to the vehicle.
4. Carefully remove the taillamps lens from the body
and avoid scratching the paint or dropping it.
5. Press the five tabs to release the plate from
the lamp.
6. Gently pull the bulb out from the socket.
7. Install a new bulb.
8. Reverse Steps 3 through 6 to reinstall the taillamp.
Replacement Bulbs
Stop/Taillamps 31 57
Turn Siunal Lamps 31 56 " -
For any bulb not listed contact your dealer.
5-51
Page 308 of 354

Relays 16
17
18
19
20
21 22
Fuses 23-32
33
34
35
36
37
3e
39
40 Usage
Air Conditioning Compressor
Not Used
Fuel Pump
Automatic Headlamp System
Automatic Headlamp System
Horn
Daytime Running Lamps (DRL)
Usage
Spare Fuse Holder
Rear Defog
Accessory Power Outlets,
Cigarette Lighter
Generator
Not Used
Air Conditioning Compressor, Body
Function Control Module
Powertrain Control Module (PCM)
Anti-Lock Brakes (ABS)
At Itnmatir- TrQncQvlo , l,..."l, IULIV I I UI I"cIt\I"
Fuses
41
42
43
44
45 46
47
48 49 50
51 52
53
54
55 56
57 Usage
Ignition
System
Back-up Lamps, Brake Transaxle
Shift Interlock
Horn PCM Parking Lamps
Climate Control System,
Air Conditioning
Canister Vent Valve, Exhaust
Oxygen Sensors
Fuel Pump, injectors
Not Used
Right Headlamp
Left Headlamp
Cooling Fan
#2
HVAC Blower (Climate Control)
Crank
Coolina Fan #2 Ground
Fuse Puller for Mini Fuses
Not Used
5-85
Page 340 of 354
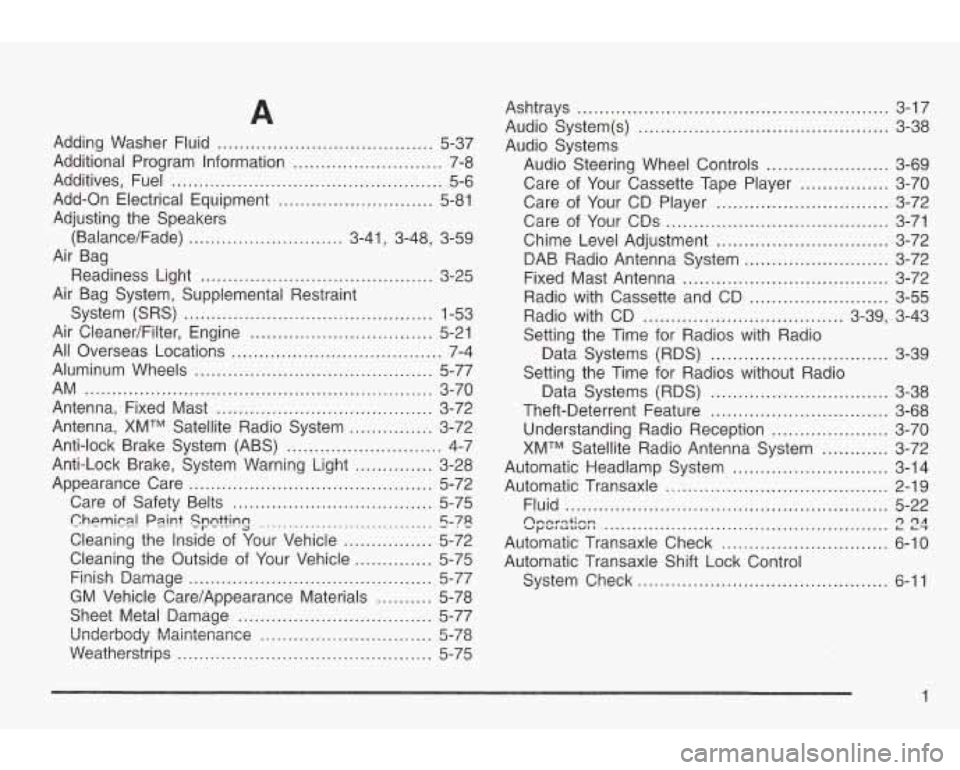
A
Adding Washer Fluid ....................................... 5-37
Additional Program Information
........................... 7-8
Additives, Fuel
................................................. 5-6
Add-On Electrical Equipment
............................ 5-81
Adjusting the Speakers
(Balance/Fade)
............................ 3-41 ~ 3-48, 3-59
Air Bag
Readiness Light
.......................................... 3-25
Air Bag System, Supplemental Restraint
System (SRS)
............................................. 1-53
Air CleanedFilter, Engine ................................. 5-21
All Overseas Locations ...................................... 7-4
Aluminum Wheels
........................................... 5-77
Antenna, Fixed Mast
....................................... 3-72
Antenna, XMTM Satellite Radio System
............... 3-72
Anti-lock Brake System (ABS)
............................ 4-7
Anti-Lock Brake, System Warning Light
.............. 3-28
Appearance Care
............................................ 5-72
Care
of Safety Belts .................................... 5-75
Cleaning the Inside
of Your Vehicle ................ 5-72
Finish Damage
............................................ 5-77
AM
............................................................... 3-70
ChPMim! Psi nt SFQttinCJ ............................... 5-78
Cleaning the Outside
of Your Vehicle .............. 5-75
GM Vehicle Care/Appearance Materials
.......... 5-78
Sheet Metal Damage
................................... 5-77
Underbody MaiGtenanee
............................... 5-78
Weatherstrips .............................................. 5-75 Ashtrays
........................................................ 3-17
Audio System(s)
............................................. 3-38
Audio Systems
Audio Steering Wheel Controls
...................... 3-69
Care
of Your Cassette Tape Player ................ 3-70
Care of Your CD Player
............................... 3-72
Care of Your CDs
........................................ 3-71
Chime Level Adjustment
............................... 3-72
DAB Radio Antenna System
.......................... 3-72
Fixed Mast Antenna
..................................... 3-72
Radio with Cassette and CD
......................... 3-55
Radio with CD
.................................... 3-39, 3-43
Setting the Time for Radios with Radio
Data Systems (RDS)
................................ 3-39
Setting the Time for Radios without Radio
Data Systems (RDS)
................................ 3-38
Theft-Deterrent Feature
................................ 3-68
Understanding Radio Reception
..................... 3-70
XMTM Satellite Radio Antenna System
............ 3-72
Automatic Headlamp System
............................ 3-14
Automatic Transaxle
........................................ 2-19
Fluid
.......................................................... 5-22
Automatic Transaxle Check
.............................. 6-10
Automatic Transaxle Shift Lock Control
System Check
............................................. 6-11
Annrqtinn vy- IULIVII 1 L-r r) r)A ...................................................
1