glove box PONTIAC GRAND PRIX 1998 Owners Manual
[x] Cancel search | Manufacturer: PONTIAC, Model Year: 1998, Model line: GRAND PRIX, Model: PONTIAC GRAND PRIX 1998Pages: 402, PDF Size: 17.96 MB
Page 78 of 402
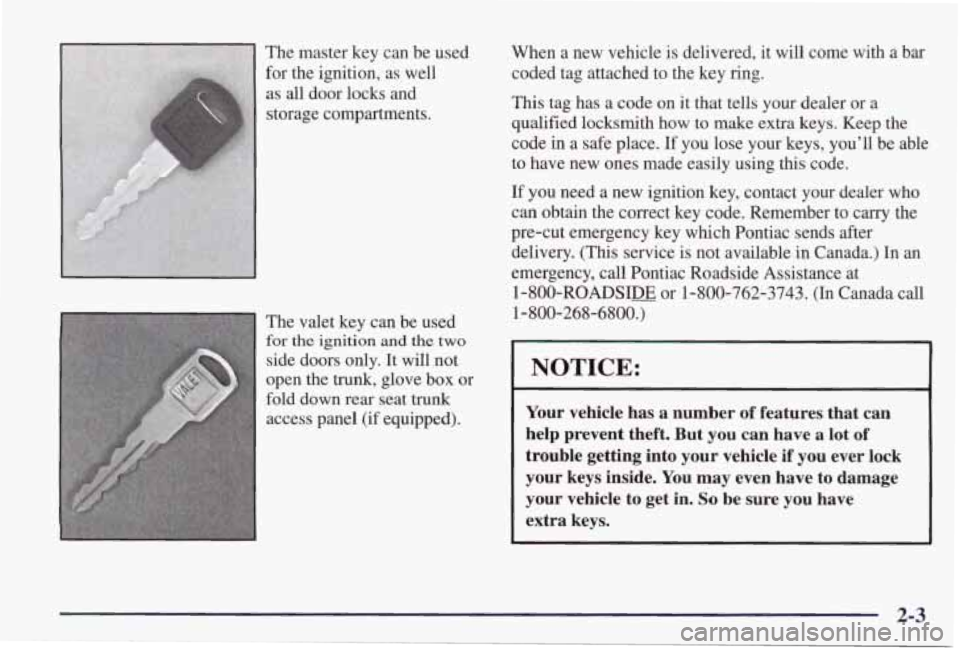
The master key can be used
for the ignition, as well
as all door locks and
storage compartments.
The valet key can be used
for the ignition and the two
side doors only. It will not
open the
trunk, glove box or
fold down rear seat
trunk
access panel (if equipped). When a new vehicle
is delivered, it will come with
a bar
coded tag attached to the key ring.
This tag has a code on it that tells your dealer or
a
qualified locksmith how to make extra keys. Keep the
code in
a safe place. If you lose your keys, you’ll be able
to have new ones made easily using this code.
If you need a new ignition key, contact your dealer who
can obtain the correct key code. Remember to carry the
pre-cut emergency key which Pontiac sends after delivery.
(This service is not available in Canada.) In an
emergency, call Pontiac Roadside Assistance at
1-800-ROADSIDE or 1-800-762-3743. (In Canada call
1-800-268-6800.)
I 1
I NOTICE: I ~~
Your vehicle has a number of features that can
help prevent theft. But you can have a lot
of
trouble getting into your vehicle if you ever lock
your keys inside. You may even have to damage
your vehicle to get in.
So be sure you have
extra keys.
2-3
Page 87 of 402
Trunk Trunk Lock
A CAUTION:
It can be dangerous to drive with the trunk open
because carbon monoxide (CO) gas can come into
your vehicle. You can’t see or smell
CO. It can
cause unconsciousness and even death.
If you must drive with the trunk open or if
electrical wiring or other cable connections
must pass through the seal between the body
and the trunk:
0 Make sure all windows are shut.
Turn the fan on your heating or cooling
system to its highest speed with the setting
on
VENT. That will force outside air into
your vehicle. See “Comfort Controls” in
the Index.
instrument panel, open them
all the way.
If you have air outlets on or under the
See “Engine Exhaust” in the Index. can
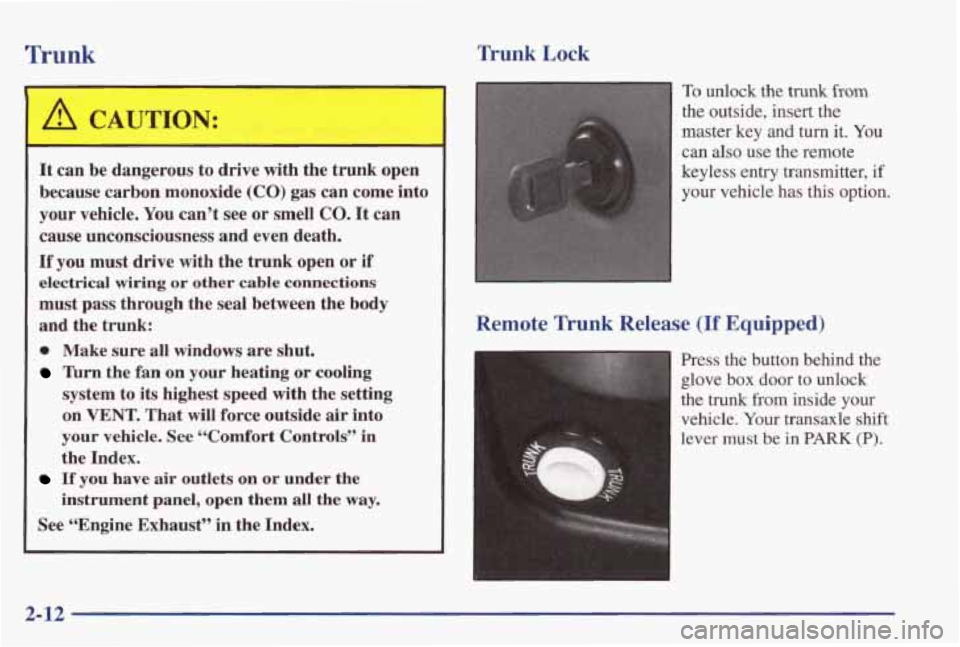
also use
the remote
keyless entry transmitter, if
your vehicle has this option.
Remote Trunk Release (If Equipped)
Press the button behind the
glove
box door to unlock
the
trunk from inside Your
vehicle.
your transaxfe shift
lever must be in PARK (P).
2-12
Page 88 of 402
Parking Lots Theft
Vehicle theft is big business, especially in some cities.
Although your vehicle has
a number of theft-deterrent
features, we know that nothing we put on it can make
it impossible to steal. However, there are ways you
can help.
Key in the Ignition
If you leave your vehicle with the keys inside, it’s an
easy target for joy riders or professional thieves -- so
don’t do it.
When you park your vehicle and open the driver’s door,
you’ll hear a chime reminding you to remove your key
from
the ignition and take it with you. Always do this.
Your steering wheel will be locked, and so will your
ignition and transaxle. And remember to lock the doors.
Parking at Night
Park in a lighted spot, close all windows and lock your
vehicle. Remember
to keep your valuables out of sight.
Put them in a storage area, or take them with you. If you park in
a lot where someone
will be watching
your vehicle, it’s best to
lock it up and take your keys.
But what if you have to leave your ignition key?
0
0
0
0
0
0
If possible, park in a busy, well lit area.
Put your valuables in a storage area, like your
trunk
or glove box. Be sure to close and lock the
storage area.
Close
all windows.
Lock
the glove box.
Lock all doors except
the driver’s.
Give the valet key to the valet. Then take the tnaster
key with you.
Page 129 of 402
Storage Compartments
Glove Box
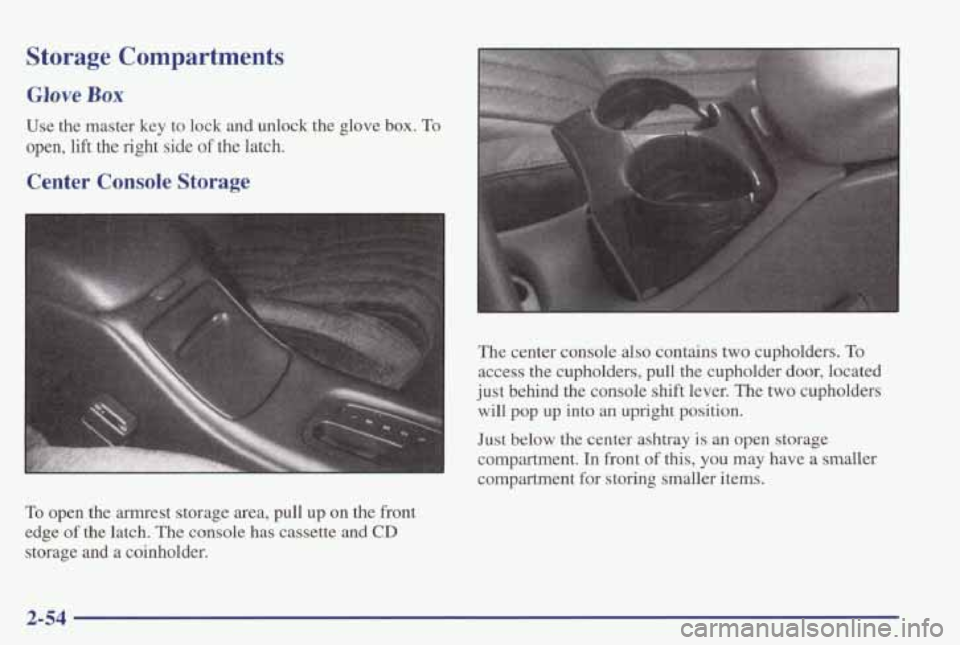
Use the master key to lock and unlock the glove box. To
open, lift the right side of the latch.
Center Console Storage
To open the armrest storage area, pull up on the front
edge of the latch. The console has cassette
and CD
storage and a coinholder. The center console also
contains two cupholders. To
access the cupholders, pull the cupholder door, located
just behind the console shift lever. The two cupholders
will
pop up into an upright position.
Just below the center ashtray is an open storage
compartment.
In front of this, you may have a smaller
compartment for storing smaller items.
2-54
Page 136 of 402
The main components of your instrument panel are:
A. Side Window Defogger Vents
B. Fog Lamp Switch
C. Instrument Panel Vents
D. Interior Lamp Control
E. Exterior Lamp Control
E Instrument Panel Cluster
G. Comfort Controls
H. Audio System
I. Ashtray
J. Glove Box
IS. Trip Computer/Driver Information Center
2-61
Page 159 of 402
If You Can’t See the HUD Image When the Ignition
Is On
0 Is anything covering the HUD unit?
0 Is the HUD dimmer setting bright enough?
Is the HUD image adjusted to the proper height?
Still no HUD image? Check the fuse in the I/P
Electronics position in the instrument panel fuse
block. See “Fuses and Circuit Breakers” in
the Index.
If the HUD Image Is Not Clear
Is the HUD image too bright?
Are the windshield and HUD lens clean?
Your windshield is part of the HUD system. If you ever
have to have a new windshield, be sure to get one
designed for
HUD. If you don’t, the HUD image may
look blurred and out
of focus.
Power Drop Feature
Your vehicle is equipped with auxiliary power leads.
These leads can be used to power aftermarket electrical
equipment added
to your vehicle. They are located on
the passenger’s side of the vehicle, below the glove box.
For additional information on accessing these leads and
electrical hookup, please refer
to your service manual.
2-84
Page 338 of 402

Windshield Wipers
The windshield wiper motor is protected by a circuit
breaker and a fuse.
If the motor overheats due to heavy
snow, etc., the wiper will stop until the motor cools.
If
the overload is caused by some electrical problem, have
it fixed.
Power Windows and Other Power Options
Circuit breakers in the fuse panel protect the power
windows and other power accessories. When the current
load is too heavy, the circuit breaker opens and closes,
protecting the circuit until the problem is fixed.
Instrument Panel Fuse Block
Some fuses are in a fuse block located inside of the glove
box behind a
small bin, on the right side. To open, pull on
the plastic strap
and pull the cover out. The fuse block is
inside.
On the back edge of this cover is a fuse puller and
a fuse usage chart. To use the fuse puller, place the wide
end
of the fuse puller over the plastic end of the fuse.
Squeeze the ends over the fuse and pull it out.
To reinstall the bin, position the lower end and turn
the top into position. Press on the sides until
it snaps
into place.
6-63
Page 360 of 402
At Least Twice a Year
Restraint System Check
Make sure the safety belt reminder light and all your
belts, buckles, latch plates, retractors and anchorages are working properly. If your vehicle has
a built-in child
restraint, also periodically make sure the harness straps, latch plates, buckle, clip, retractors and anchorages
are
working properly. Look for any other loose or damaged
safety belt and built-in child restraint system parts. If
you see anything that might keep a safety belt or built-in
child restraint system from doing its job, have it
repaired. Have any torn or frayed safety belts or harness
straps replaced.
Also look for any opened or broken air bag coverings,
and have them repaired or replaced. (The air bag system
does not need regular maintenance.)
Wiper Blade Check
Inspect wiper blades for wear or cracking. Replace blade
inserts that appear
worn or damaged or that streak or
miss areas of the windshield. Also see “Wiper Blades,
Cleaning” in the Index.
Automatic Transaxle Check
Check the transaxle fluid level; add if needed. See
“Automatic Transaxle” in the Index. A fluid loss may
indicate a problem. Check the system and repair if needed.
At Least Once a Year
Key Lock Cylinders Service
Lubricate the key lock cylinders with the lubricant
specified in
Part D.
Body Lubrication Service
Lubricate all hinges and latches, including those for the
hood, rear compartment, glove box door, console door
and any folding seat hardware.
Part D tells you what to
use. More frequent lubrication may be required when
exposed to a corrosive environment.
7-15
Page 386 of 402
Filter. Air . . ............ ............. 6-20
Finish Care .................. ............. 6-56
Finish Damage ............................... 6-58
Fixed Mast Antenna ............................. 3-32
Flashers. Hazard Warning ......................... 5-2
Flash-to-PassFeature ........................... 2-35
Flat Tire. Changing ............................. 5-27
Fluids and Lubricants ............................ 7-19
FogLamps .................................... 2-41
With a Trailer ................................ 4-37
Foreign Countries, Fuel ........................... 6-5
French Language Manual ........................... ii
Front Reading Lamps ............................ 2-44
FrontTowing .................................. 5-11
Front Turn Signal Bulb Replacement ................ 6-40
Fuel .......................................... 6-3
Filling Your Tank .............................. 6-6
Gage ....................................... 2-75
In Foreign Countries ........................... 6-5
Fuses and Circuit Breakers ....................... 6-62
Gages Engine Coolant Temperature
.................... 2-73
Fuel ....................................... 2-75
Gear Positions. Automatic Transaxle ................ 2-21
GloveBox .................................... 2-54
Guide en Frangais ................................. ii
Halogen Bulbs ................................ 6-37
Hazard Warning Flashers .......................... 5-2
HeadRestraints ................................ .l-6
Headlamps
Bulb Replacement
............................ 6-37
High/Low Beam Changer ...................... 2-35
Wiring ..................................... 6-62
Head-Up Display ............................... 2-81
Head-Up Display Care of ........................ 2-83
Hearing Impaired. Customer Assistance .............. 8-5
Heating .................................... 3.4. 3.8
High-BeamHeadlamps .......................... 2-35
Highway Hypnosis .............................. 4-25
Hill and Mountain Roads. Driving On ............... 4-25
Hitches. Trailer ................................. 4-36
Hood Checking Things Under
......................... 6-8
Release ...................................... 6-9
How This Section is Organized ..................... 7-2
How to Add Coolant to the Coolant Recovery Tank .... 5-20
How to Add Coolant to the Radiator ................ 5-22
How to Reset Oil Life Monitor ............... 2-80. 6-19
How to Reset the Change Oil Soon Light ....... 2-77. 6-19
Hydroplaning .................................. 4-21
If a Tire Goes Flat ............................ 5-26
If No Steam Is Coming From Your Engine ........... 5-17
If Steam Is Coming From Your Engine .............. 5-16
If You’re Caught in a Blizzard ..................... 4-29
Ignition Positions ............................... 2-16
Ignition Transaxle Lock Check .................... 7-17
Illuminated Entry ............................... 2-42
Horn ......................................... 2-33
HUD ......................................... 2-81
9-5