trunk PONTIAC GRAND PRIX 2003 Owners Manual
[x] Cancel search | Manufacturer: PONTIAC, Model Year: 2003, Model line: GRAND PRIX, Model: PONTIAC GRAND PRIX 2003Pages: 378, PDF Size: 17.64 MB
Page 68 of 378

Section 2 Features and Controls
Keys ............................................................... 2.3
Remote Keyless Entry System
......................... 2.4
Remote Keyless Entry System Operation ........... 2.5
Doors and Locks ............................................. 2-8
Door Locks
.................................................... 2-8
Power Door Locks
.......................................... 2-9
Last Door Closed Locking
................................ 2-9
Programmable Automatic Door Locks
.............. 2-10
Lockout Protection
........................................ 2-10
Leaving Your Vehicle
.................................... 2-1 1
Trunk
.......................................................... 2-1 1
Windows ........................................................ 2.13
Power Windows
............................................ 2-14
Sun Visors
................................................... 2.14
Theft-Deterrent Systems .................................. 2.15
Content Theft-Deterrent
................................. 2.15
PASS-Key@
Ill .......................................... 2.16
PASS-Key@
Ill Operation ........................... 2-17
Starting and Operating Your Vehicle ............... -2-1 9
New Vehicle Break-In
.................................... 2-19
Ignition Positions
.......................................... 2.19
Starting Your Engine
..................................... 2-20
Engine Coolant Heater
.................................. 2-23
Automatic Transaxle Operation
....................... 2.24 Shifting Into
Park
(P) ..................................... 2-28
Parking Over Things That Burn
....................... 2-30
Shifting
Out
of Park (PI ................................. 2-30
Engine Exhaust ............................................ 2-31
Running Your Engine While You Are Parked
.... 2-32
Mirrors ........................................................... 2-33
Manual Rearview Mirror
................................ -2-33
Automatic Dimming Rearview Mirror with
Onstar@, Compass and Temperature
Automatic Dimming Rearview Mirror with
Compass and Temperature Display
.............. 2-34
Outside Power Mirrors
................................... 2-37
Outside Convex Mirror
................................... 2-37
OnStar@ System ............................................. 2-38
Storage Areas .... -2-40
Glove Box
................................................... 2-40
Overhead Console
........................................ 2-40
Center Console Storage Area
......................... 2-40
Assist Handles
............................................. 2-41
Purse or Litter Bag Holder
............................. 2-41
Rear Storage Area
........................................ 2-41
Convenience Net
.......................................... 2-41
Trunk Access Panel
...................................... 2-41
Display
.................................................... 2-33
....................................
Parking Brake .............................................. 2-27 Sunroof .................. ........... ............. 2.42
2-1
Page 72 of 378
At times you may notice a decrease in range. This is
normal for any remote keyless entry system.
If the
transmitter does not work or
if you have to stand closer
to your vehicle for the transmitter to work, try this:
e
e
e
e
Check the distance. You may be too far from your
vehicle.
You may need to stand closer during
rainy or snowy weather.
Check the location. Other vehicles or objects may
be blocking the signal. Take
a few steps to the
left or right, hold the transmitter higher, and
try again.
Check to determine
if battery replacement is
necessary. See “Battery Replacement” under
Remote Keyless Entry System Operation
on
page 2-5.
If you are still having trouble, see your dealer or a
qualified technician for service.
Remote Keyless Entry System
Operation
You can lock and unlock your doors or unlock your
trunk from about
3 feet (1 m) up to 30 feet (9 m) away
using the remote keyless entry transmitter supplied with
your vehicle.
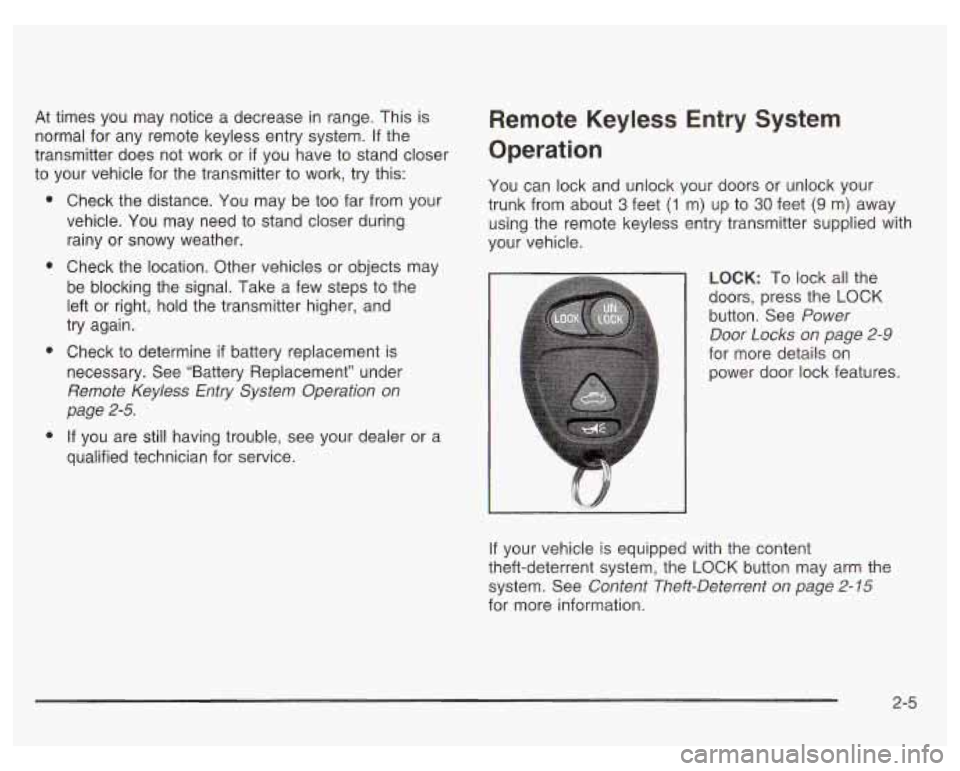
LOCK: To lock all the
doors, press the LOCK
button. See Power
Door
Locks on page 2-9
for more details on
power door lock features.
If your vehicle is equipped with the content
theft-deterrent system, the
LOCK button may arm the
system. See Content Theft-Deterrent on page
2- 15
for more information.
2-5
Page 73 of 378
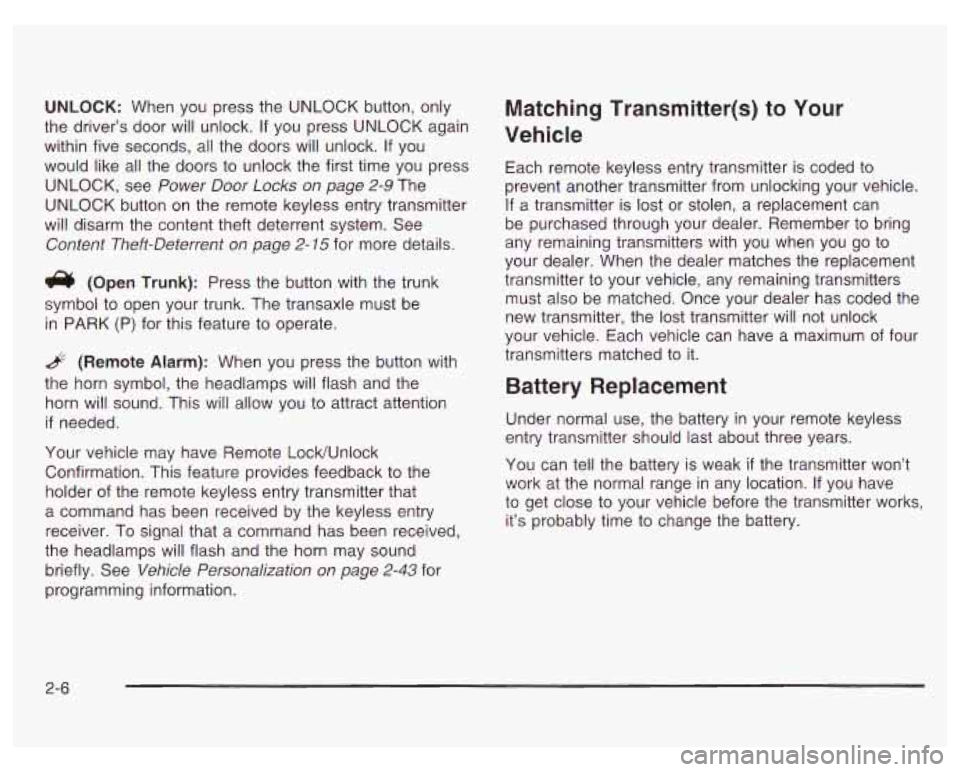
UNLOCK: When you press the UNLOCK button, only
the driver’s door will unlock.
If you press UNLOCK again
within five seconds, all the doors will unlock. If you
would like all the doors to unlock the first time you press
UNLOCK, see Power Door
Locks on page 2-9 The
UNLOCK button on the remote keyless entry transmitter
will disarm the content theft deterrent system. See
Content Theft-Deterrent
on page 2-75 for more details.
(Open Trunk): Press the button with the trunk
symbol to open your trunk. The transaxle must be
in PARK
(P) for this feature to operate.
.& (Remote Alarm): When you press the button with
the horn symbol, the headlamps will flash and the
horn will sound. This will allow you to attract attention
if needed.
Your vehicle may have Remote Lock/Unlock
Confirmation. This feature provides feedback to the
holder of the remote keyless entry transmitter that
a command has been received by the keyless entry
receiver.
To signal that a command has been received,
the headlamps will flash and the horn may sound
briefly. See Vehicle Personalization on page
2-43 for
programming information.
Matching Transmitter(s) to Your
Vehicle
Each remote keyless entry transmitter is coded to
prevent another transmitter from unlocking your vehicle.
If a transmitter is lost or stolen, a replacement can
be purchased through your dealer. Remember to bring
any remaining transmitters with you when you go to
your dealer. When the dealer matches the replacement
transmitter to your vehicle, any remaining transmitters
must
also be matched. Once your dealer has coded the
new transmitter, the lost transmitter will not unlock
your vehicle. Each vehicle can have a maximum of four
transmitters matched to it.
Battery Replacement
Under normal use, the battery in your remote keyless
entry transmitter should last about three years.
You can tell the battery is weak
if the transmitter won’t
work at the normal range in any location. If you have
to get close to your vehicle before the transmitter works,
it’s probably time to change the battery.
Page 78 of 378
Leaving Your Vehicle
If you are leaving the vehicle, take your keys, open your 1
door and set the locks from inside. Then get out and
dose the door.
ur ’
It can be dangerous to drive with the trunk lid
open because carbon monoxide
(CO) gas can
come into your vehicle. You can’t see or
smell
CO. It can cause unconsciousness and
even death.
CAUTION: (Continued) if you must drive with the trunk
lid aen or if
electrical wiring or other cable connections
must pass through the seal between the body
and the trunk lid:
0 Make sure all other windows are shut.
0 Turn the fan on your heating or cooling system to its highest speed and select the
control setting that will force outside air into your vehicle. See “Climate Controls”
in the Index.
instrument panel, open them all the way.
If you have air outlets on or under the
See “Engine Exhaust” in the Index.
Trunk Lock
To unlock the trunk from the outside, insert the key into
the lock on the trunk and turn it clockwise. You can also
press the trunk symbol on the remote keyless entry
transmitter.
2-1 1
Page 79 of 378
Remote Trunk Release
This feature is used to unlock the trunk from inside the
vehicle.
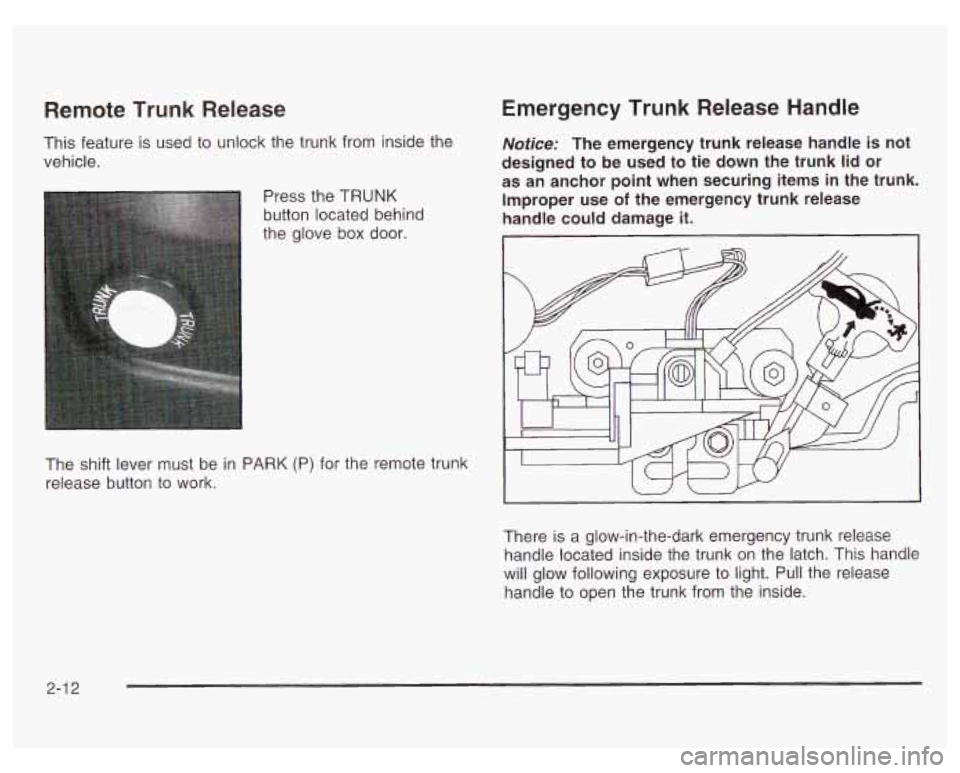
Press the TRUNK
button located behind
the glove box door.
Emergency Trunk Release Handle
Notice: The emergency trunk release handle is not
designed to be used to tie down the trunk lid or
as an anchor point when securing items in the trunk.
Improper use
of the emergency trunk release
handle could damage it.
I
The shift lever must be in PARK (P) for the remote trunk
release button to work.
There is a glow-in-the-dark emergency trunk release
handle located inside the trunk on the latch. This handle
will glow following exposure to light. Pull the release
handle to open the trunk from the inside.
2-1 2
Page 82 of 378
Theft-Deterrent Systems
Vehicle theft is big business, especially in some cities.
Although your vehicle has a number of theft-deterrent
features,
we know that nothing we put on it can make it
impossible to steal.
Content Theft-Deterrent
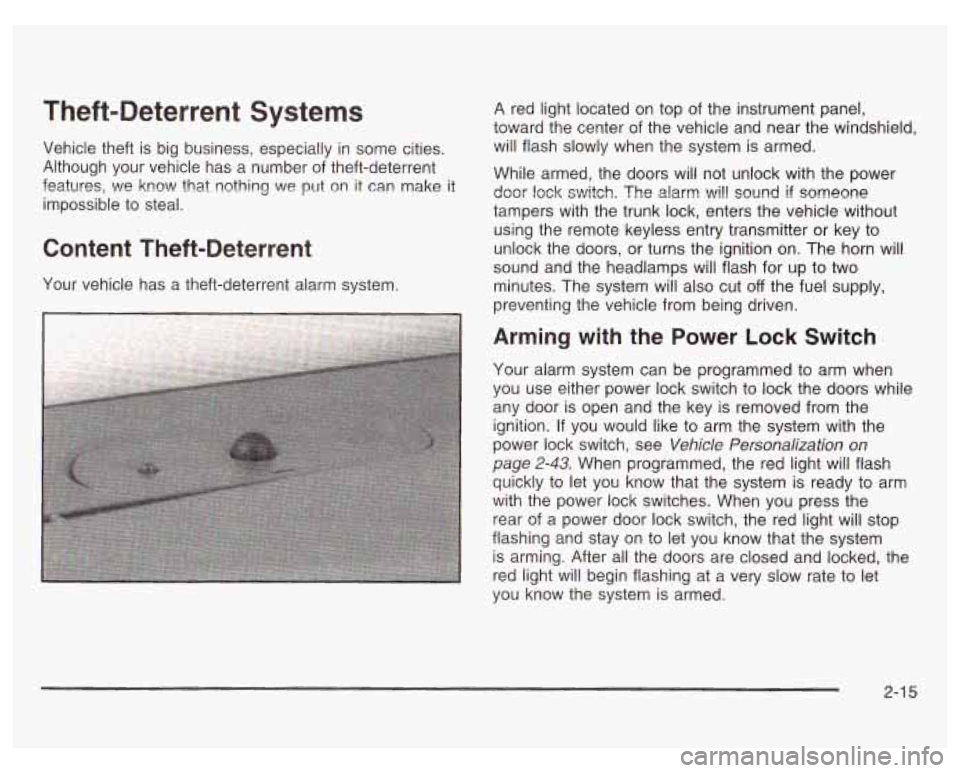
Your vehicle has a theft-deterrent alarm system. A
red light located on top of the instrument panel,
toward the center of the vehicle and near the windshield,
will flash slowly when the system is armed.
While armed, the doors will not unlock with the power
door lock switch. The
alarm will souad if someone
tampers with the trunk lock, enters the vehicle without
using the remote keyless entry transmitter or key to
unlock the doors, or turns the ignition on. The horn will
sound and the headlamps will flash for up to two
minutes. The system will also cut
off the fuel supply,
preventing the vehicle from being driven.
Arming with the Power Lock Switch
Your alarm system can be programmed to arm when
you use either power lock switch to lock the
doors while
any door is open and the key is removed from the
ignition.
If you would like to arm the system with the
power lock switch, see Vehicle Personalization on
page
2-43. When programmed, the red light will flash
quickly to let you know that the system is ready to arm
with the power lock switches. When you press the
rear of a power door lock switch, the red light will stop
flashing and stay on to let you know that the system
is arming. After all the doors are closed and locked, the
red light will begin flashing at a very slow rate to let
you know the system
is armed.
2-1 5
Page 108 of 378
Assist Handles
An assist handle with a reading lamp is located over
each rear side window. The handle can be used to help
you get in or out
of the vehicle. Press the reading
lamp to turn it on. Press
it again to turn it off.
Purse or Litter Bag Holder
On the front of the center console, to the right of the
accessory power outlet, there is a hook that can be used
to hold a purse or litter bag.
Rear Storage Area
If you have a trunk access panel, you will also have a
pull down armrest that contains an open storage bin and
two cupholders.
Convenience Net
The vehicle may have a convenience net. You’ll see it
on the back wall of the trunk.
Put small loads, like grocery bags, behind the net. It can
help keep them from falling over during sharp turns or
quick starts and stops. The
net isn’t for larger, heavier loads, which should be
stored
in the trunk as far forward as possible.
You can unhook the net
so that it will lie flat when
you’re not using it.
Trunk Access Panel
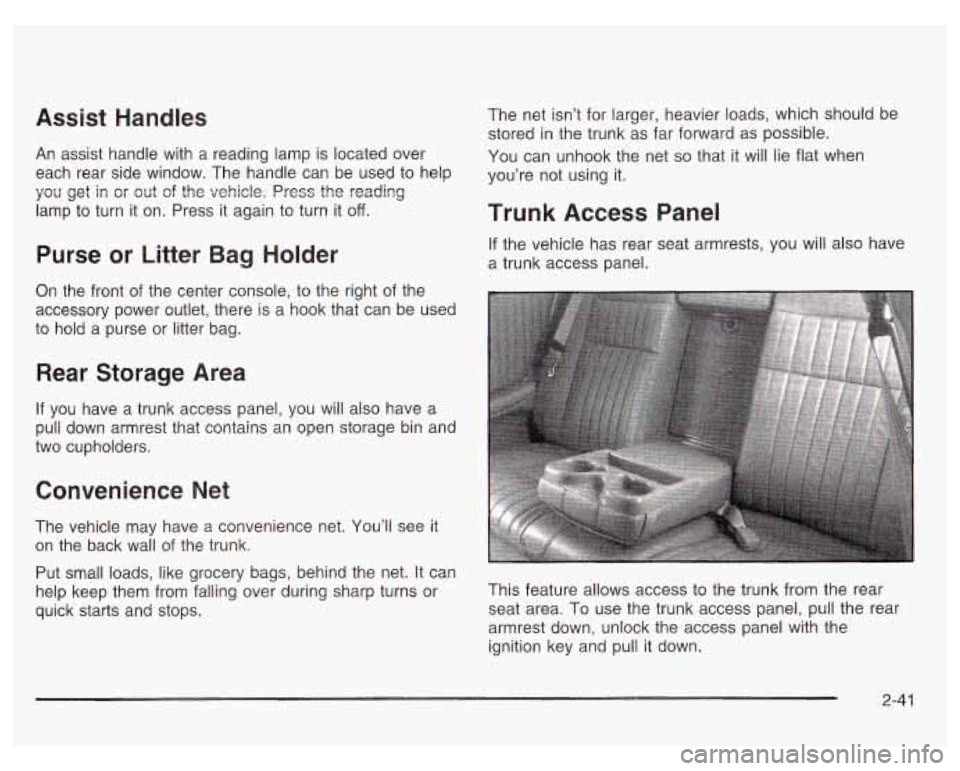
If the vehicle has rear seat armrests, you will also have
a trunk access panel.
This feature allows access to the trunk from the rear
seat area. To use the trunk access panel, pull the rear
armrest down, unlock the access panel with the
ignition key and pull it down.
2-41
Page 116 of 378
4. Press UNLOCK on the remote keyless entry
5. Repeat Step
4 until you hear the number of chimes
transmitter again
to change the current mode.
that matches the mode you want.
The mode you selected is now set. You can either exit the
programming mode by following the instructions later in
this section or program the next feature available on your
vehicle. See Exiting Programming
Mode on page 2-53.
Remote Lock and Unlock
Confirmation
With the remote lock and unlock confirmation feature, if
equipped, you can program your vehicle to do the
following:
When you use the remote keyless entry transmitter
to lock your vehicle, your headlamps will flash to let
you know the command has been received.
If
you press LOCK on the remote keyless entry
transmitter again within five seconds, the horn will sound briefly and the headlamps will flash to let you
know your vehicle is locked.
When you use the remote keyless entry transmitter
to unlock your vehicle, your headlamps will flash to
let you know the command has been received.
Programmable Modes
Mode 1: Both Features Off - Remote lock and unlock
confirmation are disabled.
Mode 2: Exterior Lamps Flash Only
0 Remote Lock Confirmation: When you use the
remote keyless entry transmitter to lock the vehicle,
the headlamps will flash to let you know the
command is received.
Remote Unlock Confirmation: When you use the
remote keyless entry transmitter to unlock the
vehicle or open the trunk, the headlamps will flash
to let you know when the command is received.
Mode 3: Exterior Lamps Flash and Horn Sound
Remote Lock Confirmation: When you use the
remote keyless entry transmitter to lock the vehicle,
the horn will sound briefly and the headlamps will
flash to let you know the command is received.
Remote Unlock Confirmation: When you use the
remote keyless entry transmitter
to unlock the
vehicle or open the trunk, the headlamps will flash
to let you know the command is received.
2-49
Page 117 of 378
Mode 4: Exterior Lamps and Horn Sound - on second
LOCK press only.
Remote Lock Confirmation: When you use the
remote keyless entry transmitter to lock the vehicle,
the headlamps will flash to let you know the
command is received. The horn will sound briefly
and the headlamps will flash
if you press the LOCK
button again within five seconds.
Remote Unlock Confirmation: When you use the
remote keyless entry transmitter to unlock the
vehicle or open the trunk, the headlamps will flash
to let you know the command is received.
Before your vehicle was shipped from the factory, it was
programmed to Mode
4. The mode to which your
vehicle was programmed may have been changed since
it left the factory. To determine the mode to which
your vehicle is programmed or to program your vehicle
to
a different mode, do the following:
1. Follow the instructions for Entering Programming
2. Press the LOCK button on the remote keyless entry
Mode
on page
2-44.
transmitter.
3.
4.
5.
Count the number of chimes you hear. The number
of chimes tells you which mode the vehicle is set
for.
If you do not wish to change the current mode,
you can either exit the programming mode by
following the instructions later in this section or
program the next feature available
on your vehicle.
Press LOCK on the remote keyless entry transmitter
again
to change the current mode.
Repeat Step
4 until you hear the number of chimes
that matches the number of the mode you want.
The mode you selected is now set. You can either exit
the programming mode by following the instructions
later in this section or program the next feature available
on your vehicle. See Exiting Programming
Mode on
page
2-53.
2-50
Page 118 of 378
Content Theft-Deterrent System
‘lour vehicle is equipped with a content theft-deterrent
alarm system. Once armed, the system will go off
if
someone tries to enter the vehicle without using
the remote keyless entry transmitter or the correct key,
or when someone turns the ignition on with an
incorrect key. The horn will sound, and your vehicle’s
headlamps will flash for about two minutes.
Programmable Modes
Mode 1: Not Used
Mode 2: Content Theft On - If anyone tampers with the
trunk lock or opens a door while the content
theft-deterrent system is armed, an alarm will sound and
the headlamps will flash for up to two minutes.
Mode 3: Content Theft Off - The content theft-deterrent
system is always disarmed.
Mode 4: Not Used
Before your vehicle was shipped from the factory,
it was programmed to Mode 2. The mode to which your
vehicle was programmed may have been changed
since it left the factory. To determine the mode to
which your vehicle is
programmed or to program your vehicle to a different
mode, do the following:
1. Follow the instructions for Entering Programming
MOdC page 2-44.
2. Turn the parking lamps on, then off.
3. Count the number of chimes you hear. The number
of chimes tells you which mode the vehicle is set
for.
If you do not wish to change the current mode,
you can either exit the programming mode by
following the instructions later
in this section or
program the next feature available on your vehicle.
4. Turn the parking lamps on, then off again to change
the current mode.
5. Repeat Step 4 until you hear the number of chimes
that matches the number of the mode you want.
The mode you selected is now set.
You can either exit
the programming mode by following the instructions later in this section or program the next feature available
on your vehicle. See Exiting Programming Mode on
page
2-53.
2-5 1