PONTIAC GRAND PRIX 2004 Owners Manual
Manufacturer: PONTIAC, Model Year: 2004, Model line: GRAND PRIX, Model: PONTIAC GRAND PRIX 2004Pages: 432, PDF Size: 2.99 MB
Page 101 of 432
Sunglasses Storage Compartment
If the vehicle does not have a sunroof, it may have a
storage compartment located to the rear on the
overhead console. To open the sunglasses storage
compartment, press the release latch forward and pull
the compartment down to the full open position.
Front Seat Storage Net
If the vehicle is equipped
with a fold-¯at front
passenger seat, a storage
net that can be used
for storing small items, is
located on the seatback.
The net does not detach from the seat.
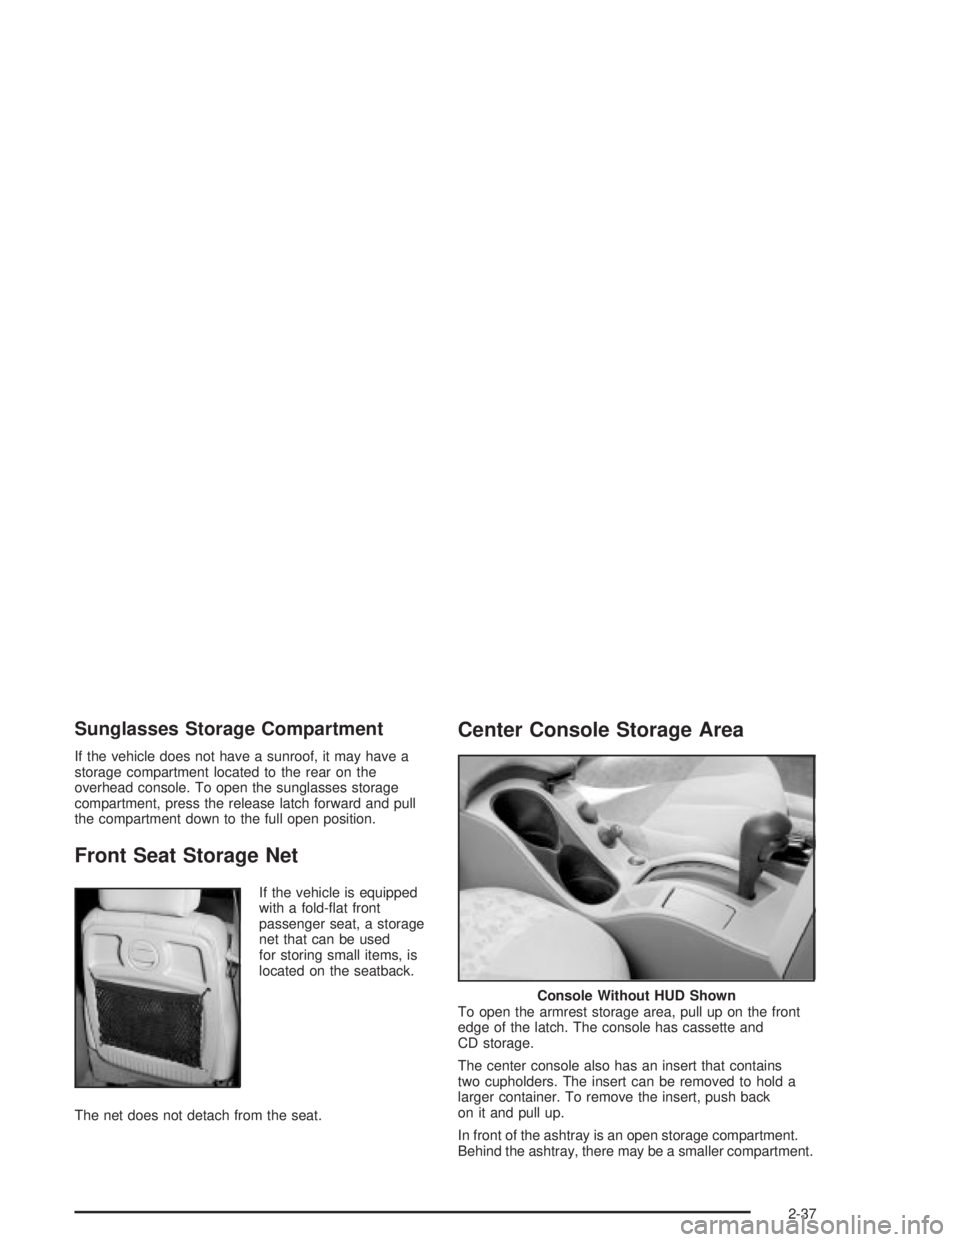
Center Console Storage Area
To open the armrest storage area, pull up on the front
edge of the latch. The console has cassette and
CD storage.
The center console also has an insert that contains
two cupholders. The insert can be removed to hold a
larger container. To remove the insert, push back
on it and pull up.
In front of the ashtray is an open storage compartment.
Behind the ashtray, there may be a smaller compartment.
Console Without HUD Shown
2-37
Page 102 of 432
Assist Handles
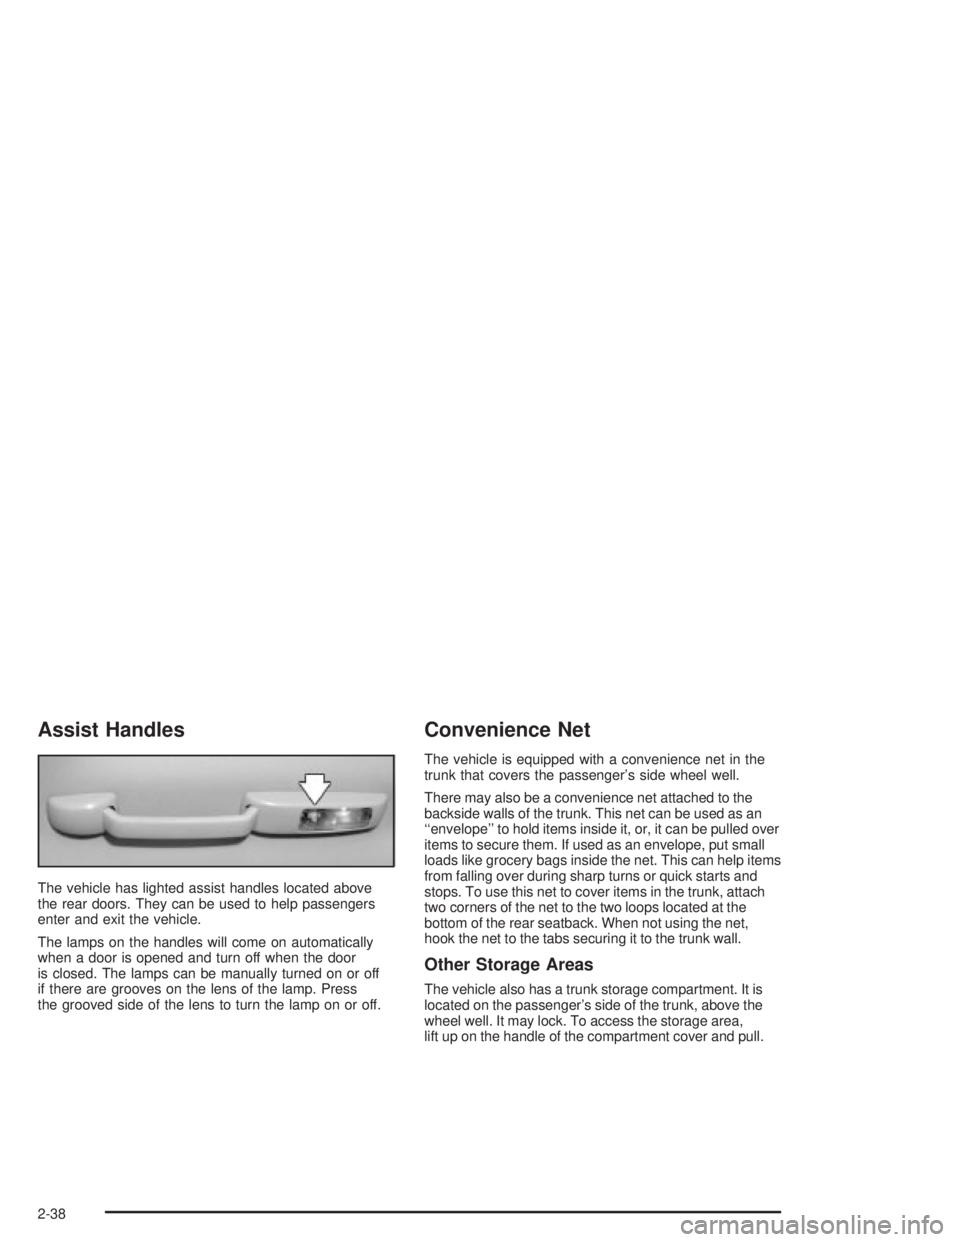
The vehicle has lighted assist handles located above
the rear doors. They can be used to help passengers
enter and exit the vehicle.
The lamps on the handles will come on automatically
when a door is opened and turn off when the door
is closed. The lamps can be manually turned on or off
if there are grooves on the lens of the lamp. Press
the grooved side of the lens to turn the lamp on or off.
Convenience Net
The vehicle is equipped with a convenience net in the
trunk that covers the passenger's side wheel well.
There may also be a convenience net attached to the
backside walls of the trunk. This net can be used as an
``envelope'' to hold items inside it, or, it can be pulled over
items to secure them. If used as an envelope, put small
loads like grocery bags inside the net. This can help items
from falling over during sharp turns or quick starts and
stops. To use this net to cover items in the trunk, attach
two corners of the net to the two loops located at the
bottom of the rear seatback. When not using the net,
hook the net to the tabs securing it to the trunk wall.
Other Storage Areas
The vehicle also has a trunk storage compartment. It is
located on the passenger's side of the trunk, above the
wheel well. It may lock. To access the storage area,
lift up on the handle of the compartment cover and pull.
2-38
Page 103 of 432
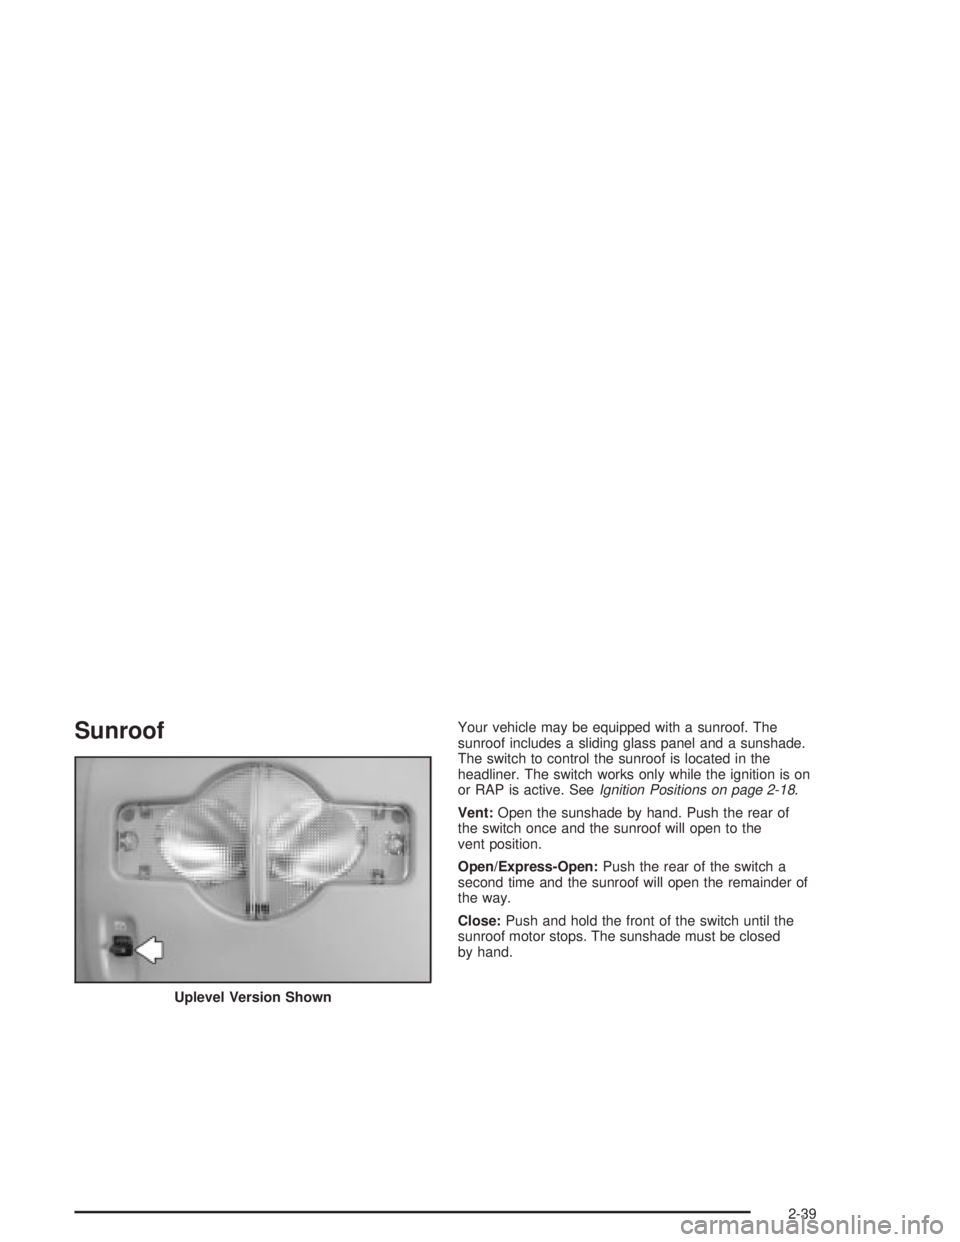
SunroofYour vehicle may be equipped with a sunroof. The
sunroof includes a sliding glass panel and a sunshade.
The switch to control the sunroof is located in the
headliner. The switch works only while the ignition is on
or RAP is active. See
Ignition Positions on page 2-18.
Vent:Open the sunshade by hand. Push the rear of
the switch once and the sunroof will open to the
vent position.
Open/Express-Open:Push the rear of the switch a
second time and the sunroof will open the remainder of
the way.
Close:Push and hold the front of the switch until the
sunroof motor stops. The sunshade must be closed
by hand.
Uplevel Version Shown
2-39
Page 104 of 432
-NOTES
2-40
Page 105 of 432
Instrument Panel Overview...............................3-2
Hazard Warning Flashers................................3-4
Other Warning Devices...................................3-5
Horn.............................................................3-5
Tilt Wheel.....................................................3-5
Windshield Washer Lever................................3-6
Cruise Control Lever.......................................3-8
Exterior Lamps.............................................3-12
Interior Lamps..............................................3-16
Head-Up Display (HUD).................................3-19
Accessory Power Outlets...............................3-23
Ashtrays and Cigarette Lighter........................3-24
Climate Controls............................................3-25
Climate Control System.................................3-25
Outlet Adjustment.........................................3-29
Warning Lights, Gages and Indicators.............3-31
Instrument Panel Cluster................................3-32
Speedometer and Odometer...........................3-33
Tachometer.................................................3-33
Safety Belt Reminder Light.............................3-34
Air Bag Readiness Light................................3-34
Up-Shift Light...............................................3-35
Brake System Warning Light..........................3-36
Anti-Lock Brake System Warning Light.............3-37
Traction Control System (TCS)
Warning Light...........................................3-38Enhanced Traction System Warning Light.........3-38
Engine Coolant Temperature Warning Light......3-39
Engine Coolant Temperature Gage..................3-39
Malfunction Indicator Lamp.............................3-40
Oil Pressure Light.........................................3-43
Fog Lamp Light............................................3-44
High-Beam On Light......................................3-44
Fuel Gage...................................................3-44
Driver Information Center (DIC).......................3-45
DIC Controls and Displays.............................3-45
DIC Warnings and Messages.........................3-65
Audio System(s).............................................3-88
Setting the Time...........................................3-88
Radio with CD..............................................3-89
Radio with Cassette and CD.........................3-100
Radio with Six-Disc CD................................3-114
Theft-Deterrent Feature................................3-128
Audio Steering Wheel Controls......................3-129
Understanding Radio Reception....................3-130
Care of Your Cassette Tape Player...............3-130
Care of Your CDs.......................................3-131
Care of Your CD Player...............................3-131
Backglass Antenna......................................3-132
XMŸ Satellite Radio Antenna System
(United States Only).................................3-132
Section 3 Instrument Panel
3-1
Page 106 of 432
Instrument Panel Overview
3-2
Page 107 of 432
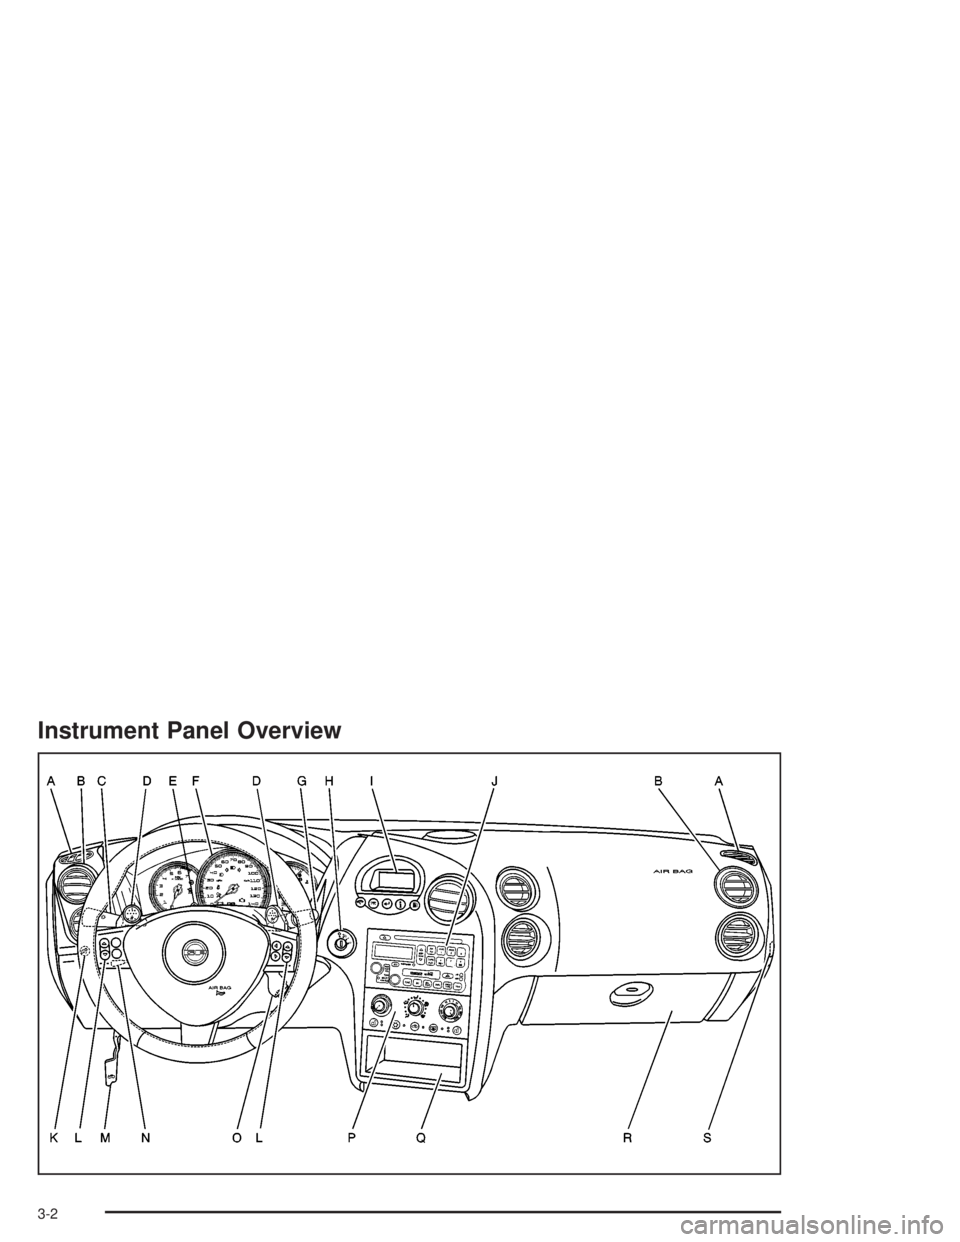
The main components of the instrument panel are the following:
A. Side Window Defogger Outlets. (See
Outlet
Adjustment on page 3-29.)
B. Instrument Panel Outlets. (See
Outlet Adjustment
on page 3-29.)
C. Exterior Lamps Control. (See
Exterior Lamps on
page 3-12.)
D. TAP-ShiftŸ Control. (See
Automatic Transaxle
Operation on page 2-22.)
E. Hazard Warning Flashers Button. (See
Hazard
Warning Flashers on page 3-4.)
F. Instrument Panel Cluster. (See
Instrument Panel
Cluster on page 3-32.)
G. Windshield Wiper Lever. (See
Windshield Washer
Lever on page 3-6.)
H. Ignition. (See
Ignition Positions on page 2-18.)
I. DIC (Driver Information Center). (See
Driver
Information Center (DIC) on page 3-45.)J. Audio System. (See
Audio System(s) on page 3-88.)
K. Interior Lamps Brightness Control (Behind Steering
Wheel). (See
Interior Lamps on page 3-16.)
L. Audio Controls. (See
Audio System(s) on page 3-88.)
M. Hood Release. (See
Hood Release on page 5-11.)
N. Tilt Steering Wheel Lever (on Steering Column).
(See
Tilt Wheel on page 3-5.)
O. Cruise Control. (See
Cruise Control Lever on
page 3-8.)
P. Climate Controls. (See
Climate Control System
on page 3-25.)
Q. Storage Area.
R. Glove Box. (See
Glove Box on page 2-36.)
S. Instrument Panel Fuse Block.
(See
Fuses and Circuit Breakers on page 5-99.)
3-3
Page 108 of 432
Hazard Warning Flashers
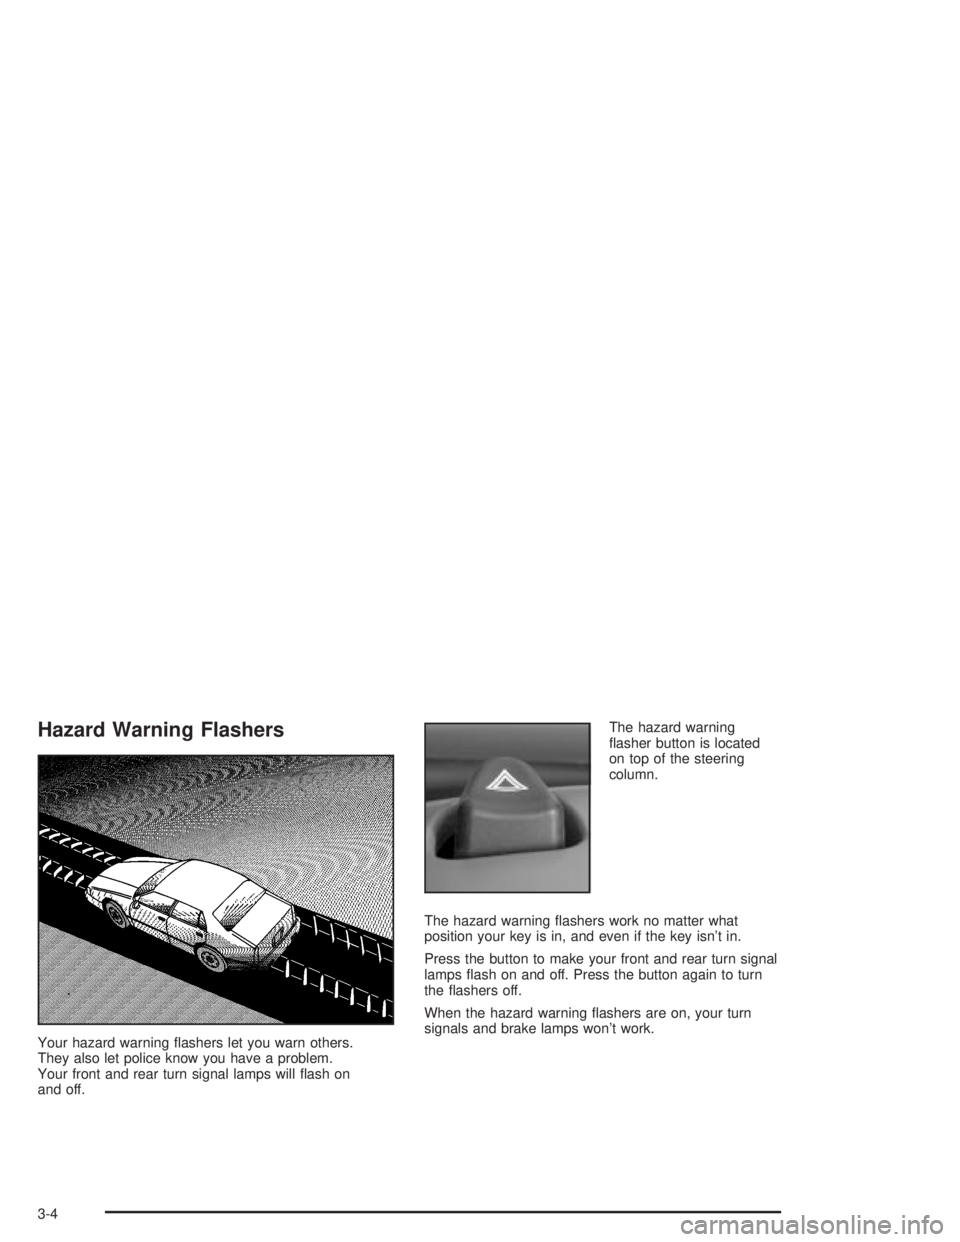
Your hazard warning ¯ashers let you warn others.
They also let police know you have a problem.
Your front and rear turn signal lamps will ¯ash on
and off.The hazard warning
¯asher button is located
on top of the steering
column.
The hazard warning ¯ashers work no matter what
position your key is in, and even if the key isn't in.
Press the button to make your front and rear turn signal
lamps ¯ash on and off. Press the button again to turn
the ¯ashers off.
When the hazard warning ¯ashers are on, your turn
signals and brake lamps won't work.
3-4
Page 109 of 432
Other Warning Devices
If you carry re¯ective triangles, you can set one up at
the side of the road about 300 feet (100 m) behind
your vehicle.
Horn
Press the vehicle's steering wheel pad to sound the horn.
Tilt Wheel
A tilt steering wheel allows you to adjust the steering
wheel before you drive. You can raise it to the highest
level to give your legs more room when you exit and
enter the vehicle, or you can lower it so that you're more
comfortable while driving.
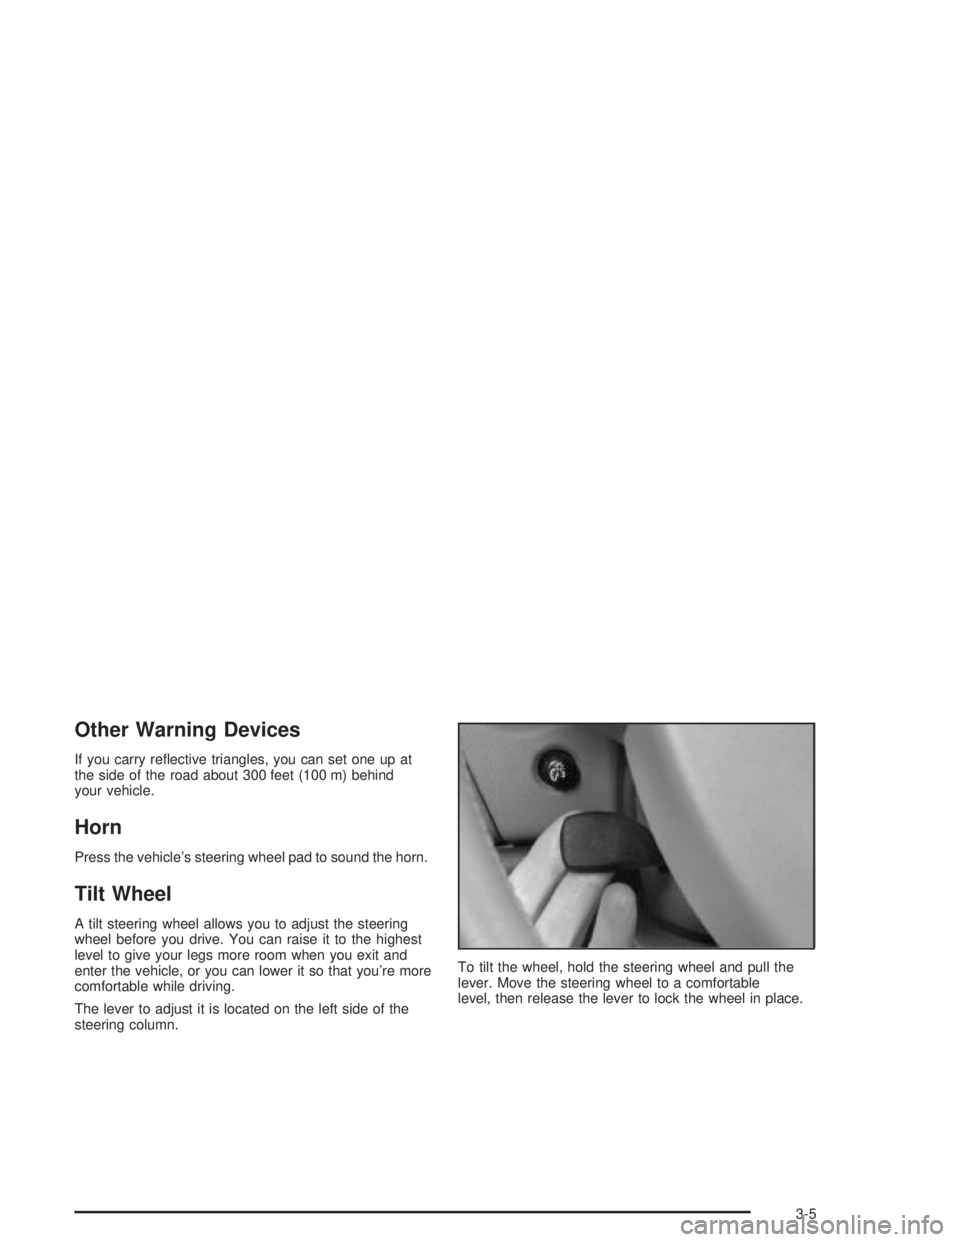
The lever to adjust it is located on the left side of the
steering column.To tilt the wheel, hold the steering wheel and pull the
lever. Move the steering wheel to a comfortable
level, then release the lever to lock the wheel in place.
3-5
Page 110 of 432

Windshield Washer Lever
Windshield Wipers
N
(Windshield Wipers):The lever with this symbol,
located on the right side of the steering column,
operates the windshield wipers.
9(Off):Lower the lever to its original position to turn
the wipers off.
&(Delay):Push the lever up once to this position to
set a delay between wipes. Turn the delay adjustment
band to set the length of the delay.
x(Delay Adjustment):Turn the band, located on
the left of the windshield wiper lever, to set the length of
the delay between wiper cycles when using the delay
feature. There are ®ve delay adjustment settings.
Turn the band up to make the delays shorter in between
wiper cycles. Turn the band down to make the delays
longer between wiper cycles. The windshield wiper lever
must be in delay for this feature to work.
6(Low Speed):Push the lever up to the second
position for steady wiping cycles at a slow speed.
1(High Speed):Push the lever up to the third
position for steady wiping cycles at a high speed.
3-6