fuel PONTIAC GRAND PRIX 2004 User Guide
[x] Cancel search | Manufacturer: PONTIAC, Model Year: 2004, Model line: GRAND PRIX, Model: PONTIAC GRAND PRIX 2004Pages: 432, PDF Size: 2.99 MB
Page 146 of 432
Did you just drive through a deep puddle of water?
If so, your electrical system may be wet. The condition
will usually be corrected when the electrical system
dries out. A few driving trips should turn the light off.
Have you recently changed brands of fuel?
If so, be sure to fuel your vehicle with quality fuel.
See
Gasoline Octane on page 5-4. Poor fuel quality
will cause your engine not to run as efficiently as
designed. You may notice this as stalling after start-up,
stalling when you put the vehicle into gear, mis®ring,
hesitation on acceleration or stumbling on acceleration.
(These conditions may go away once the engine is
warmed up.) This will be detected by the system and
cause the light to turn on.
If you experience one or more of these conditions,
change the fuel brand you use. It will require at least
one full tank of the proper fuel to turn the light off.
If none of the above steps have made the light turn off,
your dealer can check the vehicle. Your dealer has the
proper test equipment and diagnostic tools to ®x any
mechanical or electrical problems that may have
developed.
Emissions Inspection and
Maintenance Programs
Some state/provincial and local governments have or
may begin programs to inspect the emission control
equipment on your vehicle. Failure to pass this
inspection could prevent you from getting a vehicle
registration.
Here are some things you need to know to help your
vehicle pass an inspection:
Your vehicle will not pass this inspection if the
Check Engine light is on or not working properly.
Your vehicle will not pass this inspection if the OBD
(on-board diagnostic) system determines that critical
emission control systems have not been completely
diagnosed by the system. The vehicle would be
considered not ready for inspection. This can happen
if you have recently replaced your battery or if your
battery has run down. The diagnostic system is
designed to evaluate critical emission control systems
during normal driving. This may take several days
of routine driving. If you have done this and your vehicle
still does not pass the inspection for lack of OBD
system readiness, your GM dealer can prepare the
vehicle for inspection.
3-42
Page 148 of 432
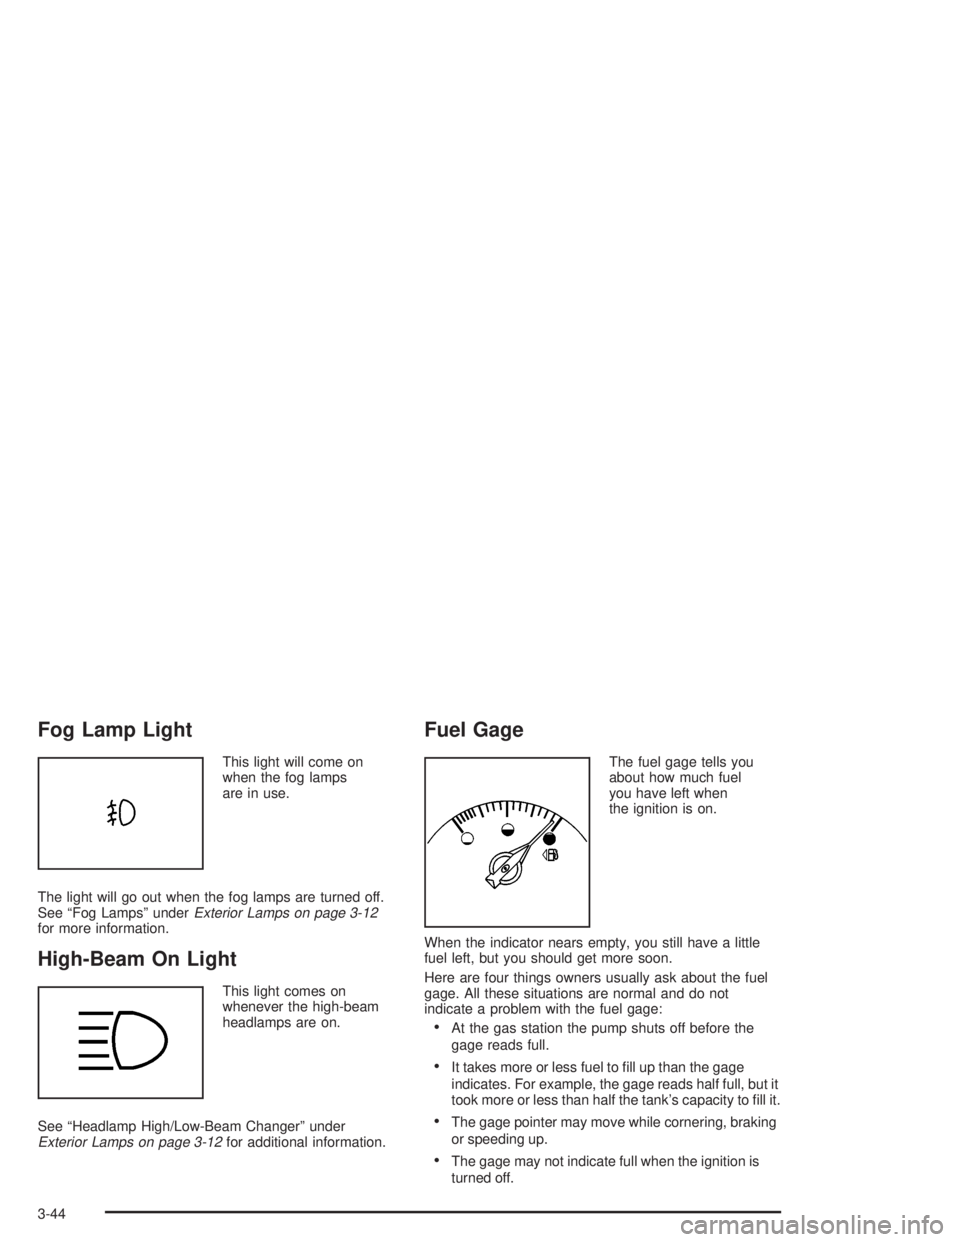
Fog Lamp Light
This light will come on
when the fog lamps
are in use.
The light will go out when the fog lamps are turned off.
See ªFog Lampsº under
Exterior Lamps on page 3-12for more information.
High-Beam On Light
This light comes on
whenever the high-beam
headlamps are on.
See ªHeadlamp High/Low-Beam Changerº under
Exterior Lamps on page 3-12for additional information.
Fuel Gage
The fuel gage tells you
about how much fuel
you have left when
the ignition is on.
When the indicator nears empty, you still have a little
fuel left, but you should get more soon.
Here are four things owners usually ask about the fuel
gage. All these situations are normal and do not
indicate a problem with the fuel gage:
·At the gas station the pump shuts off before the
gage reads full.
·It takes more or less fuel to ®ll up than the gage
indicates. For example, the gage reads half full, but it
took more or less than half the tank's capacity to ®ll it.
·The gage pointer may move while cornering, braking
or speeding up.
·The gage may not indicate full when the ignition is
turned off.
3-44
Page 163 of 432
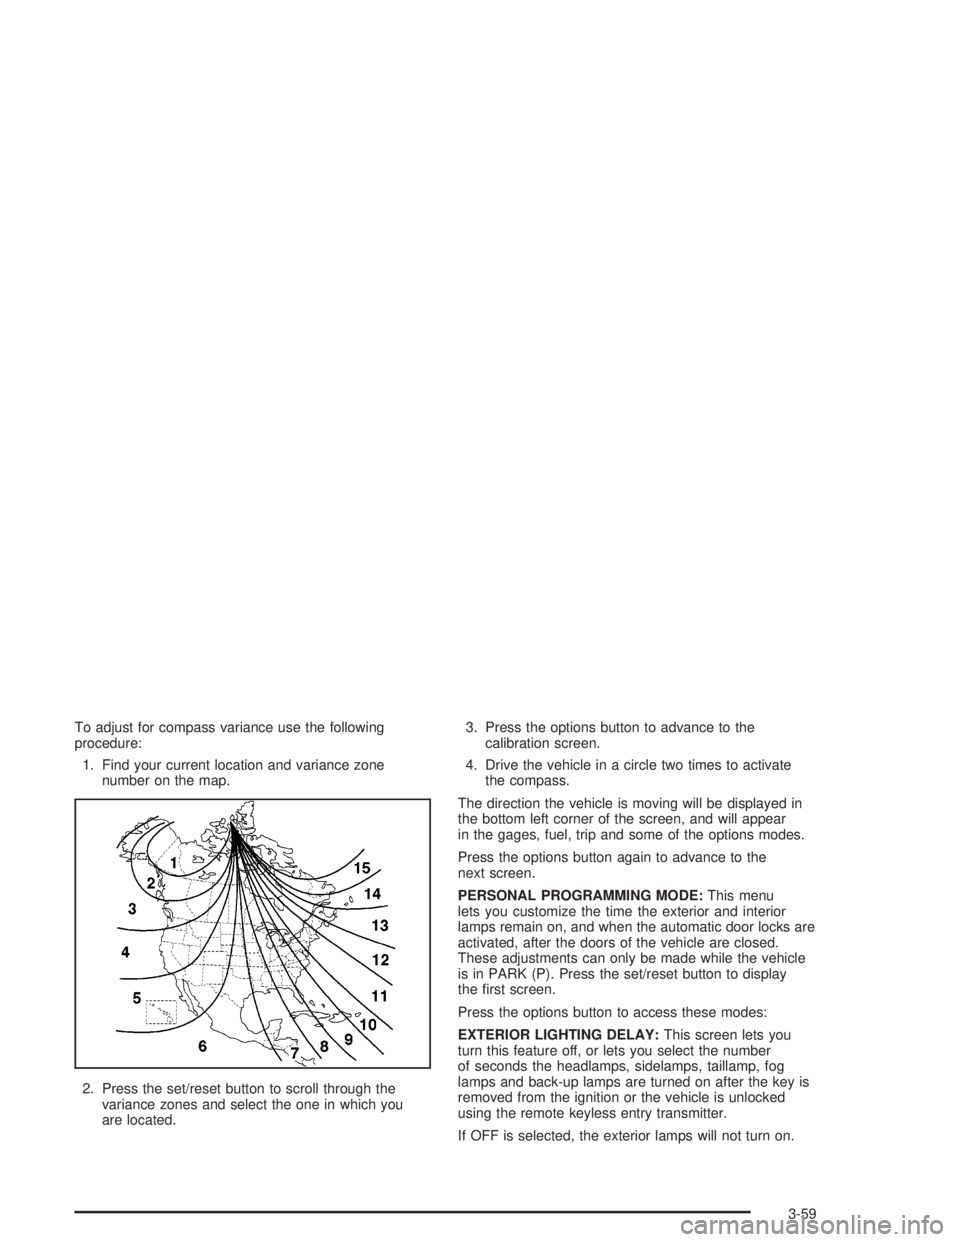
To adjust for compass variance use the following
procedure:
1. Find your current location and variance zone
number on the map.
2. Press the set/reset button to scroll through the
variance zones and select the one in which you
are located.3. Press the options button to advance to the
calibration screen.
4. Drive the vehicle in a circle two times to activate
the compass.
The direction the vehicle is moving will be displayed in
the bottom left corner of the screen, and will appear
in the gages, fuel, trip and some of the options modes.
Press the options button again to advance to the
next screen.
PERSONAL PROGRAMMING MODE:This menu
lets you customize the time the exterior and interior
lamps remain on, and when the automatic door locks are
activated, after the doors of the vehicle are closed.
These adjustments can only be made while the vehicle
is in PARK (P). Press the set/reset button to display
the ®rst screen.
Press the options button to access these modes:
EXTERIOR LIGHTING DELAY:This screen lets you
turn this feature off, or lets you select the number
of seconds the headlamps, sidelamps, taillamp, fog
lamps and back-up lamps are turned on after the key is
removed from the ignition or the vehicle is unlocked
using the remote keyless entry transmitter.
If OFF is selected, the exterior lamps will not turn on.
3-59
Page 168 of 432
Fuel
.(Fuel):Press this button to access the Average
Fuel Economy, Instantaneous Fuel Economy and Fuel
Range modes.
AVG ECONOMY (Average Fuel Economy):This
screen will display the approximate average miles per
gallon (mpg) or liters per 100 kilometers (L/100 km).
This number is calculated based on the number of mpg
(L/100 km) recorded since the last time this menu
item was reset.
To view the average fuel economy for the vehicle follow
this procedure:
1. Press the set/reset button to reset to zero.
2. Press the fuel button again to advance to the next
screen.
INST ECONOMY (Instantaneous Fuel Economy):
This screen displays the current fuel economy at
a particular moment and will change frequently as
driving conditions change. Unlike average fuel economy,
this screen cannot be reset.
Press the fuel button again to advance to the next screen.RANGE:This screen displays the approximate number
of remaining miles or kilometers you can drive without
refueling. This estimate is based on the average fuel
economy for the amount of fuel remaining in the fuel tank
and the current driving conditions. This estimate will
change if driving conditions change. For example, if you
are driving in traffic and making frequent stops, the
display may read one number, but if you enter the
freeway, the number may change even though the same
amount of fuel is in the fuel tank. This is because different
driving conditions produce different fuel economies.
Generally, freeway driving produces better fuel economy
than city driving.
If the fuel tank contains less than 2 gallons (7.6 L),
the LOW FUEL message will appear on the DIC screen.
Fill the fuel tank as soon as possible to avoid running
out of fuel.
See ªLow Fuelº under
DIC Warnings and Messages on
page 3-65.
3-64
Page 179 of 432
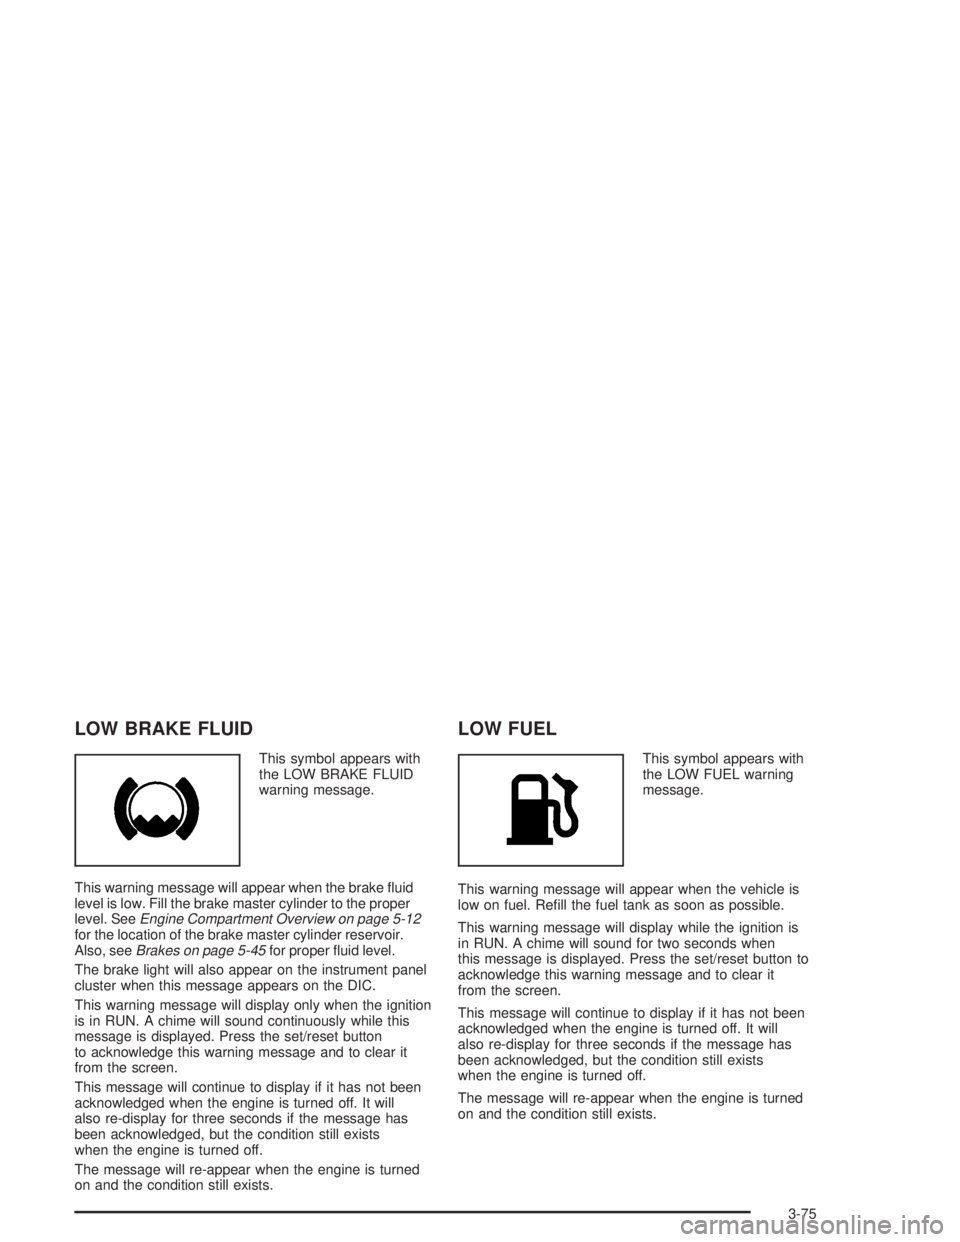
LOW BRAKE FLUID
This symbol appears with
the LOW BRAKE FLUID
warning message.
This warning message will appear when the brake ¯uid
level is low. Fill the brake master cylinder to the proper
level. See
Engine Compartment Overview on page 5-12for the location of the brake master cylinder reservoir.
Also, seeBrakes on page 5-45for proper ¯uid level.
The brake light will also appear on the instrument panel
cluster when this message appears on the DIC.
This warning message will display only when the ignition
is in RUN. A chime will sound continuously while this
message is displayed. Press the set/reset button
to acknowledge this warning message and to clear it
from the screen.
This message will continue to display if it has not been
acknowledged when the engine is turned off. It will
also re-display for three seconds if the message has
been acknowledged, but the condition still exists
when the engine is turned off.
The message will re-appear when the engine is turned
on and the condition still exists.
LOW FUEL
This symbol appears with
the LOW FUEL warning
message.
This warning message will appear when the vehicle is
low on fuel. Re®ll the fuel tank as soon as possible.
This warning message will display while the ignition is
in RUN. A chime will sound for two seconds when
this message is displayed. Press the set/reset button to
acknowledge this warning message and to clear it
from the screen.
This message will continue to display if it has not been
acknowledged when the engine is turned off. It will
also re-display for three seconds if the message has
been acknowledged, but the condition still exists
when the engine is turned off.
The message will re-appear when the engine is turned
on and the condition still exists.
3-75
Page 261 of 432
When you want to leave the freeway, move to the
proper lane well in advance. If you miss your exit,
do not, under any circumstances, stop and back up.
Drive on to the next exit.
The exit ramp can be curved, sometimes quite sharply.
The exit speed is usually posted. Reduce your speed
according to your speedometer, not to your sense
of motion. After driving for any distance at higher
speeds, you may tend to think you are going slower
than you actually are.
Before Leaving on a Long Trip
Make sure you're ready. Try to be well rested. If you
must start when you're not fresh Ð such as after a day's
work Ð don't plan to make too many miles that ®rst
part of the journey. Wear comfortable clothing and shoes
you can easily drive in.
Is your vehicle ready for a long trip? If you keep it
serviced and maintained, it's ready to go. If it needs
service, have it done before starting out. Of course,
you'll ®nd experienced and able service experts in
GM dealerships all across North America. They'll be
ready and willing to help if you need it.Here are some things you can check before a trip:
·Windshield Washer Fluid:Is the reservoir full?
Are all windows clean inside and outside?
·Wiper Blades:Are they in good shape?
·Fuel, Engine Oil, Other Fluids:Have you checked
all levels?
·Lamps:Are they all working? Are the lenses clean?
·Tires:They are vitally important to a safe,
trouble-free trip. Is the tread good enough for
long-distance driving? Are the tires all in¯ated to
the recommended pressure?
·Weather Forecasts:What's the weather outlook
along your route? Should you delay your trip a
short time to avoid a major storm system?
·Maps:Do you have up-to-date maps?
4-25
Page 268 of 432
Run your engine only as long as you must. This saves
fuel. When you run the engine, make it go a little
faster than just idle. That is, push the accelerator
slightly. This uses less fuel for the heat that you get
and it keeps the battery charged. You will need a
well-charged battery to restart the vehicle, and possibly
for signaling later on with your headlamps. Let the
heater run for a while.
Then, shut the engine off and close the window almost
all the way to preserve the heat. Start the engine
again and repeat this only when you feel really
uncomfortable from the cold. But do it as little as
possible. Preserve the fuel as long as you can.
To help keep warm, you can get out of the vehicle
and do some fairly vigorous exercises every half hour
or so until help comes.If You Are Stuck: In Sand, Mud,
Ice or Snow
In order to free your vehicle when it is stuck, you will
need to spin the wheels, but you don't want to spin your
wheels too fast. The method known as ªrockingº can
help you get out when you're stuck, but you must
use caution.
{CAUTION:
If you let your tires spin at high speed, they can
explode, and you or others could be injured.
And, the transaxle or other parts of the vehicle
can overheat. That could cause an engine
compartment ®re or other damage. When you're
stuck, spin the wheels as little as possible.
Don't spin the wheels above 35 mph (55 km/h)
as shown on the speedometer.
4-32
Page 271 of 432
Loading Your Vehicle
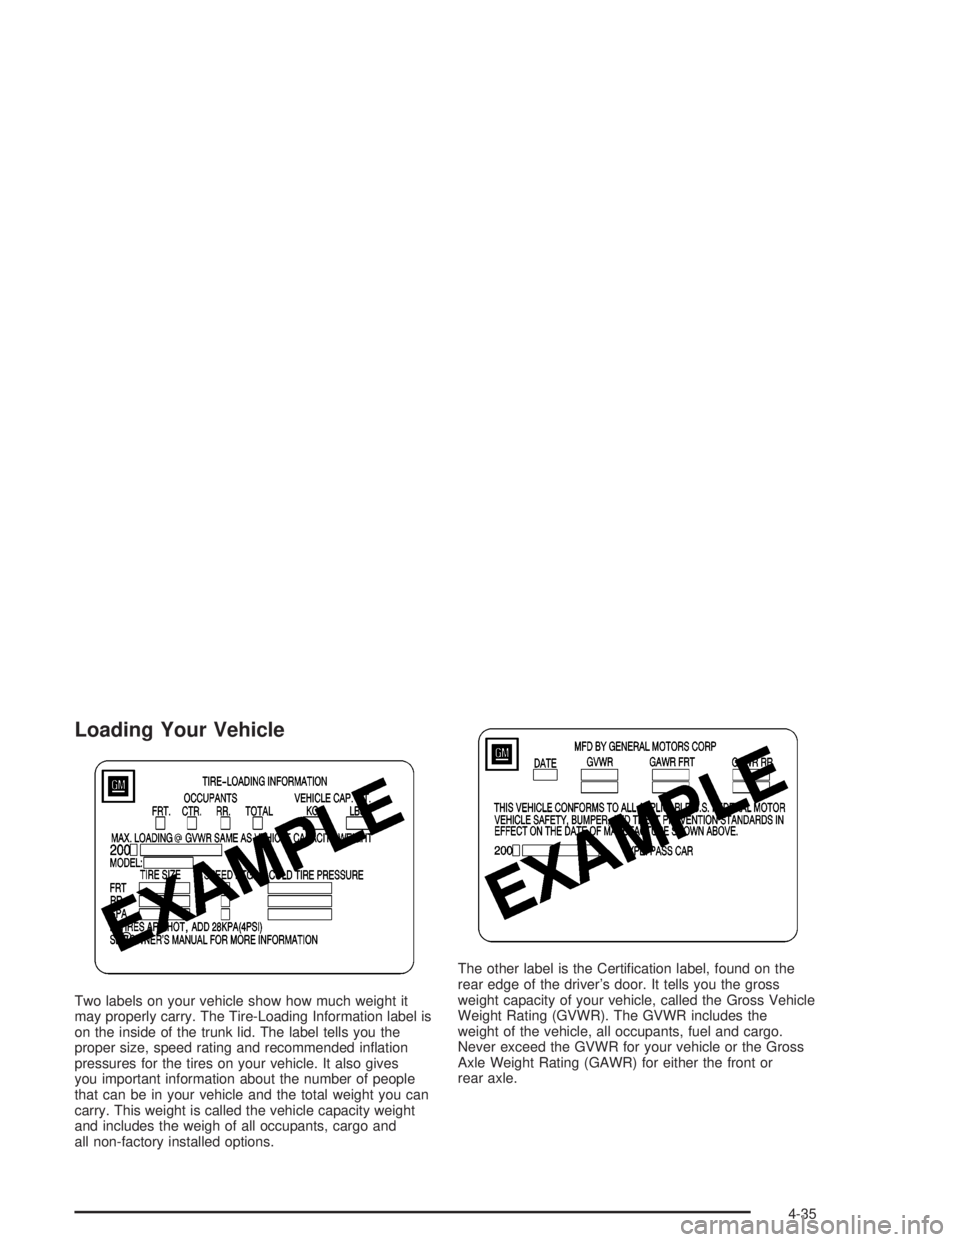
Two labels on your vehicle show how much weight it
may properly carry. The Tire-Loading Information label is
on the inside of the trunk lid. The label tells you the
proper size, speed rating and recommended in¯ation
pressures for the tires on your vehicle. It also gives
you important information about the number of people
that can be in your vehicle and the total weight you can
carry. This weight is called the vehicle capacity weight
and includes the weigh of all occupants, cargo and
all non-factory installed options.The other label is the Certi®cation label, found on the
rear edge of the driver's door. It tells you the gross
weight capacity of your vehicle, called the Gross Vehicle
Weight Rating (GVWR). The GVWR includes the
weight of the vehicle, all occupants, fuel and cargo.
Never exceed the GVWR for your vehicle or the Gross
Axle Weight Rating (GAWR) for either the front or
rear axle.
4-35
Page 273 of 432
Towing a Trailer
{CAUTION:
If you don't use the correct equipment and
drive properly, you can lose control when you
pull a trailer. For example, if the trailer is too
heavy, the brakes may not work well Ð or
even at all. You and your passengers could be
seriously injured. You may also damage your
vehicle; the resulting repairs would not be
covered by your warranty. Pull a trailer only if
you have followed all the steps in this section.
Ask your dealer for advice and information
about towing a trailer with your vehicle.Your vehicle can tow a trailer if it is equipped with the
proper trailer towing equipment. To identify what
the vehicle trailering capacity is for your vehicle, you
should read the information in ªWeight of the Trailerº that
appears later in this section. But trailering is different
than just driving your vehicle by itself. Trailering means
changes in handling, durability and fuel economy.
Successful, safe trailering takes correct equipment,
and it has to be used properly.
That's the reason for this part. In it are many time-tested,
important trailering tips and safety rules. Many of
these are important for your safety and that of your
passengers. So please read this section carefully before
you pull a trailer.
Load-pulling components such as the engine, transaxle,
wheel assemblies and tires are forced to work harder
against the drag of the added weight. The engine
is required to operate at relatively higher speeds and
under greater loads, generating extra heat. What's more,
the trailer adds considerably to wind resistance,
increasing the pulling requirements.
4-37
Page 281 of 432
Service............................................................5-3
Doing Your Own Service Work.........................5-3
Adding Equipment to the Outside
of Your Vehicle...........................................5-4
Fuel................................................................5-4
Gasoline Octane............................................5-4
Gasoline Speci®cations....................................5-5
California Fuel...............................................5-5
Additives.......................................................5-6
Fuels in Foreign Countries...............................5-7
Filling Your Tank............................................5-7
Filling a Portable Fuel Container.....................5-10
Checking Things Under the Hood....................5-10
Hood Release..............................................5-11
Engine Compartment Overview.......................5-12
Engine Oil...................................................5-16
Supercharger Oil..........................................5-21
Engine Air Cleaner/Filter................................5-22
Automatic Transaxle Fluid..............................5-24
Engine Coolant.............................................5-26
Radiator Pressure Cap..................................5-29
Engine Overheating.......................................5-29
Cooling System............................................5-32
Power Steering Fluid.....................................5-42
Windshield Washer Fluid................................5-43Brakes........................................................5-45
Battery........................................................5-48
Jump Starting...............................................5-49
Headlamp Aiming...........................................5-56
Bulb Replacement..........................................5-59
Halogen Bulbs..............................................5-59
Headlamps and Sidemarker Lamps.................5-60
Front Turn Signal, Parking and
Fog Lamps...............................................5-62
Center High-Mounted Stoplamp (CHMSL).........5-64
Taillamps, Turn Signal, and Stoplamps............5-64
Back-Up Lamps............................................5-65
Replacement Bulbs.......................................5-66
Windshield Wiper Blade Replacement..............5-67
Tires..............................................................5-68
In¯ation -- Tire Pressure................................5-69
Tire Pressure Monitor System.........................5-70
Tire Inspection and Rotation...........................5-71
When It Is Time for New Tires.......................5-72
Buying New Tires.........................................5-73
Uniform Tire Quality Grading..........................5-74
Wheel Alignment and Tire Balance..................5-75
Wheel Replacement......................................5-75
Tire Chains..................................................5-77
Section 5 Service and Appearance Care
5-1