fuel PONTIAC GRAND PRIX 2004 Owners Manual
[x] Cancel search | Manufacturer: PONTIAC, Model Year: 2004, Model line: GRAND PRIX, Model: PONTIAC GRAND PRIX 2004Pages: 432, PDF Size: 2.99 MB
Page 1 of 432
Seats and Restraint Systems........................... 1-1
Front Seats
............................................... 1-2
Rear Seats
............................................... 1-8
Safety Belts
.............................................1-10
Child Restraints
.......................................1-29
Air Bag Systems
......................................1-48
Restraint System Check
............................1-56
Features and Controls..................................... 2-1
Keys
........................................................ 2-2
Doors and Locks
....................................... 2-7
Windows
.................................................2-12
Theft-Deterrent Systems
............................2-14
Starting and Operating Your Vehicle
...........2-18
Mirrors
....................................................2-33
OnStar
žSystem
......................................2-35
Storage Areas
.........................................2-36
Sunroof
..................................................2-39
Instrument Panel............................................. 3-1
Instrument Panel Overview
.......................... 3-2
Climate Controls
......................................3-25
Warning Lights, Gages and Indicators
.........3-31
Driver Information Center (DIC)
..................3-45
Audio System(s)
.......................................3-88Driving Your Vehicle....................................... 4-1
Your Driving, the Road, and Your Vehicle
..... 4-2
Towing
...................................................4-33
Service and Appearance Care.......................... 5-1
Service
..................................................... 5-3
Fuel
......................................................... 5-4
Checking Things Under the Hood
...............5-10
Headlamp Aiming
.....................................5-56
Bulb Replacement
....................................5-59
Windshield Wiper Blade Replacement
.........5-67
Tires
......................................................5-68
Appearance Care
.....................................5-90
Vehicle Identi®cation
.................................5-98
Electrical System
......................................5-99
Capacities and Speci®cations
...................5-104
Normal Maintenance Replacement Parts
......5-105
Maintenance Schedule..................................... 6-1
Maintenance Schedule
................................ 6-2
Customer Assistance Information.................... 7-1
Customer Assistance Information
.................. 7-2
Reporting Safety Defects
............................ 7-9
Index................................................................ 1
2004 Pontiac Grand Prix Owner ManualM
Page 78 of 432
Theft-Deterrent Systems
Vehicle theft is big business, especially in some cities.
Although your vehicle has a number of theft-deterrent
features, we know that nothing we put on it can make it
impossible to steal.
Content Theft-Deterrent
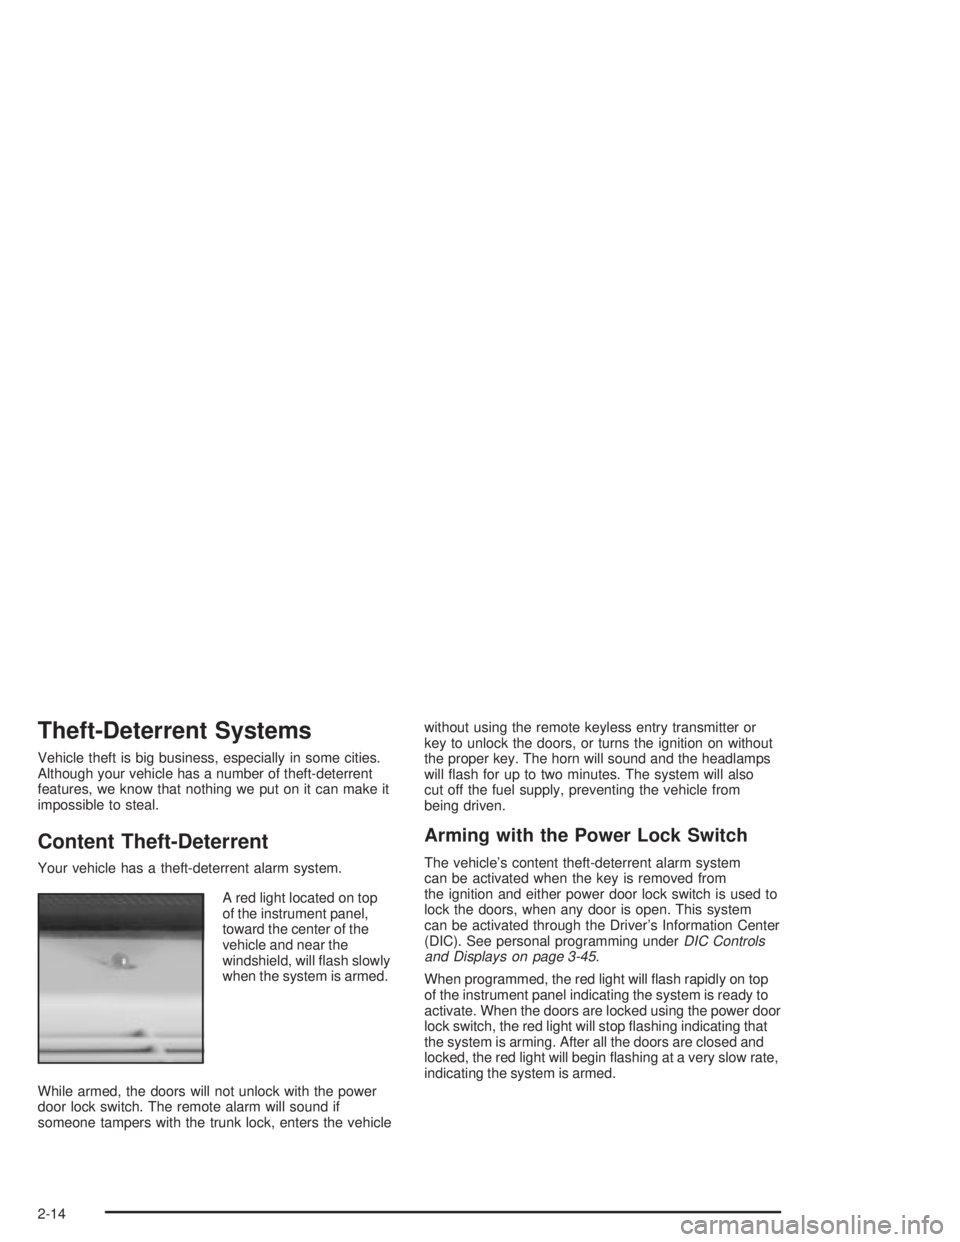
Your vehicle has a theft-deterrent alarm system.
A red light located on top
of the instrument panel,
toward the center of the
vehicle and near the
windshield, will ¯ash slowly
when the system is armed.
While armed, the doors will not unlock with the power
door lock switch. The remote alarm will sound if
someone tampers with the trunk lock, enters the vehiclewithout using the remote keyless entry transmitter or
key to unlock the doors, or turns the ignition on without
the proper key. The horn will sound and the headlamps
will ¯ash for up to two minutes. The system will also
cut off the fuel supply, preventing the vehicle from
being driven.
Arming with the Power Lock Switch
The vehicle's content theft-deterrent alarm system
can be activated when the key is removed from
the ignition and either power door lock switch is used to
lock the doors, when any door is open. This system
can be activated through the Driver's Information Center
(DIC). See personal programming under
DIC Controls
and Displays on page 3-45.
When programmed, the red light will ¯ash rapidly on top
of the instrument panel indicating the system is ready to
activate. When the doors are locked using the power door
lock switch, the red light will stop ¯ashing indicating that
the system is arming. After all the doors are closed and
locked, the red light will begin ¯ashing at a very slow rate,
indicating the system is armed.
2-14
Page 80 of 432
PASS-KeyžIII Operation
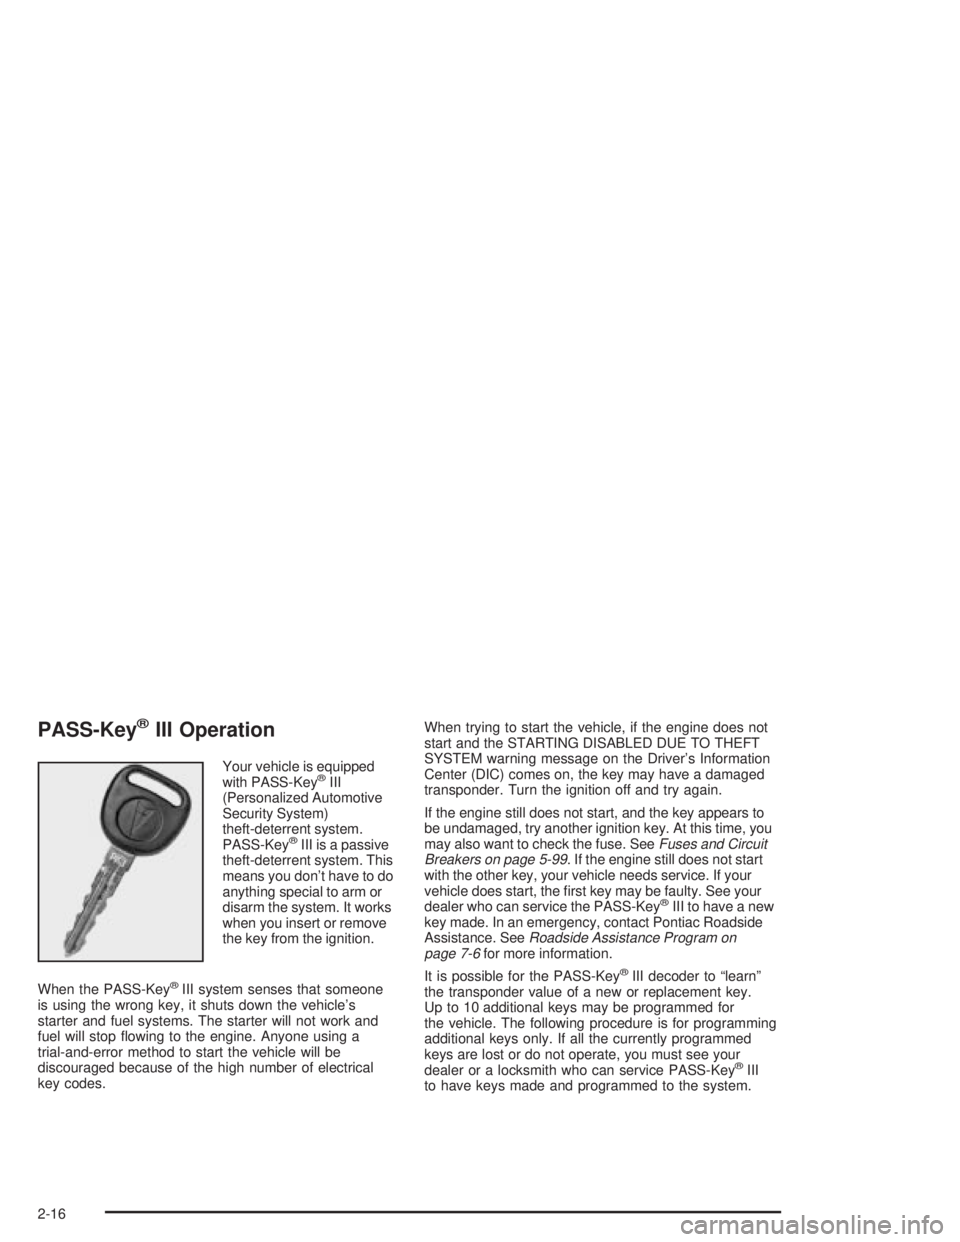
Your vehicle is equipped
with PASS-KeyžIII
(Personalized Automotive
Security System)
theft-deterrent system.
PASS-Key
žIII is a passive
theft-deterrent system. This
means you don't have to do
anything special to arm or
disarm the system. It works
when you insert or remove
the key from the ignition.
When the PASS-Key
žIII system senses that someone
is using the wrong key, it shuts down the vehicle's
starter and fuel systems. The starter will not work and
fuel will stop ¯owing to the engine. Anyone using a
trial-and-error method to start the vehicle will be
discouraged because of the high number of electrical
key codes.When trying to start the vehicle, if the engine does not
start and the STARTING DISABLED DUE TO THEFT
SYSTEM warning message on the Driver's Information
Center (DIC) comes on, the key may have a damaged
transponder. Turn the ignition off and try again.
If the engine still does not start, and the key appears to
be undamaged, try another ignition key. At this time, you
may also want to check the fuse. See
Fuses and Circuit
Breakers on page 5-99. If the engine still does not start
with the other key, your vehicle needs service. If your
vehicle does start, the ®rst key may be faulty. See your
dealer who can service the PASS-Key
žIII to have a new
key made. In an emergency, contact Pontiac Roadside
Assistance. See
Roadside Assistance Program on
page 7-6for more information.
It is possible for the PASS-Key
žIII decoder to ªlearnº
the transponder value of a new or replacement key.
Up to 10 additional keys may be programmed for
the vehicle. The following procedure is for programming
additional keys only. If all the currently programmed
keys are lost or do not operate, you must see your
dealer or a locksmith who can service PASS-Key
žIII
to have keys made and programmed to the system.
2-16
Page 84 of 432
3. If it doesn't start within 10 seconds, hold your key in
START for about 10 seconds at a time until your
engine starts. Wait about 15 seconds between
each try.
4. If your engine still won't start (or starts but then
stops), it could be ¯ooded with too much gasoline.
Try pushing your accelerator pedal all the way to the
¯oor and holding it there as you hold the key in
START for about three seconds. If the vehicle starts
brie¯y but then stops again, do the same thing.
This time keep the pedal down for ®ve or six
seconds to clear the extra gasoline from the engine.
After waiting about 15 seconds, repeat the normal
starting procedure.
Notice:Your engine is designed to work with the
electronics in your vehicle. If you add electrical
parts or accessories, you could change the way the
engine operates. Before adding electrical equipment,
check with your dealer. If you don't, your engine
might not perform properly.
Engine Coolant Heater
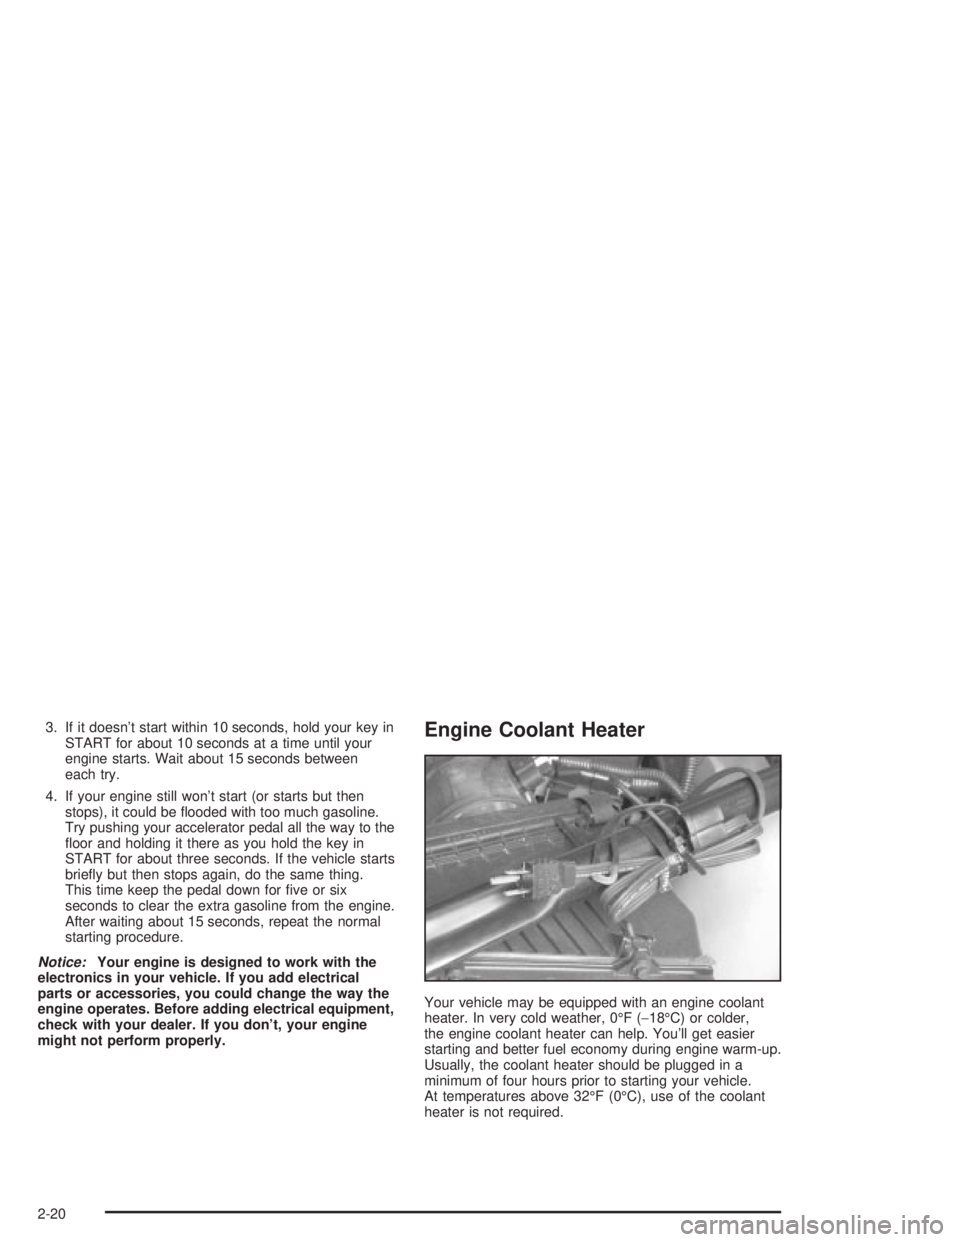
Your vehicle may be equipped with an engine coolant
heater. In very cold weather, 0ÉF (-18ÉC) or colder,
the engine coolant heater can help. You'll get easier
starting and better fuel economy during engine warm-up.
Usually, the coolant heater should be plugged in a
minimum of four hours prior to starting your vehicle.
At temperatures above 32ÉF (0ÉC), use of the coolant
heater is not required.
2-20
Page 88 of 432
AUTOMATIC OVERDRIVE (D):This position is for
normal driving. If you need more power for passing,
and you're:
·Going less than 35 mph (55 km/h), push your
accelerator pedal about halfway down.
·Going about 35 mph (55 km/h) or more, push the
accelerator pedal all the way down.
You'll shift down to the next gear and have more power.
Notice:If your vehicle seems to start up rather
slowly, or if it seems not to shift gears as you go
faster, something may be wrong with a transaxle
system sensor. If you drive very far that way,
your vehicle can be damaged. So, if this happens,
have your vehicle serviced right away. Until
then, you can use SECOND (2) when you are driving
less than 35 mph (55 km/h) and AUTOMATIC
OVERDRIVE (D) for higher speeds.THIRD (3):This position is also used for normal driving,
but it offers more power and lower fuel economy than
AUTOMATIC OVERDRIVE (D).
Here are some times you might choose THIRD (3)
instead of AUTOMATIC OVERDRIVE (D):
·When driving on hilly, winding roads.
·When towing a trailer, so there is less shifting
between gears.
·When going down a steep hill.
·When driving in non-highway scenarios
(i.e. city streets, etc.).
SECOND (2):This position gives you more power but
lower fuel economy than THIRD (3). You can use
SECOND (2) on hills. It can help control your speed as
you go down steep mountain roads, but then you
would also want to use your brakes off and on.
Notice:Don't drive in SECOND (2) for more than
25 miles (40 km), or at speeds over 55 mph
(90 km/h), or you can damage your transaxle.
Use THIRD (3) or AUTOMATIC OVERDRIVE (D) as
much as possible. Don't shift into SECOND (2)
unless you are going slower than 65 mph (105 km/h)
or you can damage your engine.
2-24
Page 89 of 432
FIRST (1):This position gives you even more power
but lower fuel economy than SECOND (2). You can use
it on very steep hills, or in deep snow or mud. If the
shift lever is moved to FIRST (1), the transaxle
won't shift into ®rst gear until the vehicle is going
slowly enough.
Notice:If your front wheels won't turn, don't try
to drive. This might happen if you were stuck
in very deep sand or mud or were up against a
solid object. You could damage your transaxle.
Also, if you stop when going uphill, don't hold
your vehicle there with only the accelerator pedal.
This could overheat and damage the transaxle.
Use your brakes to hold your vehicle in position
on a hill.
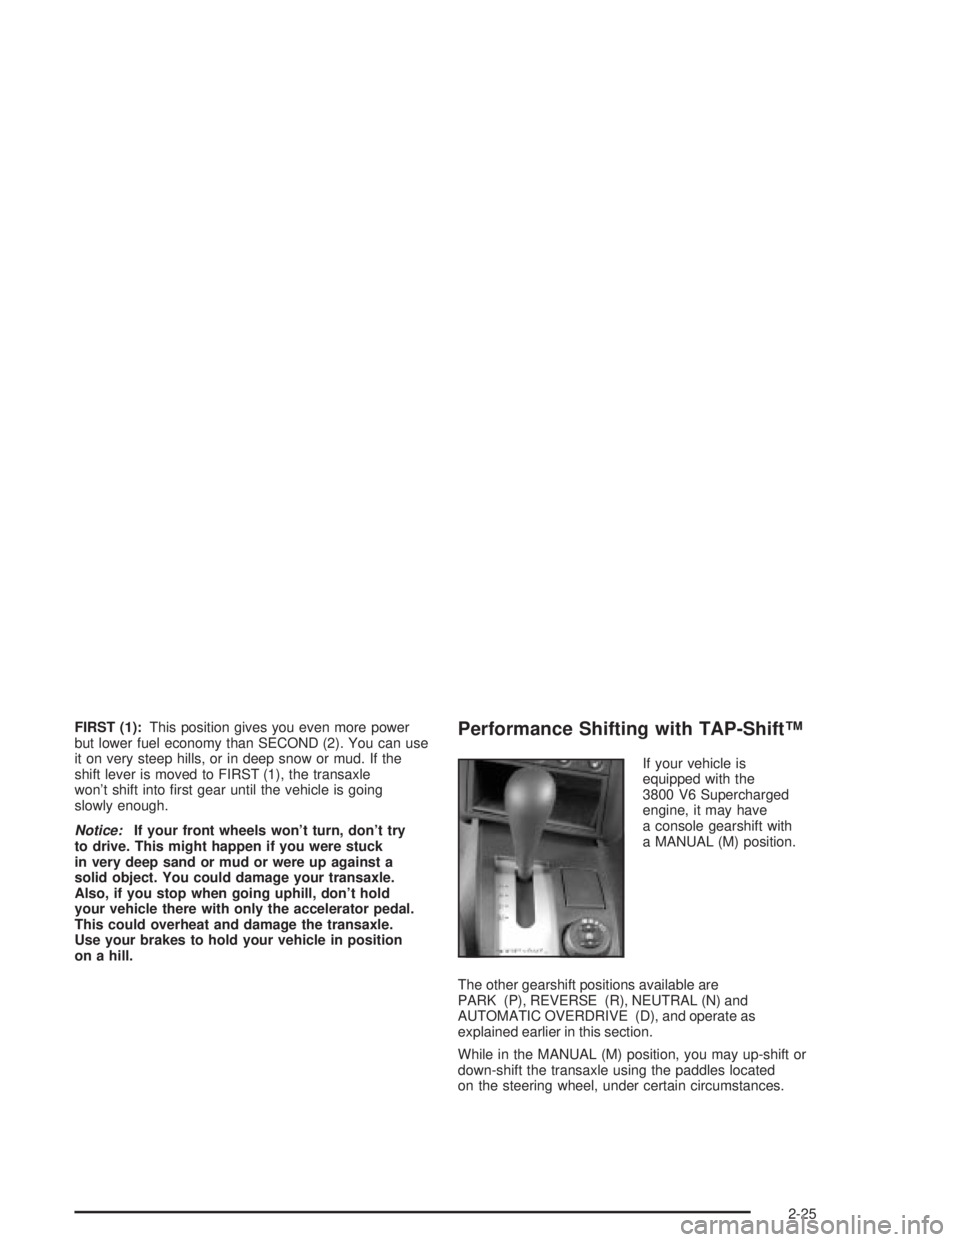
Performance Shifting with TAP-ShiftŸ
If your vehicle is
equipped with the
3800 V6 Supercharged
engine, it may have
a console gearshift with
a MANUAL (M) position.
The other gearshift positions available are
PARK (P), REVERSE (R), NEUTRAL (N) and
AUTOMATIC OVERDRIVE (D), and operate as
explained earlier in this section.
While in the MANUAL (M) position, you may up-shift or
down-shift the transaxle using the paddles located
on the steering wheel, under certain circumstances.
2-25
Page 105 of 432
Instrument Panel Overview...............................3-2
Hazard Warning Flashers................................3-4
Other Warning Devices...................................3-5
Horn.............................................................3-5
Tilt Wheel.....................................................3-5
Windshield Washer Lever................................3-6
Cruise Control Lever.......................................3-8
Exterior Lamps.............................................3-12
Interior Lamps..............................................3-16
Head-Up Display (HUD).................................3-19
Accessory Power Outlets...............................3-23
Ashtrays and Cigarette Lighter........................3-24
Climate Controls............................................3-25
Climate Control System.................................3-25
Outlet Adjustment.........................................3-29
Warning Lights, Gages and Indicators.............3-31
Instrument Panel Cluster................................3-32
Speedometer and Odometer...........................3-33
Tachometer.................................................3-33
Safety Belt Reminder Light.............................3-34
Air Bag Readiness Light................................3-34
Up-Shift Light...............................................3-35
Brake System Warning Light..........................3-36
Anti-Lock Brake System Warning Light.............3-37
Traction Control System (TCS)
Warning Light...........................................3-38Enhanced Traction System Warning Light.........3-38
Engine Coolant Temperature Warning Light......3-39
Engine Coolant Temperature Gage..................3-39
Malfunction Indicator Lamp.............................3-40
Oil Pressure Light.........................................3-43
Fog Lamp Light............................................3-44
High-Beam On Light......................................3-44
Fuel Gage...................................................3-44
Driver Information Center (DIC).......................3-45
DIC Controls and Displays.............................3-45
DIC Warnings and Messages.........................3-65
Audio System(s).............................................3-88
Setting the Time...........................................3-88
Radio with CD..............................................3-89
Radio with Cassette and CD.........................3-100
Radio with Six-Disc CD................................3-114
Theft-Deterrent Feature................................3-128
Audio Steering Wheel Controls......................3-129
Understanding Radio Reception....................3-130
Care of Your Cassette Tape Player...............3-130
Care of Your CDs.......................................3-131
Care of Your CD Player...............................3-131
Backglass Antenna......................................3-132
XMŸ Satellite Radio Antenna System
(United States Only).................................3-132
Section 3 Instrument Panel
3-1
Page 136 of 432
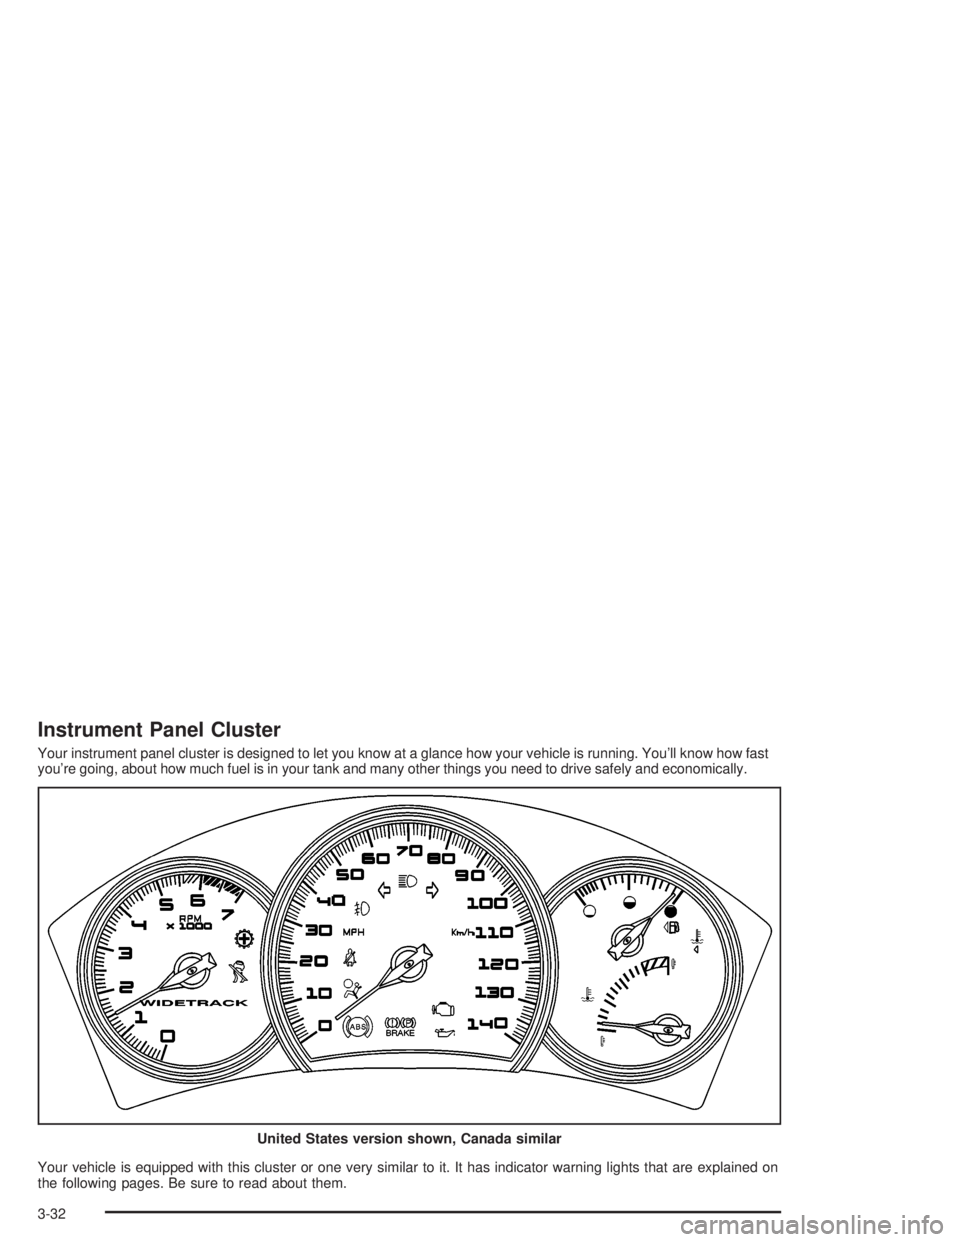
Instrument Panel Cluster
Your instrument panel cluster is designed to let you know at a glance how your vehicle is running. You'll know how fast
you're going, about how much fuel is in your tank and many other things you need to drive safely and economically.
Your vehicle is equipped with this cluster or one very similar to it. It has indicator warning lights that are explained on
the following pages. Be sure to read about them.United States version shown, Canada similar
3-32
Page 144 of 432
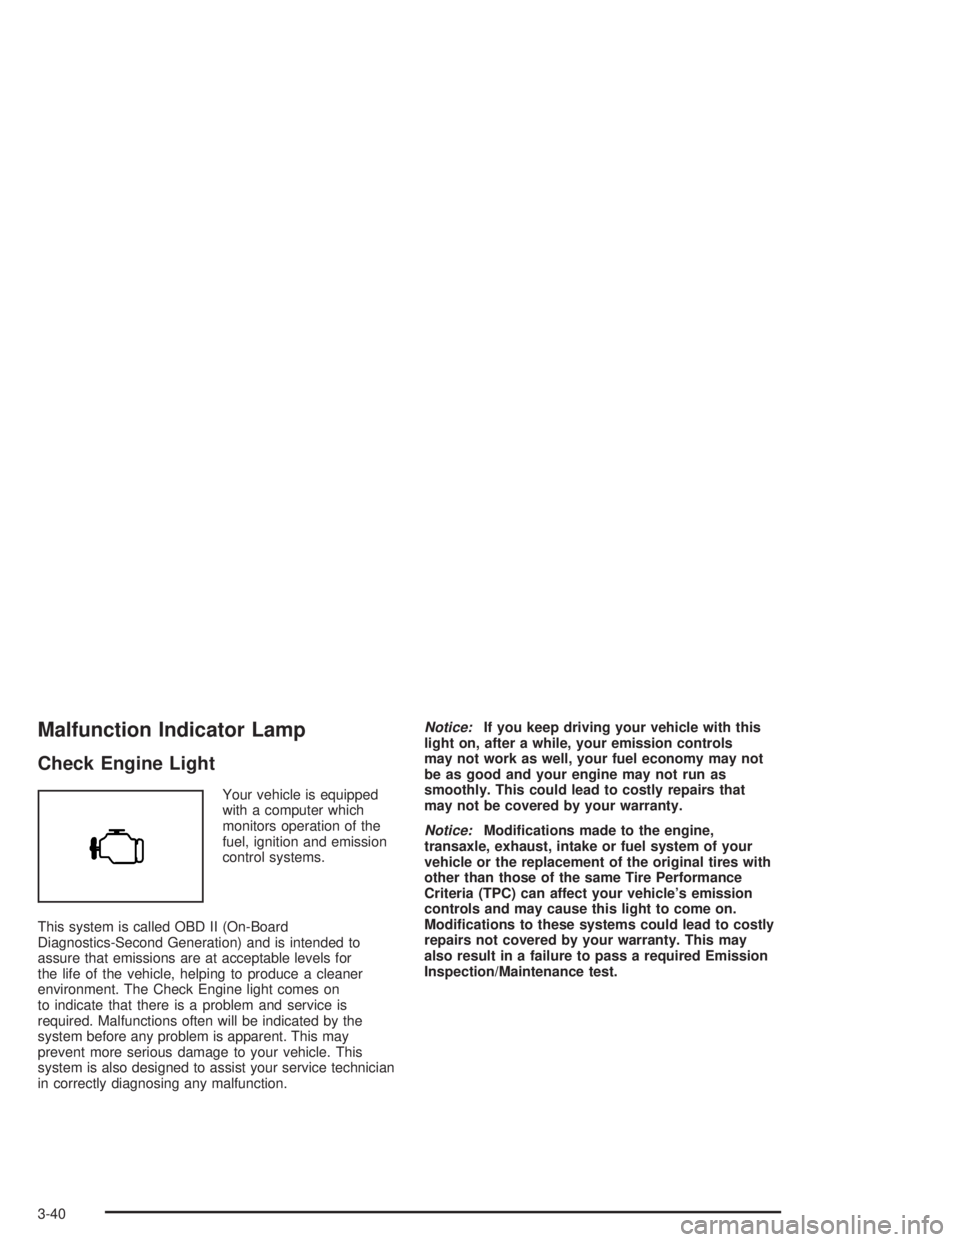
Malfunction Indicator Lamp
Check Engine Light
Your vehicle is equipped
with a computer which
monitors operation of the
fuel, ignition and emission
control systems.
This system is called OBD II (On-Board
Diagnostics-Second Generation) and is intended to
assure that emissions are at acceptable levels for
the life of the vehicle, helping to produce a cleaner
environment. The Check Engine light comes on
to indicate that there is a problem and service is
required. Malfunctions often will be indicated by the
system before any problem is apparent. This may
prevent more serious damage to your vehicle. This
system is also designed to assist your service technician
in correctly diagnosing any malfunction.
Notice:If you keep driving your vehicle with this
light on, after a while, your emission controls
may not work as well, your fuel economy may not
be as good and your engine may not run as
smoothly. This could lead to costly repairs that
may not be covered by your warranty.
Notice:Modi®cations made to the engine,
transaxle, exhaust, intake or fuel system of your
vehicle or the replacement of the original tires with
other than those of the same Tire Performance
Criteria (TPC) can affect your vehicle's emission
controls and may cause this light to come on.
Modi®cations to these systems could lead to costly
repairs not covered by your warranty. This may
also result in a failure to pass a required Emission
Inspection/Maintenance test.
3-40
Page 145 of 432
This light should come on, as a check to show you it
is working, when the ignition is on and the engine is not
running. If the light doesn't come on, have it repaired.
This light will also come on during a malfunction in one
of two ways:
·Light FlashingÐ A mis®re condition has been
detected. A mis®re increases vehicle emissions
and may damage the emission control system
on your vehicle. Diagnosis and service may
be required.
·Light On SteadyÐ An emission control system
malfunction has been detected on your vehicle.
Diagnosis and service may be required.
If the Light is Flashing
The following may prevent more serious damage to
your vehicle:
·Reducing vehicle speed.
·Avoiding hard accelerations.
·Avoiding steep uphill grades.
·If you are towing a trailer, reduce the amount of
cargo being hauled as soon as it is possible.If the light stops ¯ashing and remains on steady,
see ªIf the Light Is On Steadyº following.
If the light continues to ¯ash, when it is safe to do so,
stop the vehicle.Find a safe place to park your vehicle.
Turn the key off, wait at least 10 seconds and restart
the engine. If the light remains on steady, see ªIf the
Light Is On Steadyº following. If the light is still ¯ashing,
follow the previous steps, and see your dealer for
service as soon as possible.
If the Light Is On Steady
You may be able to correct the emission system
malfunction by considering the following:
Did you recently put fuel into your vehicle?
If so, reinstall the fuel cap, making sure to fully
install the cap. See
Filling Your Tank on page 5-7.
The diagnostic system can determine if the fuel cap has
been left off or improperly installed. A loose or missing
fuel cap will allow fuel to evaporate into the atmosphere.
A few driving trips with the cap properly installed
should turn the light off.
3-41