light PONTIAC GRAND PRIX 2004 User Guide
[x] Cancel search | Manufacturer: PONTIAC, Model Year: 2004, Model line: GRAND PRIX, Model: PONTIAC GRAND PRIX 2004Pages: 432, PDF Size: 2.99 MB
Page 78 of 432
Theft-Deterrent Systems
Vehicle theft is big business, especially in some cities.
Although your vehicle has a number of theft-deterrent
features, we know that nothing we put on it can make it
impossible to steal.
Content Theft-Deterrent
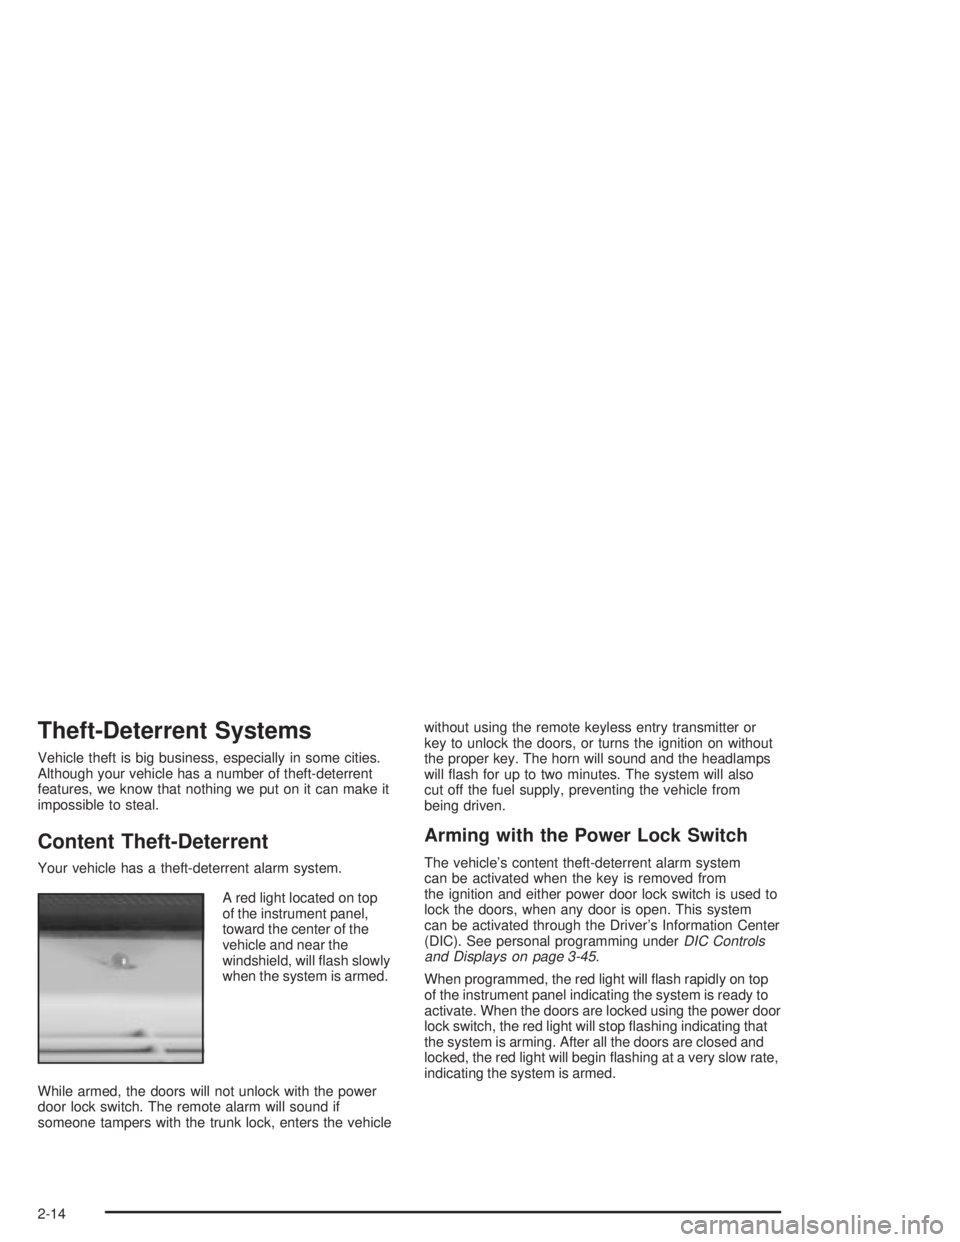
Your vehicle has a theft-deterrent alarm system.
A red light located on top
of the instrument panel,
toward the center of the
vehicle and near the
windshield, will ¯ash slowly
when the system is armed.
While armed, the doors will not unlock with the power
door lock switch. The remote alarm will sound if
someone tampers with the trunk lock, enters the vehiclewithout using the remote keyless entry transmitter or
key to unlock the doors, or turns the ignition on without
the proper key. The horn will sound and the headlamps
will ¯ash for up to two minutes. The system will also
cut off the fuel supply, preventing the vehicle from
being driven.
Arming with the Power Lock Switch
The vehicle's content theft-deterrent alarm system
can be activated when the key is removed from
the ignition and either power door lock switch is used to
lock the doors, when any door is open. This system
can be activated through the Driver's Information Center
(DIC). See personal programming under
DIC Controls
and Displays on page 3-45.
When programmed, the red light will ¯ash rapidly on top
of the instrument panel indicating the system is ready to
activate. When the doors are locked using the power door
lock switch, the red light will stop ¯ashing indicating that
the system is arming. After all the doors are closed and
locked, the red light will begin ¯ashing at a very slow rate,
indicating the system is armed.
2-14
Page 79 of 432
Arming with the Remote Keyless
Entry Transmitter
The alarm system will arm when you use the remote
keyless entry transmitter to lock the doors after the key
is removed from the ignition. The red light will turn
on to let you know the system is arming. After all doors
are closed and locked, the red light will begin ¯ashing
at a very slow rate to let you know the system is armed.
Arming Con®rmation
If the remote unlock con®rmation is on, the headlamps
will ¯ash brie¯y to let you know when the alarm system
has armed. See
DIC Controls and Displays on page 3-45for more information on personal programming.
Disarming with the Remote Keyless
Entry Transmitter
The alarm system will disarm when you use your remote
keyless entry transmitter to unlock the doors. The red
light will go off to let you know the system is disarmed.
Disarming with Your Key
The alarm system will disarm when you use the key to
unlock the doors. The red light will stop ¯ashing when the
system is disarmed. If you would like the key to disarm
the alarm system, see
DIC Controls and Displays on
page 3-45for more information on personal programming.
PASS-KeyžIII
Your PASS-KeyžIII system operates on a radio
frequency subject to Federal Communications
Commission (FCC) Rules and with Industry Canada.
This device complies with Part 15 of the FCC Rules.
Operation is subject to the following two conditions:
1. This device may not cause harmful interference, and
2. This device must accept any interference received,
including interference that may cause undesired
operation.
This device complies with RSS-210 of Industry Canada.
Operation is subject to the following two conditions:
1. This device may not cause interference, and
2. This device must accept any interference received,
including interference that may cause undesired
operation of the device.
Changes or modi®cations to this system by other than
an authorized service facility could void authorization to
use this equipment.
PASS-Key
žIII uses a radio frequency transponder in
the key that matches a decoder in your vehicle.
2-15
Page 83 of 432
Notice:If your key seems stuck in OFF and you
can't turn it, be sure you are using the correct key;
if so, is it all the way in? If it is, then turn the
steering wheel left and right while you turn the key
hard. Turn the key only with your hand. Using a
tool to force it could break the key or the ignition
switch. If none of these works, then your vehicle
needs service.
ACC (ACCESSORY):This position lets you use things
like the radio and windshield wipers while the engine
is off.
R(RUN):This position is where the key returns to
after you start the vehicle. With the engine off, you can
use RUN to display some of the warning and indicator
lights.
/(START):This position starts the engine. Let go of
the key when the engine starts. The key will return
to the RUN position.
A continuous warning chime will sound and a KEY IN
IGNITION warning message will display on the DIC
if the key is in the ignition in the OFF or ACCESSORY
positions and the driver's door is opened.
Retained Accessory Power (RAP)
With Retained Accessory Power (RAP), the power
windows, audio system and sunroof will continue to
work up to 10 minutes after the ignition key is turned
to OFF and none of the doors are opened.
Starting Your Engine
1. Move your shift lever to PARK (P) or NEUTRAL (N).
Your engine won't start in any other position ± that's
a safety feature. To restart while you're already
moving, use NEUTRAL (N) only.
Notice:Don't try to shift to PARK (P) if your vehicle
is moving. If you do, you could damage the transaxle.
Shift to PARK (P) only when your vehicle is stopped.
2. With your foot off the accelerator pedal, turn your
ignition key to START. When the engine starts,
let go of the key. The idle speed will go down as
your engine gets warm.
Notice:Holding your key in START for longer than
15 seconds at a time will cause your battery to
be drained much sooner. And the excessive
heat can damage your starter motor. Wait about
15 seconds between each try to help avoid draining
your battery or damaging your starter.
2-19
Page 90 of 432
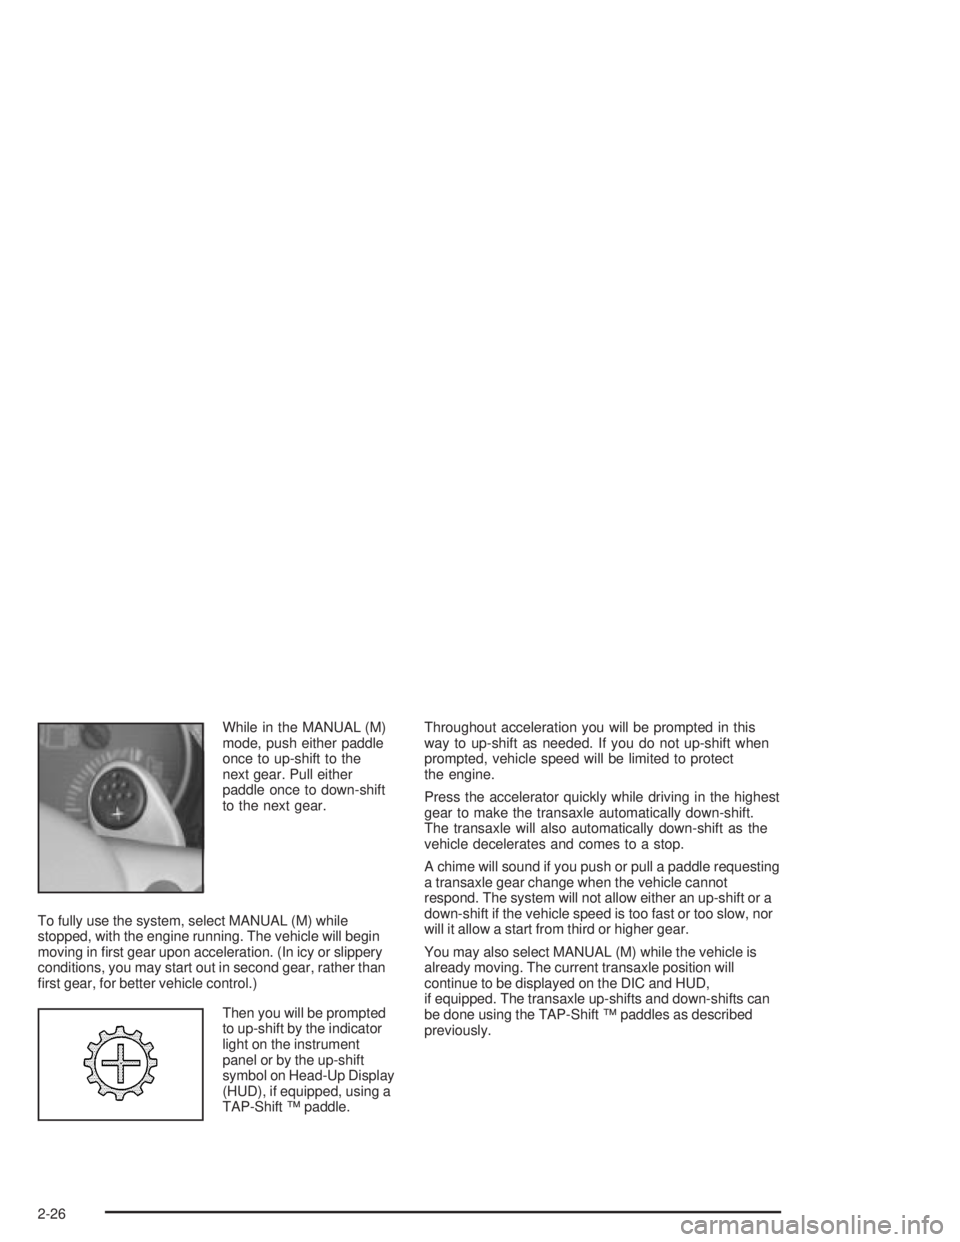
While in the MANUAL (M)
mode, push either paddle
once to up-shift to the
next gear. Pull either
paddle once to down-shift
to the next gear.
To fully use the system, select MANUAL (M) while
stopped, with the engine running. The vehicle will begin
moving in ®rst gear upon acceleration. (In icy or slippery
conditions, you may start out in second gear, rather than
®rst gear, for better vehicle control.)
Then you will be prompted
to up-shift by the indicator
light on the instrument
panel or by the up-shift
symbol on Head-Up Display
(HUD), if equipped, using a
TAP-Shift Ÿ paddle.Throughout acceleration you will be prompted in this
way to up-shift as needed. If you do not up-shift when
prompted, vehicle speed will be limited to protect
the engine.
Press the accelerator quickly while driving in the highest
gear to make the transaxle automatically down-shift.
The transaxle will also automatically down-shift as the
vehicle decelerates and comes to a stop.
A chime will sound if you push or pull a paddle requesting
a transaxle gear change when the vehicle cannot
respond. The system will not allow either an up-shift or a
down-shift if the vehicle speed is too fast or too slow, nor
will it allow a start from third or higher gear.
You may also select MANUAL (M) while the vehicle is
already moving. The current transaxle position will
continue to be displayed on the DIC and HUD,
if equipped. The transaxle up-shifts and down-shifts can
be done using the TAP-Shift Ÿ paddles as described
previously.
2-26
Page 91 of 432
Parking Brake
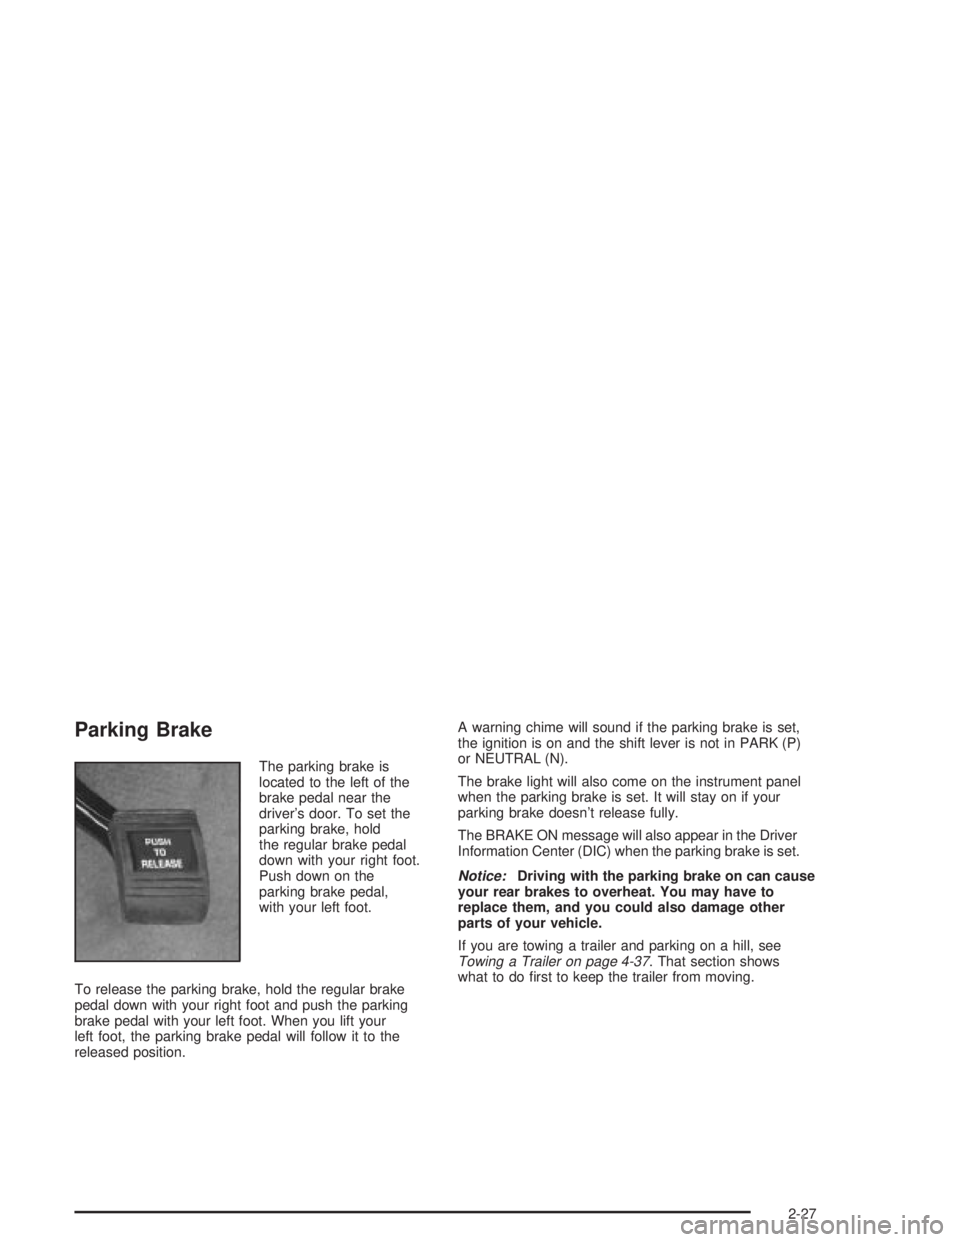
The parking brake is
located to the left of the
brake pedal near the
driver's door. To set the
parking brake, hold
the regular brake pedal
down with your right foot.
Push down on the
parking brake pedal,
with your left foot.
To release the parking brake, hold the regular brake
pedal down with your right foot and push the parking
brake pedal with your left foot. When you lift your
left foot, the parking brake pedal will follow it to the
released position.A warning chime will sound if the parking brake is set,
the ignition is on and the shift lever is not in PARK (P)
or NEUTRAL (N).
The brake light will also come on the instrument panel
when the parking brake is set. It will stay on if your
parking brake doesn't release fully.
The BRAKE ON message will also appear in the Driver
Information Center (DIC) when the parking brake is set.
Notice:Driving with the parking brake on can cause
your rear brakes to overheat. You may have to
replace them, and you could also damage other
parts of your vehicle.
If you are towing a trailer and parking on a hill, see
Towing a Trailer on page 4-37. That section shows
what to do ®rst to keep the trailer from moving.
2-27
Page 100 of 432
OnStaržPersonal Calling
With OnStaržPersonal Calling, you have a safer way to
stay connected while driving. It's a hands-free wireless
phone that's integrated into your vehicle. You can place
calls nationwide using voice-activated dialing with no
contracts, no roaming charges and no access fees.
To ®nd out more about OnStar
žPersonal Calling, refer to
the OnStaržuser's guide in your vehicle's glove box, or
call OnStaržat 1-888-4-ONSTAR (1-888-466-7827).
OnStaržVirtual Advisor
With OnStaržVirtual Advisor you can listen to the news,
entertainment and informative topics, such as traffic
and weather reports. You are able to listen and reply to
your e-mail through your vehicle's speakers.
A completed Subscription Service Agreement is required
prior to delivery of OnStar
žservices and prepaid
calling minutes are also required for OnStaržPersonal
Calling and OnStaržVirtual Advisor use. Terms and
conditions of the Subscription Service Agreement can be
found at www.onstar.com.
Storage Areas
Glove Box
Use your key to lock and unlock the glove box. To open
the glove box lift the latch.
Overhead Console
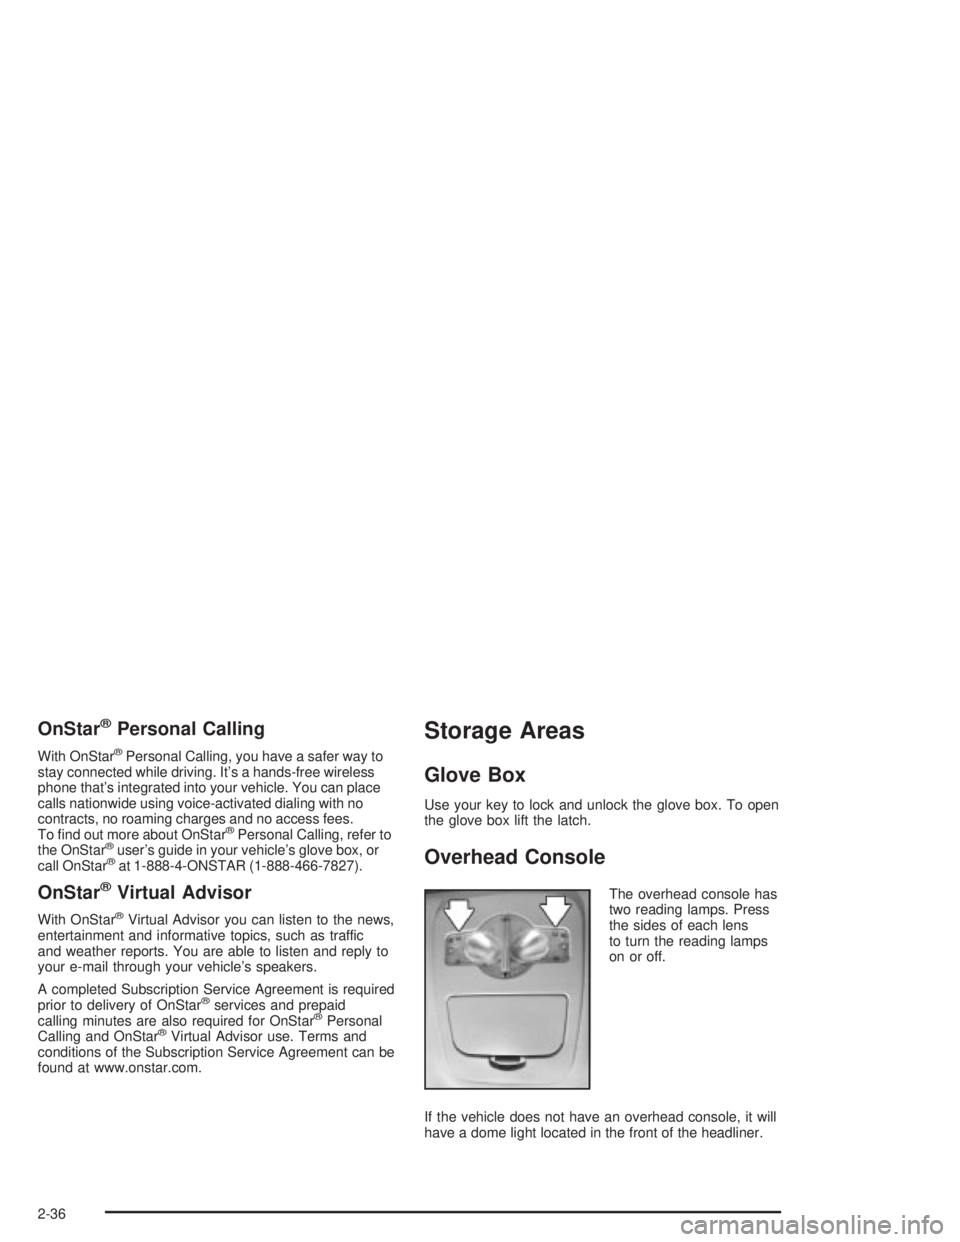
The overhead console has
two reading lamps. Press
the sides of each lens
to turn the reading lamps
on or off.
If the vehicle does not have an overhead console, it will
have a dome light located in the front of the headliner.
2-36
Page 102 of 432
Assist Handles
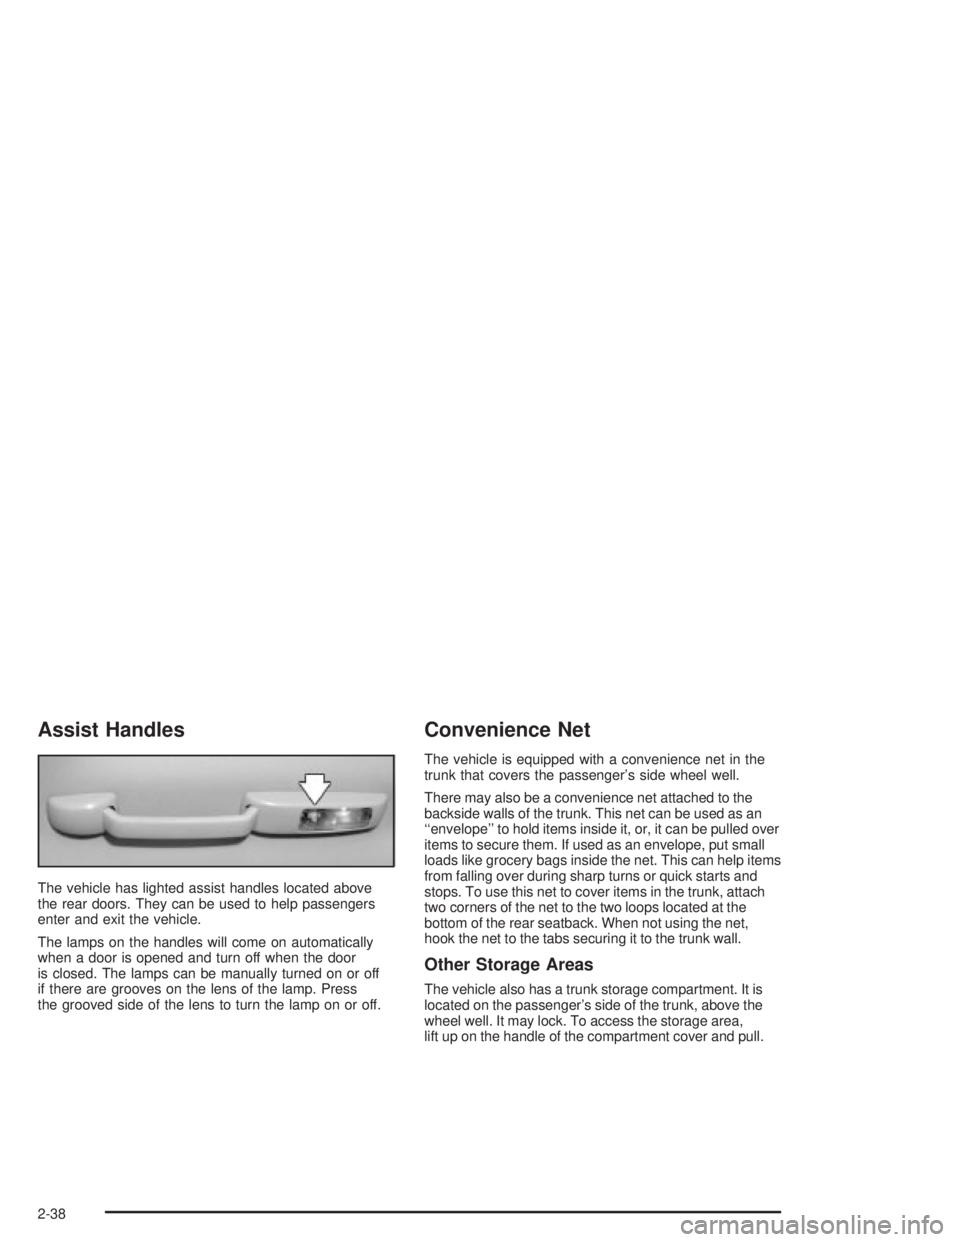
The vehicle has lighted assist handles located above
the rear doors. They can be used to help passengers
enter and exit the vehicle.
The lamps on the handles will come on automatically
when a door is opened and turn off when the door
is closed. The lamps can be manually turned on or off
if there are grooves on the lens of the lamp. Press
the grooved side of the lens to turn the lamp on or off.
Convenience Net
The vehicle is equipped with a convenience net in the
trunk that covers the passenger's side wheel well.
There may also be a convenience net attached to the
backside walls of the trunk. This net can be used as an
``envelope'' to hold items inside it, or, it can be pulled over
items to secure them. If used as an envelope, put small
loads like grocery bags inside the net. This can help items
from falling over during sharp turns or quick starts and
stops. To use this net to cover items in the trunk, attach
two corners of the net to the two loops located at the
bottom of the rear seatback. When not using the net,
hook the net to the tabs securing it to the trunk wall.
Other Storage Areas
The vehicle also has a trunk storage compartment. It is
located on the passenger's side of the trunk, above the
wheel well. It may lock. To access the storage area,
lift up on the handle of the compartment cover and pull.
2-38
Page 105 of 432
Instrument Panel Overview...............................3-2
Hazard Warning Flashers................................3-4
Other Warning Devices...................................3-5
Horn.............................................................3-5
Tilt Wheel.....................................................3-5
Windshield Washer Lever................................3-6
Cruise Control Lever.......................................3-8
Exterior Lamps.............................................3-12
Interior Lamps..............................................3-16
Head-Up Display (HUD).................................3-19
Accessory Power Outlets...............................3-23
Ashtrays and Cigarette Lighter........................3-24
Climate Controls............................................3-25
Climate Control System.................................3-25
Outlet Adjustment.........................................3-29
Warning Lights, Gages and Indicators.............3-31
Instrument Panel Cluster................................3-32
Speedometer and Odometer...........................3-33
Tachometer.................................................3-33
Safety Belt Reminder Light.............................3-34
Air Bag Readiness Light................................3-34
Up-Shift Light...............................................3-35
Brake System Warning Light..........................3-36
Anti-Lock Brake System Warning Light.............3-37
Traction Control System (TCS)
Warning Light...........................................3-38Enhanced Traction System Warning Light.........3-38
Engine Coolant Temperature Warning Light......3-39
Engine Coolant Temperature Gage..................3-39
Malfunction Indicator Lamp.............................3-40
Oil Pressure Light.........................................3-43
Fog Lamp Light............................................3-44
High-Beam On Light......................................3-44
Fuel Gage...................................................3-44
Driver Information Center (DIC).......................3-45
DIC Controls and Displays.............................3-45
DIC Warnings and Messages.........................3-65
Audio System(s).............................................3-88
Setting the Time...........................................3-88
Radio with CD..............................................3-89
Radio with Cassette and CD.........................3-100
Radio with Six-Disc CD................................3-114
Theft-Deterrent Feature................................3-128
Audio Steering Wheel Controls......................3-129
Understanding Radio Reception....................3-130
Care of Your Cassette Tape Player...............3-130
Care of Your CDs.......................................3-131
Care of Your CD Player...............................3-131
Backglass Antenna......................................3-132
XMŸ Satellite Radio Antenna System
(United States Only).................................3-132
Section 3 Instrument Panel
3-1
Page 115 of 432
Reducing Speed While Using Cruise
Control
There are two ways to reduce your speed while using
cruise control:
·Push the lever downward toward the minus
(set/coast/decelerate) position until you reach the
lower speed you want, then release it.
·To slow down in very small amounts, push the lever
downward toward the minus (set/coast/decelerate)
position brie¯y. Each time you do this, the vehicle will
slow down approximately 1 mph (1.6 km/h).
Passing Another Vehicle While Using
Cruise Control
Use the accelerator pedal to increase your speed.
When you take your foot off the pedal, your vehicle will
slow down to the cruise control speed you set earlier.
Using Cruise Control on Hills
How well your cruise control will work on hills depends
upon your speed, load and the steepness of the
hills. When going up steep hills, you may have to
step on the accelerator pedal to maintain your speed.When going downhill, you may have to brake or shift to
a lower gear to keep your speed down. Applying the
brake or shifting into a lower gear will take you out
of cruise control. If you need to apply the brake or shift
to a lower gear due to the grade of the downhill
slope, you may not want to attempt to use your cruise
control feature.
Cancelling Cruise Control
To cancel a cruise control session, pull the cruise
control lever forward, or, step lightly on the brake pedal.
Doing either of these two things will only end the
current cruise control session, but the set speed will be
retained in memory.
You must push the button at the end of the cruise
control lever to turn the system off.
Erasing Speed Memory
When you turn off the cruise control or the ignition,
your cruise control set speed memory is erased.
3-11
Page 117 of 432
Fog Lamps
Fog lamps provide brighter roadway lighting for better
vision in foggy or misty conditions.
-(Fog Lamps):Turn the second band on the exterior
lamps lever to this position to turn the fog lamps on.
The band will return to its original position.
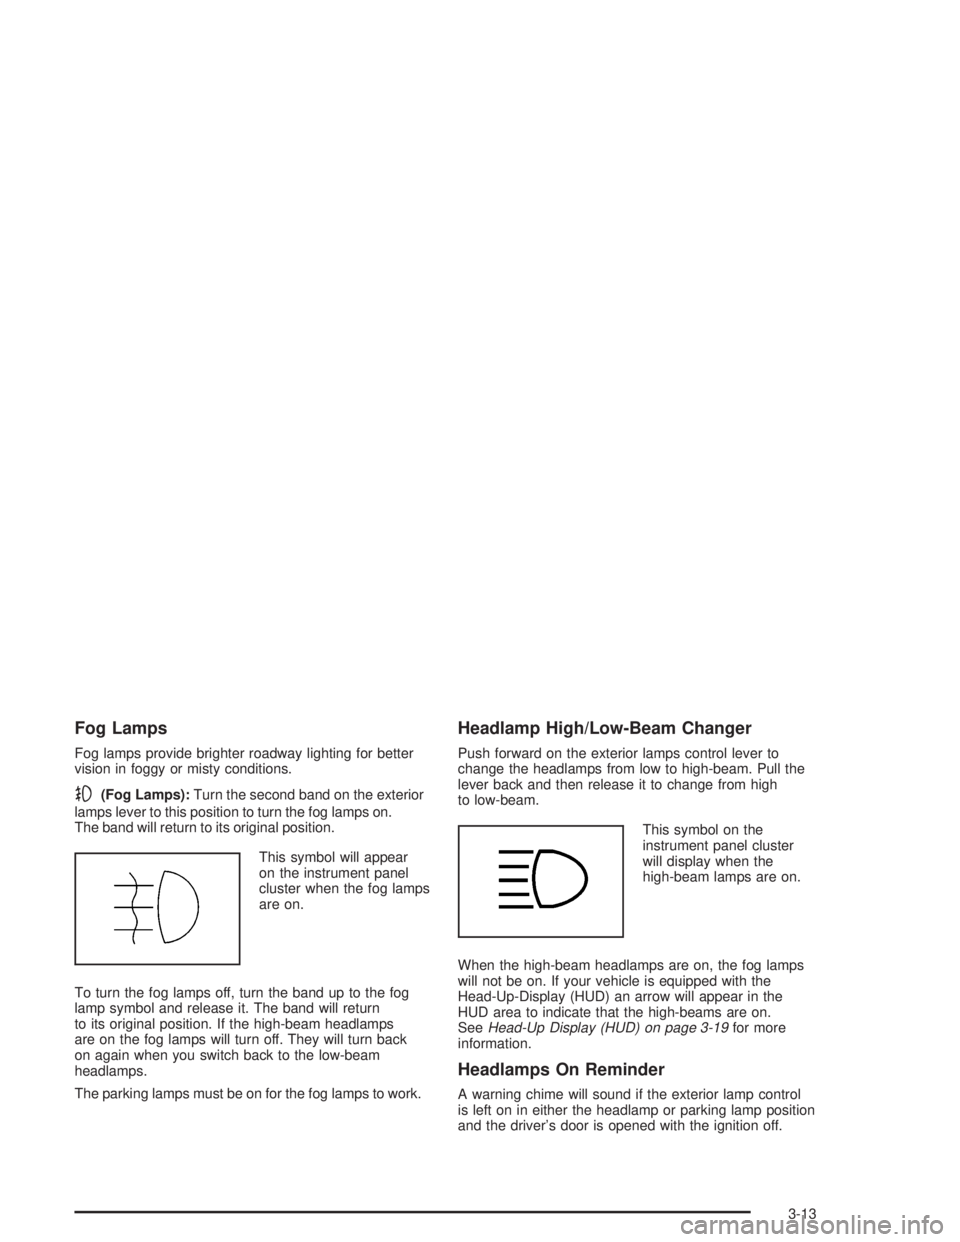
This symbol will appear
on the instrument panel
cluster when the fog lamps
are on.
To turn the fog lamps off, turn the band up to the fog
lamp symbol and release it. The band will return
to its original position. If the high-beam headlamps
are on the fog lamps will turn off. They will turn back
on again when you switch back to the low-beam
headlamps.
The parking lamps must be on for the fog lamps to work.
Headlamp High/Low-Beam Changer
Push forward on the exterior lamps control lever to
change the headlamps from low to high-beam. Pull the
lever back and then release it to change from high
to low-beam.
This symbol on the
instrument panel cluster
will display when the
high-beam lamps are on.
When the high-beam headlamps are on, the fog lamps
will not be on. If your vehicle is equipped with the
Head-Up-Display (HUD) an arrow will appear in the
HUD area to indicate that the high-beams are on.
See
Head-Up Display (HUD) on page 3-19for more
information.
Headlamps On Reminder
A warning chime will sound if the exterior lamp control
is left on in either the headlamp or parking lamp position
and the driver's door is opened with the ignition off.
3-13