instrument panel PONTIAC GRAND PRIX 2004 Owner's Manual
[x] Cancel search | Manufacturer: PONTIAC, Model Year: 2004, Model line: GRAND PRIX, Model: PONTIAC GRAND PRIX 2004Pages: 432, PDF Size: 2.99 MB
Page 119 of 432
Turn Signal On Chime
If the turn signal is left on for approximately 1 mile
(1.61 km), a warning chime will sound and the TURN
SIGNAL ON warning message will appear on the Driver
Information Center (DIC) display. See ªTurn Signal
Onº under
DIC Warnings and Messages on page 3-65for more information.
Daytime Running Lamps
Daytime Running Lamps (DRL) can make it easier for
others to see the front of your vehicle during the
day. DRL can be helpful in many different driving
conditions, but they can be especially helpful in the short
periods after dawn and before sunset. Fully functional
daytime running lamps are required on all vehicles
®rst sold in Canada.
The DRL system will make the turn signal lamps come
on when the following conditions are met:
·It is still daylight and the ignition is in RUN or
START,
·the exterior lamp control is in off or AUTO with the
headlamps off, and
·an automatic transaxle is not in PARK (P) and the
parking brake is released.When DRL are on, only the front turn signal/parking
lamps will be on. No other exterior lamps will be
on when the DRL are being used. Your instrument
panel won't be lit up either.
When the exterior lamp control is in AUTO and it's dark
enough outside, the DRL will turn off and the low-beam
headlamps at full brightness will turn on. When it's
bright enough outside, the front turn signal lamps will
go off, and the DRL will turn back on. If you start
your vehicle in a dark garage, the automatic headlamp
system will come on immediately. Once you leave
the garage, it will take approximately one minute for the
automatic headlamp system to change to DRL if it is
light outside. During that delay, your instrument
panel cluster may not be as bright as usual. Make sure
your instrument panel brightness knob is in the full
bright position. See ªInstrument Panel Brightnessº under
Interior Lamps on page 3-16.
Vehicle's sold in the U.S. can turn the DRL off.
To do this, turn the band on the exterior lamp control
to off. Turn the band to this position again to turn
the DRL on.
As with any vehicle, you should turn on the regular
headlamp system when you need it.
3-15
Page 120 of 432
Light Sensor
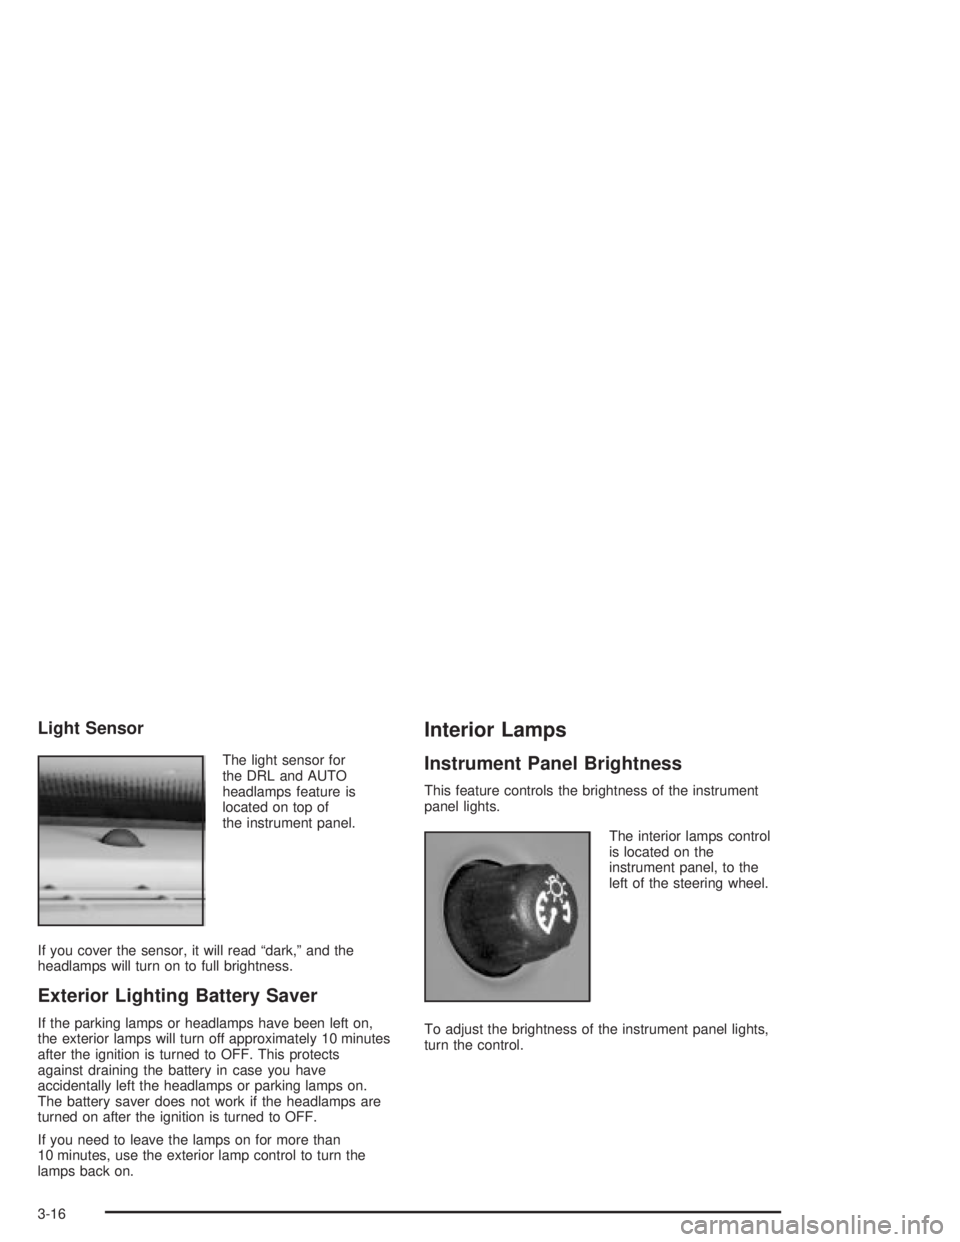
The light sensor for
the DRL and AUTO
headlamps feature is
located on top of
the instrument panel.
If you cover the sensor, it will read ªdark,º and the
headlamps will turn on to full brightness.
Exterior Lighting Battery Saver
If the parking lamps or headlamps have been left on,
the exterior lamps will turn off approximately 10 minutes
after the ignition is turned to OFF. This protects
against draining the battery in case you have
accidentally left the headlamps or parking lamps on.
The battery saver does not work if the headlamps are
turned on after the ignition is turned to OFF.
If you need to leave the lamps on for more than
10 minutes, use the exterior lamp control to turn the
lamps back on.
Interior Lamps
Instrument Panel Brightness
This feature controls the brightness of the instrument
panel lights.
The interior lamps control
is located on the
instrument panel, to the
left of the steering wheel.
To adjust the brightness of the instrument panel lights,
turn the control.
3-16
Page 124 of 432
The HUD information can be displayed in three
languages, English, French and Spanish.
Language selection is done through the trip computer in
the Driver Information Center (DIC). See
DIC Controls
and Displays on page 3-45.
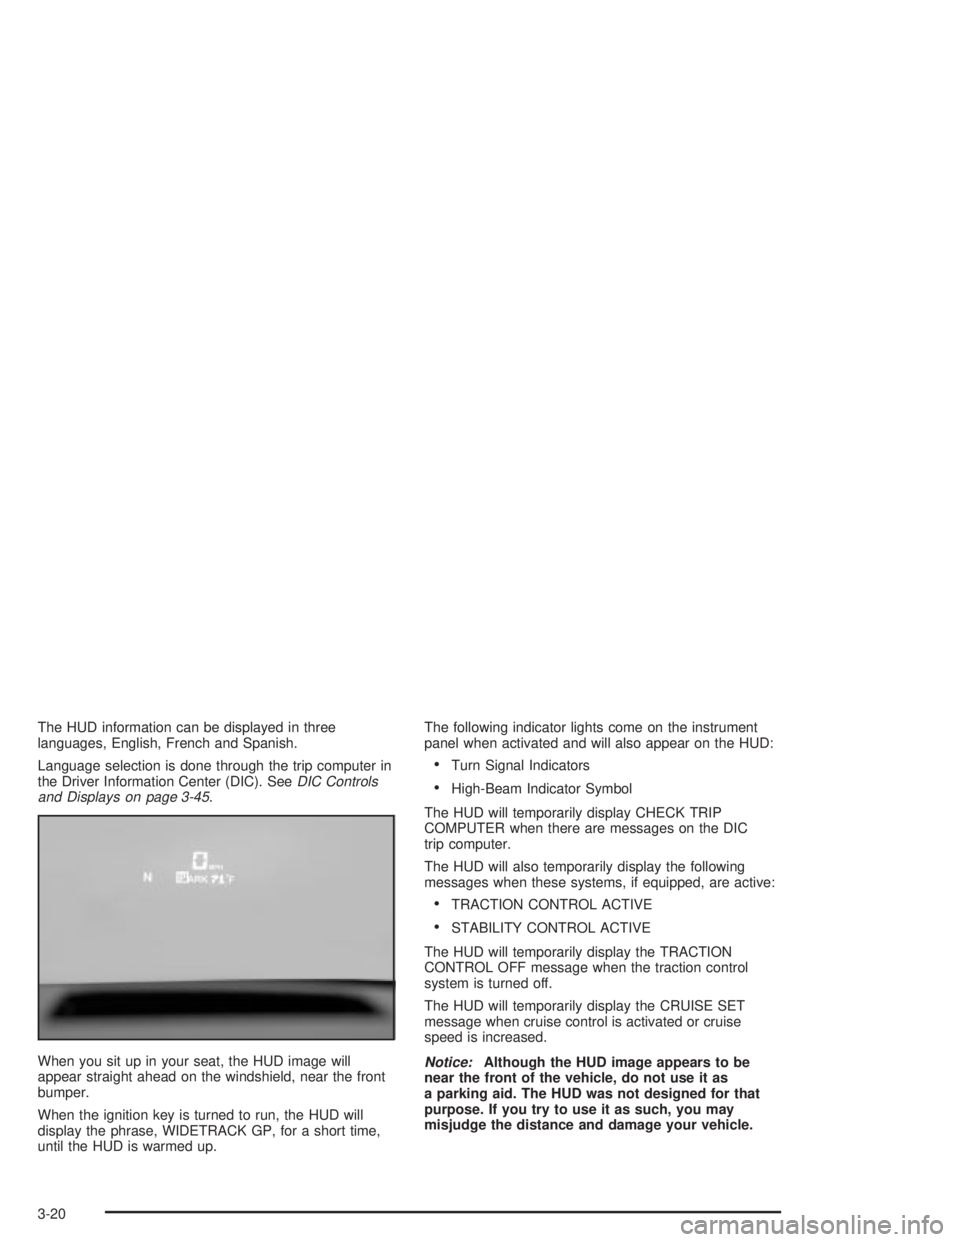
When you sit up in your seat, the HUD image will
appear straight ahead on the windshield, near the front
bumper.
When the ignition key is turned to run, the HUD will
display the phrase, WIDETRACK GP, for a short time,
until the HUD is warmed up.The following indicator lights come on the instrument
panel when activated and will also appear on the HUD:
·Turn Signal Indicators
·High-Beam Indicator Symbol
The HUD will temporarily display CHECK TRIP
COMPUTER when there are messages on the DIC
trip computer.
The HUD will also temporarily display the following
messages when these systems, if equipped, are active:
·TRACTION CONTROL ACTIVE
·STABILITY CONTROL ACTIVE
The HUD will temporarily display the TRACTION
CONTROL OFF message when the traction control
system is turned off.
The HUD will temporarily display the CRUISE SET
message when cruise control is activated or cruise
speed is increased.
Notice:Although the HUD image appears to be
near the front of the vehicle, do not use it as
a parking aid. The HUD was not designed for that
purpose. If you try to use it as such, you may
misjudge the distance and damage your vehicle.
3-20
Page 125 of 432
When the HUD is on, the speedometer reading will be
displayed continually. The current radio station or
CD track number will only be displayed for three
seconds after the radio or CD track status changes.
This will happen whenever one of the radio controls
is pressed.
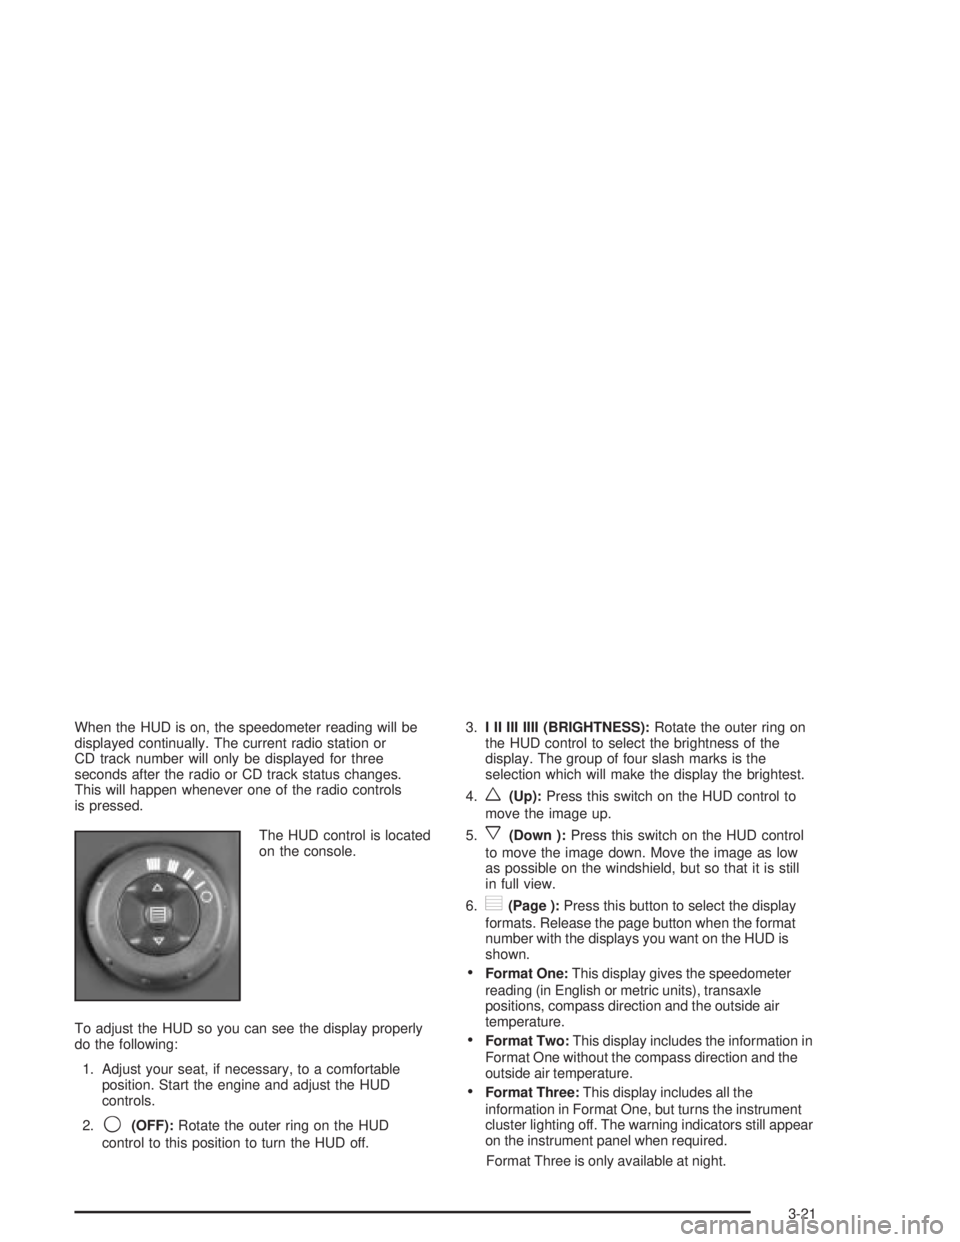
The HUD control is located
on the console.
To adjust the HUD so you can see the display properly
do the following:
1. Adjust your seat, if necessary, to a comfortable
position. Start the engine and adjust the HUD
controls.
2.
9(OFF):Rotate the outer ring on the HUD
control to this position to turn the HUD off.3.I II III IIII (BRIGHTNESS):Rotate the outer ring on
the HUD control to select the brightness of the
display. The group of four slash marks is the
selection which will make the display the brightest.
4.
w(Up):Press this switch on the HUD control to
move the image up.
5.
x(Down ):Press this switch on the HUD control
to move the image down. Move the image as low
as possible on the windshield, but so that it is still
in full view.
6.
?(Page ):Press this button to select the display
formats. Release the page button when the format
number with the displays you want on the HUD is
shown.
·Format One:This display gives the speedometer
reading (in English or metric units), transaxle
positions, compass direction and the outside air
temperature.
·Format Two:This display includes the information in
Format One without the compass direction and the
outside air temperature.
·Format Three:This display includes all the
information in Format One, but turns the instrument
cluster lighting off. The warning indicators still appear
on the instrument panel when required.
Format Three is only available at night.
3-21
Page 126 of 432
The HUD will ªrememberº the last display format
selected. When the vehicle is started if the last format
displayed was Format One or Format Three, then
Format One will be displayed.
If the last format was Format Two, then Format Two
will be displayed.
The HUD will automatically dim and brighten to
compensate for outside lighting.
The HUD display can temporarily light up depending on
the angle and position of the sunlight on the display.
This is normal and will change when the angle of
the sunlight on the HUD display changes.
Polarized sunglasses could also make the HUD image
harder to see.
Care of the HUD
Clean the inside of the windshield as needed to remove
any dirt or ®lm that reduces the sharpness or clarity
of the HUD image.
To clean the HUD, spray household glass cleaner on a
soft, clean cloth. Wipe the HUD lens gently, then dry
it. Do not spray cleaner directly on the lens because the
cleaner could leak into the unit.
If You Can't See the HUD Image When
the Ignition Is On
·Is anything covering the HUD unit?
·Is the HUD dimmer setting bright enough?
·Is the HUD image adjusted to the proper height?
·Are you wearing polarized sunglasses?
·Still no HUD image? Check the fuse in the
instrument panel fuse block. See
Fuses and Circuit
Breakers on page 5-99.
If the HUD Image Is Not Clear
·Is the HUD image too bright?
·Are the windshield and HUD lens clean?
The windshield is part of the HUD system. If you ever
need a new windshield, be sure to get one designed for
HUD. If you don't, the HUD image may look blurred
and out of focus.
3-22
Page 129 of 432
Climate Controls
Climate Control System
Manual Climate Control System
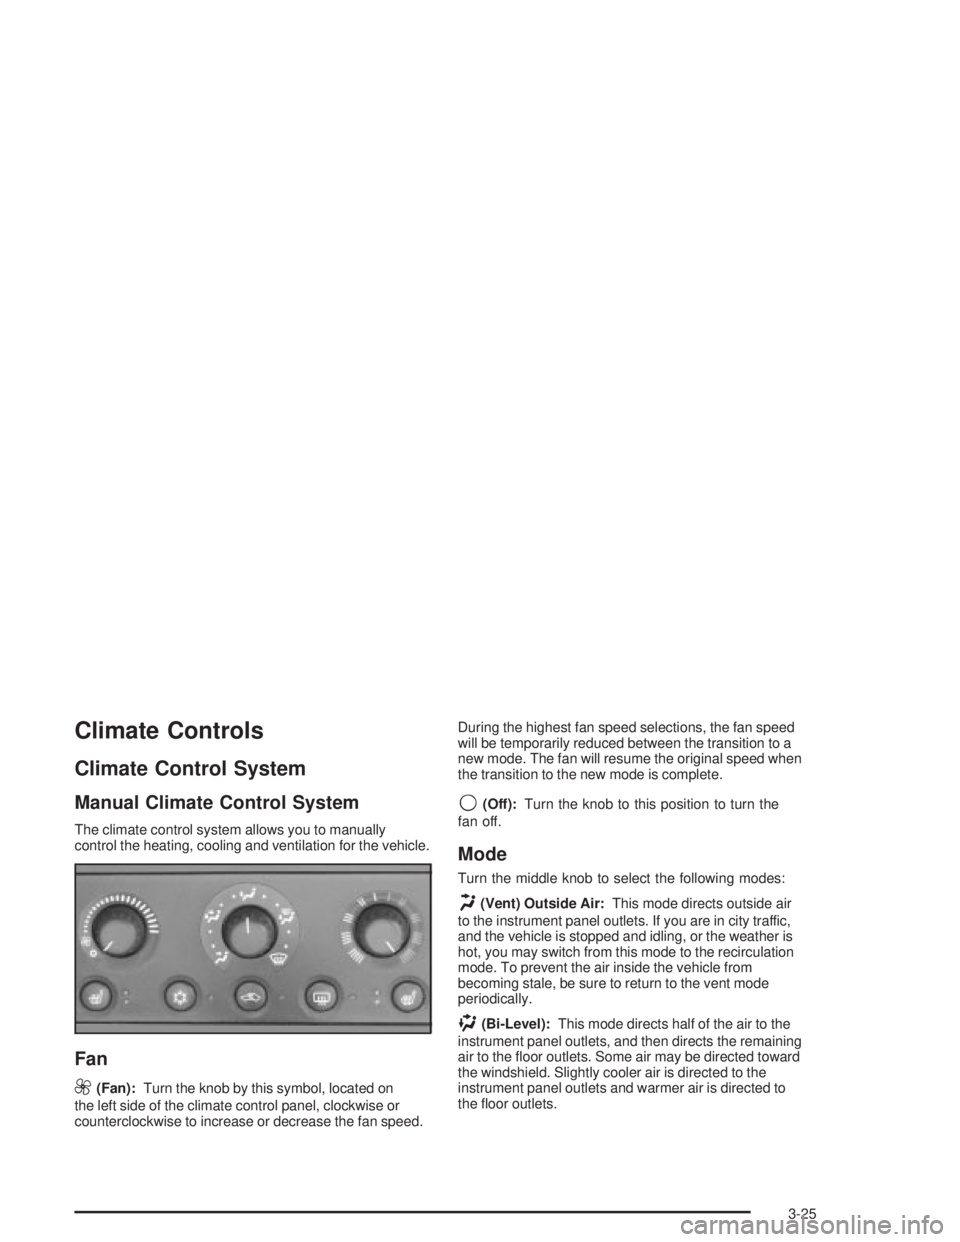
The climate control system allows you to manually
control the heating, cooling and ventilation for the vehicle.
Fan
9
(Fan):Turn the knob by this symbol, located on
the left side of the climate control panel, clockwise or
counterclockwise to increase or decrease the fan speed.During the highest fan speed selections, the fan speed
will be temporarily reduced between the transition to a
new mode. The fan will resume the original speed when
the transition to the new mode is complete.
9(Off):Turn the knob to this position to turn the
fan off.
Mode
Turn the middle knob to select the following modes:
H(Vent) Outside Air:This mode directs outside air
to the instrument panel outlets. If you are in city traffic,
and the vehicle is stopped and idling, or the weather is
hot, you may switch from this mode to the recirculation
mode. To prevent the air inside the vehicle from
becoming stale, be sure to return to the vent mode
periodically.
)(Bi-Level):This mode directs half of the air to the
instrument panel outlets, and then directs the remaining
air to the ¯oor outlets. Some air may be directed toward
the windshield. Slightly cooler air is directed to the
instrument panel outlets and warmer air is directed to
the ¯oor outlets.
3-25
Page 131 of 432
Temperature
The knob on the right of the climate control panel is the
temperature adjustment that can be used with any of
the climate control modes.
Turn the knob clockwise for warmer settings and
counterclockwise for colder settings.
Air Conditioning
#
(Air Conditioner):Press this button on the climate
control panel to turn the air-conditioning system on
or off. When A/C is pressed, an indicator light to the right
of the button will come on to let you know that A/C is
active. The instrument brightness control may have to be
adjusted to the highest setting during the daytime in
order to see the indicator lamp.
On hot days during initial start-up, open the windows to
let hot inside air escape; then close them. This helps
to reduce the time it takes for your vehicle to cool down.
It also helps the system to operate more efficiently.For quicker cool down on hot days, do the following:
1. Select the vent/outside air mode.
2. Select the recirculation mode.
3. Select the air conditioner.
4. Select the coolest temperature.
5. Select the highest fan speed.
Using these settings together for long periods of time
may cause the air inside your vehicle to become too dry.
To prevent this from happening, select the vent mode
once the interior of the vehicle is cooled.
The air-conditioning system removes moisture from the
air, so you may sometimes notice a small amount of
water dripping underneath your vehicle while idling
or after turning off the engine. This is normal.
3-27
Page 132 of 432
Recirculation
h
(Recirculation):Press this button on the climate
control panel to activate the recirculation mode. With
this selection inside air is recirculated into the vehicle
along with some outside air. This mode reduces outside
air and odors from entering your vehicle. It may also
help to heat or cool the air inside your vehicle more
quickly.
When this button is pressed an indicator lamp to the
right of the button will come on to indicate that the
recirculation mode is on. An adjustment to the
instrument panel brightness control to the highest
setting may be required to see the indicator lamp.
The recirculation mode has a timer. After ®ve minutes,
the system's air inlet door will move slightly to allow
for ten percent fresh outside air to maintain interior air
quality. The only way to reset the system to full
recirculation is to restart the ®ve minute timer by
selecting vent/outside air and recirculation again.
Rear Window Defogger
The rear window defogger uses a warming grid to
remove fog or frost from the rear window. Be sure to
clear as much snow from the rear window as possible.
Notice:Don't use a razor blade or something
else sharp on the inside of the rear window. If you
do, you could cut or damage the defogger and
the repairs would not be covered by your warranty.
Do not attach a temporary vehicle license, tape,
a decal or anything similar to the defogger grid.
=(REAR):Press this button to turn the rear window
defogger on or off.
When this button is pressed an indicator light to the right
of the button will come on to show that the rear window
defogger is active. The instrument brightness control may
have to be adjusted to the highest setting during the
daytime in order to see the indicator light.
The rear window defogger will turn off approximately
20 minutes after the button is pressed. If reselected,
it will run another 20 minutes. The defogger can
be turned off by pressing the button again or by turning
off the engine.
Do not drive the vehicle until all windows are clear.
3-28
Page 133 of 432
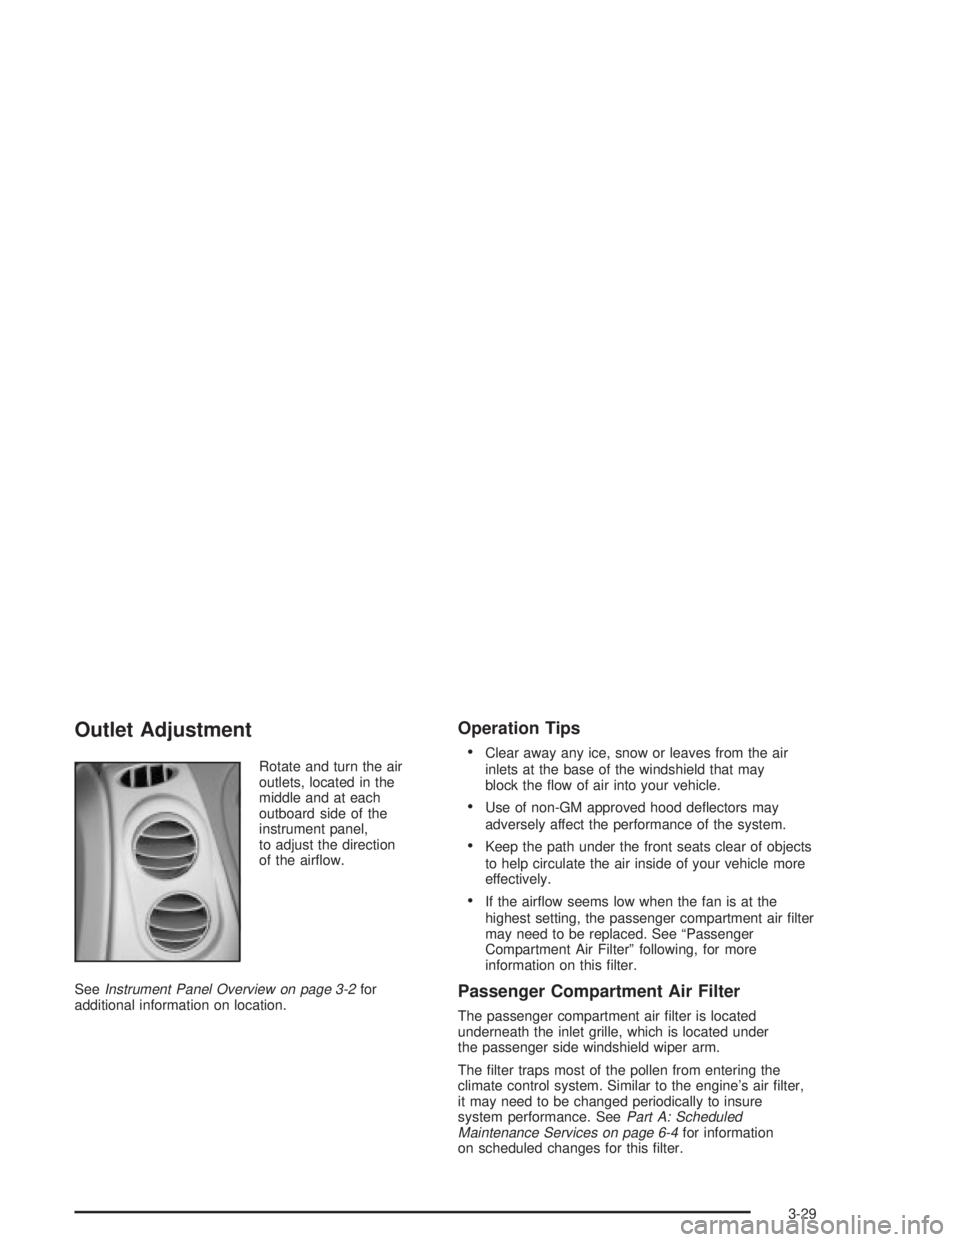
Outlet Adjustment
Rotate and turn the air
outlets, located in the
middle and at each
outboard side of the
instrument panel,
to adjust the direction
of the air¯ow.
See
Instrument Panel Overview on page 3-2for
additional information on location.
Operation Tips
·
Clear away any ice, snow or leaves from the air
inlets at the base of the windshield that may
block the ¯ow of air into your vehicle.
·Use of non-GM approved hood de¯ectors may
adversely affect the performance of the system.
·Keep the path under the front seats clear of objects
to help circulate the air inside of your vehicle more
effectively.
·If the air¯ow seems low when the fan is at the
highest setting, the passenger compartment air ®lter
may need to be replaced. See ªPassenger
Compartment Air Filterº following, for more
information on this ®lter.
Passenger Compartment Air Filter
The passenger compartment air ®lter is located
underneath the inlet grille, which is located under
the passenger side windshield wiper arm.
The ®lter traps most of the pollen from entering the
climate control system. Similar to the engine's air ®lter,
it may need to be changed periodically to insure
system performance. See
Part A: Scheduled
Maintenance Services on page 6-4for information
on scheduled changes for this ®lter.
3-29
Page 136 of 432
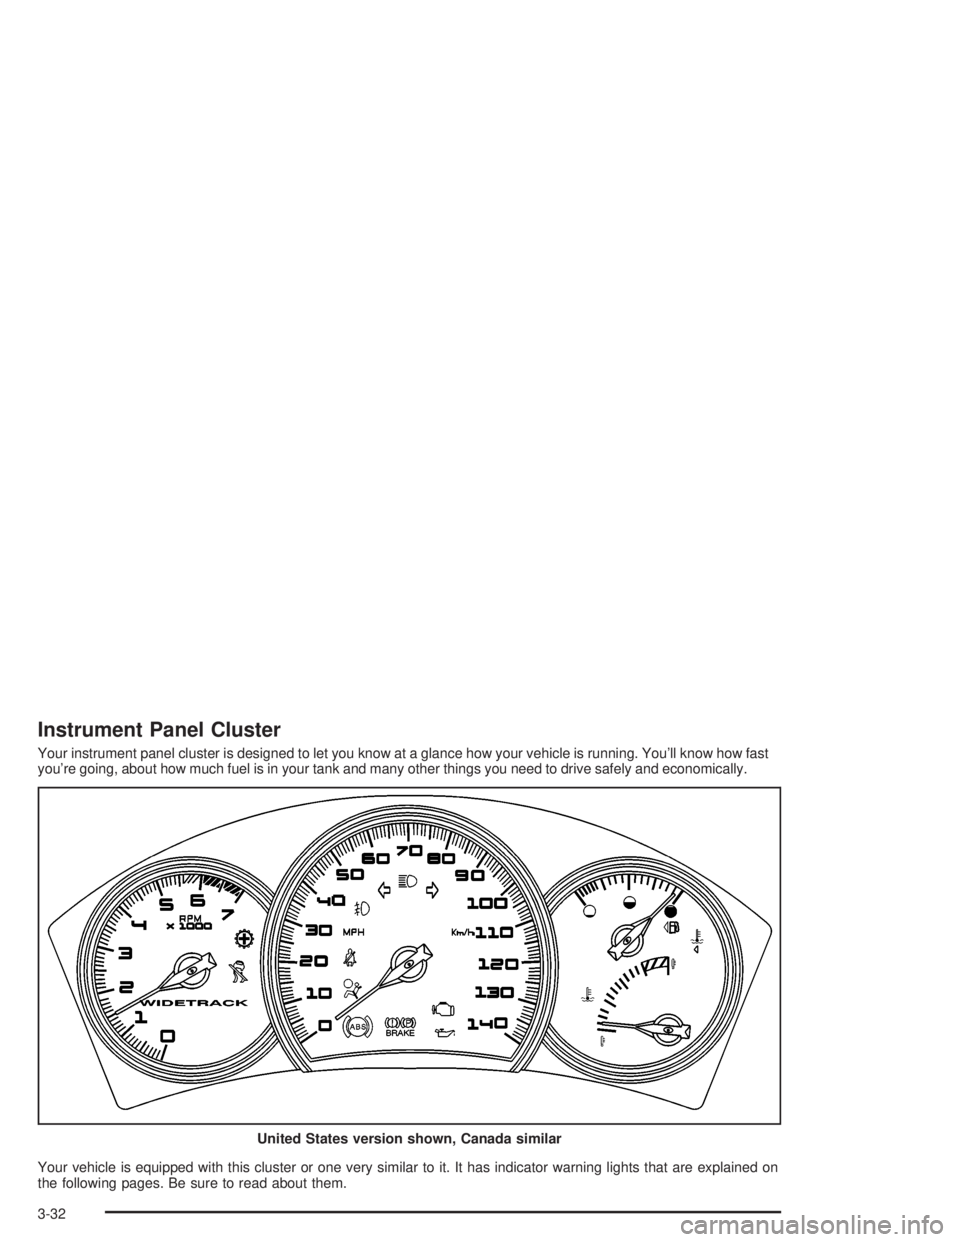
Instrument Panel Cluster
Your instrument panel cluster is designed to let you know at a glance how your vehicle is running. You'll know how fast
you're going, about how much fuel is in your tank and many other things you need to drive safely and economically.
Your vehicle is equipped with this cluster or one very similar to it. It has indicator warning lights that are explained on
the following pages. Be sure to read about them.United States version shown, Canada similar
3-32