lock PONTIAC GRAND PRIX 2004 Owner's Guide
[x] Cancel search | Manufacturer: PONTIAC, Model Year: 2004, Model line: GRAND PRIX, Model: PONTIAC GRAND PRIX 2004Pages: 432, PDF Size: 2.99 MB
Page 87 of 432
Make sure the shift lever is fully in PARK (P) before
starting the engine. The vehicle has an automatic
transaxle shift lock control system. You must fully apply
the regular brakes and press the shift control button
located on the front of the shift lever, before you
can shift from PARK (P) when the ignition is in RUN.
If you cannot shift out of PARK (P), ease pressure
on the shift lever by pushing it all the way into PARK (P)
while keeping the brake pedal pushed down. Release
the shift lever button. Then move the shift lever out
of PARK (P), being sure to press the shift lever button.
See
Shifting Out of Park (P) on page 2-30.
REVERSE (R):Use this gear to back up.
Notice:Shifting to REVERSE (R) while your vehicle
is moving forward could damage your transaxle.
Shift to REVERSE (R) only after your vehicle is
stopped.
To rock the vehicle back and forth to get out of
snow, ice or sand without damaging the transaxle,
see
If You Are Stuck: In Sand, Mud, Ice or Snow on
page 4-32.NEUTRAL (N):In this position, the engine doesn't
connect with the wheels. To restart when you're
already moving, use NEUTRAL (N) only. Also, use
NEUTRAL (N) when the vehicle is being towed.
{CAUTION:
Shifting into a drive gear while your engine is
ªracingº (running at high speed) is dangerous.
Unless your foot is ®rmly on the brake pedal,
your vehicle could move very rapidly. You
could lose control and hit people or objects.
Don't shift into a drive gear while your engine
is racing.
Notice:Damage to your transaxle caused by
shifting into a drive gear with the engine racing
isn't covered by your warranty.
2-23
Page 93 of 432
Leaving Your Vehicle With the Engine
Running
{CAUTION:
It can be dangerous to leave your vehicle with
the engine running. Your vehicle could move
suddenly if the shift lever is not fully in
PARK (P) with the parking brake ®rmly set.
And, if you leave the vehicle with the engine
running, it could overheat and even catch ®re.
You or others could be injured. Don't leave
your vehicle with the engine running.
If you have to leave your vehicle with the engine
running, be sure the vehicle is in PARK (P) and the
parking brake is ®rmly set before you leave it. After
you've moved the shift lever into PARK (P), hold the
regular brake pedal down. Then, see if you can
move the shift lever away from PARK (P) (without ®rst
pushing the shift lever button). If you can, it means
that the shift lever wasn't fully locked into PARK (P).
Torque Lock
If you are parking on a hill and you don't shift your
transaxle into PARK (P) properly, the weight of
the vehicle may put too much force on the parking pawl
in the transaxle. You may ®nd it difficult to move the
shift lever out of PARK (P). This is called ªtorque lock.º
To prevent torque lock, set the parking brake and
then shift into PARK (P) properly before you leave the
driver's seat. To ®nd out how, see
Shifting Into Park (P)
on page 2-28.
When you are ready to drive, move the shift lever out
of PARK (P) before you release the parking brake.
If torque lock does occur, you may need to have
another vehicle push your vehicle uphill. This should
take some of the pressure from the parking pawl in
the transaxle, so you can move the shift lever out
of PARK (P).
2-29
Page 94 of 432
Shifting Out of Park (P)
Your vehicle has an automatic transaxle shift lock
control system which locks the shift lever in PARK (P)
when the ignition is in the OFF position. In addition,
you have to fully apply your regular brakes before you
can shift from PARK (P) when the ignition is in RUN.
See
Automatic Transaxle Operation on page 2-22.
If you cannot shift out of PARK (P), ease pressure on
the shift lever and push the shift lever all the way up
into PARK (P) as you maintain brake application.
Then move the shift lever into the gear you want.
If you ever hold the brake pedal down but still can't shift
out of PARK (P), try this:
1. Turn the key to ACCESSORY. (There is no shift
interlock in this key position.)
2. Apply and hold the brake until the end of Step 4.
3. Shift the transaxle to NEUTRAL (N).
4. Start the vehicle and then shift to the transaxle gear
you want.
5. Have the system ®xed as soon as you can.
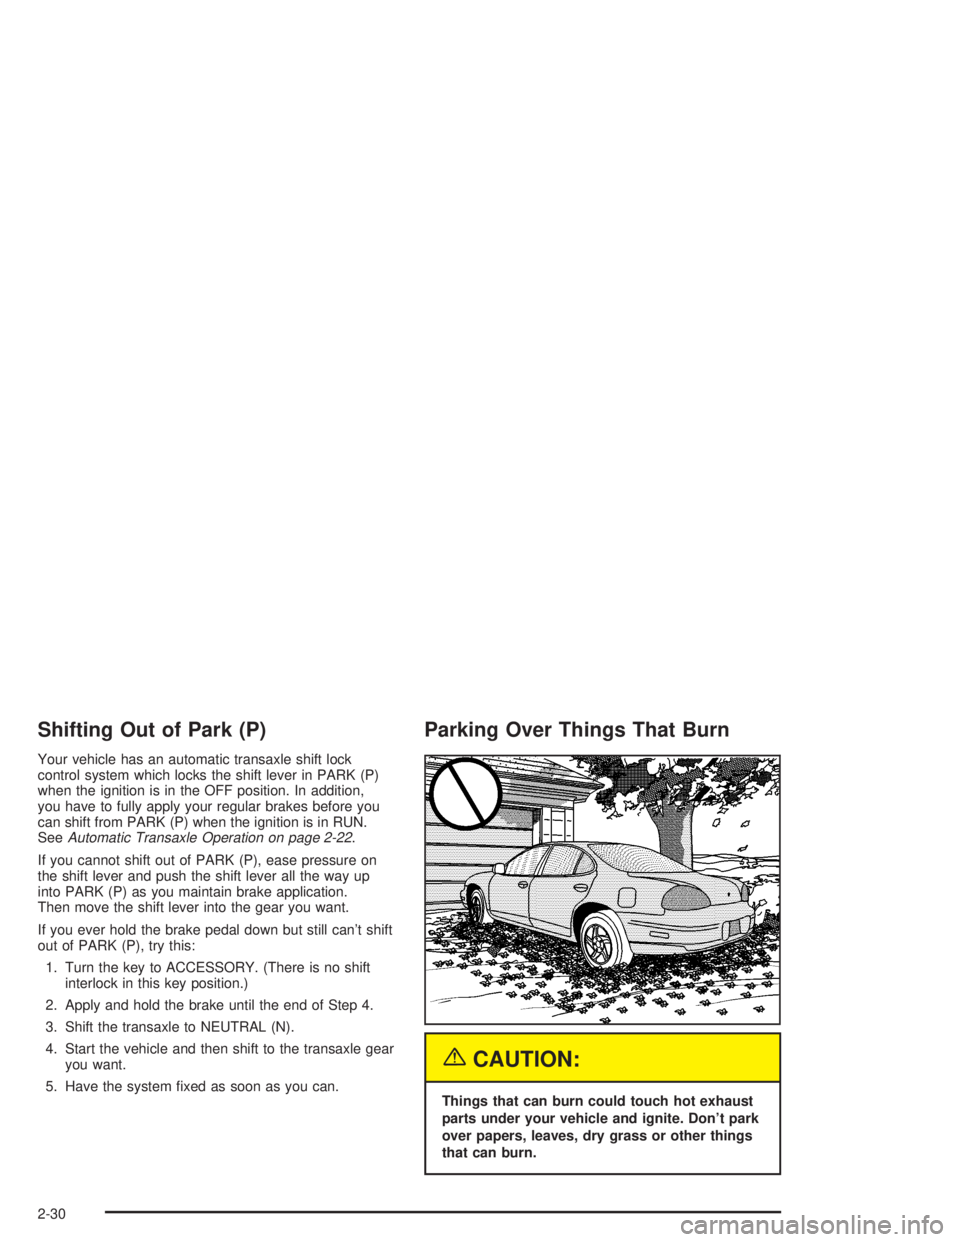
Parking Over Things That Burn
{CAUTION:
Things that can burn could touch hot exhaust
parts under your vehicle and ignite. Don't park
over papers, leaves, dry grass or other things
that can burn.
2-30
Page 99 of 432
OnStaržSystem
OnStaržuses global positioning system (GPS) satellite
technology, wireless communications, and call centers
to provide you with a wide range of safety, security,
information and convenience services. An OnStar
ž
subscription plan is included in the price of your vehicle.
You can upgrade or extend your OnStaržservices to
meet your needs.
A complete OnStar
žuser's guide and the terms and
conditions of the OnStaržSubscription Service
Agreement are included in your vehicle's glove box
literature. For more information, visit www.onstar.com,
contact OnStar
žat 1-888-4-ONSTAR (1-888-466-7827),
or press the blue OnStaržbutton to speak to an
OnStaržadvisor 24 hours a day, 7 days a week.
OnStaržServices
OnStaržprovides a number of service plans. Some of
the services currently provided by OnStaržare:
·Automatic Noti®cation of Air Bag Deployment
·Emergency Services
·Roadside Assistance Stolen Vehicle Tracking
·AccidentAssist
·Remote Door Unlock
·Remote Diagnostics
·Online and Personal Concierge Services
·Route Support
·RideAssist
·Information and Convenience Services
2-35
Page 100 of 432
OnStaržPersonal Calling
With OnStaržPersonal Calling, you have a safer way to
stay connected while driving. It's a hands-free wireless
phone that's integrated into your vehicle. You can place
calls nationwide using voice-activated dialing with no
contracts, no roaming charges and no access fees.
To ®nd out more about OnStar
žPersonal Calling, refer to
the OnStaržuser's guide in your vehicle's glove box, or
call OnStaržat 1-888-4-ONSTAR (1-888-466-7827).
OnStaržVirtual Advisor
With OnStaržVirtual Advisor you can listen to the news,
entertainment and informative topics, such as traffic
and weather reports. You are able to listen and reply to
your e-mail through your vehicle's speakers.
A completed Subscription Service Agreement is required
prior to delivery of OnStar
žservices and prepaid
calling minutes are also required for OnStaržPersonal
Calling and OnStaržVirtual Advisor use. Terms and
conditions of the Subscription Service Agreement can be
found at www.onstar.com.
Storage Areas
Glove Box
Use your key to lock and unlock the glove box. To open
the glove box lift the latch.
Overhead Console
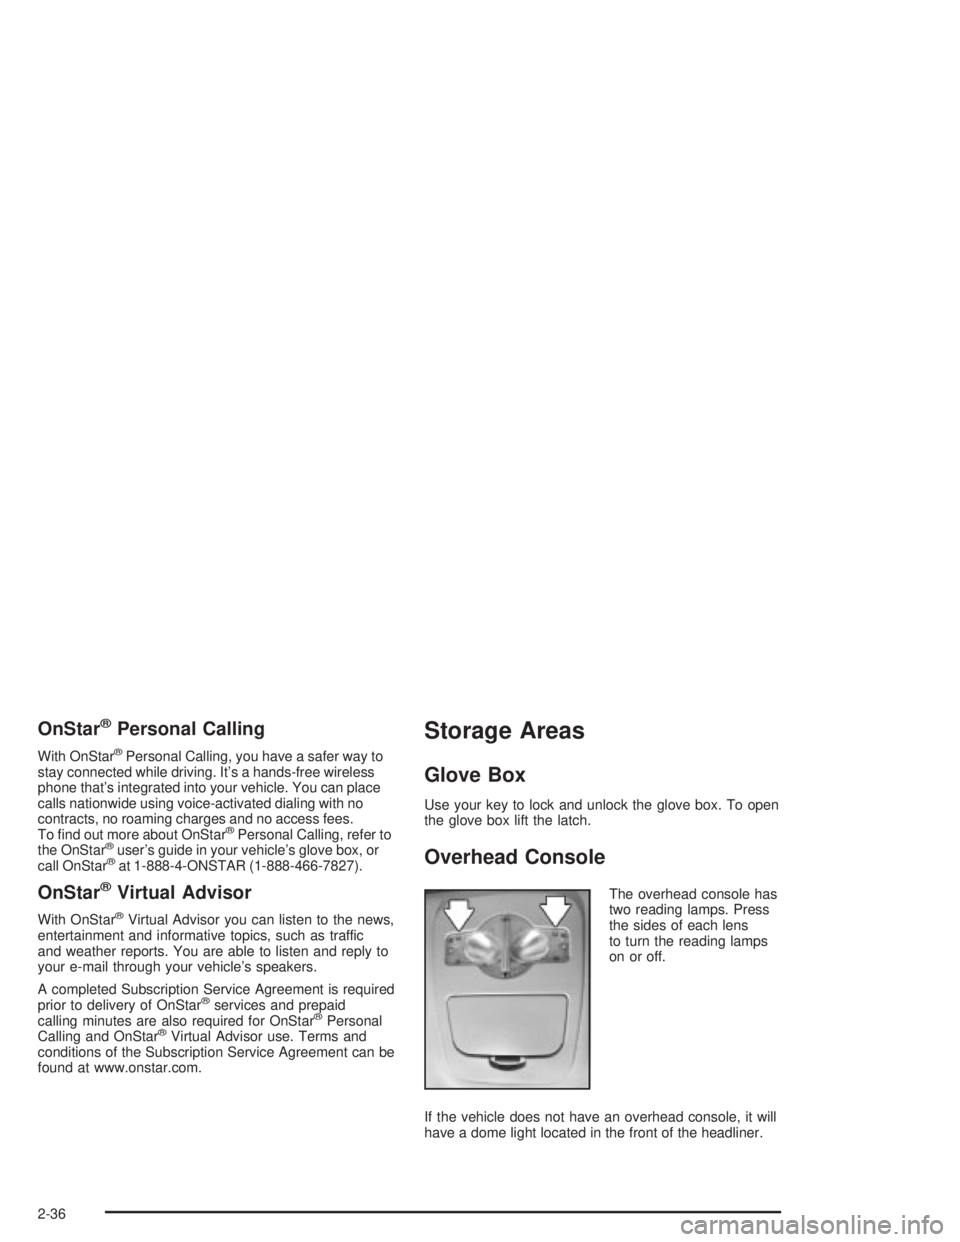
The overhead console has
two reading lamps. Press
the sides of each lens
to turn the reading lamps
on or off.
If the vehicle does not have an overhead console, it will
have a dome light located in the front of the headliner.
2-36
Page 102 of 432
Assist Handles
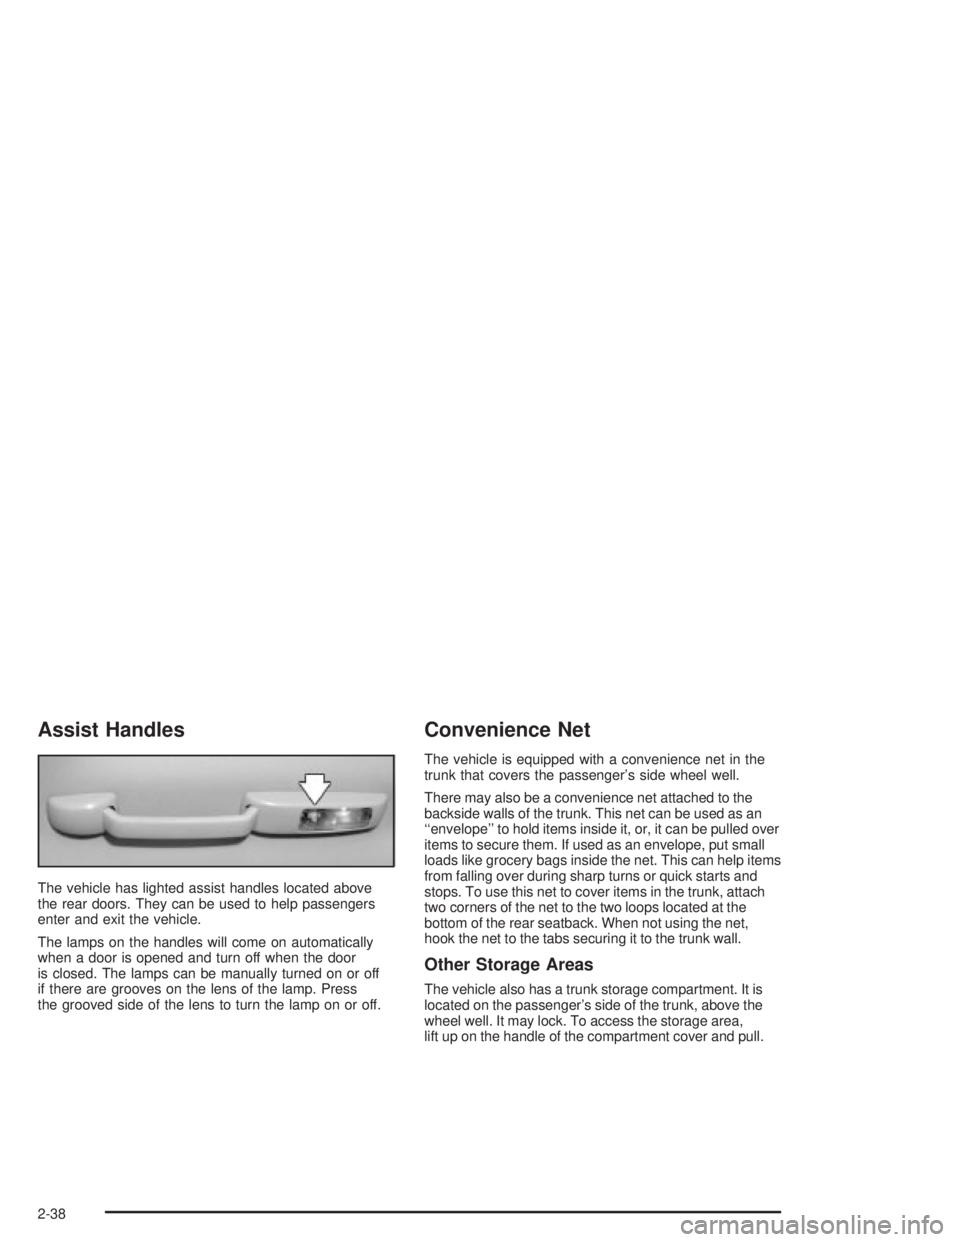
The vehicle has lighted assist handles located above
the rear doors. They can be used to help passengers
enter and exit the vehicle.
The lamps on the handles will come on automatically
when a door is opened and turn off when the door
is closed. The lamps can be manually turned on or off
if there are grooves on the lens of the lamp. Press
the grooved side of the lens to turn the lamp on or off.
Convenience Net
The vehicle is equipped with a convenience net in the
trunk that covers the passenger's side wheel well.
There may also be a convenience net attached to the
backside walls of the trunk. This net can be used as an
``envelope'' to hold items inside it, or, it can be pulled over
items to secure them. If used as an envelope, put small
loads like grocery bags inside the net. This can help items
from falling over during sharp turns or quick starts and
stops. To use this net to cover items in the trunk, attach
two corners of the net to the two loops located at the
bottom of the rear seatback. When not using the net,
hook the net to the tabs securing it to the trunk wall.
Other Storage Areas
The vehicle also has a trunk storage compartment. It is
located on the passenger's side of the trunk, above the
wheel well. It may lock. To access the storage area,
lift up on the handle of the compartment cover and pull.
2-38
Page 105 of 432
Instrument Panel Overview...............................3-2
Hazard Warning Flashers................................3-4
Other Warning Devices...................................3-5
Horn.............................................................3-5
Tilt Wheel.....................................................3-5
Windshield Washer Lever................................3-6
Cruise Control Lever.......................................3-8
Exterior Lamps.............................................3-12
Interior Lamps..............................................3-16
Head-Up Display (HUD).................................3-19
Accessory Power Outlets...............................3-23
Ashtrays and Cigarette Lighter........................3-24
Climate Controls............................................3-25
Climate Control System.................................3-25
Outlet Adjustment.........................................3-29
Warning Lights, Gages and Indicators.............3-31
Instrument Panel Cluster................................3-32
Speedometer and Odometer...........................3-33
Tachometer.................................................3-33
Safety Belt Reminder Light.............................3-34
Air Bag Readiness Light................................3-34
Up-Shift Light...............................................3-35
Brake System Warning Light..........................3-36
Anti-Lock Brake System Warning Light.............3-37
Traction Control System (TCS)
Warning Light...........................................3-38Enhanced Traction System Warning Light.........3-38
Engine Coolant Temperature Warning Light......3-39
Engine Coolant Temperature Gage..................3-39
Malfunction Indicator Lamp.............................3-40
Oil Pressure Light.........................................3-43
Fog Lamp Light............................................3-44
High-Beam On Light......................................3-44
Fuel Gage...................................................3-44
Driver Information Center (DIC).......................3-45
DIC Controls and Displays.............................3-45
DIC Warnings and Messages.........................3-65
Audio System(s).............................................3-88
Setting the Time...........................................3-88
Radio with CD..............................................3-89
Radio with Cassette and CD.........................3-100
Radio with Six-Disc CD................................3-114
Theft-Deterrent Feature................................3-128
Audio Steering Wheel Controls......................3-129
Understanding Radio Reception....................3-130
Care of Your Cassette Tape Player...............3-130
Care of Your CDs.......................................3-131
Care of Your CD Player...............................3-131
Backglass Antenna......................................3-132
XMŸ Satellite Radio Antenna System
(United States Only).................................3-132
Section 3 Instrument Panel
3-1
Page 107 of 432
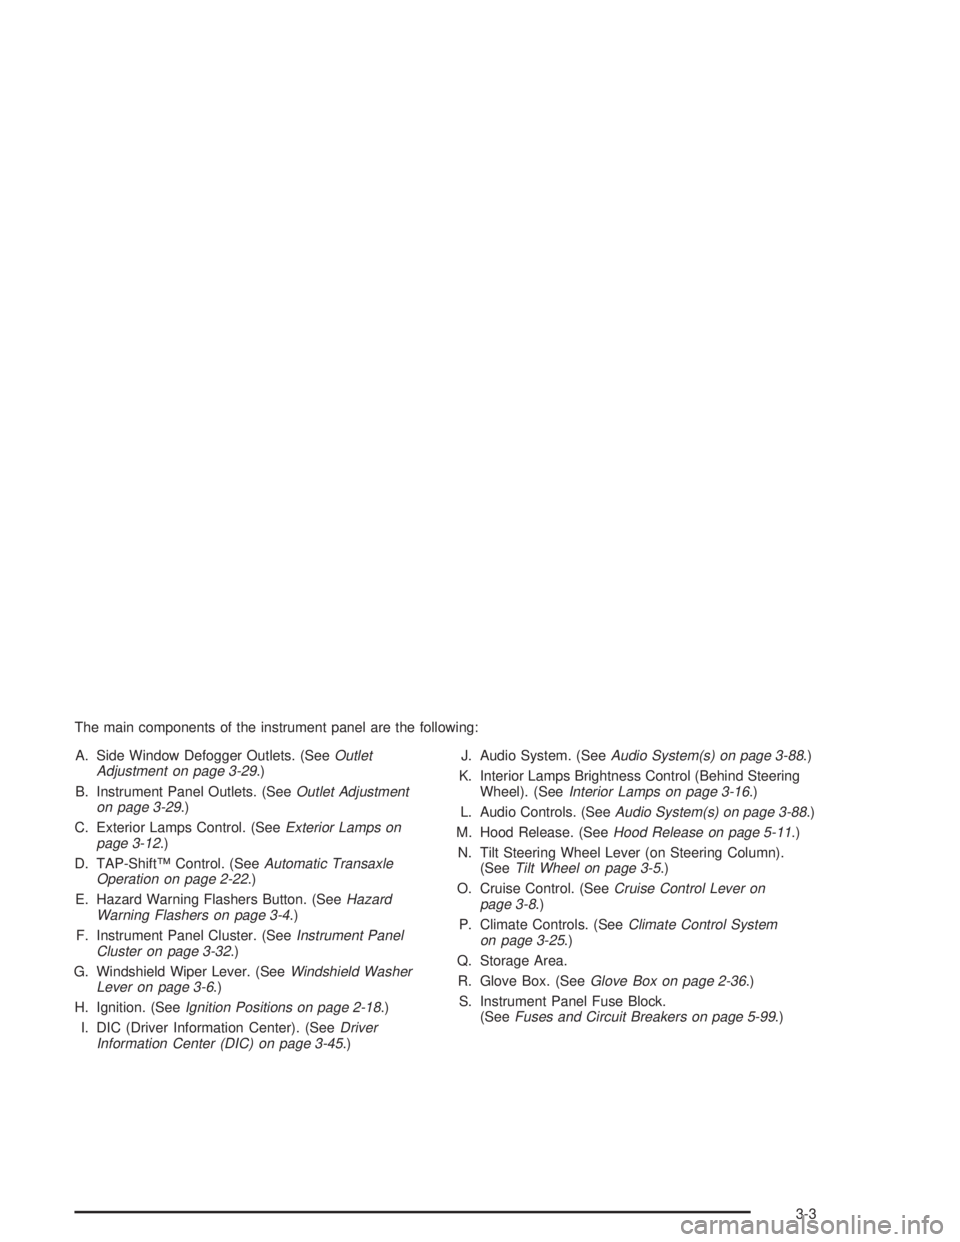
The main components of the instrument panel are the following:
A. Side Window Defogger Outlets. (See
Outlet
Adjustment on page 3-29.)
B. Instrument Panel Outlets. (See
Outlet Adjustment
on page 3-29.)
C. Exterior Lamps Control. (See
Exterior Lamps on
page 3-12.)
D. TAP-ShiftŸ Control. (See
Automatic Transaxle
Operation on page 2-22.)
E. Hazard Warning Flashers Button. (See
Hazard
Warning Flashers on page 3-4.)
F. Instrument Panel Cluster. (See
Instrument Panel
Cluster on page 3-32.)
G. Windshield Wiper Lever. (See
Windshield Washer
Lever on page 3-6.)
H. Ignition. (See
Ignition Positions on page 2-18.)
I. DIC (Driver Information Center). (See
Driver
Information Center (DIC) on page 3-45.)J. Audio System. (See
Audio System(s) on page 3-88.)
K. Interior Lamps Brightness Control (Behind Steering
Wheel). (See
Interior Lamps on page 3-16.)
L. Audio Controls. (See
Audio System(s) on page 3-88.)
M. Hood Release. (See
Hood Release on page 5-11.)
N. Tilt Steering Wheel Lever (on Steering Column).
(See
Tilt Wheel on page 3-5.)
O. Cruise Control. (See
Cruise Control Lever on
page 3-8.)
P. Climate Controls. (See
Climate Control System
on page 3-25.)
Q. Storage Area.
R. Glove Box. (See
Glove Box on page 2-36.)
S. Instrument Panel Fuse Block.
(See
Fuses and Circuit Breakers on page 5-99.)
3-3
Page 109 of 432
Other Warning Devices
If you carry re¯ective triangles, you can set one up at
the side of the road about 300 feet (100 m) behind
your vehicle.
Horn
Press the vehicle's steering wheel pad to sound the horn.
Tilt Wheel
A tilt steering wheel allows you to adjust the steering
wheel before you drive. You can raise it to the highest
level to give your legs more room when you exit and
enter the vehicle, or you can lower it so that you're more
comfortable while driving.
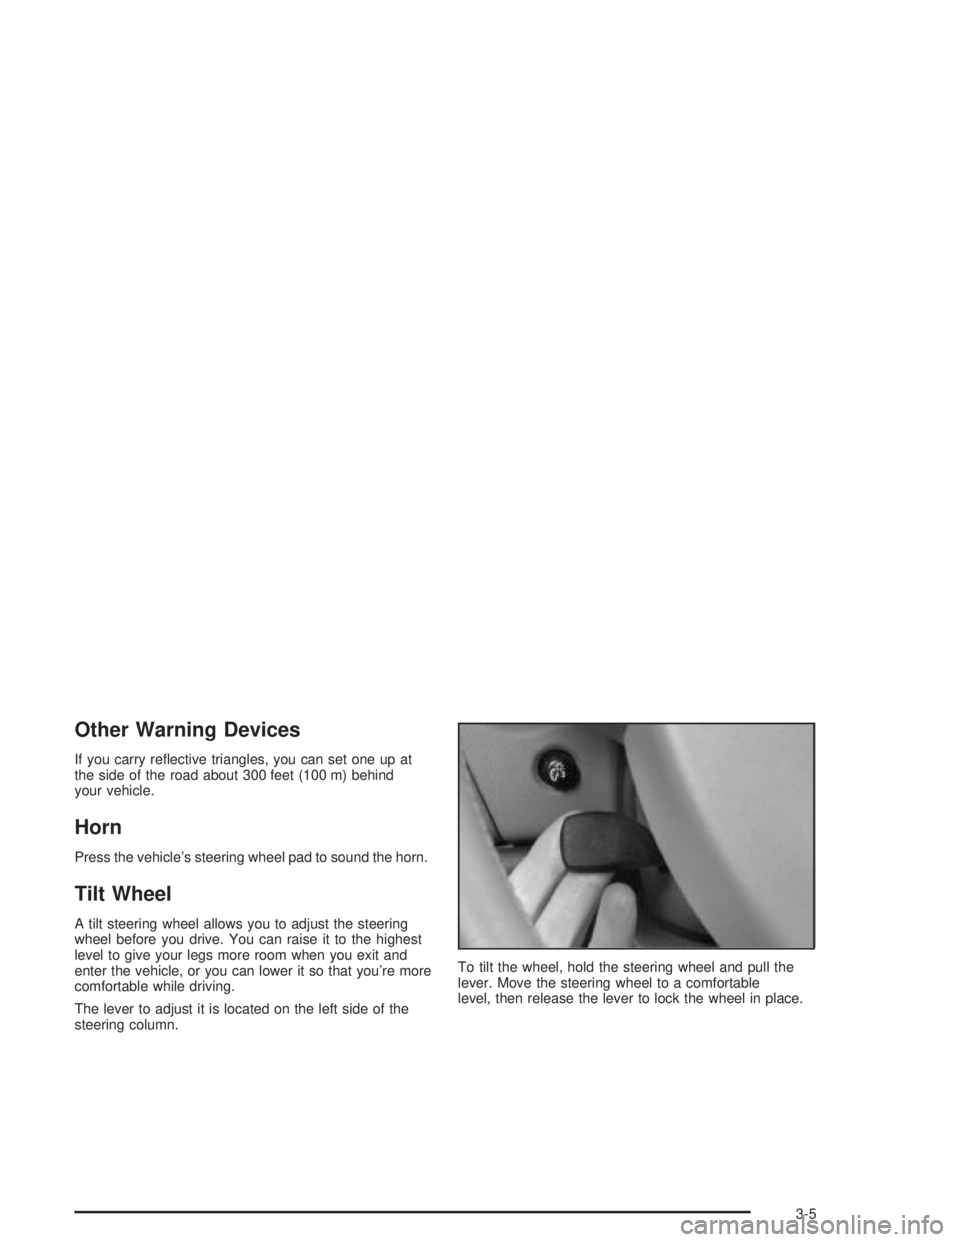
The lever to adjust it is located on the left side of the
steering column.To tilt the wheel, hold the steering wheel and pull the
lever. Move the steering wheel to a comfortable
level, then release the lever to lock the wheel in place.
3-5
Page 111 of 432
7(Mist):For a single wiping cycle, push the lever
down once and let go. The wipers will stop after one
cycle. For additional cycles, hold the lever down.
Be sure to clear ice and snow from the wiper blades
before using them. If they're frozen to the windshield,
gently loosen or thaw them. Damaged wiper blades may
prevent you from seeing well enough to drive safely.
If the blades do become damaged, install new blades or
blade inserts. For more information, see
Windshield
Wiper Blade Replacement on page 5-67.
Heavy snow or ice can overload the wiper motor.
A circuit breaker will stop the motor until it cools down.
Clear away snow or ice to prevent an overload.
Windshield Washer
{CAUTION:
In freezing weather, don't use your washer
until the windshield is warmed. Otherwise the
washer ¯uid can form ice on the windshield,
blocking your vision.
The windshield washer button is located at the end of
the windshield wiper lever.
K(Washer Fluid):Press this button to activate the
washer ¯uid to spray onto the windshield. The wipers
will run for a few cycles to clear the windshield. For more
wash cycles, press and hold the button.
If your vehicle is low on washer ¯uid, the LOW WASHER
FLUID message will appear on the Driver Information
Center (DIC) display. See
DIC Warnings and Messages
on page 3-65for more information.
3-7