lock PONTIAC GRAND PRIX 2004 Manual Online
[x] Cancel search | Manufacturer: PONTIAC, Model Year: 2004, Model line: GRAND PRIX, Model: PONTIAC GRAND PRIX 2004Pages: 432, PDF Size: 2.99 MB
Page 288 of 432
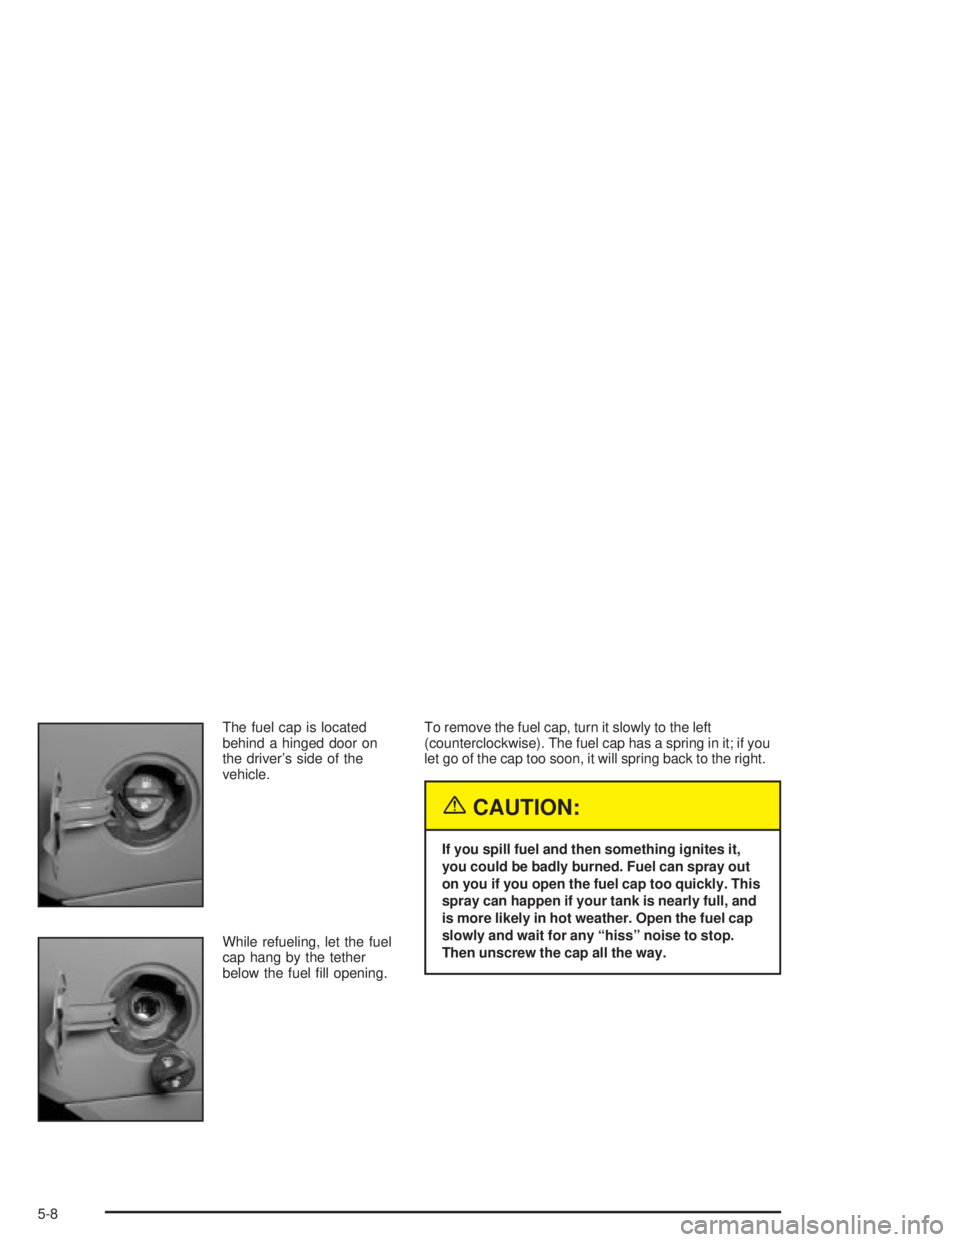
The fuel cap is located
behind a hinged door on
the driver's side of the
vehicle.
While refueling, let the fuel
cap hang by the tether
below the fuel ®ll opening.To remove the fuel cap, turn it slowly to the left
(counterclockwise). The fuel cap has a spring in it; if you
let go of the cap too soon, it will spring back to the right.
{CAUTION:
If you spill fuel and then something ignites it,
you could be badly burned. Fuel can spray out
on you if you open the fuel cap too quickly. This
spray can happen if your tank is nearly full, and
is more likely in hot weather. Open the fuel cap
slowly and wait for any ªhissº noise to stop.
Then unscrew the cap all the way.
5-8
Page 289 of 432
Be careful not to spill fuel. Don't top off or over®ll your
tank, and wait a few seconds after you have ®nished
pumping before you remove the nozzle. Clean fuel from
painted surfaces as soon as possible. See
Cleaning
the Outside of Your Vehicle on page 5-93.
When you put the fuel cap back on, turn it to the right
(clockwise) until you hear three ªclicks.º Make sure
you fully install the cap. The diagnostic system
can determine if the fuel cap has been left off or
improperly installed. This would allow fuel to evaporate
into the atmosphere. See
Malfunction Indicator Lamp
on page 3-40.
{CAUTION:
If a ®re starts while you're refueling, don't
remove the nozzle. Shut off the ¯ow of fuel by
shutting off the pump or by notifying the
station attendant. Leave the area immediately.
Notice:If you need a new fuel cap, be sure to get the
right type. Your dealer can get one for you. If you get
the wrong type, it may not ®t properly. This may
cause your malfunction indicator lamp to light and
may damage your fuel tank and emissions system.
See ªMalfunction Indicator Lampº in the Index.
5-9
Page 293 of 432
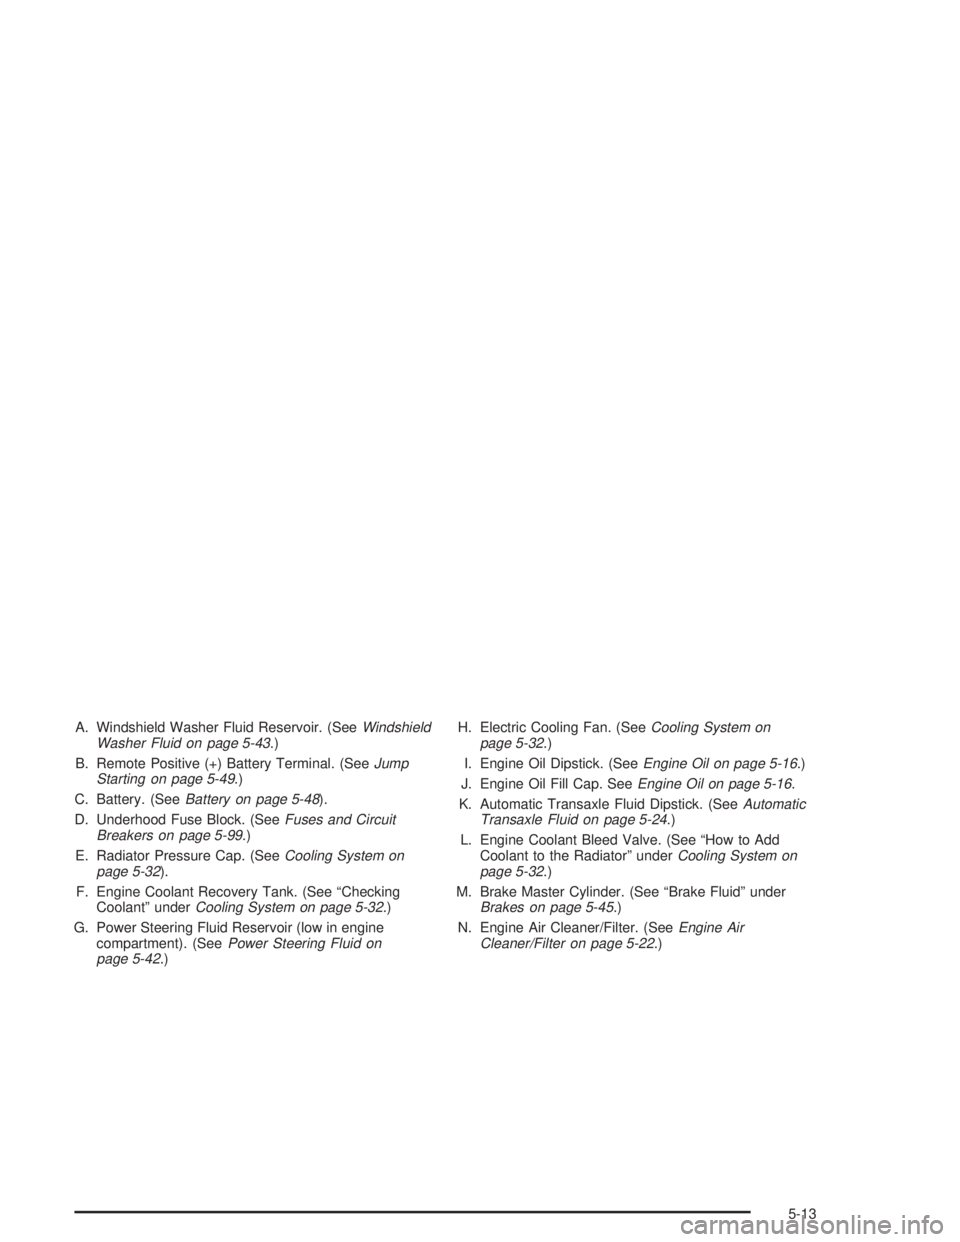
A. Windshield Washer Fluid Reservoir. (SeeWindshield
Washer Fluid on page 5-43.)
B. Remote Positive (+) Battery Terminal. (See
Jump
Starting on page 5-49.)
C. Battery. (See
Battery on page 5-48).
D. Underhood Fuse Block. (See
Fuses and Circuit
Breakers on page 5-99.)
E. Radiator Pressure Cap. (See
Cooling System on
page 5-32).
F. Engine Coolant Recovery Tank. (See ªChecking
Coolantº under
Cooling System on page 5-32.)
G. Power Steering Fluid Reservoir (low in engine
compartment). (See
Power Steering Fluid on
page 5-42.)H. Electric Cooling Fan. (See
Cooling System on
page 5-32.)
I. Engine Oil Dipstick. (See
Engine Oil on page 5-16.)
J. Engine Oil Fill Cap. See
Engine Oil on page 5-16.
K. Automatic Transaxle Fluid Dipstick. (See
Automatic
Transaxle Fluid on page 5-24.)
L. Engine Coolant Bleed Valve. (See ªHow to Add
Coolant to the Radiatorº under
Cooling System on
page 5-32.)
M. Brake Master Cylinder. (See ªBrake Fluidº under
Brakes on page 5-45.)
N. Engine Air Cleaner/Filter. (See
Engine Air
Cleaner/Filter on page 5-22.)
5-13
Page 295 of 432
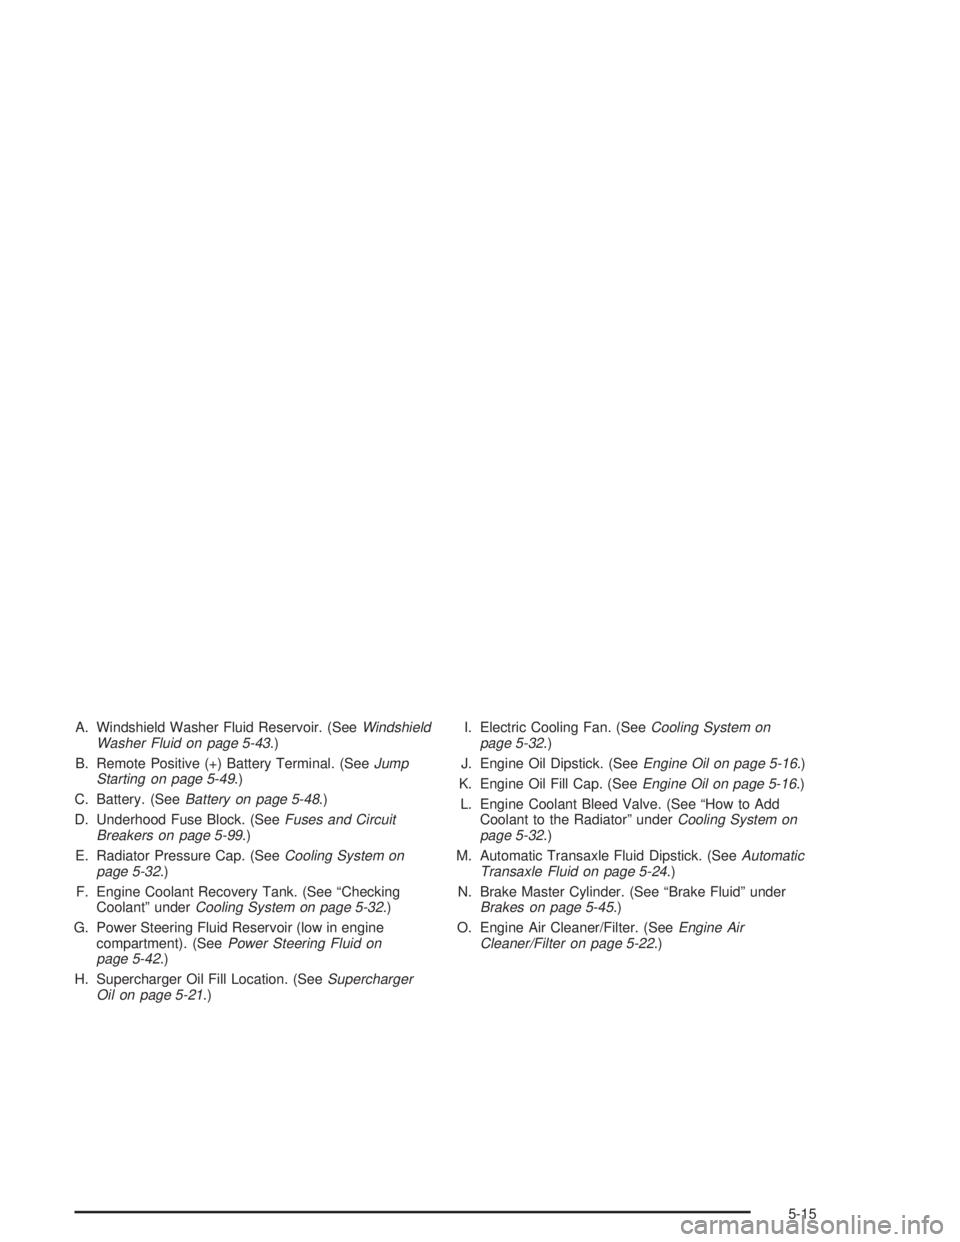
A. Windshield Washer Fluid Reservoir. (SeeWindshield
Washer Fluid on page 5-43.)
B. Remote Positive (+) Battery Terminal. (See
Jump
Starting on page 5-49.)
C. Battery. (See
Battery on page 5-48.)
D. Underhood Fuse Block. (See
Fuses and Circuit
Breakers on page 5-99.)
E. Radiator Pressure Cap. (See
Cooling System on
page 5-32.)
F. Engine Coolant Recovery Tank. (See ªChecking
Coolantº under
Cooling System on page 5-32.)
G. Power Steering Fluid Reservoir (low in engine
compartment). (See
Power Steering Fluid on
page 5-42.)
H. Supercharger Oil Fill Location. (See
Supercharger
Oil on page 5-21.)I. Electric Cooling Fan. (See
Cooling System on
page 5-32.)
J. Engine Oil Dipstick. (See
Engine Oil on page 5-16.)
K. Engine Oil Fill Cap. (See
Engine Oil on page 5-16.)
L. Engine Coolant Bleed Valve. (See ªHow to Add
Coolant to the Radiatorº under
Cooling System on
page 5-32.)
M. Automatic Transaxle Fluid Dipstick. (See
Automatic
Transaxle Fluid on page 5-24.)
N. Brake Master Cylinder. (See ªBrake Fluidº under
Brakes on page 5-45.)
O. Engine Air Cleaner/Filter. (See
Engine Air
Cleaner/Filter on page 5-22.)
5-15
Page 317 of 432
How to Add Coolant to the Radiator
Notice:Your engine has a speci®c radiator ®ll
procedure. Failure to follow this procedure could
cause your engine to overheat and be severely
damaged.
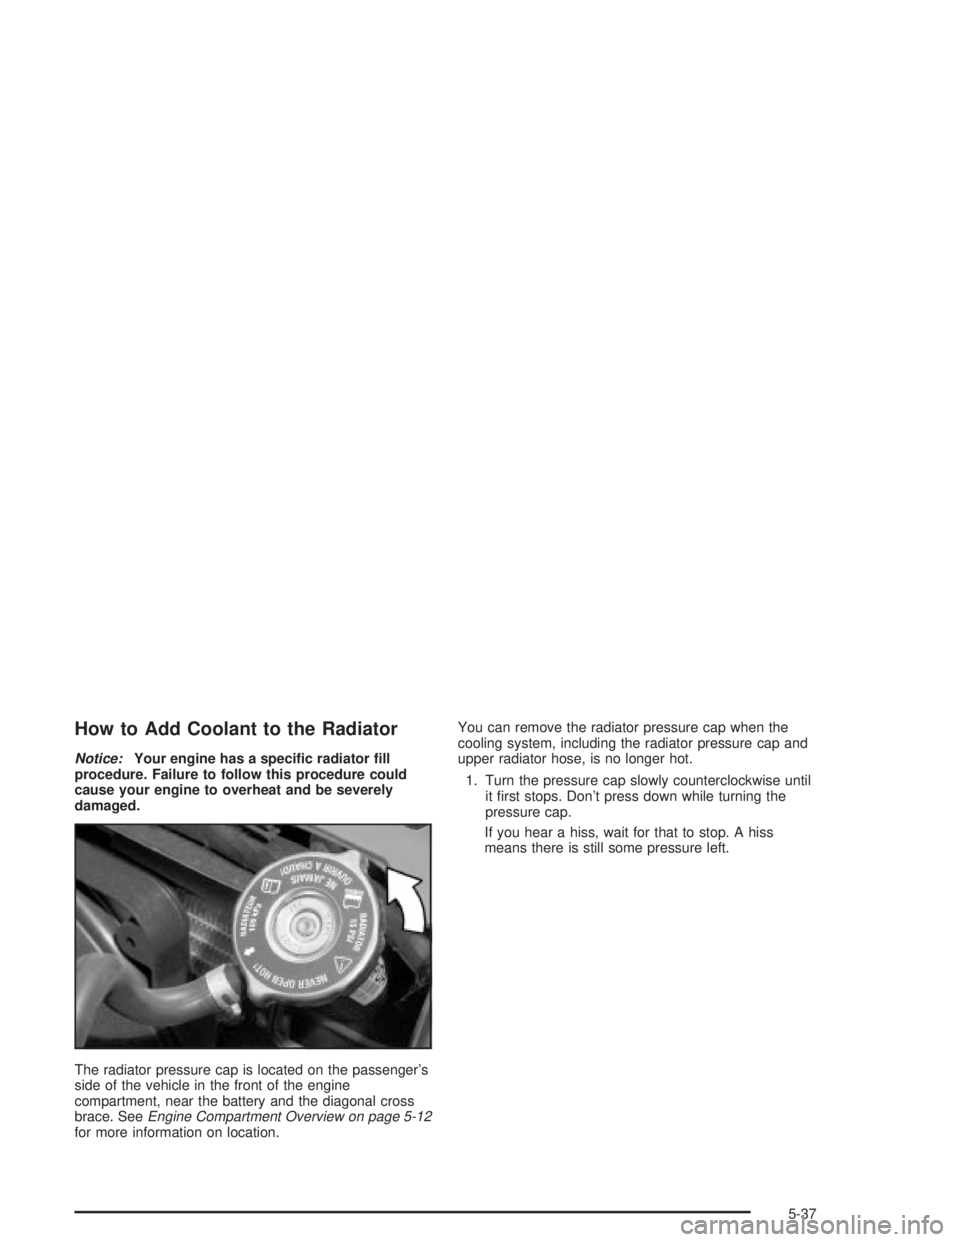
The radiator pressure cap is located on the passenger's
side of the vehicle in the front of the engine
compartment, near the battery and the diagonal cross
brace. See
Engine Compartment Overview on page 5-12for more information on location.You can remove the radiator pressure cap when the
cooling system, including the radiator pressure cap and
upper radiator hose, is no longer hot.
1. Turn the pressure cap slowly counterclockwise until
it ®rst stops. Don't press down while turning the
pressure cap.
If you hear a hiss, wait for that to stop. A hiss
means there is still some pressure left.
5-37
Page 318 of 432
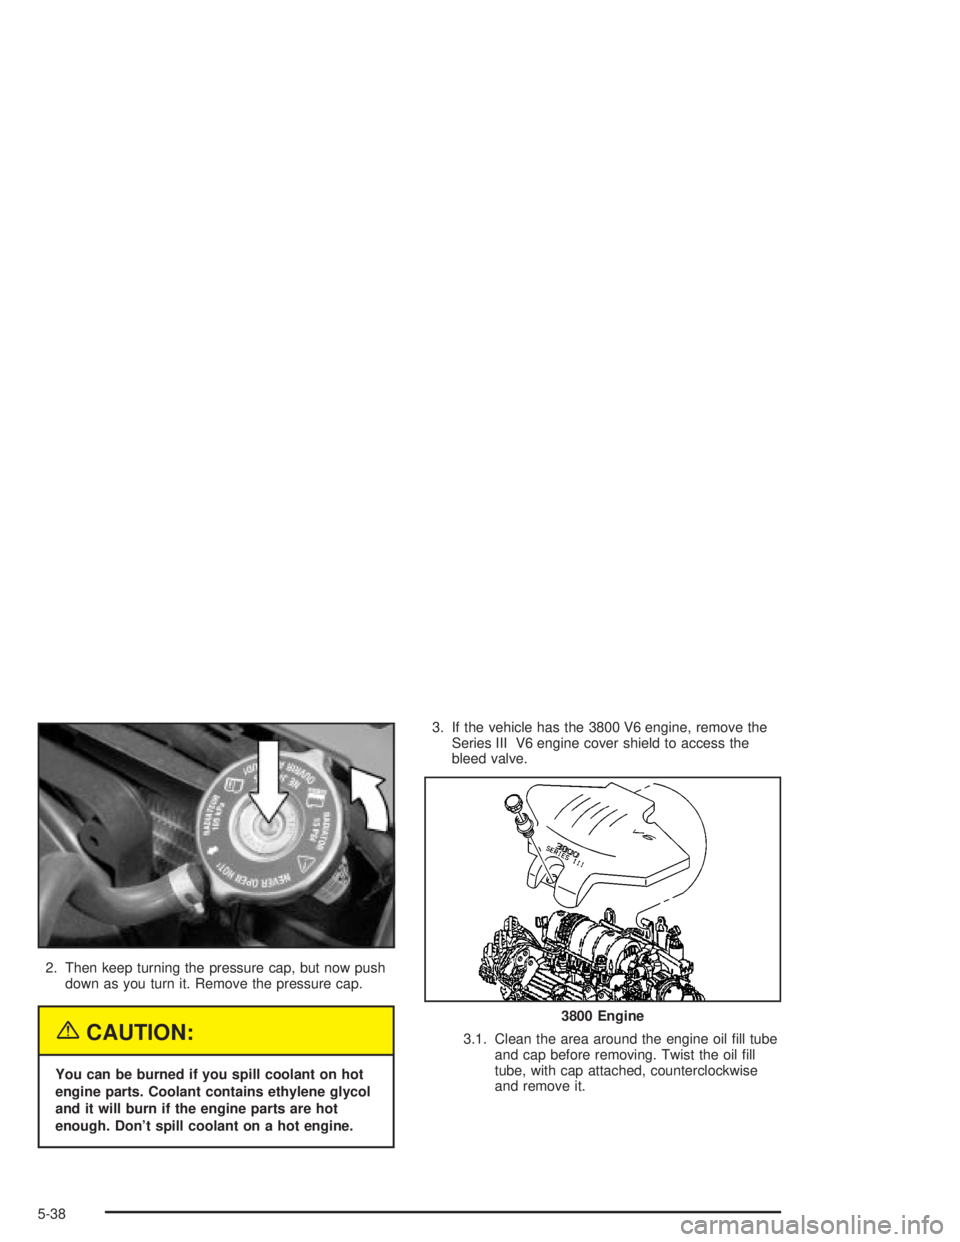
2. Then keep turning the pressure cap, but now push
down as you turn it. Remove the pressure cap.
{CAUTION:
You can be burned if you spill coolant on hot
engine parts. Coolant contains ethylene glycol
and it will burn if the engine parts are hot
enough. Don't spill coolant on a hot engine.3. If the vehicle has the 3800 V6 engine, remove the
Series III V6 engine cover shield to access the
bleed valve.
3.1. Clean the area around the engine oil ®ll tube
and cap before removing. Twist the oil ®ll
tube, with cap attached, counterclockwise
and remove it.
3800 Engine
5-38
Page 320 of 432
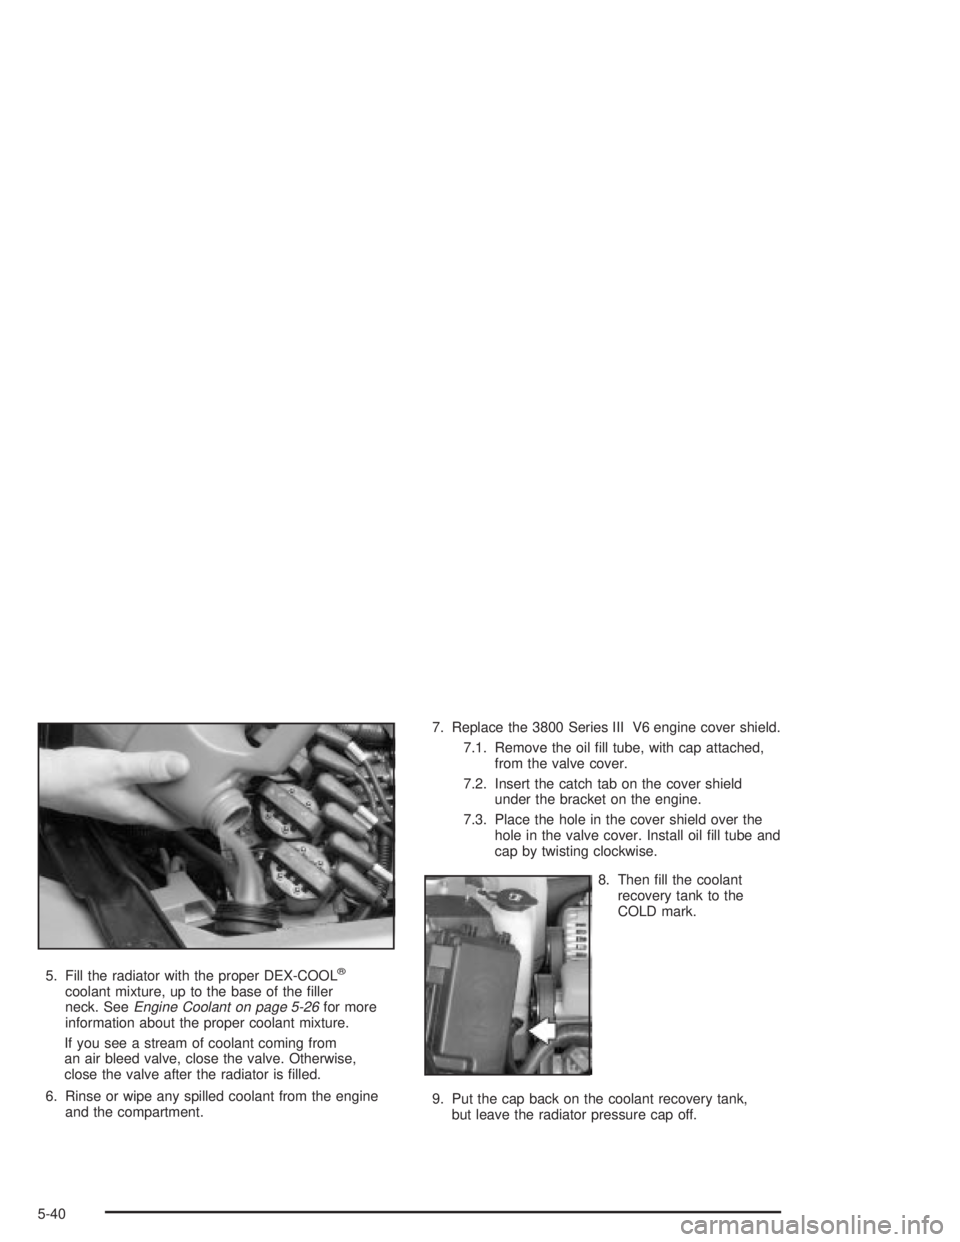
5. Fill the radiator with the proper DEX-COOLž
coolant mixture, up to the base of the ®ller
neck. SeeEngine Coolant on page 5-26for more
information about the proper coolant mixture.
If you see a stream of coolant coming from
an air bleed valve, close the valve. Otherwise,
close the valve after the radiator is ®lled.
6. Rinse or wipe any spilled coolant from the engine
and the compartment.7. Replace the 3800 Series III V6 engine cover shield.
7.1. Remove the oil ®ll tube, with cap attached,
from the valve cover.
7.2. Insert the catch tab on the cover shield
under the bracket on the engine.
7.3. Place the hole in the cover shield over the
hole in the valve cover. Install oil ®ll tube and
cap by twisting clockwise.
8. Then ®ll the coolant
recovery tank to the
COLD mark.
9. Put the cap back on the coolant recovery tank,
but leave the radiator pressure cap off.
5-40
Page 330 of 432
Notice:If you leave your radio on, it could be badly
damaged. The repairs wouldn't be covered by
your warranty.
3. Turn off the ignition on both vehicles. Unplug
unnecessary accessories plugged into the cigarette
lighter or in the accessory power outlet. Turn off
the radio and all lamps that aren't needed. This will
avoid sparks and help save both batteries. And it
could save your radio!
4. Open the hoods and locate the batteries. Find the
positive (+) and negative (-) terminal locations on
each vehicle. You will not need to access your
battery for jump starting. Your vehicle has a remote
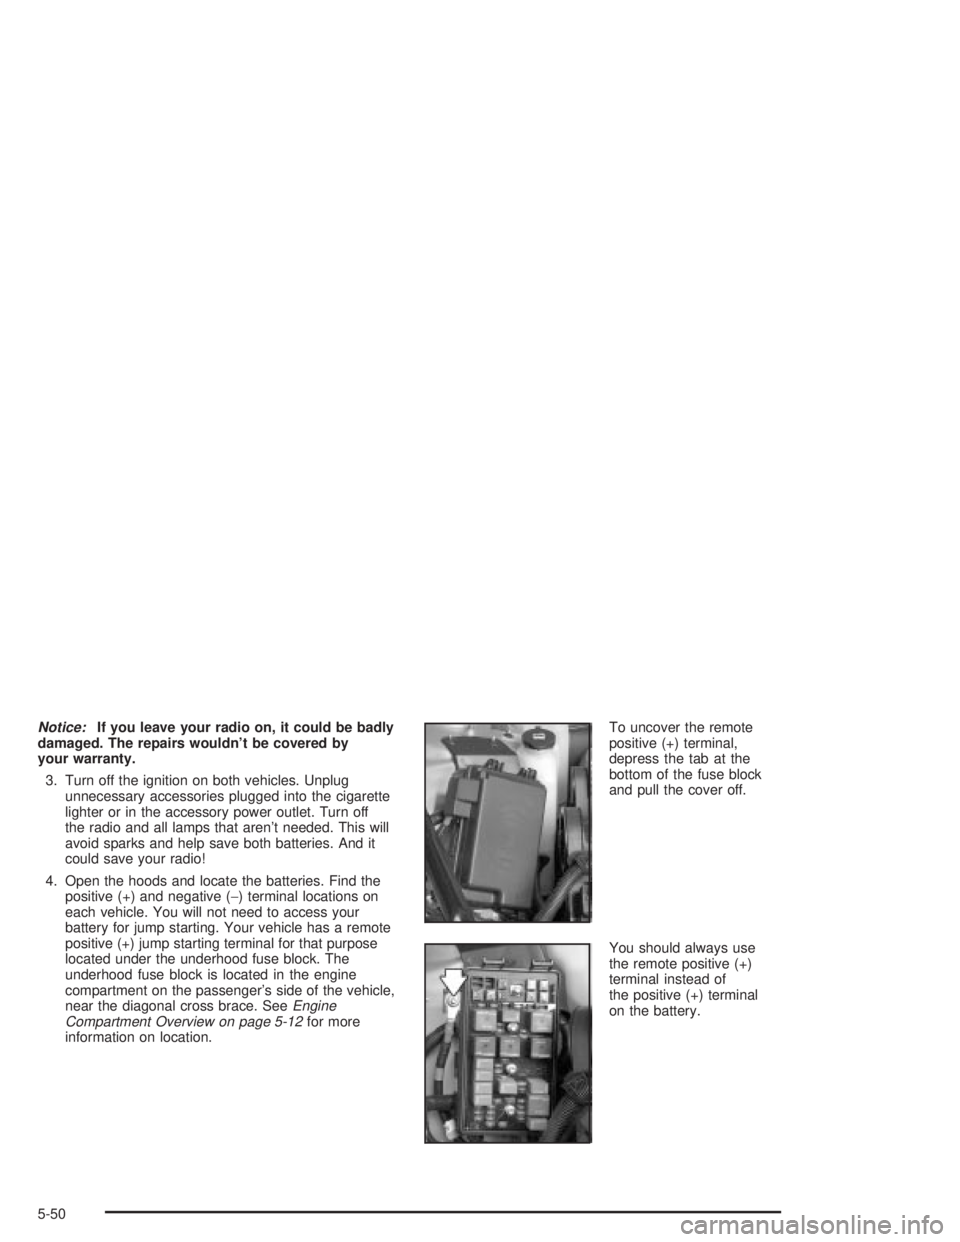
positive (+) jump starting terminal for that purpose
located under the underhood fuse block. The
underhood fuse block is located in the engine
compartment on the passenger's side of the vehicle,
near the diagonal cross brace. See
Engine
Compartment Overview on page 5-12for more
information on location.To uncover the remote
positive (+) terminal,
depress the tab at the
bottom of the fuse block
and pull the cover off.
You should always use
the remote positive (+)
terminal instead of
the positive (+) terminal
on the battery.
5-50
Page 341 of 432
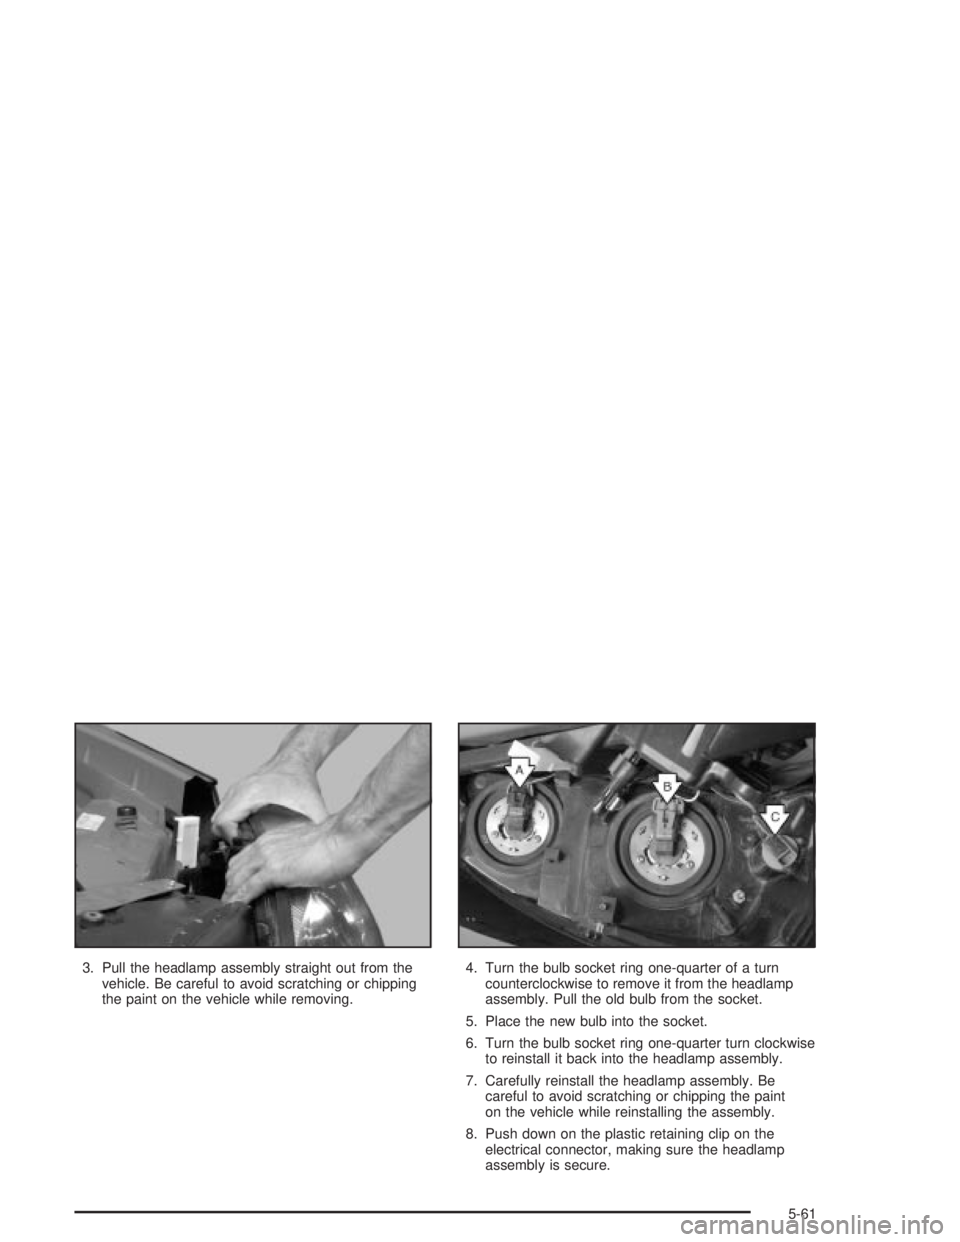
3. Pull the headlamp assembly straight out from the
vehicle. Be careful to avoid scratching or chipping
the paint on the vehicle while removing.4. Turn the bulb socket ring one-quarter of a turn
counterclockwise to remove it from the headlamp
assembly. Pull the old bulb from the socket.
5. Place the new bulb into the socket.
6. Turn the bulb socket ring one-quarter turn clockwise
to reinstall it back into the headlamp assembly.
7. Carefully reinstall the headlamp assembly. Be
careful to avoid scratching or chipping the paint
on the vehicle while reinstalling the assembly.
8. Push down on the plastic retaining clip on the
electrical connector, making sure the headlamp
assembly is secure.
5-61
Page 343 of 432
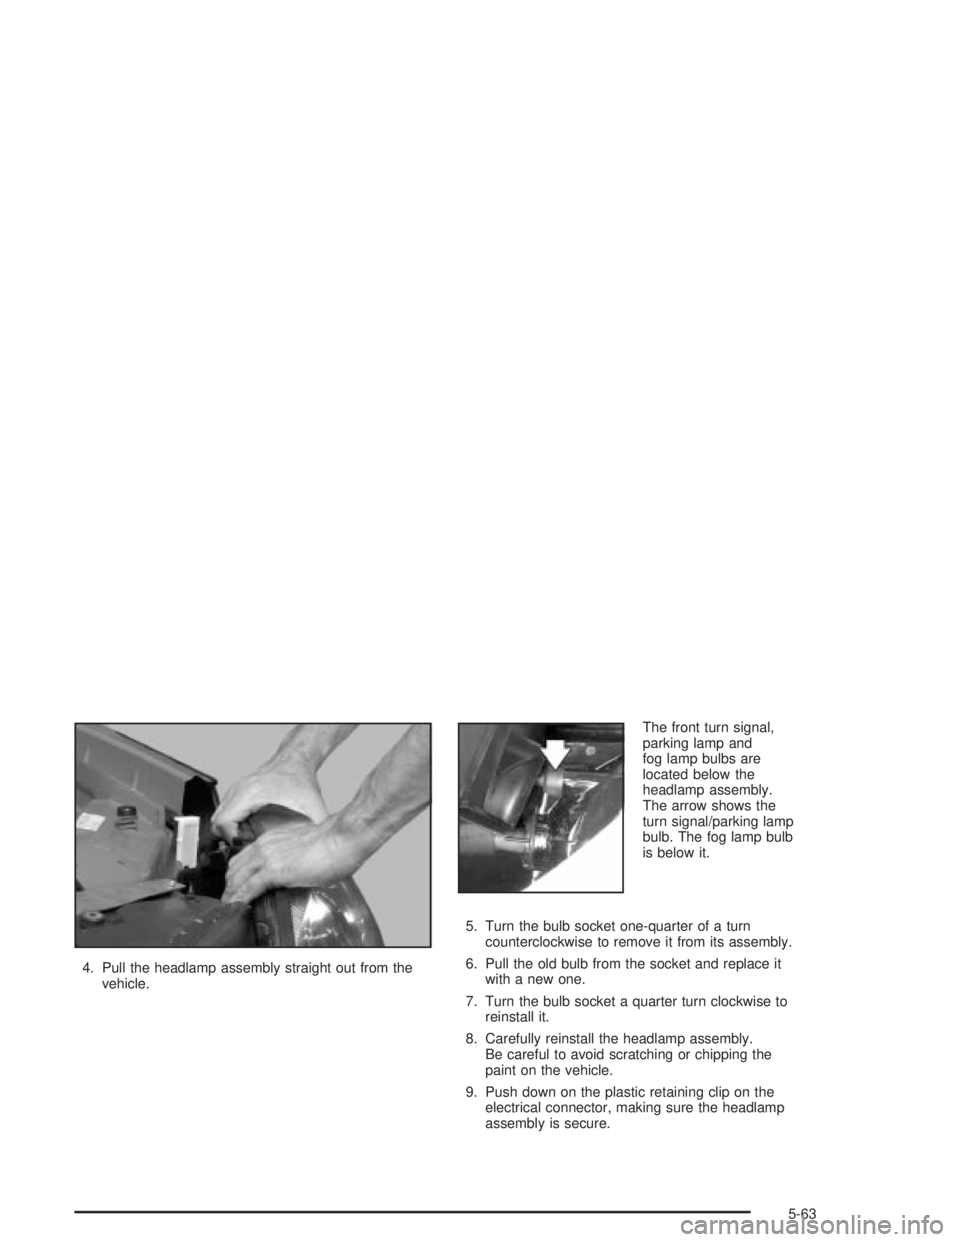
4. Pull the headlamp assembly straight out from the
vehicle.The front turn signal,
parking lamp and
fog lamp bulbs are
located below the
headlamp assembly.
The arrow shows the
turn signal/parking lamp
bulb. The fog lamp bulb
is below it.
5. Turn the bulb socket one-quarter of a turn
counterclockwise to remove it from its assembly.
6. Pull the old bulb from the socket and replace it
with a new one.
7. Turn the bulb socket a quarter turn clockwise to
reinstall it.
8. Carefully reinstall the headlamp assembly.
Be careful to avoid scratching or chipping the
paint on the vehicle.
9. Push down on the plastic retaining clip on the
electrical connector, making sure the headlamp
assembly is secure.
5-63