ECU PONTIAC GTO 2004 Owner's Manual
[x] Cancel search | Manufacturer: PONTIAC, Model Year: 2004, Model line: GTO, Model: PONTIAC GTO 2004Pages: 326, PDF Size: 2.24 MB
Page 99 of 326

Instrument Panel Overview...............................3-2
Hazard Warning Flashers................................3-4
Other Warning Devices...................................3-4
Horn.............................................................3-4
Tilt Wheel.....................................................3-5
Turn Signal/Multifunction Lever.........................3-5
Exterior Lamps.............................................3-12
Interior Lamps..............................................3-15
Accessory Power Outlets...............................3-17
Ashtrays and Cigarette Lighter........................3-18
Climate Controls............................................3-19
Climate Control System.................................3-19
Outlet Adjustment.........................................3-22
Warning Lights, Gages, and Indicators............3-23
Instrument Panel Cluster................................3-24
Speedometer...............................................3-25
Tachometer.................................................3-25
Safety Belt Reminder Light.............................3-25
Air Bag Readiness Light................................3-26
Charging System Light..................................3-27
Brake System Warning Light..........................3-27Anti-Lock Brake System Warning Light.............3-28
Engine Coolant Temperature Gage..................3-28
Malfunction Indicator Lamp.............................3-29
Oil Pressure Light.........................................3-32
Change Engine Oil Light................................3-33
Security Light...............................................3-33
Fog Lamp Light............................................3-33
Highbeam On Light.......................................3-33
Daytime Running Lamps Indicator Light...........3-34
Service Vehicle Soon Light............................3-34
Fuel Gage...................................................3-35
Trip Computer................................................3-36
Audio System(s).............................................3-42
Setting the Time...........................................3-42
Radio with Six-Disc CD.................................3-43
Theft-Deterrent Feature..................................3-52
Audio Steering Wheel Controls.......................3-53
Radio Reception...........................................3-54
Care of Your CDs.........................................3-54
Care of Your CD Player................................3-54
Backglass Antenna.......................................3-55
Section 3 Instrument Panel
3-1
Page 101 of 326

The main components of the instrument panel are the following:
A. Side Outlets. SeeOutlet Adjustment on page 3-22.
B. Headlamps Dial. SeeExterior Lamps on page 3-12.
C. Instrument Panel Cluster. SeeInstrument Panel
Cluster on page 3-24.
D. Windshield Wiper Lever. See “Windshield Wipers”
underTurn Signal/Multifunction Lever on page 3-5.
E. Trip Computer Control. SeeTrip Computer on
page 3-36.
F. Outlets. SeeOutlet Adjustment on page 3-22.
G. Hazard Warning Lights. SeeHazard Warning
Flashers on page 3-4.
H. Sunlight Sensor. See “Automatic Headlamp System”
underExterior Lamps on page 3-12.
I. Climate Controls. SeeClimate Control System on
page 3-19.
J. Audio System Controls. SeeAudio System(s) on
page 3-42.
K. Passenger’s Air Bag. SeeWhere Are the Air Bags?
on page 1-48.L. Cruise Control Lever. See “Cruise Control” under
Turn Signal/Multifunction Lever on page 3-5.
M. Audio Steering Wheel Controls. SeeAudio Steering
Wheel Controls on page 3-53.
N. Driver’s Air Bag. SeeWhere Are the Air Bags? on
page 1-48.
O. Tilt Wheel. SeeTilt Wheel on page 3-5.
P. Horn. SeeHorn on page 3-4.
Q. Ignition Switch. SeeIgnition Positions on page 2-16.
R. Shift Lever. SeeShifting Into Park (P) on page 2-24.
S. Cupholders. SeeCupholder(s) on page 2-31.
T. Power Window Switches. SeePower Windows on
page 2-11.
U. Parking Brake. SeeParking Brake on page 2-23.
V. Glovebox. SeeGlove Box on page 2-30.
3-3
Page 112 of 326

Fog Lamps
The dial to the left of the steering wheel on the
instrument panel also controls the fog lamps.
-(Fog Lamp):When using the fog lamps, the
ignition must be on as well as the parking lamps or the
low-beam headlamps. If the high-beam headlamps
are activated or flashed, the fog lamps will turn off.
Pull the exterior lamp adjuster dial out to turn the fog
lamps on, and push the dial in to turn the fog lamps off.
The indicator light in the knob will come on when the
fog lamps are working.
Headlamps and Dimming Instructions
When the headlamps are switched on, the instrument
panel is automatically illuminated. Once illuminated, you
can adjust their brightness. Some illuminated areas
of the vehicle have been linked to the brightness control,
such as the trip computer, headlamp switch, radio,
etc. This means that the interior lights can be adjusted
to your preference. When the headlamps are turned
off and back on again, the brightness level reverts to the
last adjusted setting. SeeInterior Lamps on page 3-15
for more information.
Headlamps On When Approaching the
Vehicle
Your vehicle is designed to provide additional security,
when returning to the vehicle at night. When the
UNLOCK or LOCK button on the key is used, the car’s
exterior lights will come on for a preset time or until
the car is relocked. This feature only works if the
headlamp control is in the AUTO or headlamp positions.
To set or adjust the time the headlamps stay on after
the UNLOCK button has been pressed, seeVehicle
Personalization on page 2-32.
3-14
Page 131 of 326

Change Engine Oil Light
If the Service Engine Oil
message in the trip
computer is displayed
along with this symbol after
you start the engine, it
means that service
is required for your vehicle.
SeeScheduled Maintenance on page 6-4andEngine
Oil on page 5-13for more information.
Security Light
This light flashes when the
vehicle security system is
activated.
Fog Lamp Light
This light will come on
when the fog lamps are
in use.
The light will go out when the fog lamps are turned off.
SeeExterior Lamps on page 3-12for more information.
Highbeam On Light
This light will illuminate
when the headlamp high
beams are in use.
SeeTurn Signal/Multifunction Lever on page 3-5.
3-33
Page 150 of 326

Theft-Deterrent Feature
Your radio has an electronically coded security system.
The system recognizes the vehicle which your radio
has been installed. If the radio is kept in the vehicle, the
PIN should not be required, even if the battery or the
radio has been removed and reinstalled.
If the link between your vehicle and the radio is
disrupted, the radio will prompt you for a 4-digit PIN
code to be entered.
The PIN is supplied on your security card. As the pin is
the only means of enabling operation of the radio,
place the security card in a safe place. Do not leave the
security card in your glovebox. The PIN should also
be written down and kept with other important
documents.
If your security card is lost and the PIN is not recorded,
the PIN can be requested from your dealer, after
supplying proof of ownership. There may be a charge
for this service.
When the radio and vehicle are turned off, the blinking
red light indicates that your radio is armed.
Security Release Procedure
To type in your PIN code, do the following:
1. Turn the ignition to ACCESSORY.
2. Turn the radio on. CODE____will appear on the
display.
3. Use the preset buttons to enter the PIN code.
If the wrong PIN code is entered, the radio will display
CODE ERR WAIT.
After a few seconds, the radio will display
CODE 2____,indicating that this is the second
attempt. The correct code should now be entered.
After three attempts, the radio will display
LOCK OUT 1 HR. After 1 hour, the radio will allow
another three attempts to enter the PIN.
3-52
Page 178 of 326

Winter Driving
Here are some tips for winter driving:
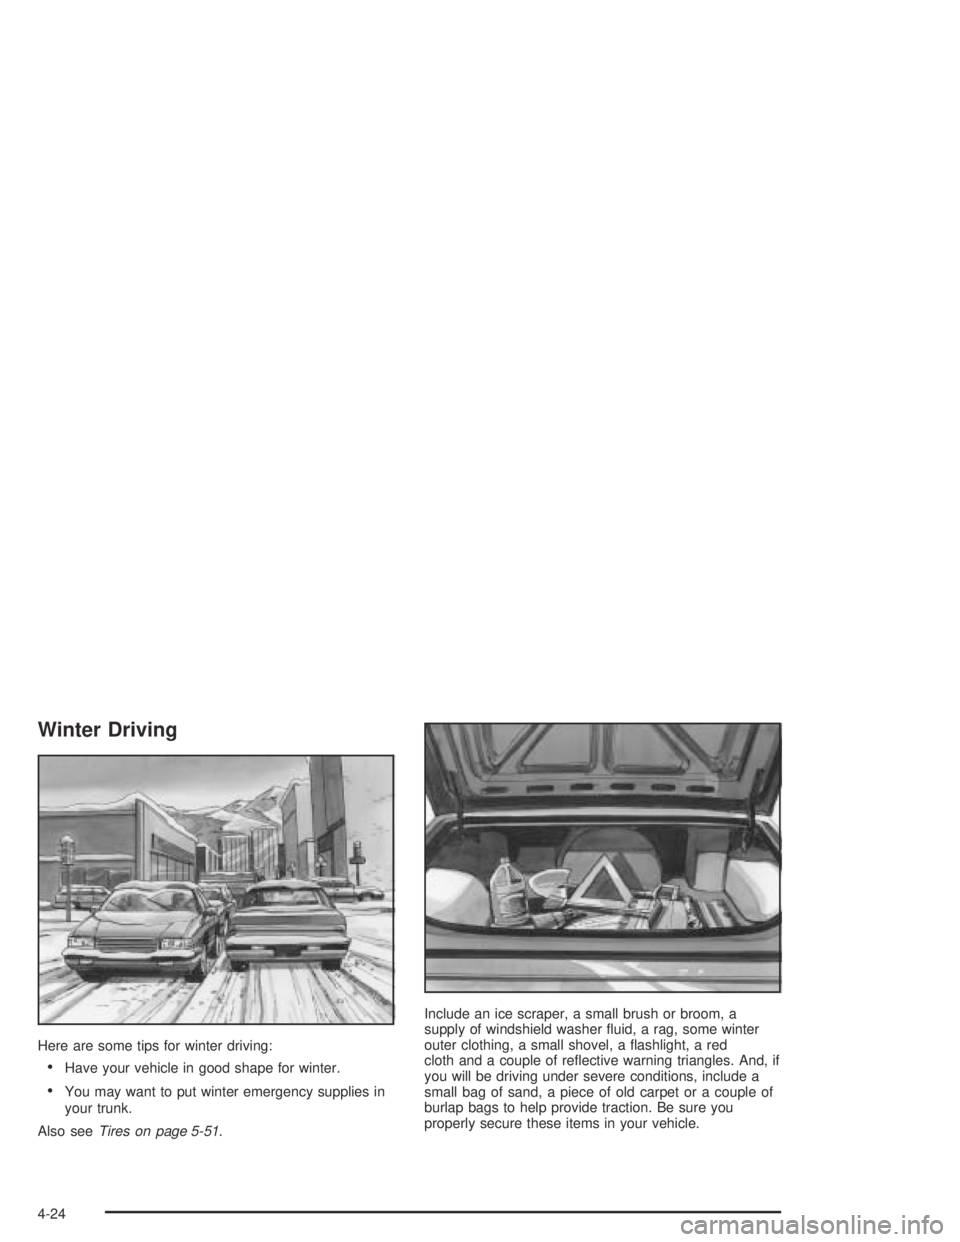
•Have your vehicle in good shape for winter.
•You may want to put winter emergency supplies in
your trunk.
Also seeTires on page 5-51.Include an ice scraper, a small brush or broom, a
supply of windshield washer fluid, a rag, some winter
outer clothing, a small shovel, a flashlight, a red
cloth and a couple of reflective warning triangles. And, if
you will be driving under severe conditions, include a
small bag of sand, a piece of old carpet or a couple of
burlap bags to help provide traction. Be sure you
properly secure these items in your vehicle.
4-24
Page 189 of 326

{CAUTION:
Things you put inside your vehicle can strike
and injure people in a sudden stop or turn, or
in a crash.
Put things in the rear area of your vehicle.
Try to spread the weight evenly. If you
have fold-down rear seats, you will �nd
four anchors on the back wall of your
trunk. You can use these anchors to tie
down lighter loads. They are not strong
enough for heavy things, however, so put
them as far forward as you can in the
trunk or rear area.
Never stack heavier things, like suitcases,
inside the vehicle so that some of them
are above the tops of the seats.
Do not leave an unsecured child restraint
in your vehicle.
When you carry something inside the
vehicle, secure it whenever you can.
Do not leave a seat folded down unless
you need to.
Towing a Trailer
Your vehicle is neither designed nor intended to tow a
trailer.
4-35
Page 218 of 326

Adding Coolant
If you need more coolant, add the proper DEX-COOL®
coolant mixtureat the surge tank, but only when the
engine is cool.
{CAUTION:
You can be burned if you spill coolant on hot
engine parts. Coolant contains ethylene glycol,
and it will burn if the engine parts are hot
enough. Do not spill coolant on a hot engine.
When the level is correct, replace the cap and turn
clockwise until secure.
Engine Overheating
Immediate action is required if your engine overheats.
This is indicated by the coolant temperature gage
and the Engine Temp Hot message on the trip computer
display.Engine Coolant Temperature Gage on
page 3-28.
If Steam Is Coming From Your Engine
5-28
Page 226 of 326

Power Steering Fluid
When to Check Power Steering Fluid
SeeEngine Compartment Overview on page 5-12
for reservoir location.
It is not necessary to regularly check power steering
fluid unless you suspect there is a leak in the system or
you hear an unusual noise. A fluid loss in this system
could indicate a problem. Have the system inspected
and repaired.
How to Check Power Steering Fluid
The fluid level should be checked after the vehicle has
been driven for at least 20 minutes, so that the fluid
is warm. A convenient time is when stopping for
gas. The cold level check should only be used after the
engine has not been running for at least five hours.
However, the hot level check is always recommended.
The fluid level can be viewed through the reservoir.
The level markings are next to the fluid window. When
the fluid is cold the level should be between the
COLD MIN and MAX marks; when the vehicle has been
driven for awhile and the fluid is hot the level should
be between the HOT MIN and MAX marks. If fluid must
be added, undo the cap counterclockwise to the
stop; then the cap can be lifted off. Do not overfill and
remember to replace the cap tightly. If you often need to
add fluid, you should see your dealer. Remember to
secure the cap when the level is correct and clean up
any spillage.
What to Use
To determine what kind of fluid to use, see
Recommended Fluids and Lubricants on page 6-13.
Always use the proper fluid. Failure to use the proper
fluid can cause leaks and damage hoses and seals.
5-36
Page 227 of 326

Windshield Washer Fluid
What to Use
When you need windshield washer fluid, be sure to read
the manufacturer’s instructions before use. If you will
be operating your vehicle in an area where the
temperature may fall below freezing, use a fluid that has
sufficient protection against freezing. SeeEngine
Compartment Overview on page 5-12for reservoir
location.
Adding Washer Fluid
Open the cap and add
washer fluid until the tank
is full. Make sure the
cap is secured after filling.Notice:
When using concentrated washer �uid, follow
the manufacturer’s instructions for adding
water.
Do not mix water with ready-to-use washer �uid.
Water can cause the solution to freeze and
damage your washer �uid tank and other parts
of the washer system. Also, water does not
clean as well as washer �uid.
Fill your washer �uid tank only three-quarters
full when it is very cold. This allows for
expansion if freezing occurs, which could
damage the tank if it is completely full.
Do not use engine coolant (antifreeze) in your
windshield washer. It can damage your washer
system and paint.
5-37