PONTIAC PONTIAC 1995 Owners Manual
PONTIAC 1995
PONTIAC
PONTIAC
https://www.carmanualsonline.info/img/50/58392/w960_58392-0.png
PONTIAC PONTIAC 1995 Owners Manual
Trending: spare tire location, inflation pressure, instrument cluster, steering wheel, set clock, ground clearance, interior lights
Page 181 of 354
Other Warning Devices
If you cmy reflective triangles, you can set one up at
the side of the road about
300 feet (100 m) behind your
vehicle,
Jump Starting
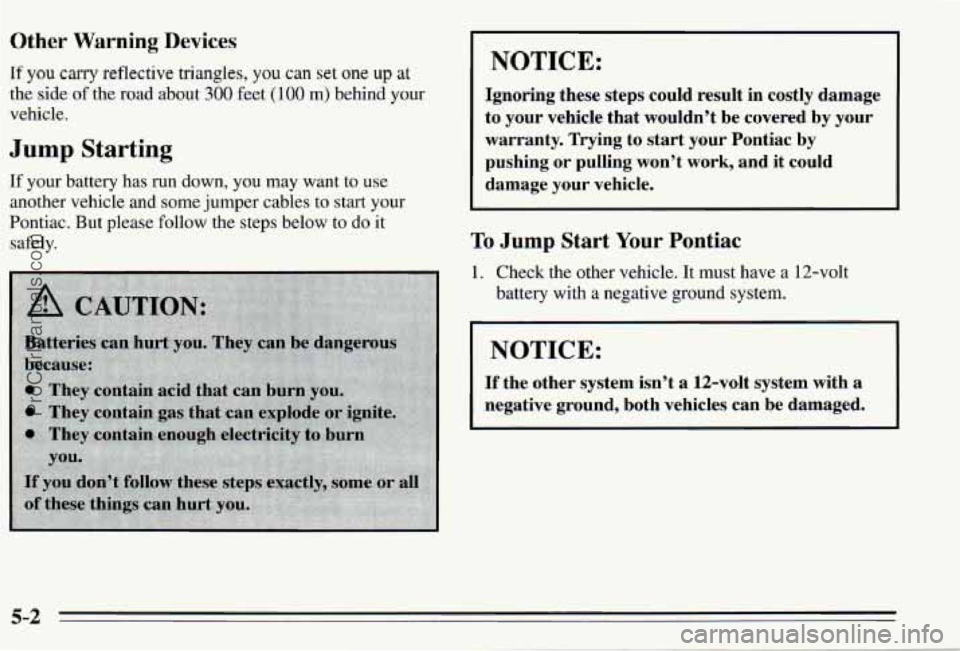
If your battery has run down, you may want to use
another vehicle and some jumper cables to start your
Pontiac. But please follow the steps below to do it
safely.
NOTICE:
Ignoring these steps could result in costly damage
to your vehicle that wouldn’t be covered by your
warranty. Trying to start your Pontiac by
pushing or pulling won’t work, and it could
damage your vehicle.
To Jump Start Your Pontiac
1. Check the other vehicle. It must have a 12-volt
battery with a negative ground system.
NOTICE:
If the other system isn’t a 12-volt system with a
negative ground, both vehicles can be damaged.
5-2
ProCarManuals.com
Page 182 of 354
2.
3.
Get the vehicles cbse enough so the jumper cables
can reach, but be sure the vehicles aren’t touching
each other.
If they are, it could cause a ground
connection you don’t want. You wouldn’t be able to
start your Pontiac, and the bad grounding could
damage the electrical systems.
You could be injured
if the vehicles roll. Set the
parking brake firmly on each vehicle. Put an
automatic transaxle
in PARK (P) or a manual
transaxle in NEUTRAL
(N).
Turn off the ignition on both vehicles. Turn off all
lamps that aren’t needed, and radios. This will avoid
sparks and help save both batteries. And it could
save your radio!
NOTICE:
If you leave your radio on, it could be badly
damaged.
The repairs wouldn’t be covered by
your warranty.
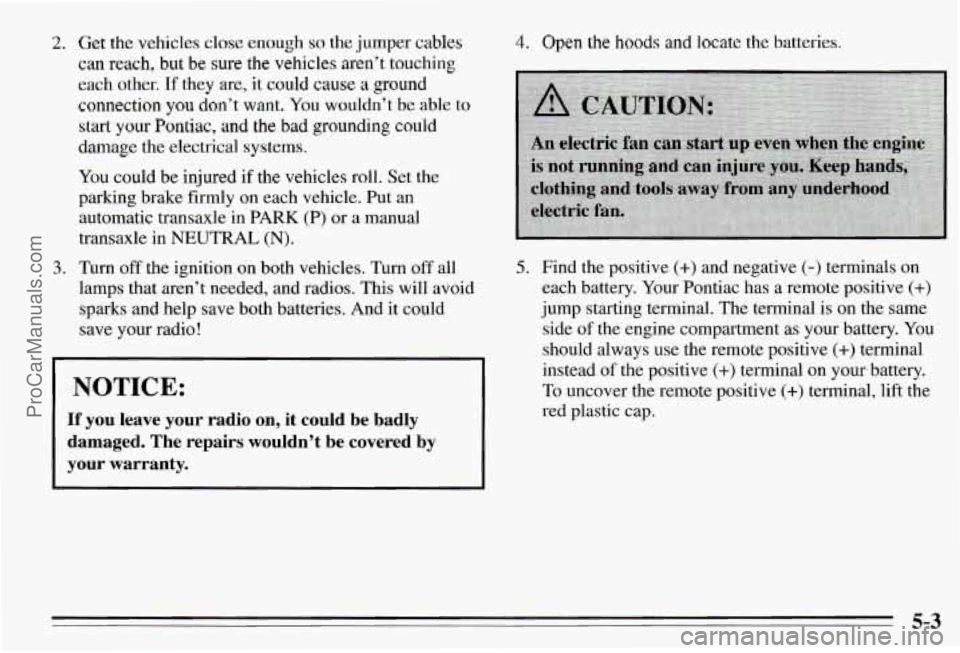
4.. Open the hoods and locate the batteries.
5. Find the positive (+) and negative (-) terminals on
each battery. Your Pontiac has a remote positive
(+)
jump starting terminal. The terminal is on the same
side
of the engine compartment as your battery. You
should always use the remote positive (+) terminal
instead
of the positive (+) terminal on your battery.
To uncover the remote positive (+) terminal, lift the
red plastic cap.
5-3
ProCarManuals.com
Page 183 of 354
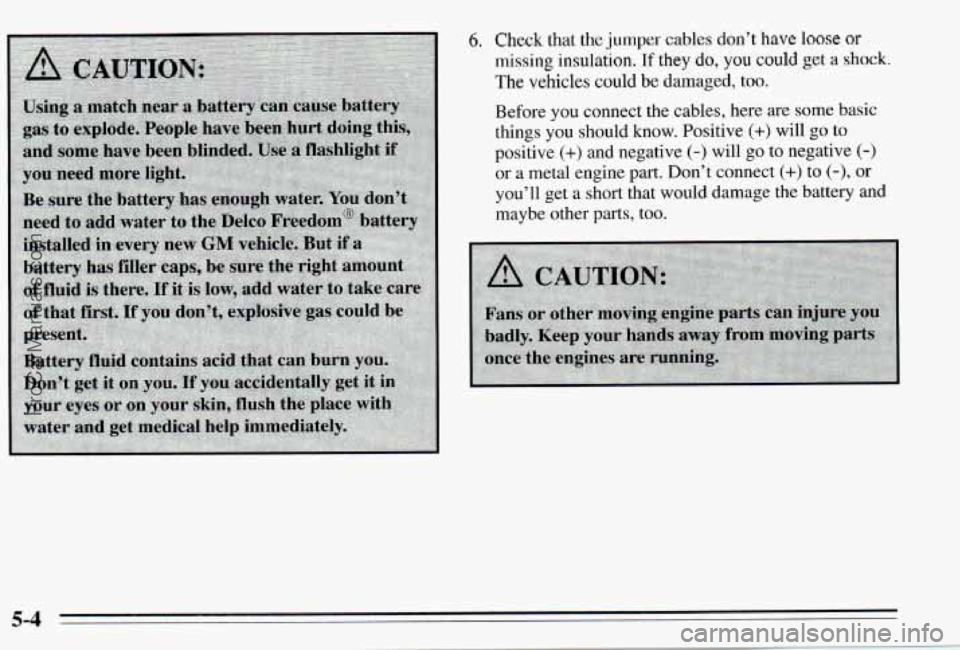
6. Check that the jumper cables don’t have loose or
missing insulation. If they do, YOU could get a shock,
The vehicles could be damaged, too.
Before you connect the cables, here are some
basic
things you should know. Positive (+) will go to
positive
(+) and negative (-) will go to negative (-)
or a metal engine part. Don’t connect (+) to (-), or
you’ll get a short that would damage the battery and
maybe other
parts, too.
5-4
ProCarManuals.com
Page 184 of 354
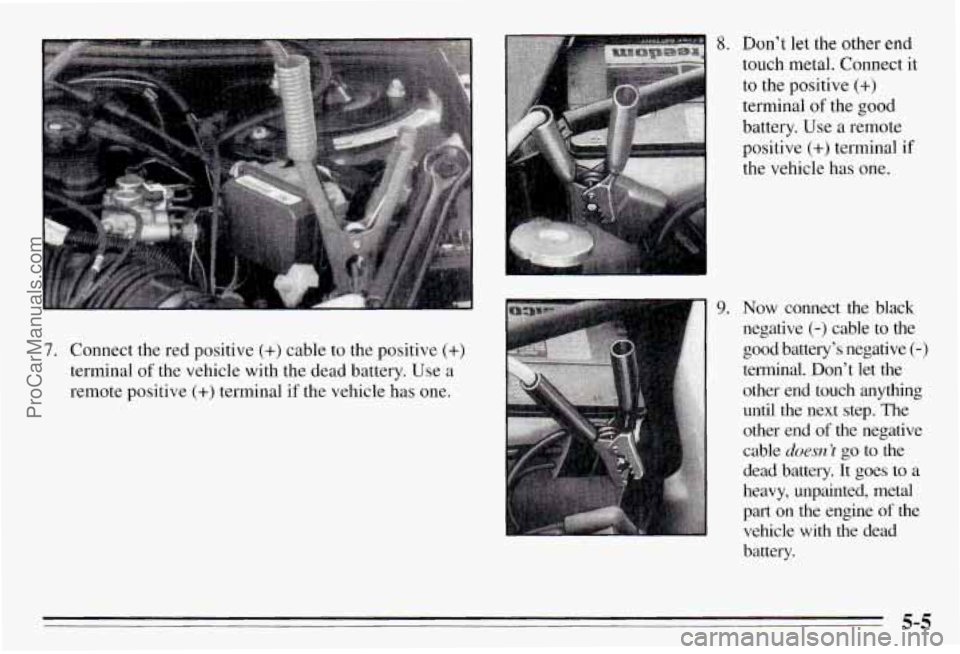
7. Connect the red positive (+) cable to the positive (+)
terminal of the vehicle with the dead battery. Use a
remote positive
(+) terminal if the vehicle has one.
8.
9.
Don’t let the other end
touch metal. Connect it
to the positive (+)
terminal of the good
battery. Use a remote positive
(+) terminal if
the vehicle
has one.
Now connect the black
negative
(-) cable to the
good battery’s negative
(-)
terminal. Don’t let the other end touch
anything
until the next step. The
other end of the negative
cable
doesn’t go to the
dead battery. It goes to a
heavy, unpainted, metal
part on the engine of the vehicle with the dead
battery.
5-5
ProCarManuals.com
Page 185 of 354
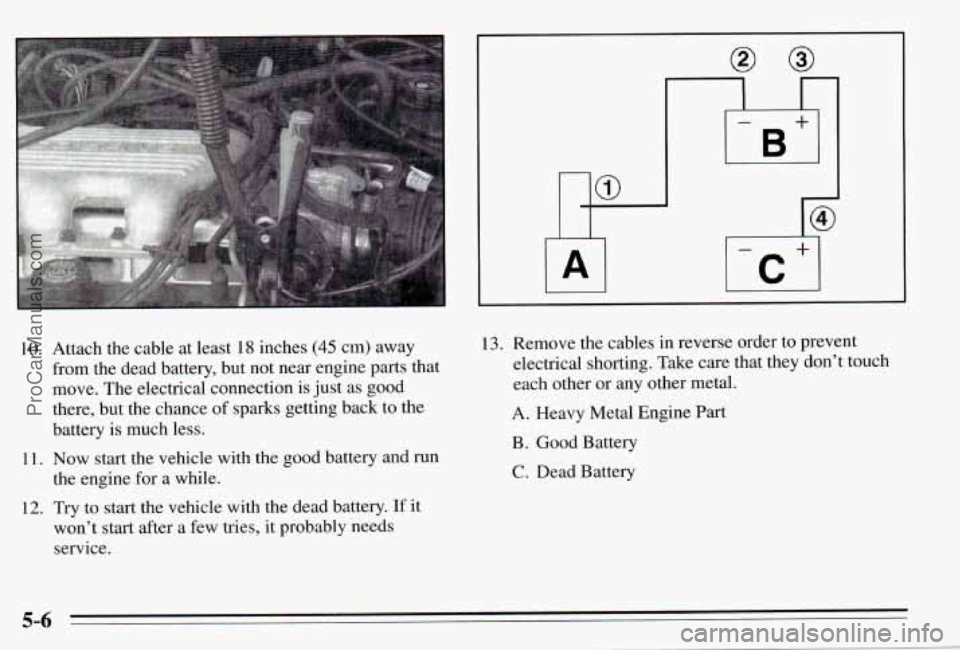
10. Attach the cable at least 18 inches (45 cm) away
from the dead battery, but not near engine parts that
move. The electrical connection is just as good
there, but the chance
of sparks getting back to the
battery is much less.
11. Now start the vehicle with the good battery and run
the engine
for a while.
12. Try to start the vehicle with the dead battery. If it
won’t start after
a few tries, it probably needs
service.
13. Remove the cables in reverse order to prevent
electrical shorting. Take care that they don’t touch
each other or any other metal.
A. Heavy Metal Engine Part
B. Good Battery
C. Dead Battery
5-6
ProCarManuals.com
Page 186 of 354
Towing Your Vehicle
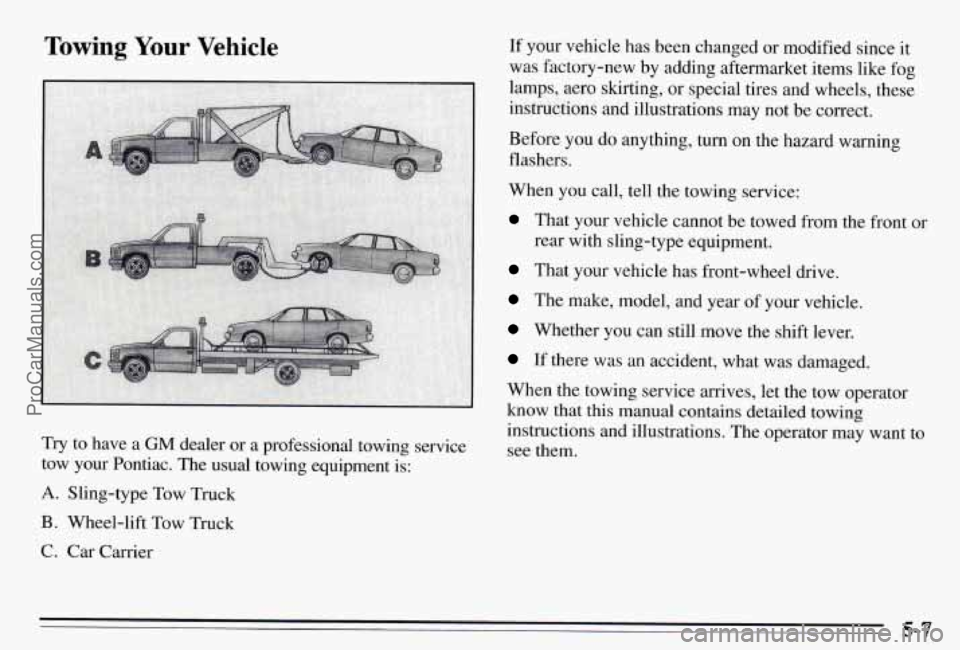
Try to have a GM dealer or a professional towing service
tow your Pontiac. The usual towing equipment is:
A. Sling-type Tow Truck
B. Wheel-lift Tow Truck
C. Car Carrier
If your vehicle has been changed or modified since it
was factory-new by adding aftermarket items like
fog
lamps, aero skirting, or special tires and wheels, these
instructions and illustrations may not be correct.
Before you do anything,
turn on the hazard warning
flashers.
When you call, tell the towing service:
That your vehicle cannot be towed from the front or
rear with sling-type equipment.
That your vehicle has front-wheel drive.
The make, model, and year of your vehicle.
Whether you can still move the shift lever.
If there was an accident, what was damaged.
When the towing service arrives, let the tow operator
know that this manual contains detailed towing
instructions and illustrations. The operator may want to
see them.
~- .
5-7 ProCarManuals.com
Page 187 of 354
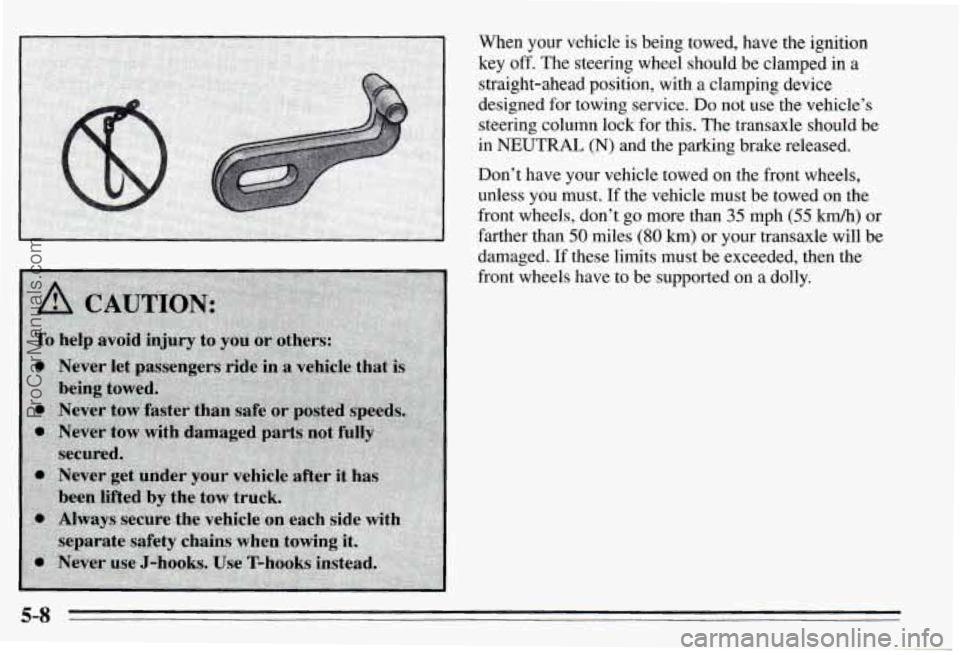
When your vehicle is being towed, have the ignition
key
off. The steering wheel should be clamped in a
straight-ahead position, with
a clamping device
designed for towing service. Do not use the vehicle’s
steering column lock for this. The transaxle should be
in
NEUTRAL (N) and the parking brake released.
Don’t have your vehicle towed
on the front wheels,
unless you must.
If the vehicle must be towed on the
front wheels, don’t
go more than 35 mph (55 km/h) or
farther than
50 miles (80 km) or your transaxle will be
damaged.
If these limits must be exceeded, then the
front wheels have to be supported on a dolly.
5-8
ProCarManuals.com
Page 188 of 354
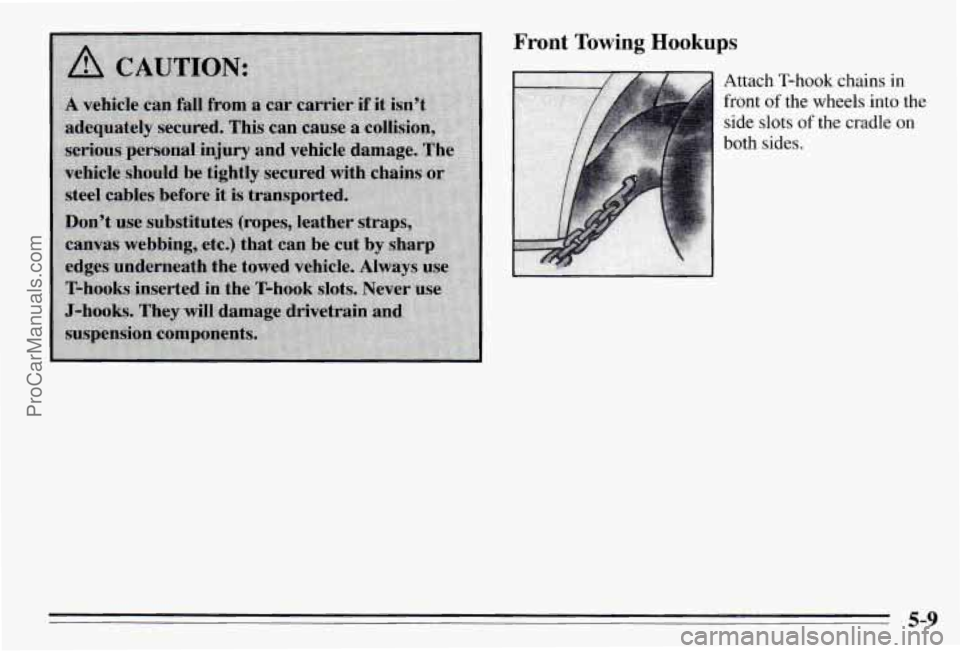
Front Towing Hookups
Attach T-hook chains in
front of the wheels into the
side slots of the cradle on
both sides.
5-9
ProCarManuals.com
Page 189 of 354
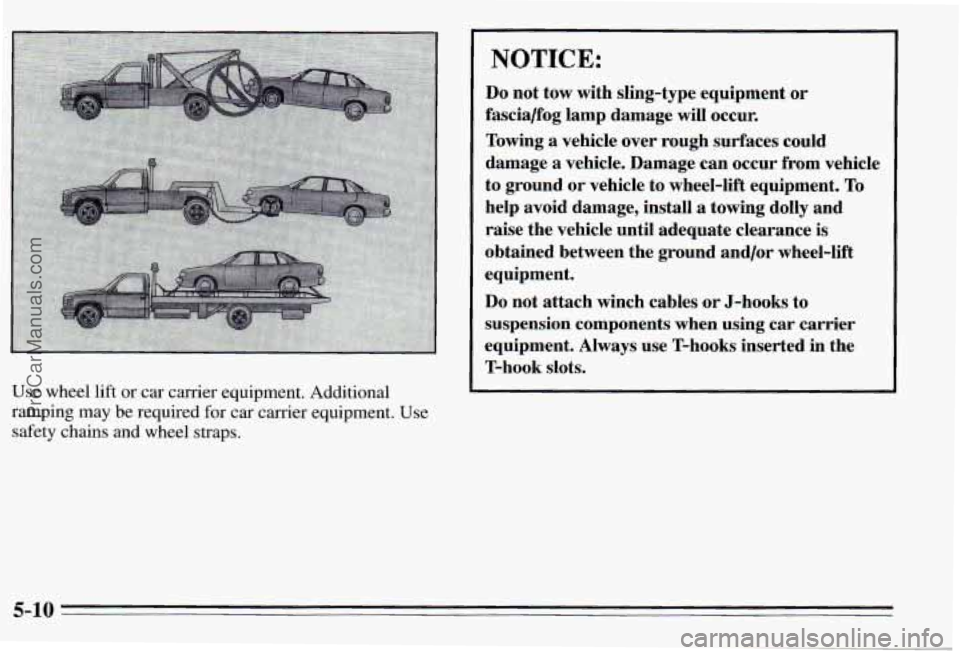
Use wheel lift or car carrier equipment. Additional
ramping may be required for car carrier equipment. Use
safety chains and wheel straps.
NOTICE:
Do not tow with sling-type equipment or
fascialfog lamp damage will occur.
Towing
a vehicle over rough surfaces could
damage
a vehicle. Damage can occur from vehicle
to ground
or vehicle to wheel-lift equipment. To
help avoid damage, install a towing dolly and
raise the vehicle until adequate clearance is
obtained between the ground and/or wheel-lift
equipment.
Do not attach winch cables or J-hooks to
suspension components when using car carrier
equipment. Always use
T-hooks inserted in the
T-hook slots.
5-10
ProCarManuals.com
Page 190 of 354
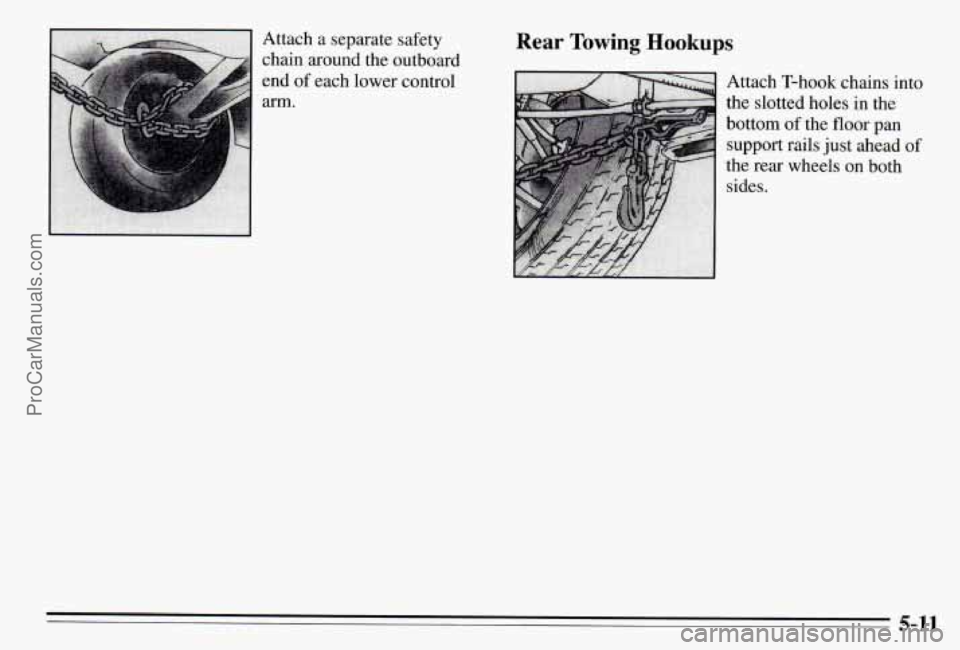
Attach a separate safety
chain around the outboard
end
of each lower control
arm.
Rear Towing Hookups
Attach T-hook chains into
the slotted holes in the
bottom
of the floor pan
support rails just ahead
of
the rear wheels on both
sides.
5-11
ProCarManuals.com
Trending: ground clearance, coolant temperature, roof, brake rotor, start stop button, battery replacement, power steering
