set clock PONTIAC PONTIAC 1996 Owners Manual
[x] Cancel search | Manufacturer: PONTIAC, Model Year: 1996, Model line: PONTIAC, Model: PONTIAC PONTIAC 1996Pages: 370, PDF Size: 17.69 MB
Page 136 of 370

Do not attach anything like a temporary vehicle license
or decal across the defogger grid.
NOTICE:
Don’t use a razor blade or anything else sharp on
the inside of the rear window. If you do, you
could cut or damage the warming grid, and the
repairs wouldn’t be
covered by your warranty.
Audio Systems
Your Delco@ audio system has been designed to operate
easily and give years of listening pleasure. You will get
the most enjoyment out of it if you acquaint yourself
with’it first. Find out what your Delco system can do
and how to operate all its controls, to be sure you’re
getting the
most out of the advanced engineering that
went into it.
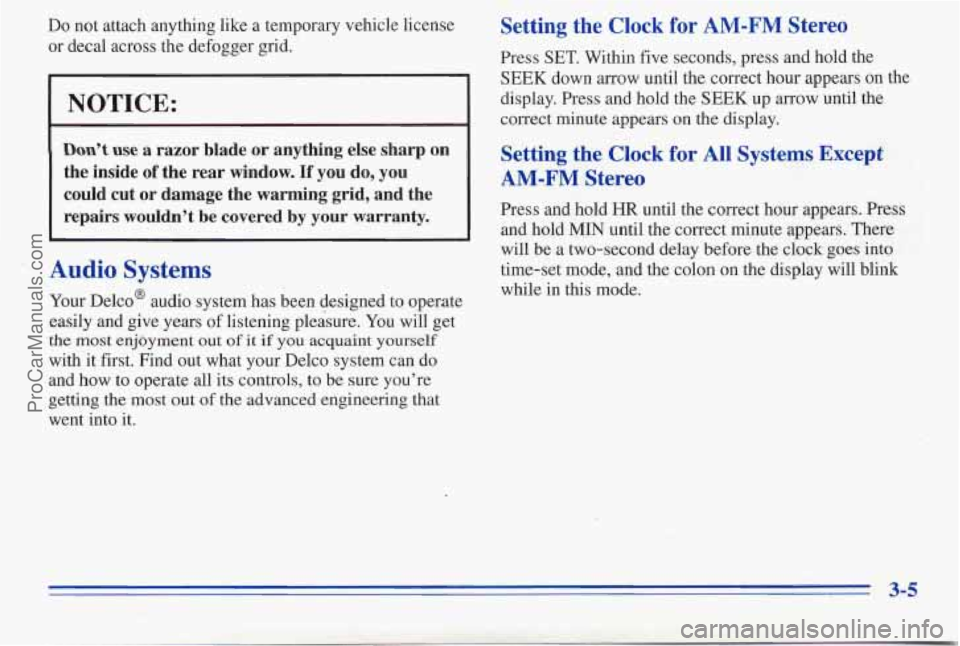
Setting the Clock for AM-FM Stereo
Press SET. Within five seconds, press and hold the
SEEK down arrow until the correct hour appears on the
display. Press and hold the
SEEK up arrow until the
correct minute appears on the display.
Setting the Clock for All Systems Except
AM-FM Stereo
Press and hold HR until the correct hour appears. Press
and hold
MIN until the correct minute appears. There
will be a two-second delay before the clock goes into
time-set mode, and the colon on the display will blink
while in this mode.
ProCarManuals.com
Page 137 of 370

SEEK: Press the up or down arrow to go to the next
higher or lower station.
PUSHBUTTONS: The four numbered pushbuttons let
you return to your favorite stations. You can set up to
14 stations (seven AM and seven FM).
1. Press AM-F;M to select the band.
2. Tune in the desired station.
3. Press SET;
Playing the Radio
VOLUME: Turn this knob to turn the system on or off.
Turn the knob clockwise to increase volume. Turn it
counterclockwise
to decrease volume.
RCL: Press the upper knob briefly to recall the station
being played or to display the clock.
Finding a Station
AM-F": Press the lower knob to get AM or FM. The
display shows
your selection.
TUNE: Turn the lower knob to choose radio stations.
4. Whenever you press the same buttons, the station
you set will return.
4. Within five seconds, press one of the four numbered
pushbuttons. Whenever
you press that numbered
pushbutton, the station
you set will return.
5. Repeat the steps for each pushbutton.
In addition to the four stations set as above, up to three
additional stations may be preset
on each band by
pressing two adjoining huttons at the same
time. Just:
1. Tune in the desired station.
2. Press SET.
3. Press any two adjoining pushbuttons at the same
time
(within five seconds).
3-6
ProCarManuals.com
Page 138 of 370

Setting the Tone
BASS: Slide the lever up or down to increase or
decrease bass.
TREB: Slide the lever up or down to increqse or
decrease treble. If a station is weak or noisy, slide the
lever down to reduce the noise.
Adjusting the Speakers
BALANCE: Turn the control behind the upper knob to
move the sound
to the left or right speakers. Use the
middle position to balance these speakers.
FADE: Turn the control behind the lower knob to move
the sound to the front or rear speakers. Use the middle
position to balance these speakers.
AM-FM Stereo with Cassette Tape Player
(Option)
Playing the Radio
VOL: Push this knob to turn the system on or off. Turn
it clockwise to increase volume and counterclockwise to
decrease volume.
RECALL: Press this button briefly to recall the station
being played
or to display the clock. If you press the
knob when the ignition is off, the clock will show for a
few seconds.
ProCarManuals.com
Page 140 of 370

Playing a Cassette Tape
Your tape player is built to work best with tapes that are
30 to 45 minutes long on each side. Tapes longer than
that
are so thin they may not work well in this player.
While the tape is playing, use the VOL, FADE,
BAL,
TREBLE and BASS controls just as you do for the
radio. The display will show an arrow to show which
side of the tape is playing. When
the down indicator
arrow is lit, selections listed on the bottom side of the
cassette are playing. When the up arrow
is lit, selections
listed on the top side
of the cassette are playing. The
tape player automatically begins playing the other side
when
it reaches the end of the tape.
If E and a number appear on the radio display, the tape
won’t play because
of an error.
ElO: The tape is tight and the player can’t turn the
tape hubs. Remove the tape. Hold the tape with the
open end down and try to turn the right hub
counterclockwise with a pencil. Turn the tape over
and repeat. If the hubs do not turn easily, your tape
may be damaged and should not be used in the
player.
Try a new tape to make sure your player is
working properly.
0 Ell: The tape is broken. Try a new tape. If
any error occurs repeatedly or if an error can’t be
corrected, please contact your dealer. If your radio
displays an error number, write it down and provide it to
your dealer when reporting the problem.
PREV (1): Press this button or the SEEK down arrow to
search for the previous selection on the tape. Your tape
must have at least three seconds of silence between
each
selection for PREV or SEEK to work. The tape direction
arrow blinks during PREV or SEEK operation. Press
PREV or the.SEEK down akow to stop searching.
The
sound is muted during PREV or SEEK operation.
NEXT (2): Press this button or the SEEK up arrow to
search for the next selection on the tape. If you hold the
button or press it more
than once, the player will
continue moving forward through the tape. Your
tape
must have at least three seconds of silence between each
selection for NEXT or SEEK to work. The tape
direction arrow blinks during NEXT or
SEEK operation.
Press PREV
or the SEEK up arrow to stop searching.
The sound is muted during NEXT or SEEK operation.
PROG (3): Press this button to play the other side of
the tape.
ProCarManuals.com
Page 142 of 370

AM-FM Stereo with Cassette Tape Player
and Equalizer (Option)
Playing the Radio
VOL: Push this knob to turn the system on or off. Turn
it clockwise to increase volume and counterclockwise to
decrease volume.
RECALL: Press this button briefly to recall the station
being played
or to display the clock. If you press the
knob when the ignition is off, the clock will show for a
few seconds.
Finding a Station
AM-FM: Press this button to get AM, FM1 or FM2.
The display shows your selection. If a cassette tape is
playing, press this button to play the radio.
TUNE: Press this knob lightly so it extends. Turn it to
choose radio stations. Push the knob back in when
you’re not using it.
SEEK: Press the up or down arrow to go to the next
higher or lower station.
PUSHBUTTONS: The six numbered pushbuttons let
you return to your favorite stations.
You can set up to
18 stations
(six AM, six FM1 and six FM2).
1. Press AM-FM to select the band.
2. Find the station you want by using TUNE or SEEK.
3. Press and hold one of the six numbered buttons until
SET appears
on the display. Whenever you press that
numbered button, the station you set will return.
4. Repeat the steps for each pushbutton.
3-11
ProCarManuals.com
Page 143 of 370

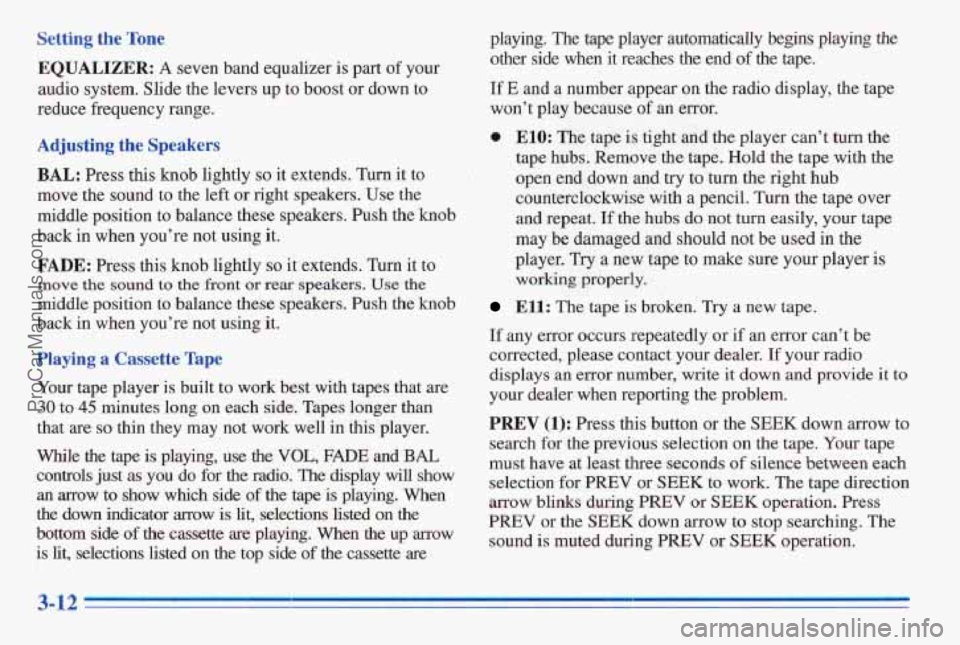
Setting the Tone playing. The tape player automatically begms playing the
other side when it reaches
the end of the tape. EQUALIZER: A seven band equalizer is part of your
audio system. Slide the levers
up to boost or down to
reduce frequency range.
If E and a number appear on the radio display, the tape
won’t play because
of an error.
Adjusting the Speakers
BAL: Press this knob lightly so it extends. Turn it to 1 .% open end down and try to turn the right hub
@ . ElO: The tape is tight and the player can’t turn the
.,$,, tape hubs. Remove’the tape. Hold the tape with the . -. .,
). . I
move the sound to the left or right speakers. Use the
middle position to balance these speakers. Push the knob
back in when you’re
not using it.
FADE: Press this knob lightly so it extends. Turn it to
move the sound to the front or rem speakers. Use tbe
middle position to balance these speakers. Push the knob
back
in when you’re not using it.
Playing a Cassette Tape
Your tape player is built to work best with tapes that are
30 to 45 minutes long on each side. Tapes longer than
that are
so thin they may not work well in this player.
While the tape is playing, use the VOL, FmE and BAL
controls just as you do for the radio. The dispiay will show
an arrow to show which side of the tape is playing. When
the
dawn indicator arrow is lit, selections listed on the
bottom side of the cassette are playing. When the up mow
is fit, selections listed on the top side of
the cassette are
counterclockwise with a pencil. Turn the tape over
and repeat. If the hubs do not turn easily, your tape
may
be damaged and should not be used in the
player.
Try a new tape to make sure your player is
working properly.
Ell: The tape is broken.’ Try a new tape.
If any error occurs repeatedly or if an error can’t be
corrected, please contact your dealer.
If your radio
displays
an error number, write it down and provide it to
your dealer when reporting the problem.
PREV (1): Press this button or the SEEK down arrow to
search for the previous selection on the tape.
Your tape
must have at least three seconds
of silence between each
selection for
PREV or SEEK to work. “he tape direction
arrow blinks during PREV or
SEEK operation. Press
PREV or the SEEK down arrow to stop searching. The
sound is muted during
PREV or SEEK operation.
._ __ . I?.,: . 3-12
ProCarManuals.com
Page 145 of 370

AM-FM Stereo with Compact Risc Player Finding a Station
(Option) AM-FM: Press this button to get AM, FMI or €342.
Playing the Radio
VOL: Push this knob to turn the system on or off. Turn
it clockwise to increase volume and counterclockwise to
decrease volume.
RECALL: Press this button briefly to recall the station
being played or to display the clock.
If you press the
knob when the ignition is off, the clock will show for a
few seconds, The
display shows your selection.
TUNE: Press this knob lightly so it extends. Turn it to
choose radio stations. Push the knob back in when
you’re
not using it.
SEEK: Press the up or down arrow to go to the next
higher or lower station.
PUSHBUTTONS: The six numbered pushbuttons let
you
return to your favorite stations. You can set up to
18 stations (six AM, six FM 1 and six FM2).
1. Press AM-FM to select the band.
2. Find the station you want by using TUNE or SEEK.
3. Press and hold one of the six numbered buttons until
SET appears on the display. Whenever you press
that
numbered button, the station you set will return.
4. Repeat the steps for each pushbutton.
3-14
ProCarManuals.com
Page 262 of 370

Turn the socket
counterclockwise until it
pops loose
from the housing.
3. Pull out the bulb socket.
Headlamp Aiming
4. Lift the plastic locking tab on the electrical
connector and pull the connector from the
bulb socket.
5. Snap the electrical connector into a new bulb socket.
6. Replace the bulb socket into the housing and have a four-door Pontiac, see your dealer when your
This section only applies to two-door Pontiacs. If you
turn clockwise. headlamp aim needs to be checked
or adjusted.
7. Close the headlamp panel.
Your vehicle has the 55 x 135 mini-quad headlamp
system. These headlamps have horizontal and vertical
aim indicators. The aim has been pre-set at the factory
and should need
no further adjustment.
ProCarManuals.com
Page 362 of 370

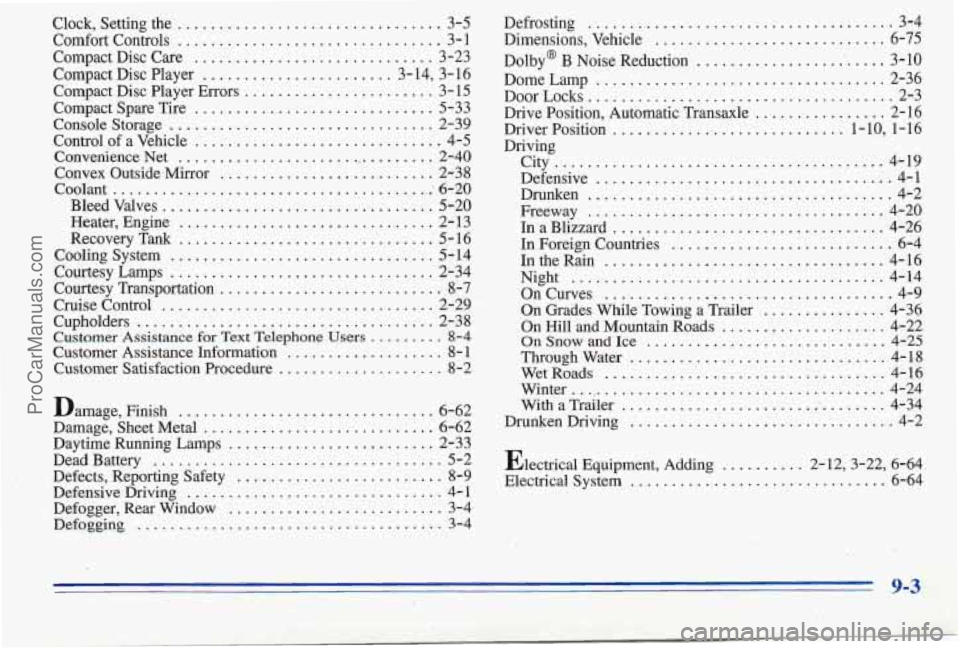
Clock. Setting the ................................ 3-5
ComfortControls
................................ 3-1
Compact Disc Care
............................. 3-23
Compact Disc Player
....................... 3-14, 3-16
Compact Disc Player Errors
....................... 3- 15
Compact Spare Tire
............................. 5-33
Console Storage
................................ 2-39
Control
of a Vehicle ............................. ’ . 4-5
Convenience Net
................................ 2-40
Convex Outside Mirror
.......................... 2-38
Bleed Valves
................................. 5-20
Heater, Engine
............................... 2- 13
Recovery
Tank ............................... 5-16
Courtesy Lamps
................................ 2-34
Courtesy Transportation
........................... 8-7
Cruise Control ................................. 2-29
Cupholders
.................................... 2-38
Customer Assistance Information
................... 8- 1
Customer Satisfaction Procedure
.................... 8-2
Coolant
................................. ....... 6-20
Coolingsystem
................................ 5-14
Customer Assistance for Text Telephone Users .......... 8-4
Damage, Finish ...... ..................... 6-62
Damage, Sheet Metal
............................ 6-62
Daytime Running Lamps
......................... 2-33
Defects, Reporting Safety
..... i ................... 8-9
Defensive Driving ............................... 4- 1
Defogger, Rear Window
.......................... 3-4
Defoqging ..................................... 3-4
DeadBattery ................................... 5-2 Defrosting
................... ........ 3-4
Dimensions. Vehicle ........... .......... 6-75
Dolby@
B Noise Reduction ......... ........... 3-10
Dome Lamp
................................... 2-36
Door
Locks ..................................... 2-3
Drive Position. Automatic Transaxle
................ 2-16
Driver Position
............................ 1-10. 1-16
Driving
City
........................................ 4-19
Defensive
.................................... 4-1
Drunken
.............. ; ...................... 4-2
Freeway
.................................... 4-20
In a Blizzard
................................. 4-26
In Foreign Countries
............................ 6-4
In the Rain
.................................. 4-16
On Curves
.................................... 4-9
On Grades While Towing a Trailer ............... 4-36
On Hill and Mountain Roads
...... ............. 4-22
OnSnowandIce
............................. 4-25
WetRoads
................................... 4-16
Winter
....................................... 4-24
With a Trailer ................................. 4-34
Drunken Driving
................................ 4-2
Electrical Equipment. Adding
........ 2-12.3-22. 6-64
Electrical System
............ .............. 6-64
Night
...................................... 4-14
Throughwater
............................... 4-18
.. ... 9-3
ProCarManuals.com