headlamp PONTIAC PONTIAC 1997 User Guide
[x] Cancel search | Manufacturer: PONTIAC, Model Year: 1997, Model line: PONTIAC, Model: PONTIAC PONTIAC 1997Pages: 419, PDF Size: 19.67 MB
Page 123 of 419
To change the factory setting while in the programming
mode, do the following:
1. Press UNLOCK on the key chain transmitter.
2. Count the number of chimes you hear. The number of
c?&mes tells you which mode your vehicle is set for.
You change
the mode by pressing UNLOCK again.
3. Repeat step 2 until you hear the number of chimes
Mode 1: Remote All Doors Unlock (When you press
UNLOCK on your key chain transmitter, all doors
will unlock).
Mode 2: Remote Driver’s Door and All Doors Unlock
(When you press UNLOCK on your key chain transmitter
once, the driver’s door will unlock. If you press UNLOCK
again within five seconds,
all doors will unlock.
Remote LocMUnlock Confirmation
Your vehicle comes with this feature set in Mode 4. This
means that:
When you use the key chain transmitter to lock your that matches
the mode you want.
vehicle, your headlamps will flash briefly to let you
know the command has been received. If you press
LOCK on the key chain transmitter again,
the horn will
sound briefly and
the headlamps will flash briefly to let
you know your vehicle is locked.
0 When you use the key chain transmitter to unlock
your vehicle or open your trunk,
your headlamps will
flash briefly.
To change the factory setting while in the programming
mode do the following:
1.
2.
3.
Press the LOCK button on the key chain transmitter.
Count the number
of chimes you hear. The number
of chimes tells you which mode your vehicle is set
for. You change the mode by pressing LOCK on
your key chain transmitter again.
Repeat step
2 until you hear the number of chimes
that matches the mode you want.
Mode 1: Off (Remote lock and unlock confirmation
are disabled).
Mode 2: Remote Lock Confirmation with Exterior
Lamps Only
Remote Lock Confirmation:
0 When you use the chain transmitter to lock your
vehicle, your headlamps will flash briefly to let you
know your command is received.
0 Remote Unlock confirmation: when you use the key
chain transmitter to unlock your vehicle
or open your
trunk, your headlamps will flash briefly to let you
know your command is received.
2-49
ProCarManuals.com
Page 124 of 419
Mode 3: Remote Lock Confirmation with Exterior
Lights and Horn
Remote Lock Confirmation: When you use the key
chain transmitter to lock your vehicle, the horn will
sound briefly and your headlamps will flash briefly
to let you know your command is received.
Remote Unlock confirmation: When you use the key
chain transmitter to unlock your vehicle or open your
trunk, your headlamps will flash briefly
to let you
know your command is received.
Mode 4: Remote Lock Confirmation with Exterior
Lights and Horn (on second LOCK press)
Remote Lock Confirmation: When you use the
key chain transmitter
to lock your vehicle, your
headlamps will flash briefly to let
you know your
command is received. The horn will sound briefly
and the headlamps will flash briefly if you press
the
LOCK button again within five seconds.
Remote Unlock Confirmation: When you use the key
chain transmitter to unlock your vehicle
or open your
trunk, your headlamps will flash briefly to let
you
know your command is received.
Content Theft
Your vehicle comes with this feature set in Mode 4. This
means that:
If anyone damages or enters your vehicle while your
Content Theft-Deterrent System is armed, an alarm
will sound and your headlamps will flash for up to
two minutes.
To change the factory setting while in the programming
mode, do the following:
1. Turn the parking lamps on, then off.
2. Count the number of chimes you hear. The number
of chimes tells you which mode your vehicle is set
for. You change the mode by turning the
park lamps
on, then off again.
3. Repeat step 2 until you hear the number of chimes
that matches the mode
you want.
Mode 1: Damage Detection with Less Sensitivity (If
anyone seriously damages your vehicle, tampers with
the trunk lock or opens a door while your theft deterrent
is armed, an alarm will sound and your headlamps will
flash for up to two minutes).
2-50
ProCarManuals.com
Page 125 of 419
Mode 2: Damage Detection Off (If anyone tampers with
your trunk lock or opens a door while your Content
Theft-Deterrent System is armed, an alarm will sound
and your headlamps will flash for up to two minutes).
Mode 3: All Off (Your Content Theft-Deterrent System
is always disarmed).
Mode 4: Damage Detection with More Sensitivity (If
anyone damages your vehicle, tampers with your trunk
lock or enters your vehicle while your theft deterrent
system is armed,
an alarm will sound and your
headlamps will flash for up
to two minutes).
Content Theft-Deterrent Arming
and Disarming
Your vehicle comes with this feature in Mode 1. This
means that:
0
0
0
your Lontent Theft-Deterrent System will arm when
you lock the doors using either the power lock
switch while any door is open and the key is
removed from
the ignition.
Your Content Theft-Deterrent System will arm when
you lock the doors with the key chain transmitter.
Your Content Theft-Deterrent System will disarm
when you unlock
the doors with your key or with
your key chain transmitter. To
change the factory setting, while in the programming
mode do the following:
1.
2.
3.
4.
5.
Insert your second key fully into any door key
cylinder and turn it to the unlock position. This step
is inconvenient, but necessary to prevent accidental
programming of this feature to Mode
2. Do not
program this feature to Mode
2 without first reading
the special note contained in the description for that
mode. The door key lock cylinder must remain in the
unlock position during steps
2-4.
Press the horn symbol on your key chain transmitter.
Count the number of chimes you hear. The number
of chimes tells you which mode your vehicle is set
for. You change the mode by pressing the horn
symbol on your key chain transmitter again.
Repeat step
3 until you hear the number of chimes
that matches the mode you want.
Remove your key from
the door key cylinder.
2-51
ProCarManuals.com
Page 127 of 419
Mirrors
Adjust all the mirrors so you can see clearly when you
are sitting in a comfortable driving position.
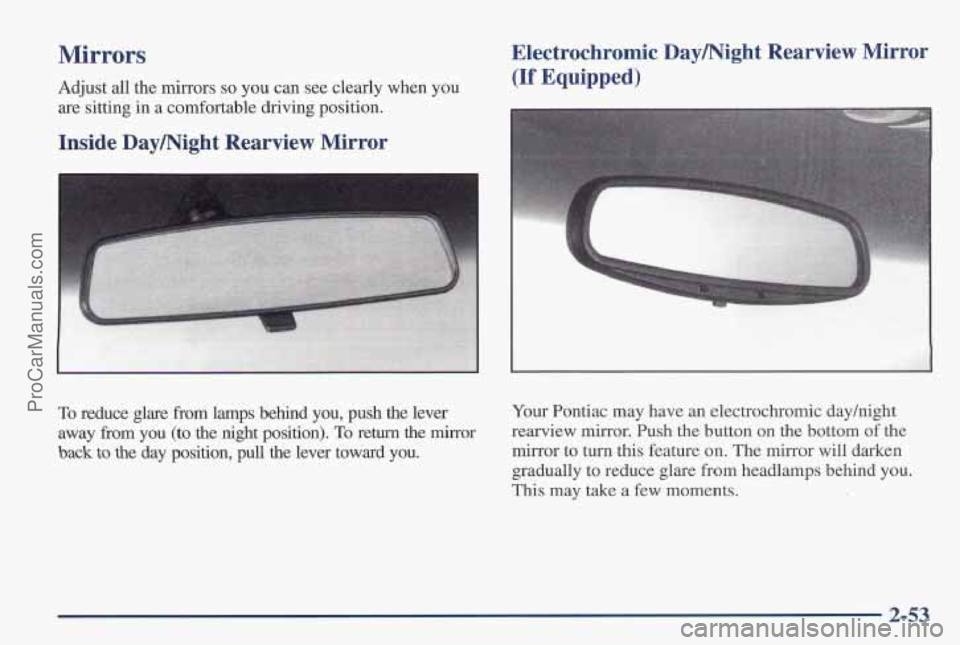
Inside Daymight Rearview Mirror Electrochromic
Daymight Rearview Mirror
(If Equipped)
To reduce glare from lamps behind you, push the lever
away from you (to the night position). To return the mirror
back to the day position, pull the lever toward you. Your
Pontiac may have an electrochromic dayhight
rearview mirror. Push the button on the bottom of the
mirror to turn this feature on. The mirror will darken
gradually to reduce glare from headlamps behind you.
This may take
a few moments.
2-53
ProCarManuals.com
Page 128 of 419
One photocell on the front of the mirror senses when it
is becoming dark outside. Another photocell, facing
rearward, senses headlamps behind
you. To turn the
electrochromic feature off, press the button on the
bottom of the mirror again.
To keep the photocells operating well, occasionally
clean
them with a cotton swab and glass cleaner.
Power Outside Mirrors
Convex Outside Mirror
Your passenger’s side mirror is convex. A convex
mirror’s surface
is curved so you can see more from the
driver’s seat.
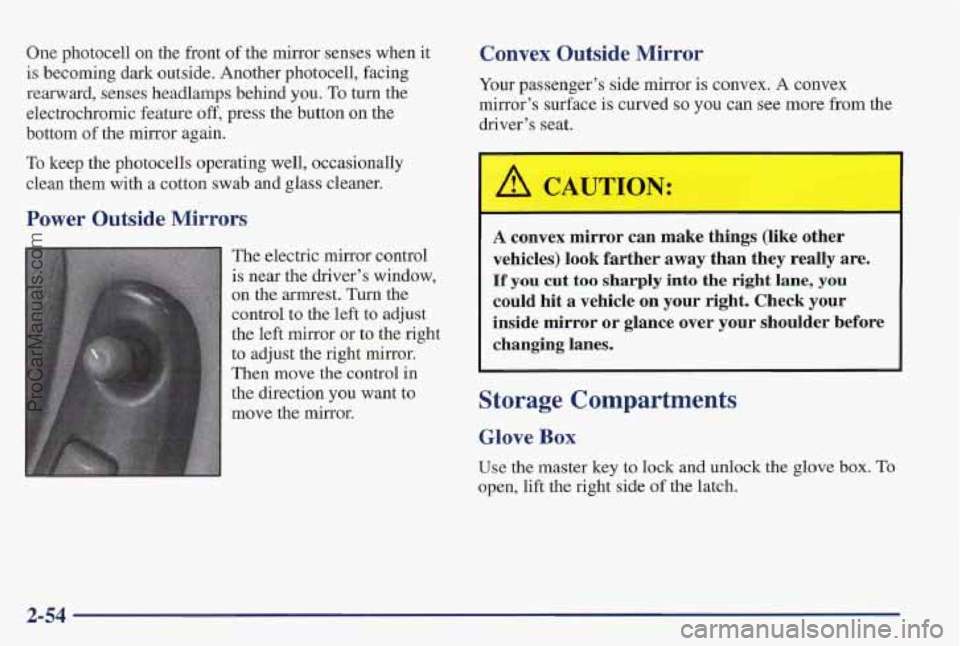
The electric mirror control
is near the driver’s window,
on the armrest. Turn the
control to the left to adjust
the left mirror or
to the right
to adjust the right mirror.
Then
move the control in
the direction you want to
move the mirror.
A convex mirror can make things (like other
vehicles)
Book farther away than they really are.
If you cut to’o sharply into the right lane, you
could hit
a vehicle on your right. Check your
insilde mirror or glance over your shoulder before
changing lanes.
Storage Compartments
Glove Box
Use the master key to lock and unlock the glove box. To
open, lift the right side
of the latch.
29.54
ProCarManuals.com
Page 159 of 419
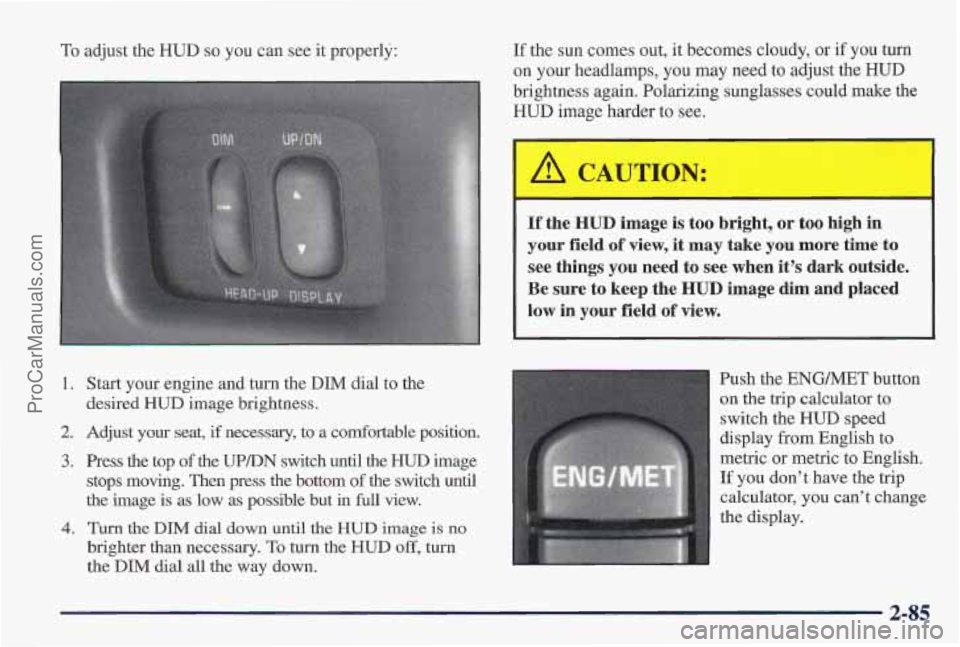
To adjust the HUD so you can see it properly:
1. Start your engine and turn the DIM dial to the
desired HUD image brightness.
2. Adjust your seat, if necessary, to a Comfortable position.
3. Press the top of the UPDN switch until the HUD image
stops moving. Then press the bottom
of the switch until
~e image is as low as possible but in full view.
brighter than necessary.
To turn the HUD off, turn
the DIM dial all the way down.
4. Turn the DIM dial down until the HUD image is no
If the sun comes out, it becomes cloudy, or if you turn
on your headlamps, you may need
to adjust the HUD
brightness again. Polarizing sunglasses could make the
HUD image harder to see.
If the HUD image is too bright, or too high in
your field
of view, it may take you more time to
see things you need to see when it’s dark outside.
Be sure to keep the
HUD image dim and placed
low in your field
of view.
Push the ENG/MET button
on
the trip calculator to
switch the HUD speed
display from English to
metric or metric to English.
If you don’t have the trip
calculator,
you can’t change
the display.
2-85
ProCarManuals.com
Page 210 of 419
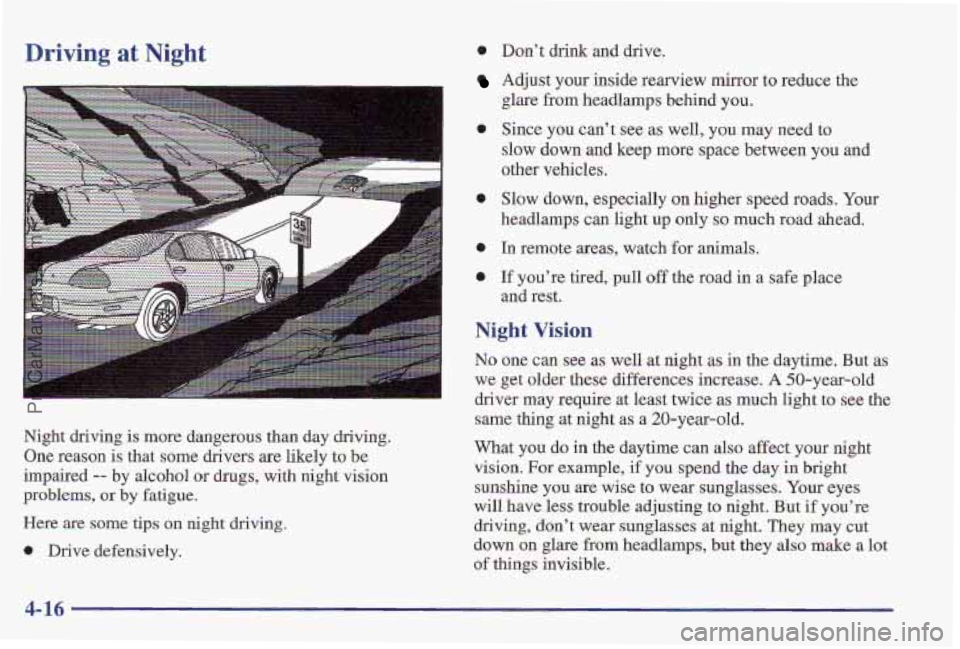
Driving at Night
Night driving is more dangerous than day driving.
One reason is that some drivers
are likely to be
impaired
-- by alcohol or drugs, with night vision
problems,
or by fatigue.
Here are some tips on night driving.
0 Drive defensively.
e
0
e
Don’t drink and drive.
Adjust your inside rearview mirror to reduce the
glare from headlamps behind
you.
Since you can’t see as well, you may need to
slow down and keep more space between
you and
other vehicles.
Slow down, especially on higher speed roads. Your
headlamps can light up only
so much road ahead.
In remote areas, watch for animals.
If you’re tired, pull off the road in a safe place
and rest.
Night Vision
No one can see as well at night as in the daytime. But as
we get older these differences increase. A 50-year-old
driver may require
at least twice as much light to see the
same thing at night
as a 20-year-old.
What you
do in the daytime can also affect your night
vision.
For example, if you spend the day in bright
sunshine you
are wise to wear sunglasses. Your eyes
will have less trouble adjusting to night. But if you’re
driving, don’t wear sunglasses at night. They may cut
down on glare
from headlamps, but they also make a lot
of things invisible.
4- 16
ProCarManuals.com
Page 211 of 419
You can be temporarily blinded by approaching
headlamps.
It can take a second or two, or even several
seconds, for your eyes to readjust to the dark. When
you are faced with severe glare (as from a driver who
doesn’t lower the high beams, or a vehicle with
misaimed headlamps), slow down a little. Avoid
staring directly into the approaching headlamps.
Keep your windshield and all the glass on your vehicle
clean
-- inside and out. Glare at night is made much
worse by dirt on the glass. Even the inside
of the glass
can build up a film caused by dust. Dirty glass makes
lights dazzle and flash more
than clean glass would,
making the pupils
of your eyes contract repeatedly.
Remember that your headlamps light up far less
of a
roadway when you are in a turn or curve. Keep your
eyes moving; that way, it’s easier to pick out dimly
lighted objects. Just as your headlamps should be
checked regularly for proper aim,
so should your eyes
be examined regularly. Some drivers suffer from night
blindness
-- the inability to see in dim light -- and
aren’t even aware
of it.
Driving in Rain and on Wet Roads
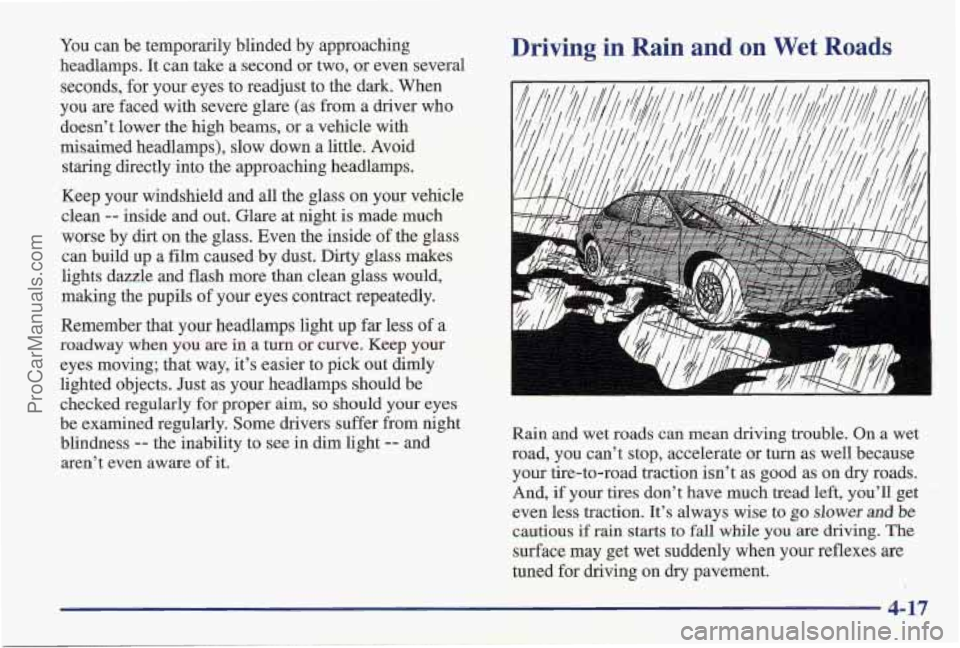
Rain and wet roads can mean driving trouble. On a wet
road, you can’t stop, accelerate or turn
as well because
your tire-to-road traction isn’t as good as on dry roads.
And, if your tires don’t have
much tread left, you’ll get
even less traction. It’s always wise to
go slower and be
cautious if rain starts to fall while you are driving. The
surface may get wet suddenly when your reflexes
are
tuned for driving on dry pavement.
4-17
ProCarManuals.com
Page 223 of 419
Run your engine only as long as you must. This saves
fuel. When you run the engine, make it
go a little faster
than just idle. That
is, push the accelerator slightly. This
uses less fuel for the heat that you get and it keeps the
battery charged. You will need a well-charged battery
to restart the vehicle, and possibly for signaling later on
with your headlamps. Let the heater run for a while.
Then, shut the engine off and close the window almost
all the way to preserve the heat. Start the engine again
and repeat this only when you feel really uncomfortable
from the cold. But do it as little as possible. Preserve the
fuel as long as
you can. To help keep warm, you can get
out of the vehicle and do some fairly vigorous exercises
every half hour or
so until help comes.
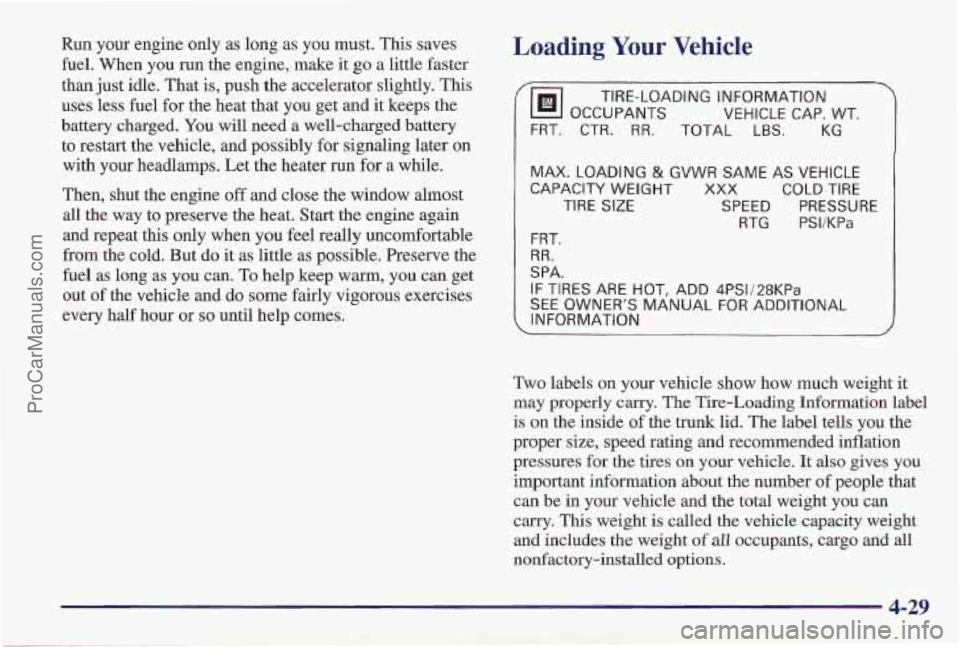
Loading Your Vehicle
/@ OCCUPANTS
VEHICLE CAP. WT.
TIRE-LOADING INFORMATION
FRT. CTR.
RR. TOTAL LBS. KG
~-
MAX. LOADING & GVWR SAME AS VEHICLE
CAPACITY
WEIGHT XXX COLD TIRE
TIRE
SIZE SPEED PRESSURE
RTG PSI/KPa
FRT.
RR.
SPA.
IF TIRES ARE HOT, ADD 4PS1/28KPa
SEE OWNER'S MANUAL FOR ADDITIONAL
INFORMATION
Two labels on your vehicle show how much weight it
may properly
carry. The Tire-Loading Information label
is on the inside of the trunk lid. The label tells you the
proper size, speed rating and recommended inflation
pressures for the tires on your vehicle.
It also gives you
important information about the number of people that
can be in your vehicle and the total weight you can
carry. This weight is called the vehicle capacity weight
and includes the
weight of all occupants, cargo and all
nonfactory-installed options.
ProCarManuals.com
Page 308 of 419
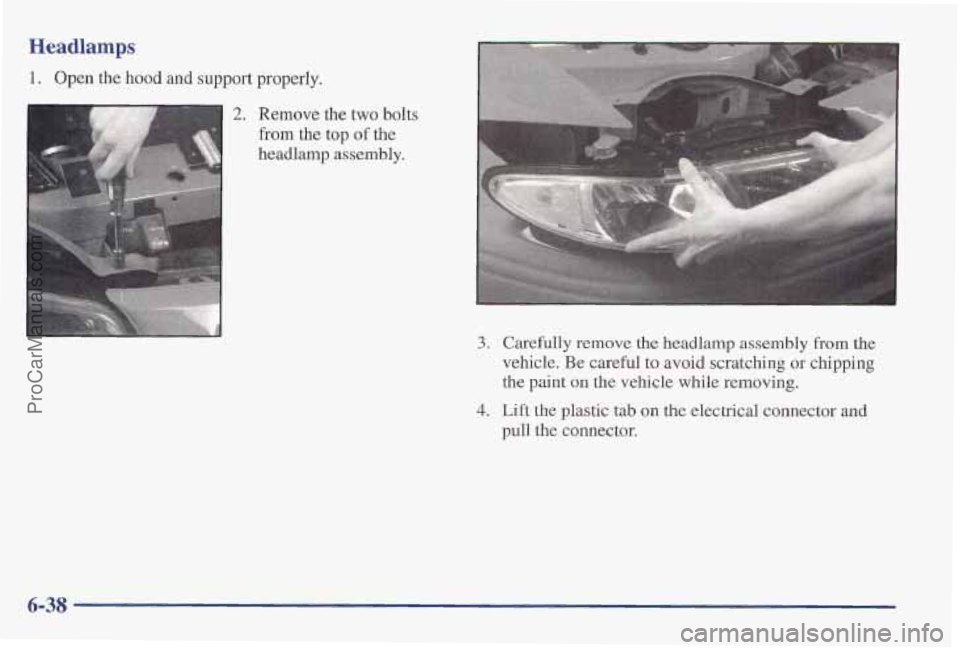
Headlamps
1. Open the hood and support properly.
2. Remove the two bolts
from the top
of the
headlamp assembly.
3. Carefully remove the headlamp assembly from the
vehicle. Be careful to avoid scratching or chipping
the paint on the vehicle while removing.
4. Lift the plastic tab on the electrical connector and
pull the connector.
6-38
ProCarManuals.com